

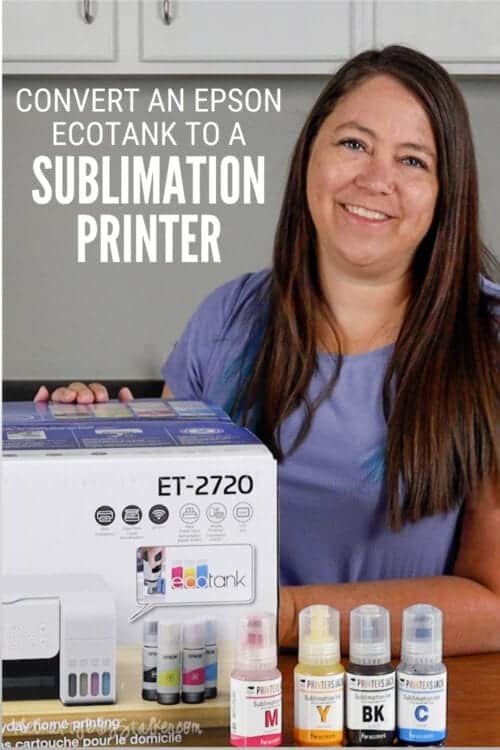
Convert a new Epson EcoTank home office printer into a sublimation printer. Below is the complete video and step-by-step tutorial!
Sublimation has become very popular in recent years, and I am getting asked more and more questions about sublimation and how to convert a printer. And since you were asking, I decided to make this tutorial for you and show you how to convert a home office printer into a sublimation printer!
Craft Tutorial Video:
Like videos? I have a video tutorial for you! Please subscribe to my YouTube Channel so you don't miss any future video tutorials!
If you have any questions about what sublimation is, I have a complete post answering the who, what, when, where, and why, and it's called the 6 W's of Sublimation. But if I didn't answer your question there or on this post, don't hesitate to reach out. I'm here to help!
Converting a Printer isn't Scary... I Promise!
Some links may lead to similar items when the exact item is unavailable.
Many people hear about converting a printer and think it is hard and super technical. But it isn't at all.
Converting a printer simply means putting sublimation ink into the printer instead of the recommended ink for the printer.
EcoTank printers are ideal for this because you don't have to worry about having a specific ink cartridge for your printer. You just fill the tanks up with the ink and you are ready to go.
But just in case you are still a little nervous about converting a printer yourself, I am here to walk you through every step.
Which Printer Should I Get for Sublimation?
The printer I am converting is the Epson EcoTank 2720, but there are several different Epson models that you can use. Basically, as long as it is an EcoTank you can use it, and there are a few EcoTanks where you can print larger than 8.5" x 11".
So when purchasing your printer, make sure it has the capabilities you are looking for.
My priority was the price, so I went with the cheapest model with not many bells and whistles. But that is okay because that is all that I needed.
For ease, I recommend going with a brand-new printer. If you already have an Epson EcoTank that you've used with regular ink, it can be a pain to drain the lines of the printer ink before you put the sublimation ink in. It can be done, but I'm not going to go into that here.
Which Sublimation Ink Should I Choose?
This is an area where you have LOTS of choices. This is my second sublimation printer and I have chosen a different ink than I did with my first. I just never felt like I got the right color after it was applied.
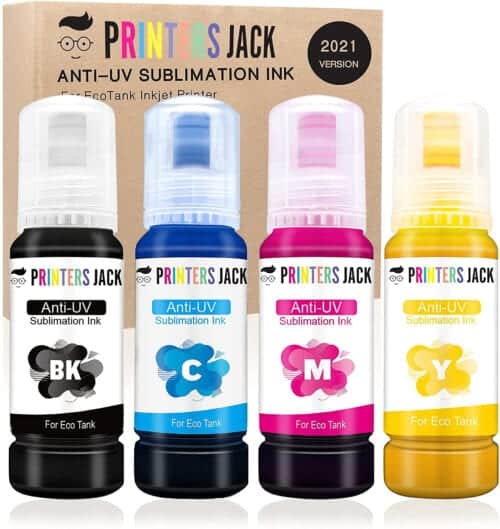
This time, I was torn between two brands. Hiipoo and Printer's Jack. I decided on Printer's Jack for 2 reasons, this ink was designed to be used in Epson Printers so I wouldn't need to install a specific print profile for the colors to come out right. And second, the bottles are the same as the Epson Ink Bottles so I wouldn't have to deal with messy syringes when filling the EcoTanks.
Once you choose a sublimation ink you should not change ink brands. The next time you refill be sure to use the same exact link, otherwise your prints may come out looking funny with the mixture of inks.
What Sublimation Paper Should I Use?
You also should use a sublimation-specific paper. How the ink dries on the paper can also affect how the finished product looks. A-Sub Paper is a pretty safe bet. I like A-Sub 120G, it is a nice mid-weight paper and I haven't had any problems with the paper jamming in my printers.
Converting an Epson EcoTank 2720 to a Sublimation Printer:
Now that we have our bases covered, let's get into converting this bad boy (or girl)! We are going to go from the beginning of taking it out of the box to printing our first project!
So let's take it out of the box!
The first thing that we need to do is remove all of the packaging tape and styrofoam pieces that keep the printer nice and secure during shipping.
The printer comes with instructions, an installation disk, a power cord, and Epson Printer inks.
You do not need the Epson inks or the installation disk as long as you are connecting the printer via Wi-Fi.
During this converting process, I kept those instructions close and followed the setup process, except I used the sublimation ink instead of the ink that came with the printer.
Keep the plug in the bag, and DO NOT PLUG THE MACHINE IN UNTIL AFTER THE INK HAS BEEN ADDED.
Fill the EcoTanks with Sublimation Ink:
This is where those awesome Printer's Jack bottles come into play.
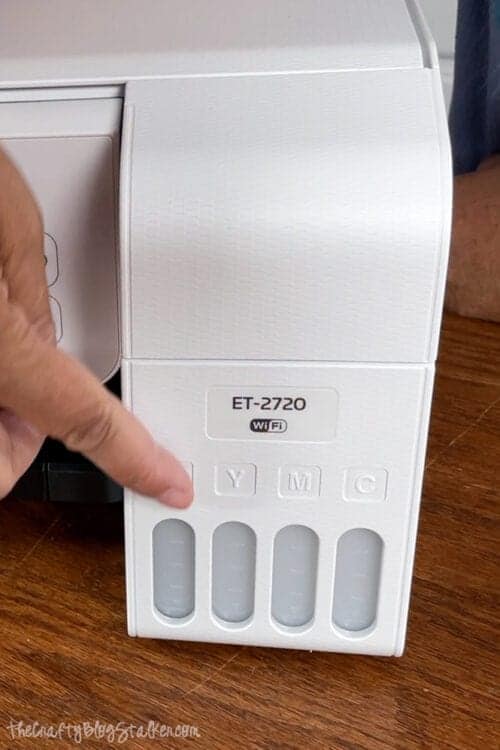
Flip open the EcoTank lid and you'll see a sticker along the back that shows the color along with the coordinating tank. There are Black, Yellow, Magenta, and Cyan. These four colors make up all of the colors you can possibly print. Isn't that cool!
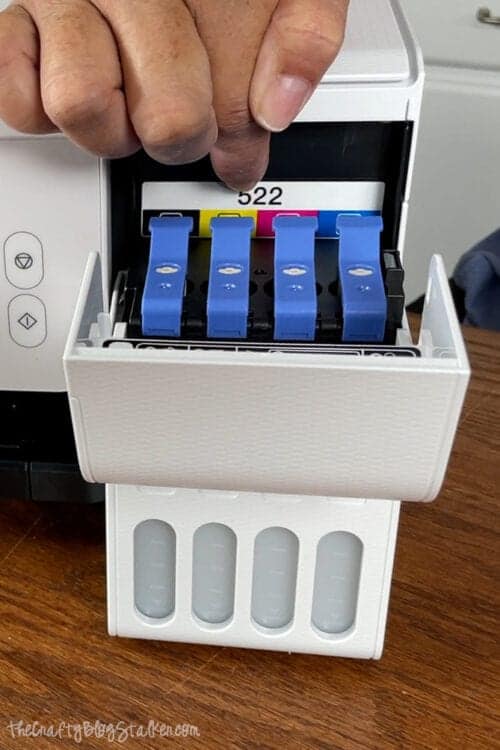
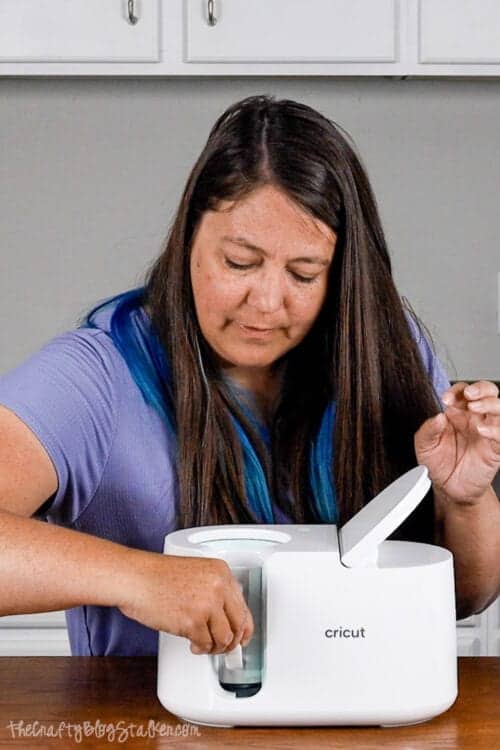
One at a time, flip back the lid of an eco tank, place the bottle over the nozzle of the tank, and lightly press it into place. The ink will start to flow into the tank. Make sure not to squeeze or shake the bottle, because you may get air bubbles in your tank and that can give you printer lines when printing.
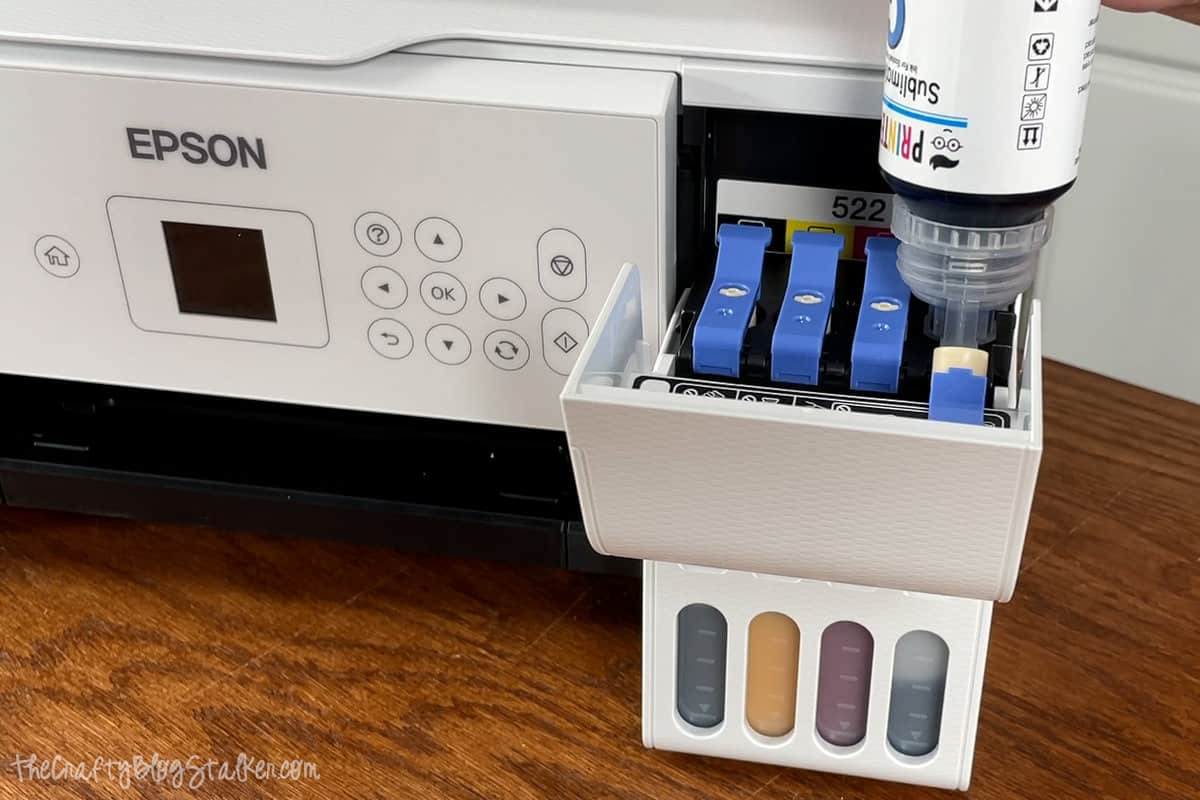
Repeat with all four colors making sure to fill each tank with its correct color. You can see the tanks fill, and the bottle will stop dispensing ink when the tank is full.
Now that the tanks are full you can unwrap the power cord and plug the printer into an outlet.
Turning on the Epson EcoTank:
Turn the printer on by pressing the power button on the front panel.
Select your language.
When instructed to see the Start Here sheet, press and hold the help button for 5 seconds. Then press the start button to start charging the ink. This step takes 10 minutes and you do not want to stop the printer during this process.
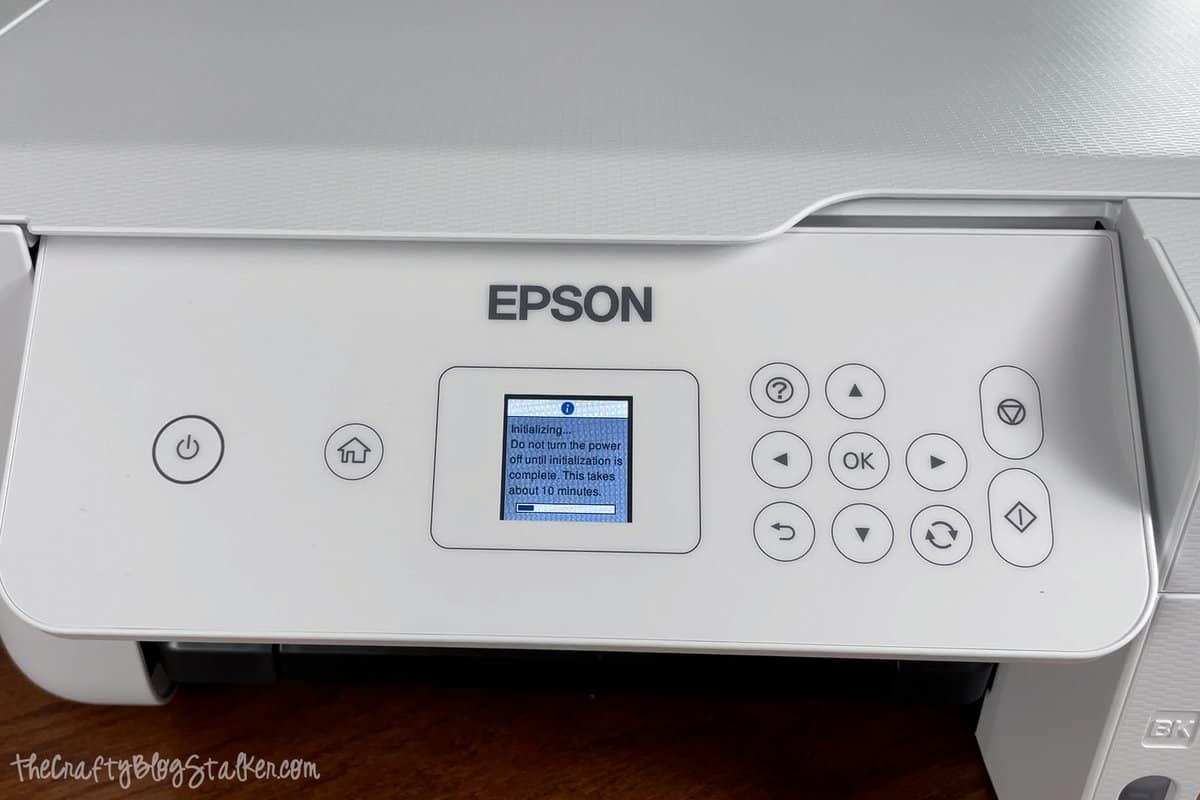
Charging the ink means that the printer is pulling that ink into the printer so it can print. If you watch the tanks, you can see them drop a little as that ink is pulled into those lines.
Adjust the Printer Head for Print Quality:
For the next couple of steps, we are going to be printing sample prints to make sure everything is aligned. For these steps, you do not need to use the sublimation paper. Standard copy paper is just fine.
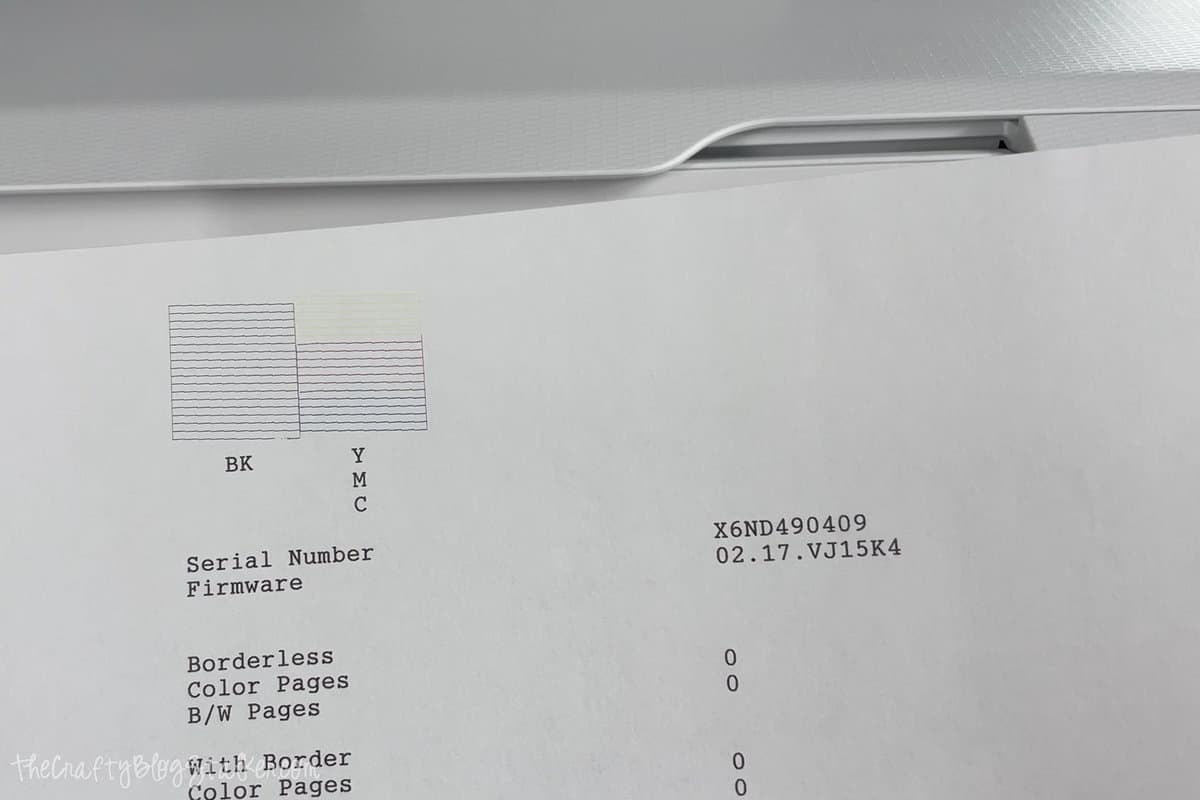
From the printer panel, select Adjust, and then Print.
After the first print, the printer panel asks if there are any missing segments. We are missing a tiny segment of our black, but it is nothing to worry about.
Select no or yes, depending on your printout, and follow the on-screen instructions.
The next printout is to test misalignment and banding. Select print.
With this printout, look at each line and tell the printer which box looks the best to you. You want a good solid box. Follow the on-screen prompts as it goes through each line.
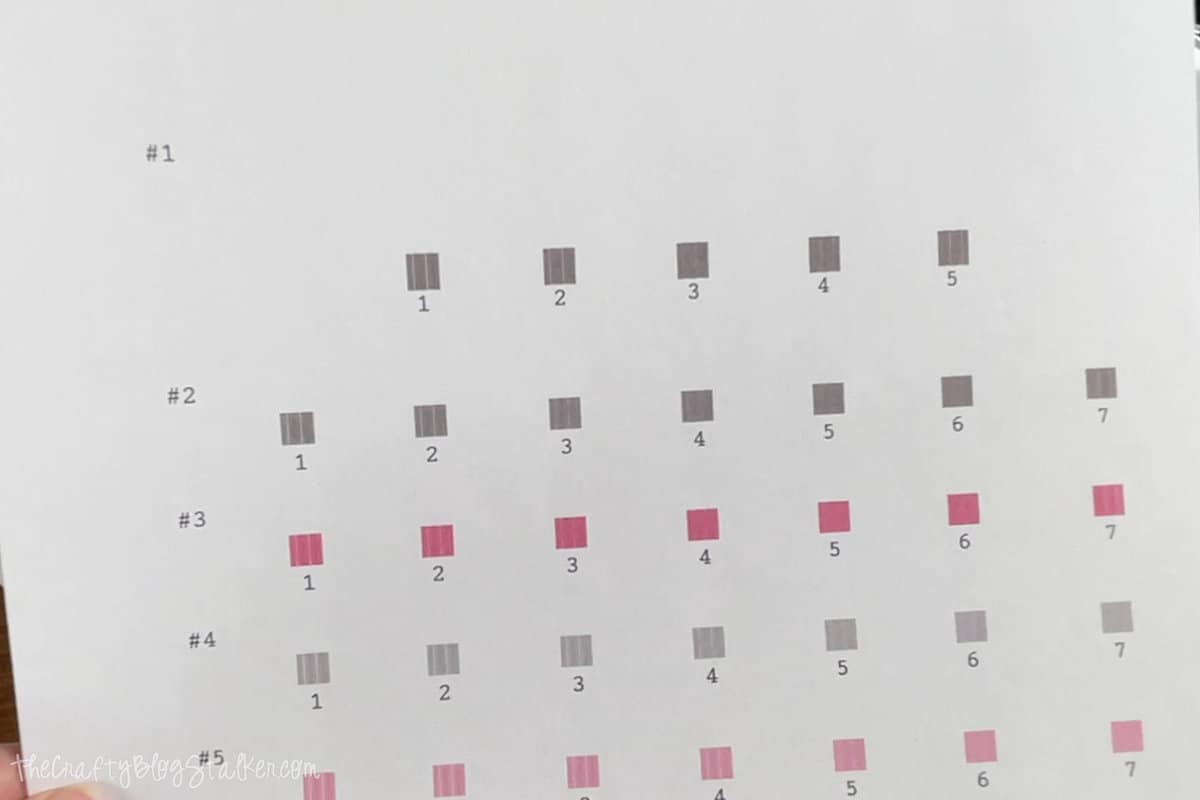
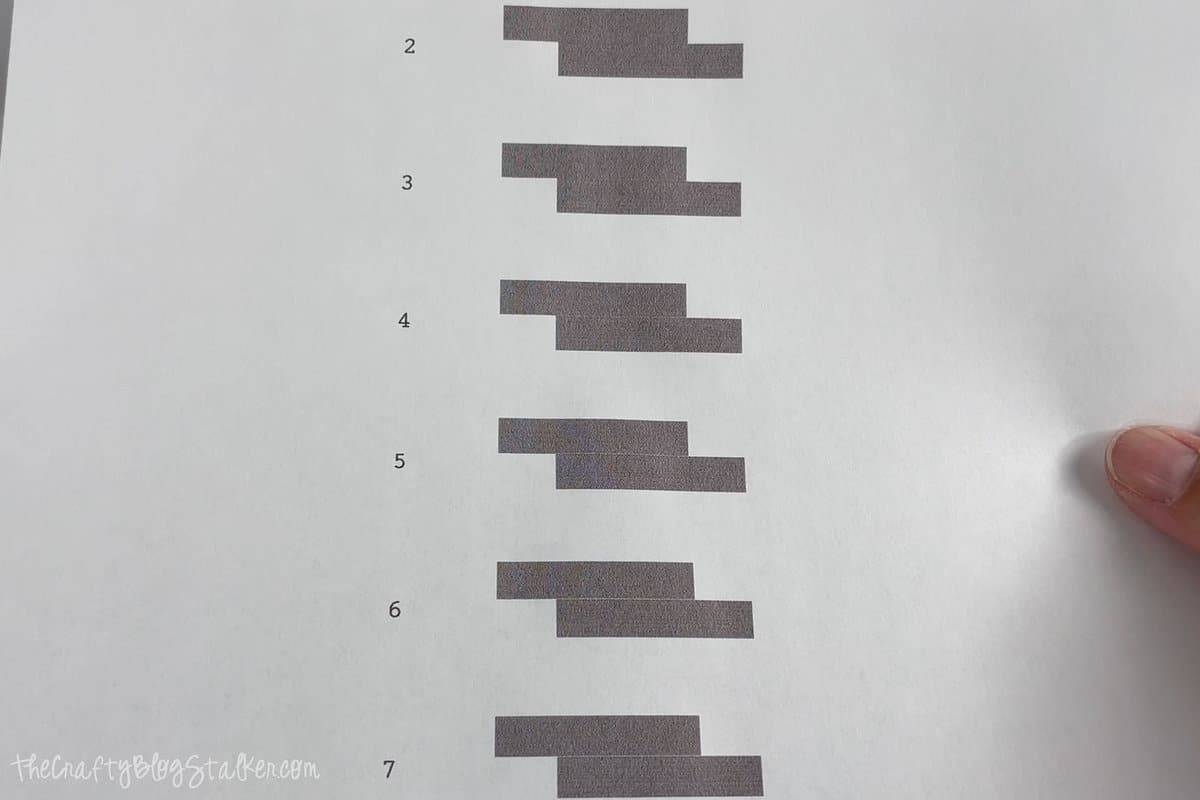
The last printout is for separation and overlapping. Look at the printout and enter the number that looks the most aligned.
Connect Printer to Computer:
I have a Mac so the following steps will probably be different if you have a PC.
Go to Wi-Fi setup on the Printer Panel.
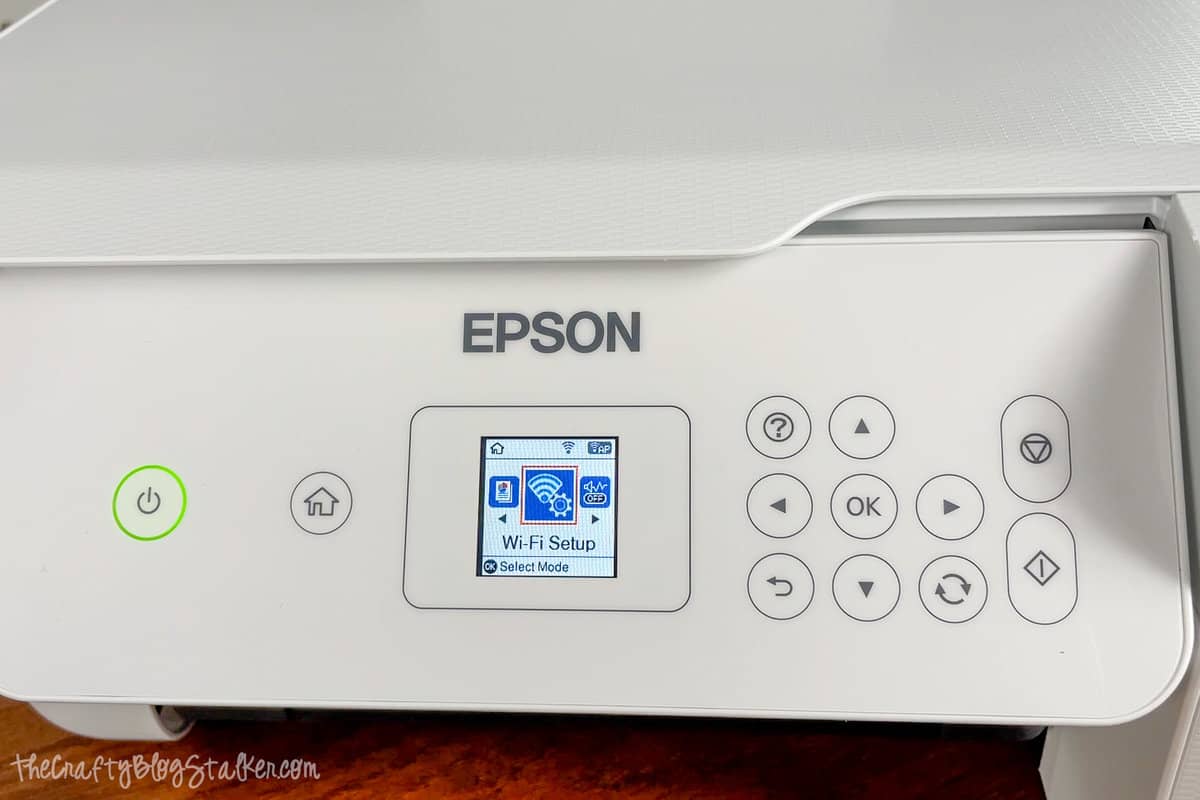
Select Wi-Fi recommended setup, then Setup Wizard.
Find your internet name in the menu and then type in your password.
Once connected via Wi-Fi, go to your computer to connect.
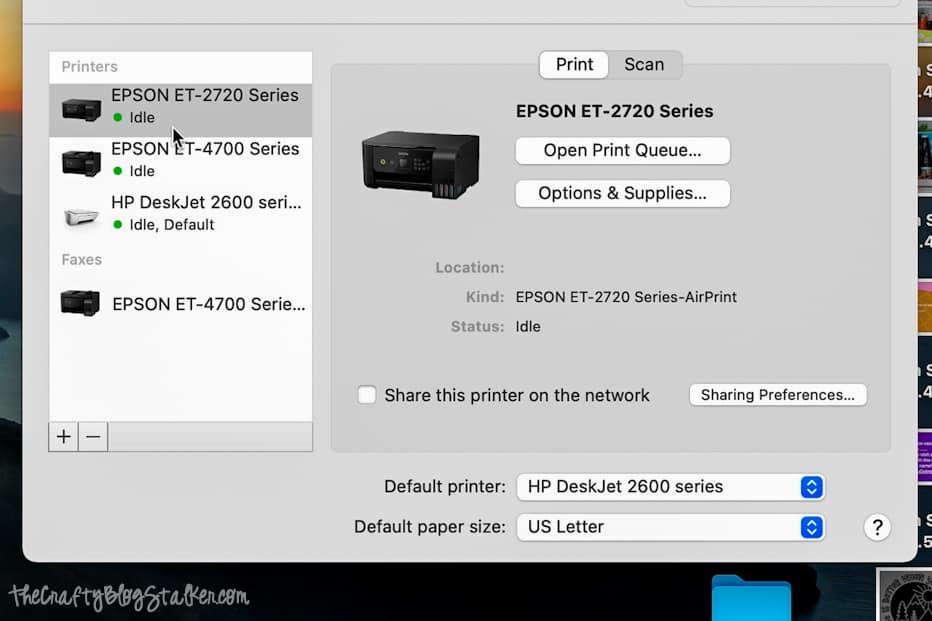
On a Mac go to System Preferences, and then Printers and Scanners. Select the + to add a new printer and a list will populate with printers connected via Wi-Fi. Select the new printer and it will be added to your list of printers!
Wahoo! You did it! You are now ready to print sublimation!
First Sublimation Project:
For our first project to test everything out, we are going to be sublimating on a mug. I will be using a Cricut Mug Blank, the Cricut Mug Press, Heat Tape, and a printed image from my NEW Sublimation Printer.
The most important thing to remember is to mirror your designs before printing!

The image or design may look a little dull straight out of the printer but don't worry. When heat is applied your colors will come to life.
Trim the printed design to fit the mug.
Clean the blank with a lint roller, or lint-free cloth.
Wrap the design tightly around the mug, centering the ends with the handle of the mug. Tape in place using heat tape.
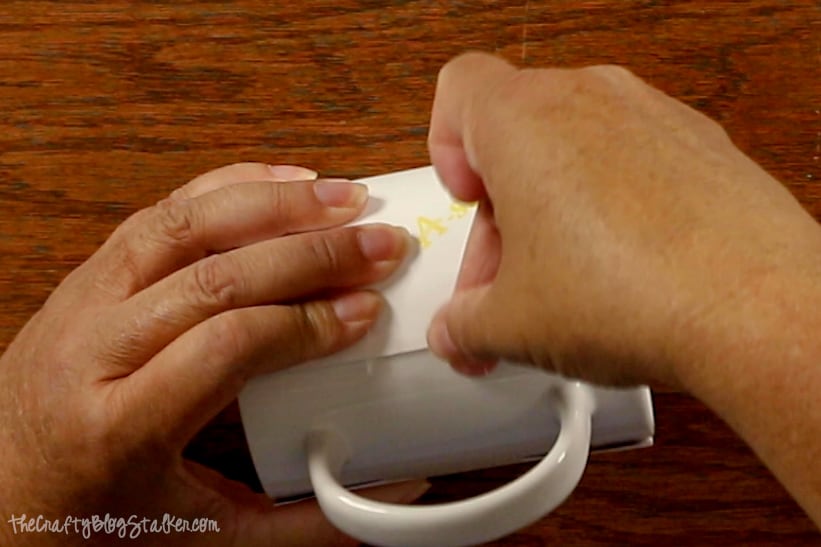
Cover the sublimation print with a piece of butcher paper or copy paper and cut it down to wrap around the mug. Tape the layer tightly into place as well.
Place the mug in the mug press and when you press the lever down, the timer on the press will automatically begin.
When the timer beeps, carefully remove the mug, only touching the handle, and set it aside to cool.
The Big Reveal:
Once the mug is completely cool, we can unwrap it. This is my favorite part!
Look at how great it turned out!

And here is my daughter holding her mug with her mug on it!

Just think of everything you can make! Sublimation is so fun.
If you love this tutorial, please give it a five-star review and help me share it on Facebook and Pinterest!
Sublimation Essentials
- We recently converted an Epson EcoTank 2720 Printer into a Sublimation Printer, which we use for all our sublimation projects.
- Printer's Jack Sublimation Ink is explicitly designed for use with Epson printers, and the colors look great!
- ASub-120G Paper is our go-to when printing sublimation. It has never jammed, and the finished projects always look great! Plus, you can get 12% off using code BLOGSTALKER at checkout!
- These are my favorite Sublimation Cup Blanks. They always sublimate perfectly!
Katie Adams
I am so glad you found it helpful Ashleya!
Katie Adams
Yes, you can use any Epson Ecotank printer to convert to a sublimation printer.