

This post is sponsored by HTVRont. All opinions expressed are my own.
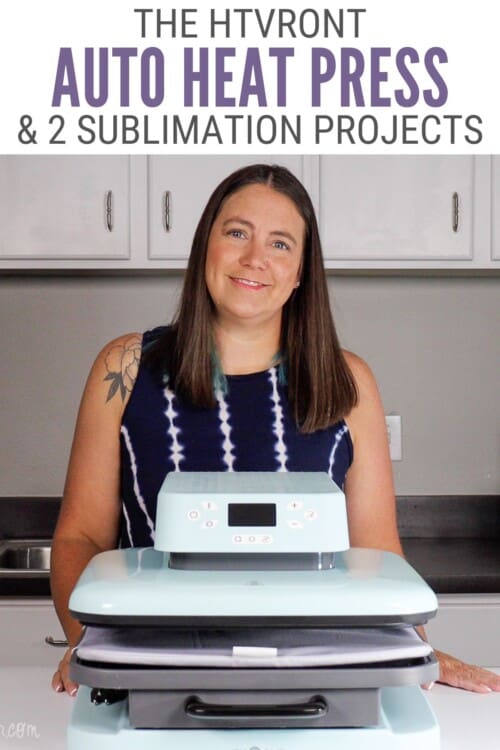
Looking for a quality auto heat press? Check out this review on the HTVRont Auto Heat Press. It includes two Project Tutorials!
I recently did a review post on the HTVRont Heat Press and was very impressed.
Today, I am coming back to you with a heat press from HTVRont. This Auto Heat Press is excellent! I am so excited to show you how it works with two craft project tutorials and my complete review of this automatic heat press machine.
Craft Tutorial Video
If videos are your thing, you're in luck-I've got a full tutorial ready for you!
Subscribe to my YouTube channel and stay inspired with every new project.
The HTVRont Auto Heat Press:
Before I get into the craft projects, I want to discuss the heat press I will use.
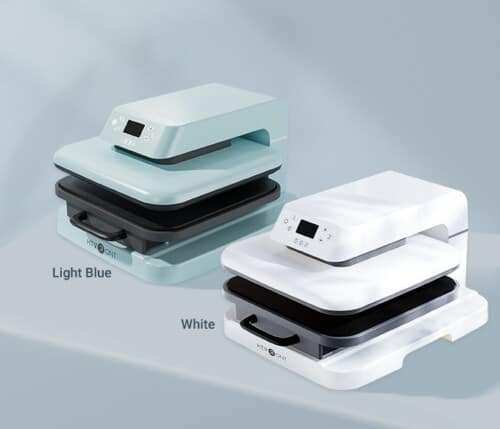
The HTVRont Auto Press comes in two colors, white and light blue. In my opinion, the light blue is more mint. So you might catch me calling it mint. 😁
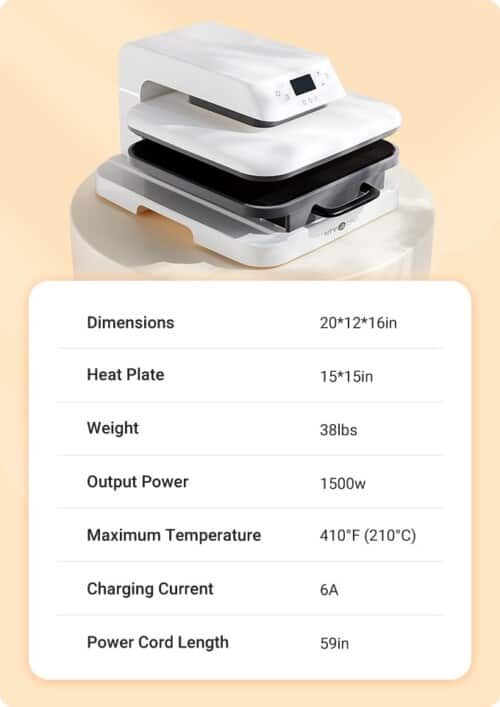
Below is an infographic to give you more information about the press's specifications.
Auto Heat Press Functions:
This auto press has many useful and unique functions.
Customization Mode:
This function is pretty standard across all heat press machines I have used and seen.
In this mode, you can set the press to your own temperature between 210 and 410ºF and use it for up to 99 seconds.
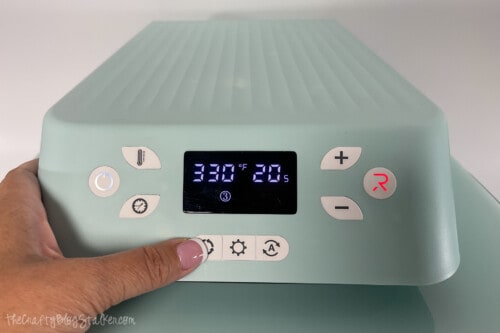
6 Quick-Start Modes:
On the bottom left of the display is a button with a rotating circle. When you press this button, you can select one of four presets. Each preset coordinates with different settings for different materials.
- 300ºF for 15 seconds - Heat Transfer Vinyl
- 320ºF for 15 seconds - Glitter Heat Transfer Vinyl
- 330ºF for 20 seconds - Dark Fabrics Transfer Paper
- 390ºF for 40 seconds - Sublimation
I recommend checking your materials instructions to make sure they align with these settings. Use the recommended material settings if they recommend a different temperature and/or time.
The next button, the one with a cog, allows you to set your own presets. With a touch of a button, easily set the time and temperature settings used frequently.
Automatic Mode:
This is easily my favorite function of the Auto Heat Press!
The right button, the rotating circle with the A in the center, is how you turn the Automatic Mode on and off.
When the machine is in Automatic Mode, the top will lower and automatically press your project once the drawer has been pushed all the way in. Once the timer is up, the top will automatically lift, ending the press cycle.
This means you get more done without pushing lots of buttons in between!
When Automatic Mode is off, you will press the R (start) button. The press will still lower automatically and rise when the timer is done, but you will need to press that start button to begin any pressing with the machine.
To see the Automatic Mode in action, watch the video above.
Perfect Auto Pressure:
Your projects will always be applied with perfect pressure, and you will no longer have to mess with twisting dials and testing settings. The Perfect Auto Pressure will always be used with the HTVRont Auto Press. It is built into the machine.
I'll be showcasing that feature in my two projects below!
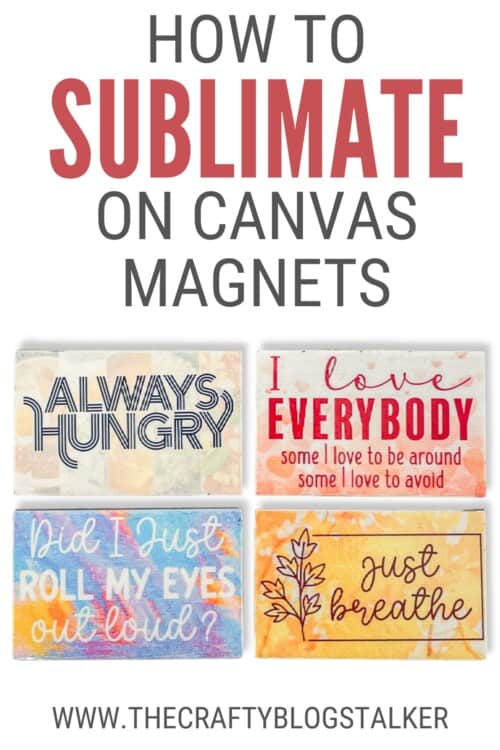
Sublimation on Magnets:
For our first project, I will sublimate on thin canvas magnets.
Supply List
- Magnet Designs PNG
- Magnetic Canvas Rectangles (1.75" x 2.75")
- Sublimation Printer
- Sublimation Paper
- Letter Size Laminating Pouch
- Heat Tape
- Craft Knife
- Scissors
- Printer Paper or Butcher Paper
- Self Healing Mat
- HTVRont Auto Press
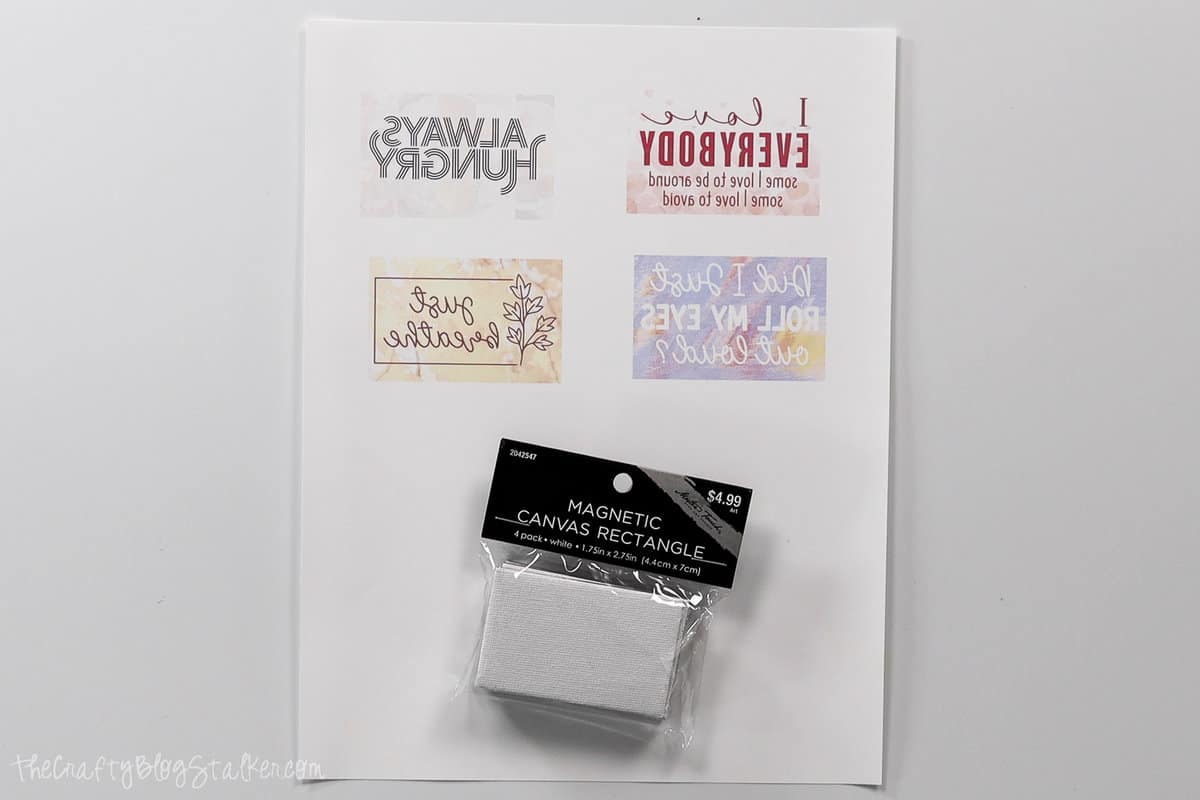

Measure and Print:
The first step in any sublimation project is to measure. You want to know the size to print the design.
My magnets measure 1.75 x 2.75 inches, which is the size that I printed for each magnet design.
Apply Laminate:
Sublimation needs a polyester coating for the ink to absorb. Since the canvas is cotton, we will first apply a layer of the laminate sheet onto the canvas magnets. Then, the sublimation ink can be absorbed into the laminate sheet.
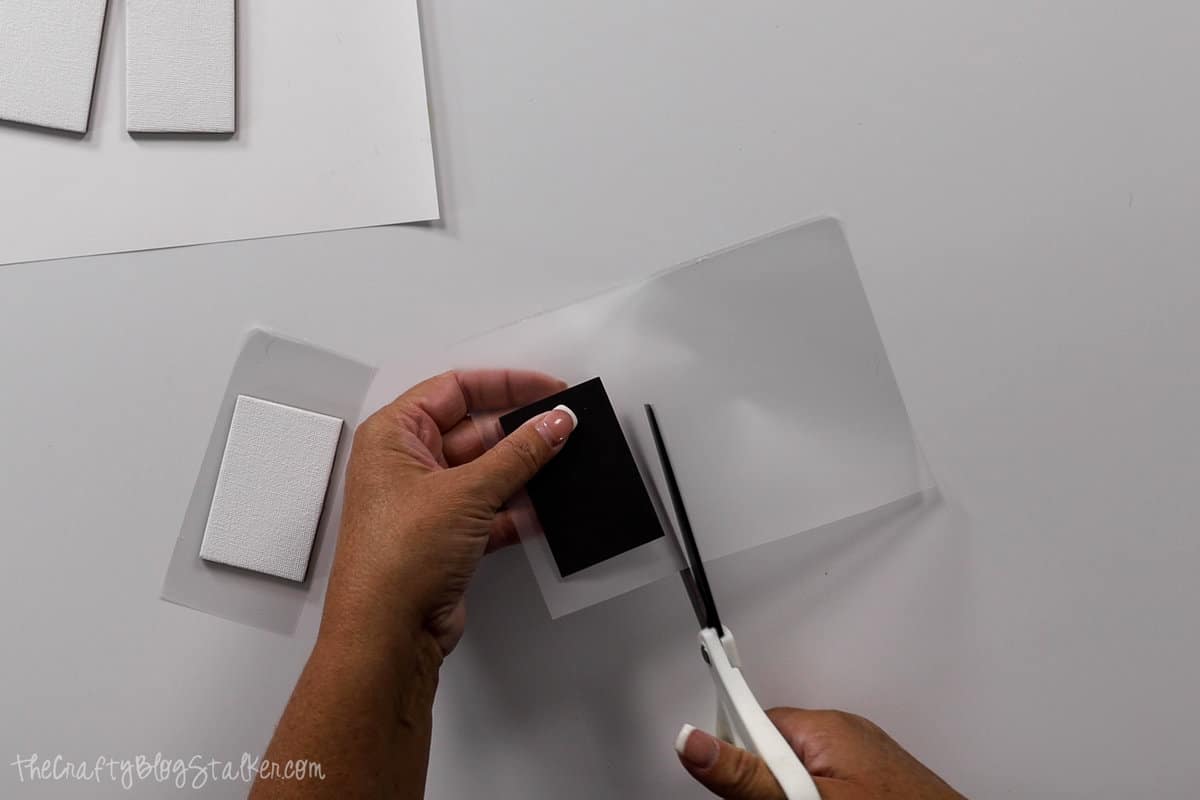
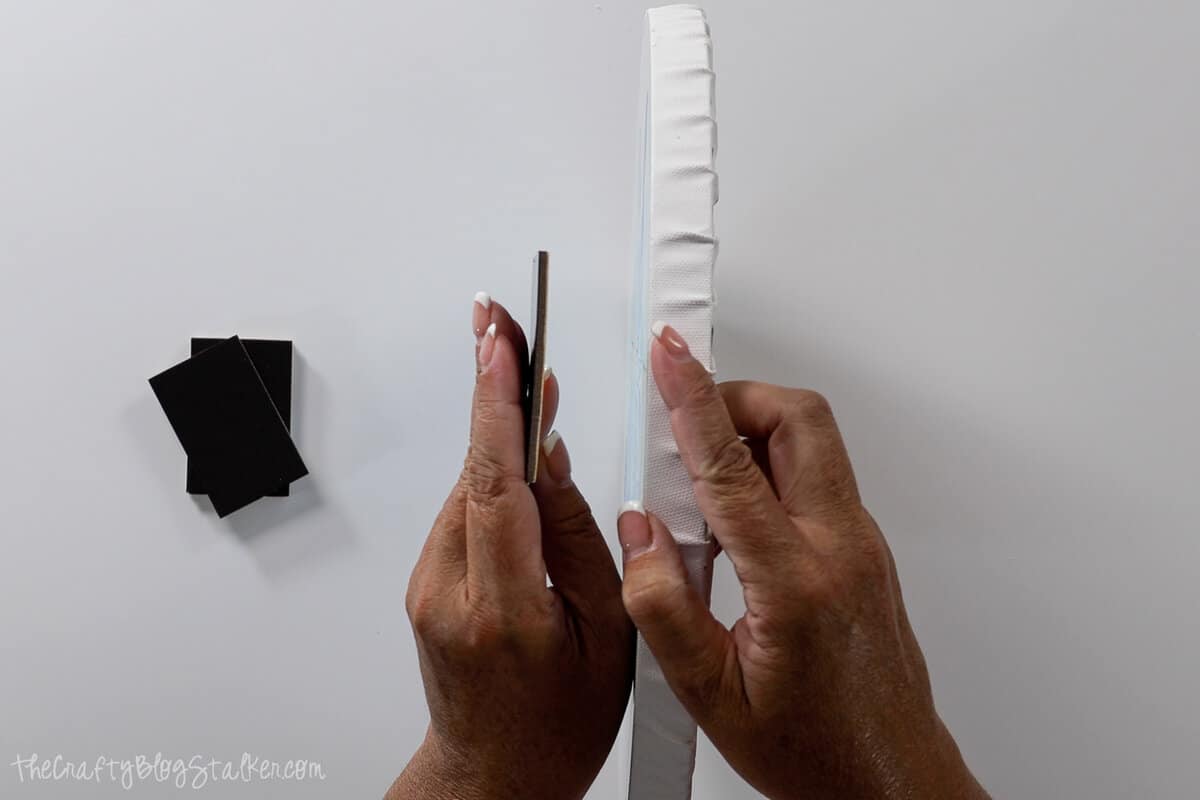
Each laminate pouch comes with two sheets attached at the top. Tear the two sheets apart. We will only use one of the sheets for this project.
Cut the laminate sheet into rectangles that are larger than the canvas magnets.
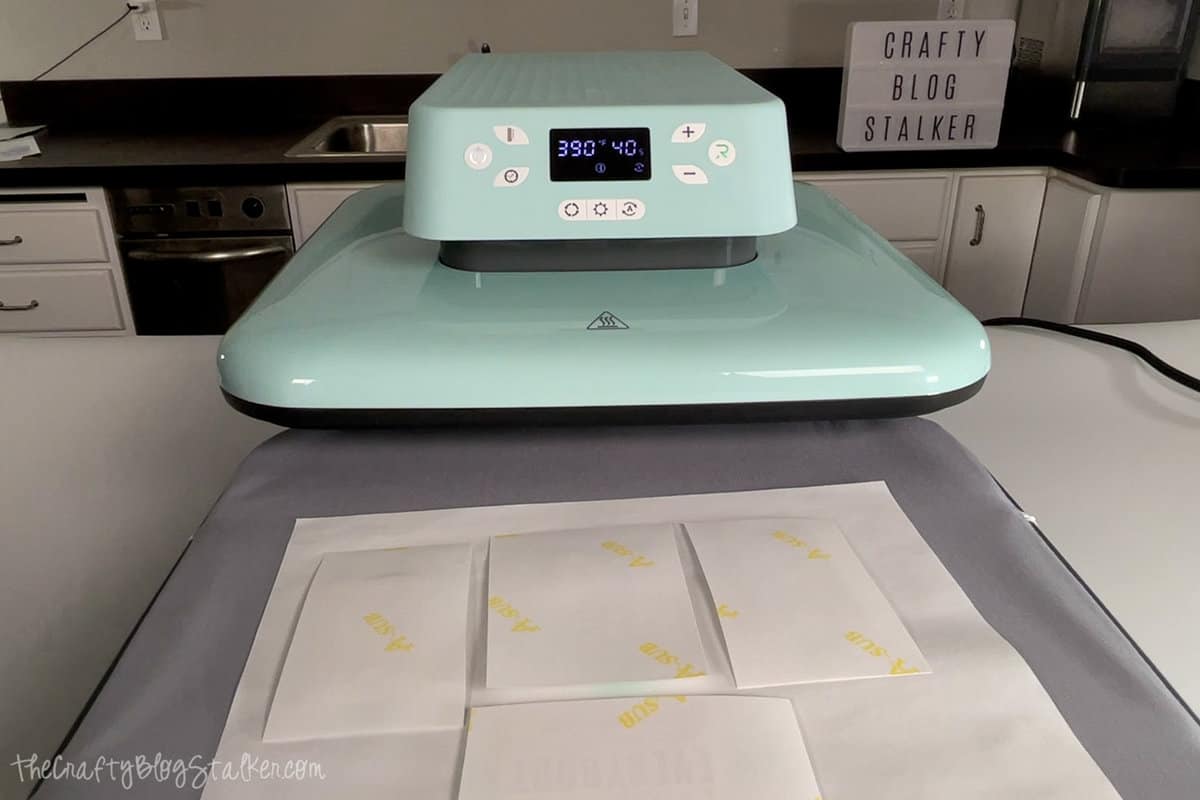
Go to the Auto Heat Press and select the 4th preset for sublimation.
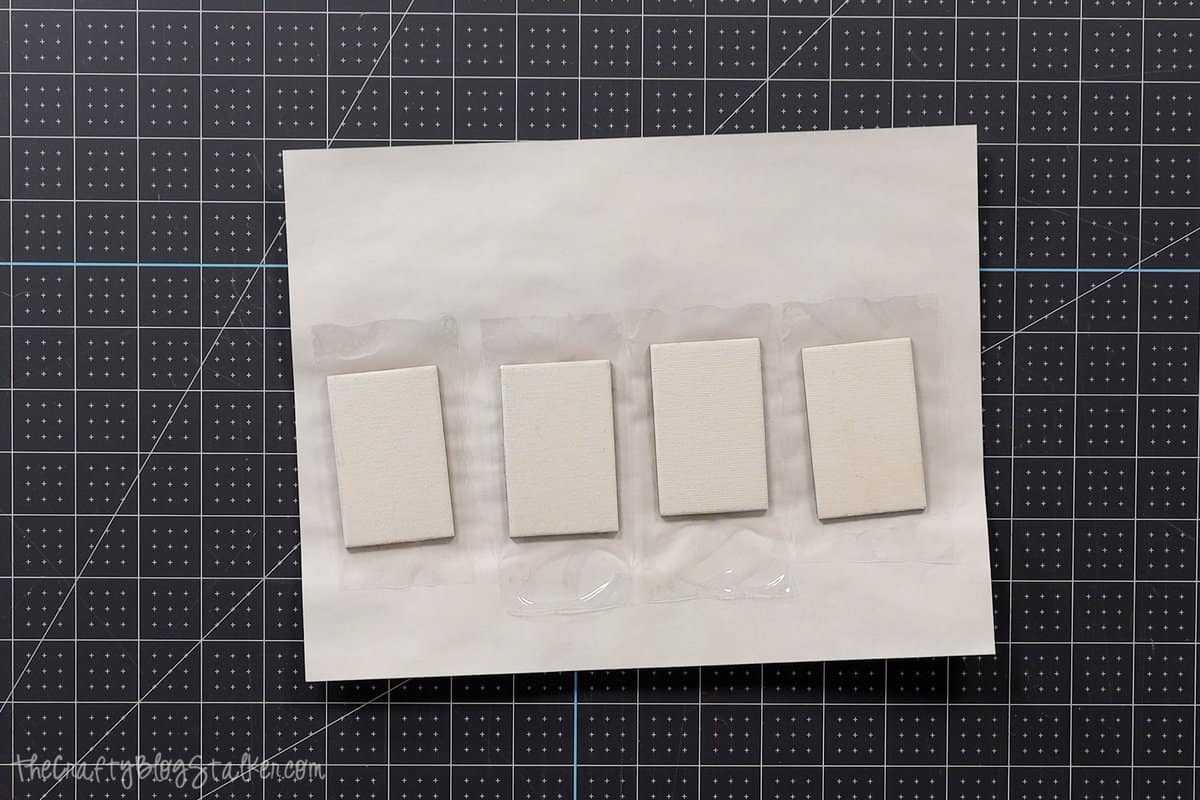
Pull out the drawer and first layer a sheet of printer paper. Place the canvas magnets on top of the printer paper with the canvas side up since the heating element is on the top.
On the laminate sheet, you can feel a smooth and slightly rougher side. The rougher side has the glue, so you'll want to place the rectangles of laminate onto the canvas magnets with the glue side down.
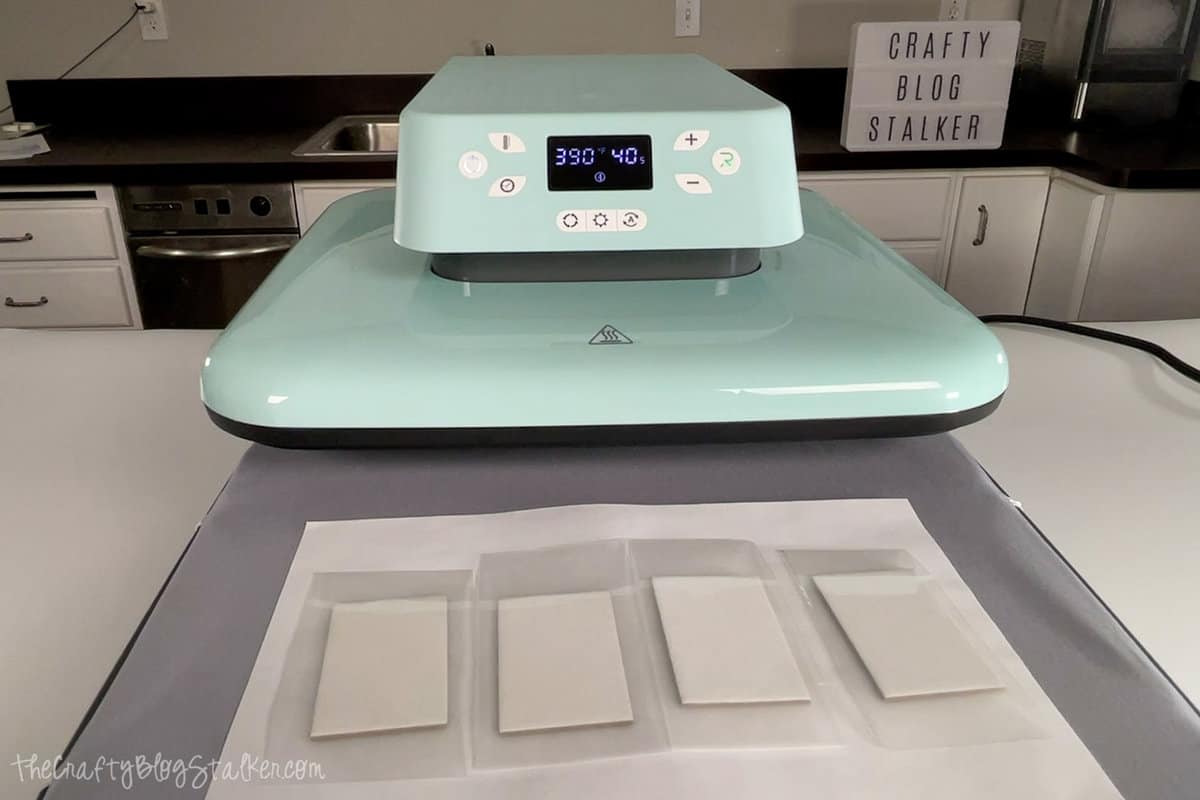
Layer another sheet of printer paper on top. Close the drawer. If you have the Automatic Mode set, the press will lower and begin to press. Otherwise, press the start button.
To adhere to the laminate, we only need to press for 20 seconds. You can either change the time or just watch and end the press when the timer reaches 20 seconds, which I did.
Take the sheet off the drawer and place it on a self-healing mat.
Cut the rectangles apart, and then, using a craft knife, trim the laminating sheet to the four edges of the canvas magnets.

Sublimate:
Cut the four designs apart on your sublimation print.
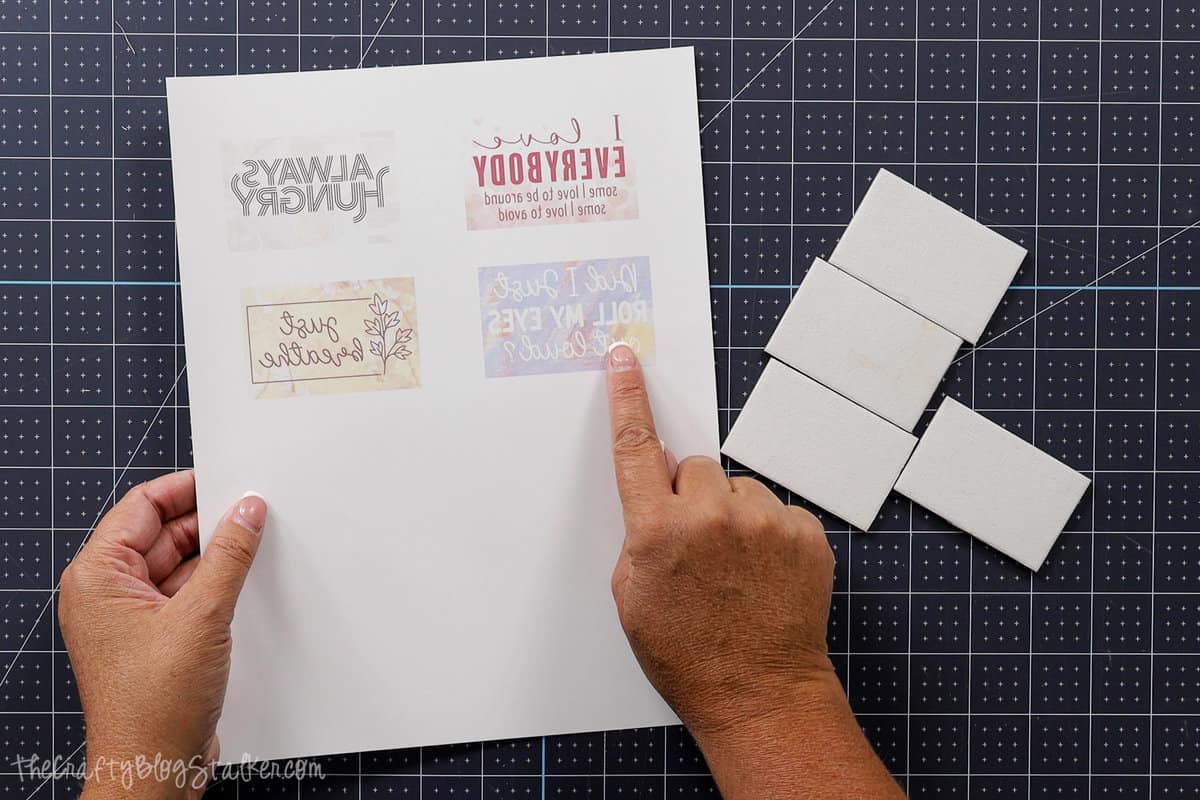
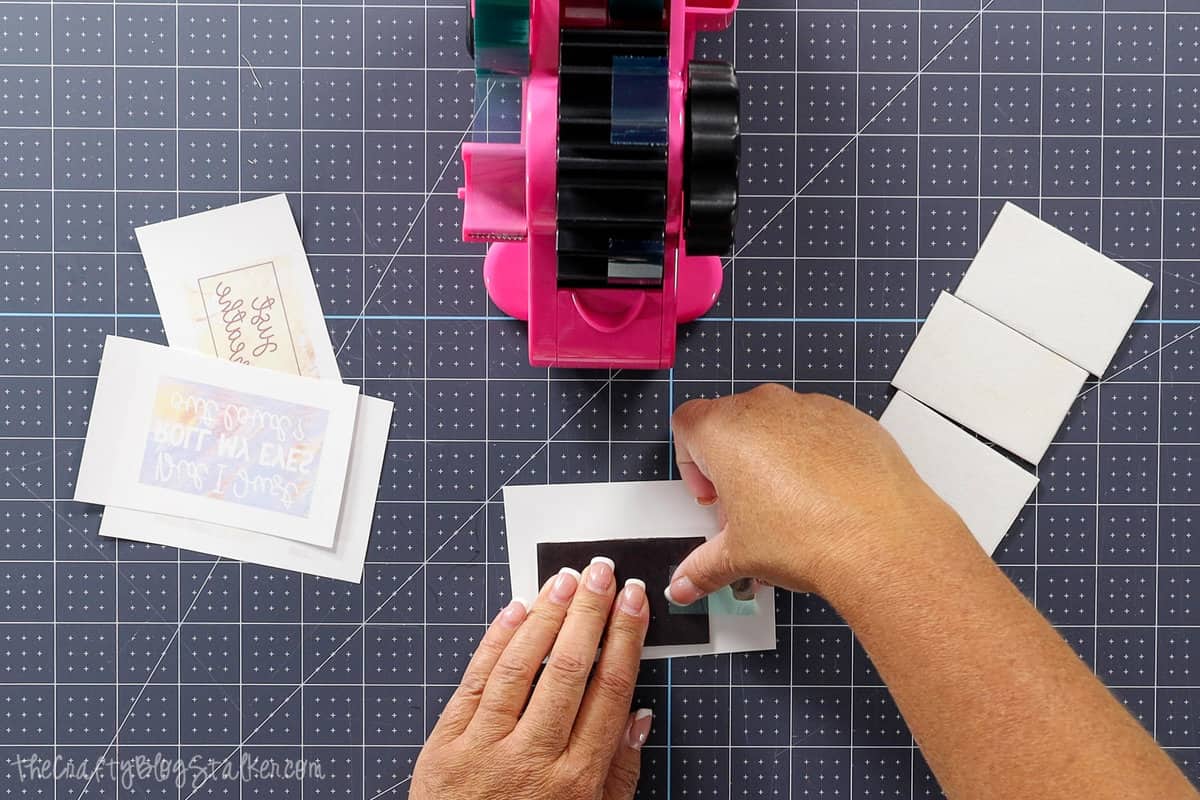
Place magnets on the design canvas first. Center the magnet on the design, and then use heat tape to attach the print to the magnet.
Pull out the drawer on the HTVRont Auto Press, and again, begin layering with a piece of printer paper. Place the magnets on top of the paper with the canvas side up.
Add a top layer of another sheet of printer paper, and press for the full 40 seconds.
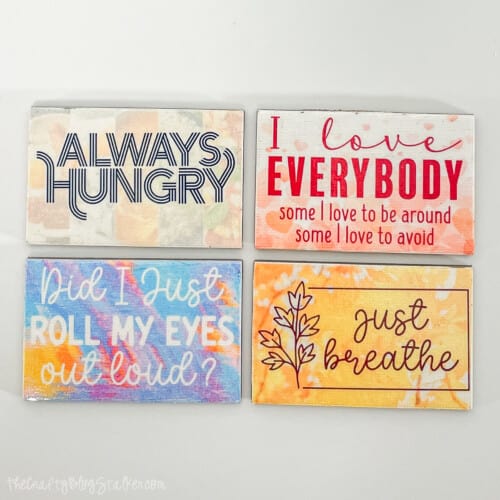
Once cool, you can peel back the print to reveal your fun new magnets!
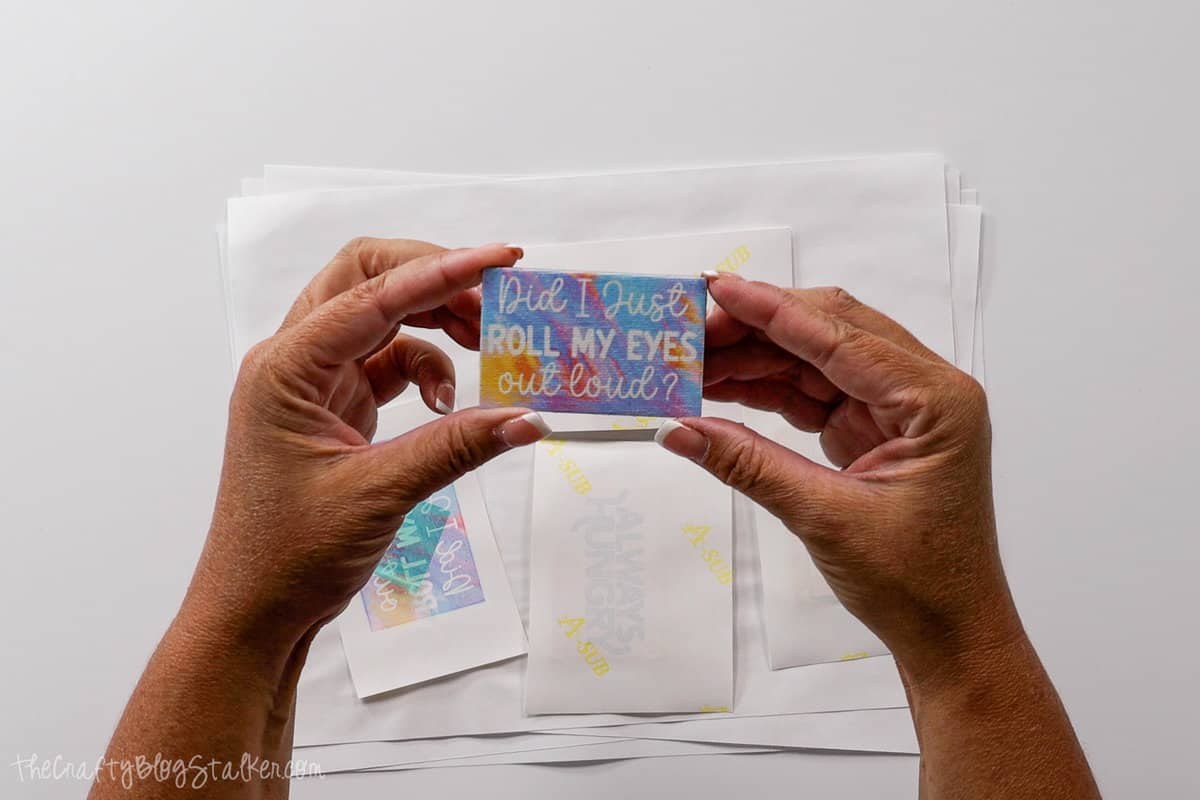
They each turned out so cute!
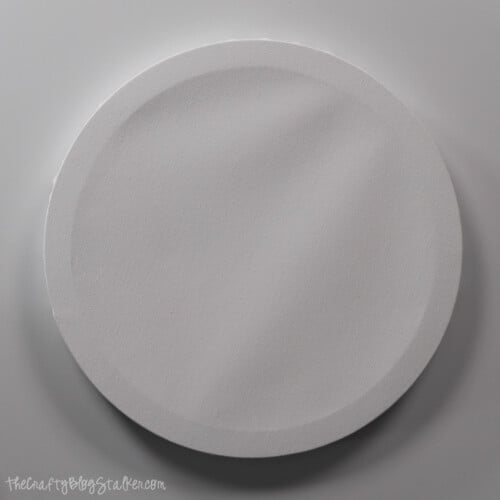
Sublimation on a Framed Canvas:
Our next sublimation craft will be on a framed canvas to show how the Auto Press handles thicker projects.
Supply List
- Blue Watercolor Flower Design PNG
- 12" Round Framed Canvas
- 3 - 6, 10" Wood Rounds
- Sublimation Printer
- Sublimation Paper
- Letter Size Laminating Pouch
- Heat Tape
- Craft Knife
- Scissors
- Paper Trimmer
- Butcher Paper
- Self-Healing Mat
- HTVRont Auto Press

Measure and Print:
The first step in any sublimation project is to measure. You want to know the size to print the design.
My circle canvas has a 12-inch diameter, so I printed the watercolor design at that size. However, a printer that only prints 8.5 x 11 requires you to tile the print in a program like Adobe Illustrator to get a finished print at the needed size.
I discuss this process more in my Personalized Front Door Mat tutorial. If you need more information, I suggest you check it out.
Sturdy the Canvas:
On a framed canvas, only the edges are supported with a frame.
To apply proper heat for sublimation, you need even pressure over the entire surface, and since the center of the canvas has no support, it won't get proper pressure.
There are two options to fix this issue.
- Remove the canvas from the frame before pressing.
- Fill the center unsupported area so the entire canvas gets even pressure.
Since I am trying to show you the thickness differences between projects, I don't want to do option 1. Instead, we are going to do option 2.
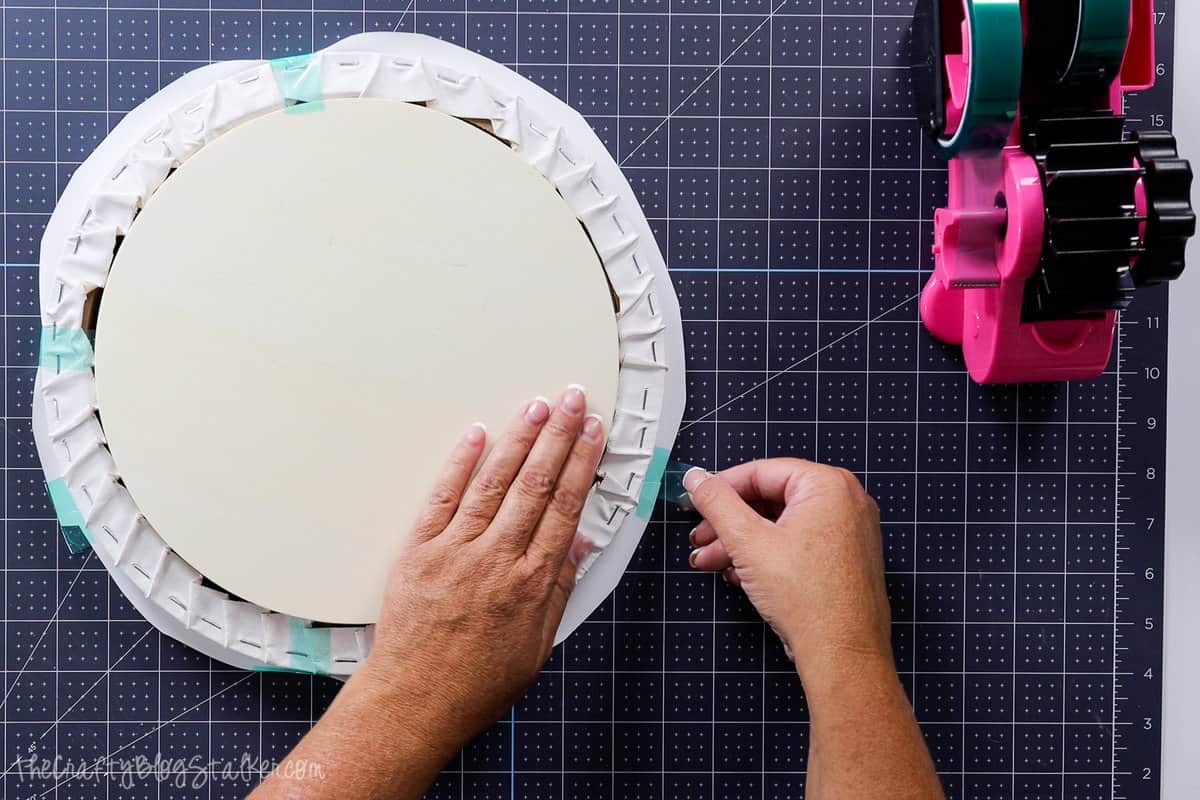
The inside circle of my canvas measured almost perfectly at 10 inches. To fill the gap, I placed 6 10-inch wood circle rounds in the back center of the canvas.
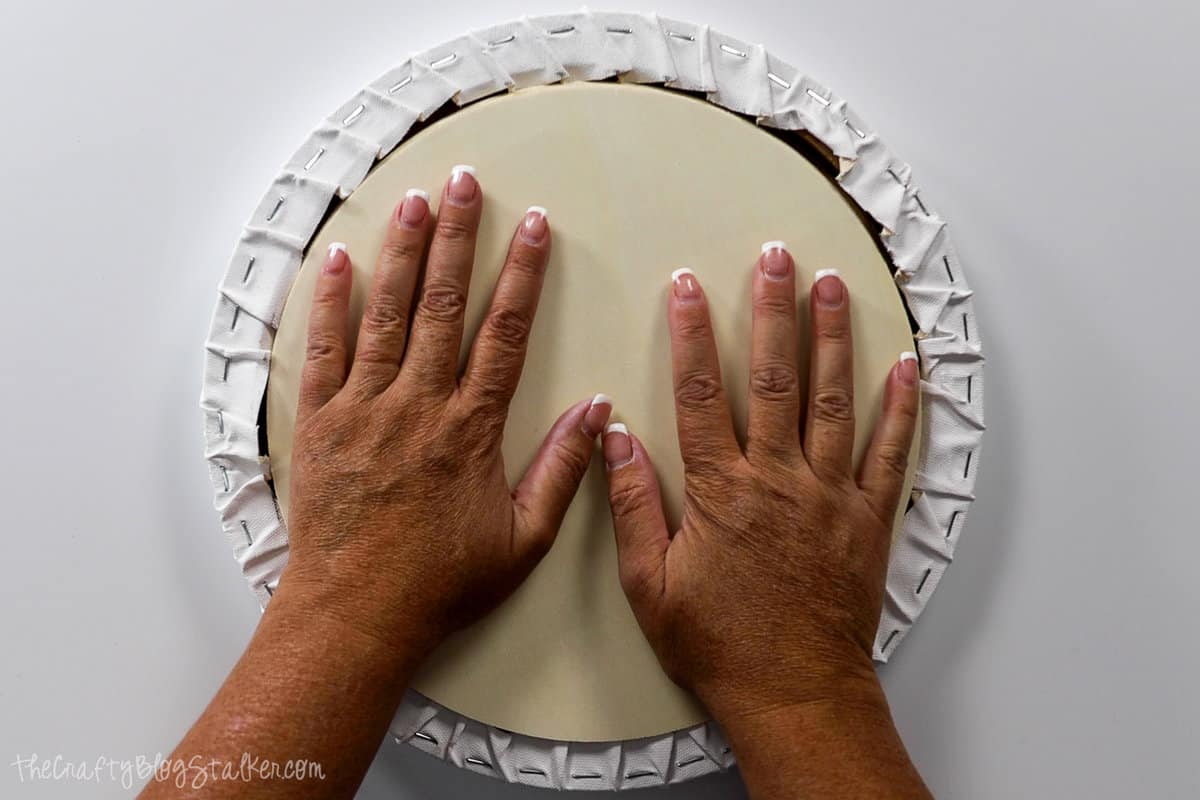
Make sure to measure your own canvas before purchasing wood rounds. Yours could be different!
Apply Laminate:
Sublimation needs a polyester coating for the ink to absorb. Since the canvas is cotton, we will apply a laminate layer to the magnets. Then, the sublimation ink can soak into the laminate sheet.
Each laminate pouch comes with two sheets attached at the top. Tear the two sheets apart and cut one of them lengthwise about 3 inches wide.
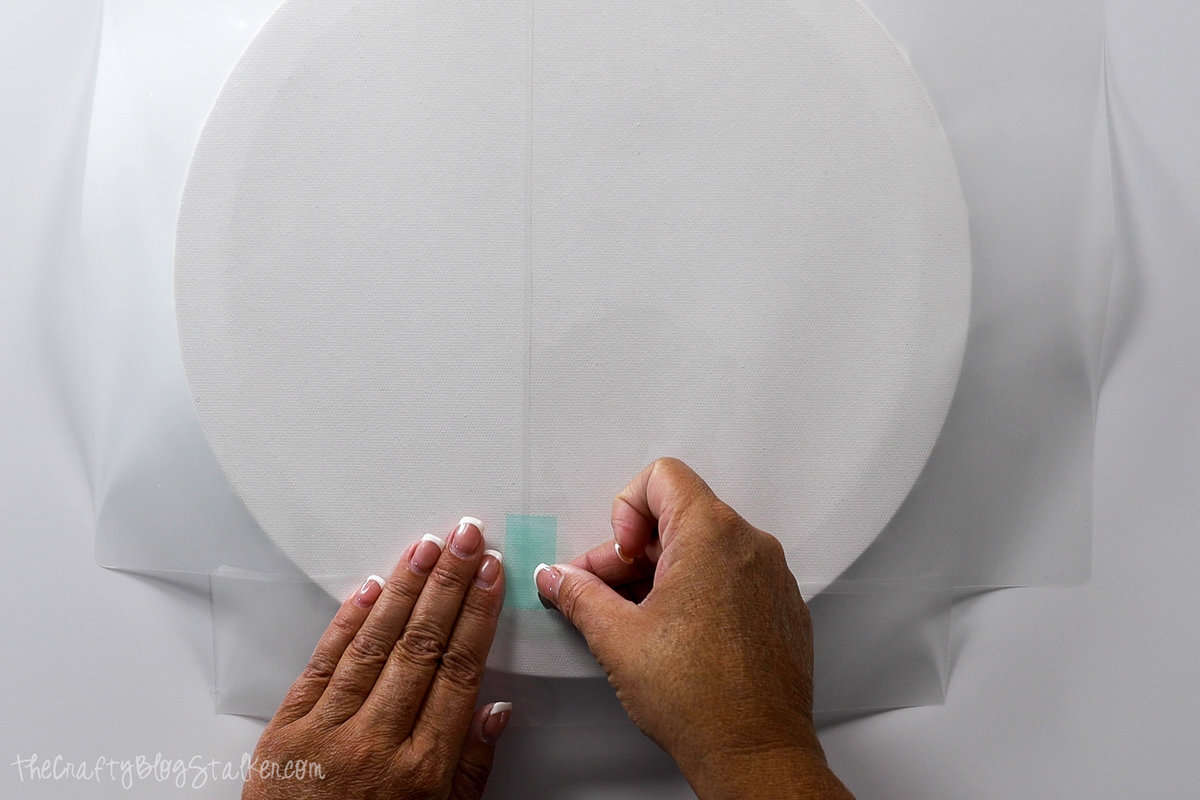
Layer the laminate sheets so they cover the entire circle canvas. Each sheet should overlap the other by about ⅛ inch.
On the laminate sheet, you can feel a smooth and slightly rougher side. The rougher side has the glue, so you'll want to place the laminate sheets onto the canvas with the glue side down.
You can secure the laminate sheets with a strip of heat tape if you like
Trim the laminate sheet around the circle canvas.
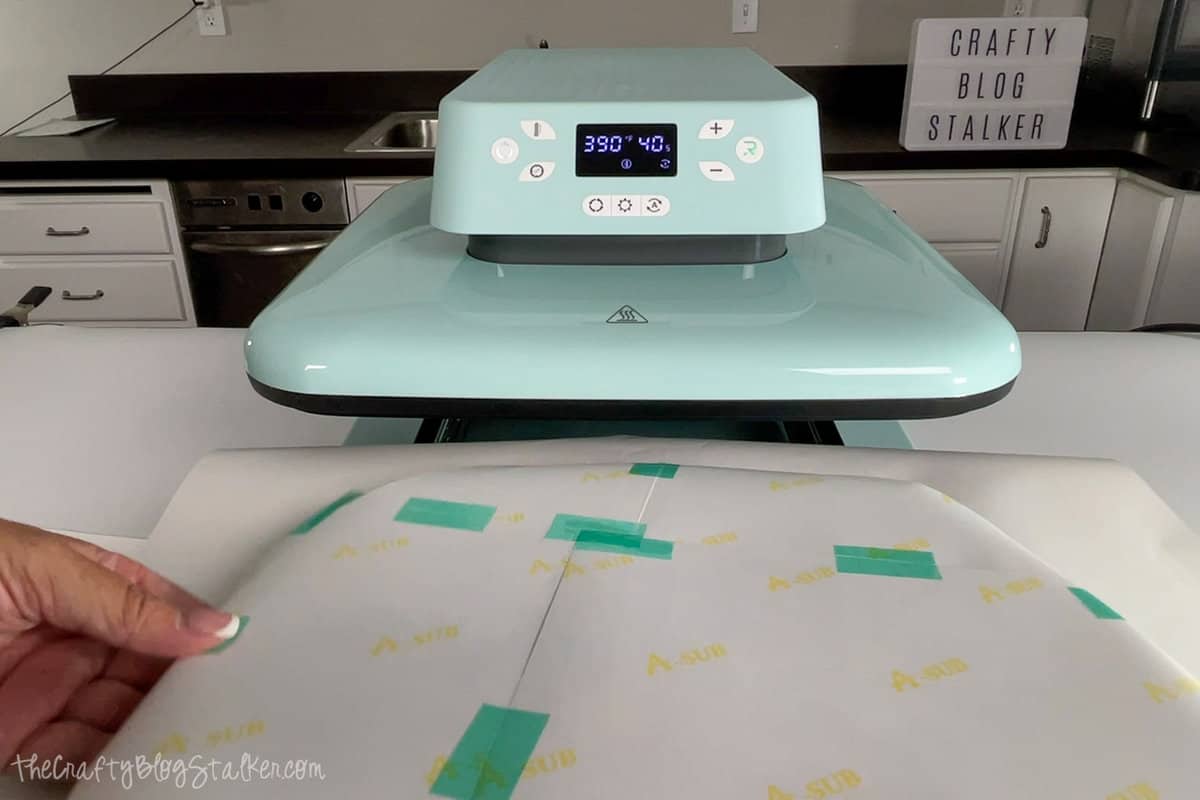
Go to the Auto Heat Press and select the 4th preset for sublimation.
Pull out the drawer and first layer a sheet of butcher paper. Place the canvas on top of the butcher paper with the canvas side up since the heating element is on the top.
Layer another sheet of butcher paper on top. Close the drawer. If you have the Automatic Mode set, the press will lower and begin to press. Otherwise, press the start button.

You only need to press for 20 seconds to adhere to the laminate. You can either change the time or just watch and end the press when the timer reaches 20 seconds, which I did.
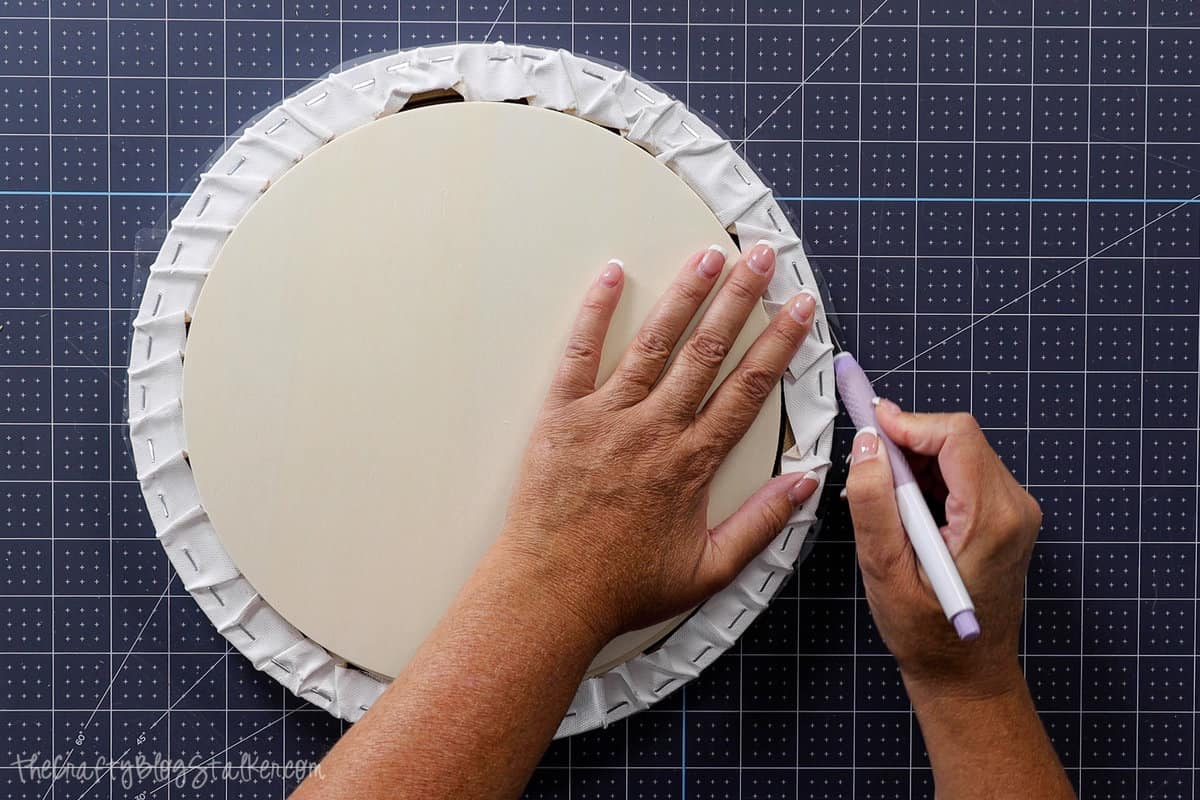
Take the canvas off the drawer and place it on a self-healing mat.
Using a craft knife, trace the edge of the canvas, removing the excess laminating sheet.
Sublimate:
Trim the sublimation prints and tape them together with heat tape.
Trim around the circle with a pair of scissors.
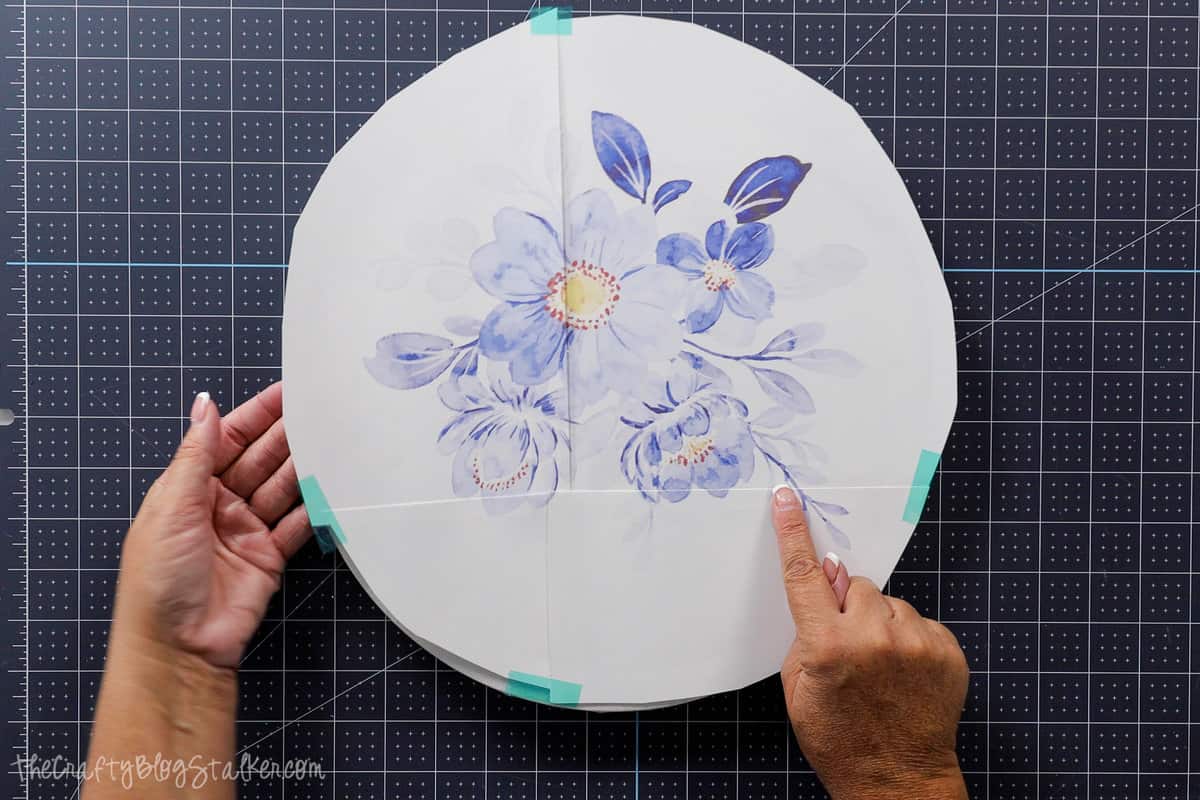
Place the circle canvas down onto the design. Center the canvas onto the design and then tape the print to the canvas using heat tape.
Pull out the drawer on the HTVRont Auto Press and begin layering again with a piece of butcher paper. Place the canvas on top of the paper, canvas side up.
Add a top layer of 2 sheets of butcher paper and press for 80 seconds. I did this with just two rounds of 40 seconds.
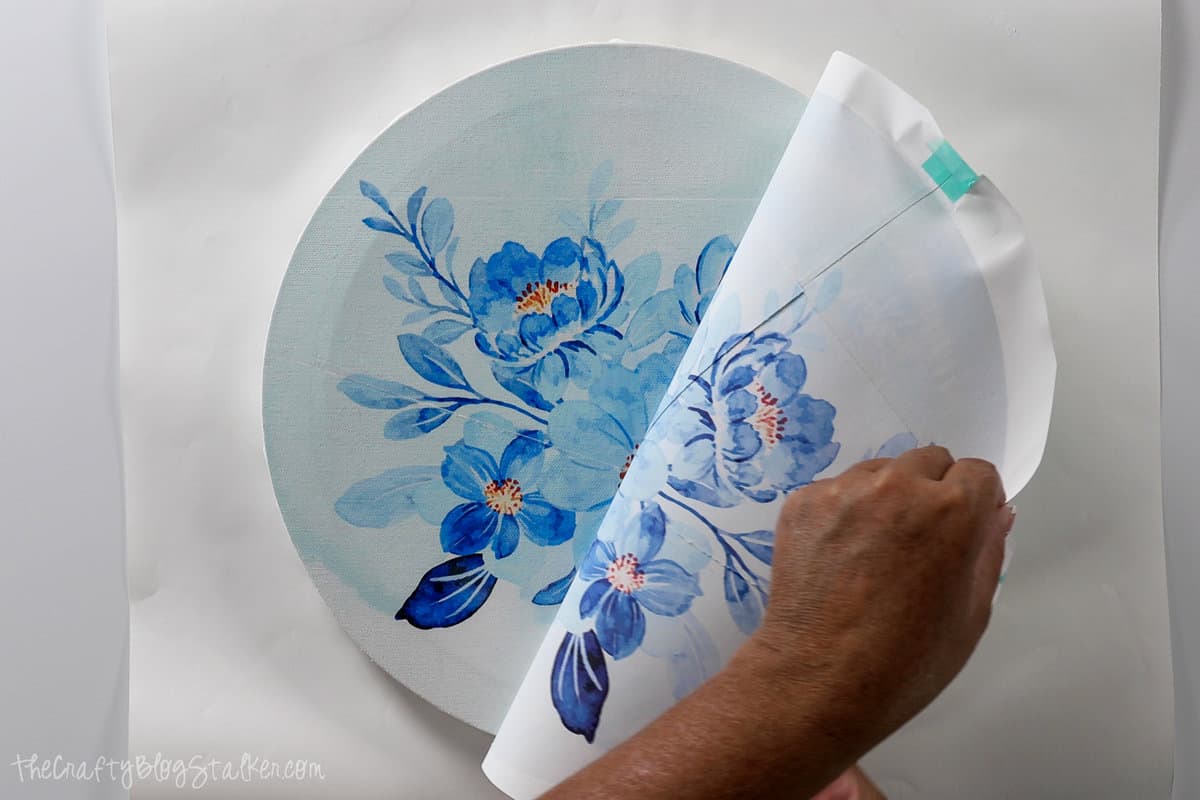
Once cool to the touch, you can peel back the print to reveal your beautiful watercolor canvas print!
Now, you can also remove the wood rounds from the back. You no longer need them.
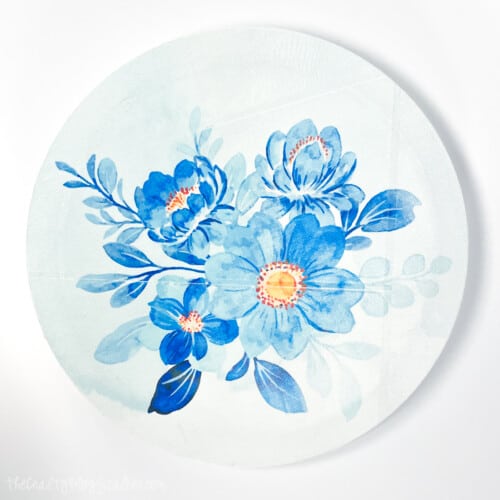
Isn't it beautiful? I have another project in mind for this canvas, so stay tuned!
Differences in Thicknesses:
We finished both of our projects, and they each turned out beautifully!
Want to see the difference in how thick they each are?
Isn't that awesome?
Even though the thicknesses of both of these projects were very different, the HTVRont Auto Press handled them without a problem!
My Review of the HTVRont Auto Press:
I have to say, I give this press a 10 out of 10. I cannot think of anything they could have done better!
My favorite features are the 4 presets, the auto pressure, and the automatic setting.
But my favorite has to be the price!
I can't believe this machine will retail for only $279, especially when other presses on the market retail for $1000+!
What is your favorite feature? I'd love for you to share in the comments below.
VIKKI sue HOHMAN
Is there a turn off button for the green flashing key light? I mean everything is off on the machine but that one button keeps flashing. is this normal?
Katie Adams
HMMM That doesn't sound right to me. You may want to reach out to HTVRont.