This post may contain affiliate links. For more information, please see our disclosure policy.
Discover how to create personalized Christmas ornaments with our guide on three simple sublimation techniques for wood. Ideal for holiday crafting! This post contains affiliate links.
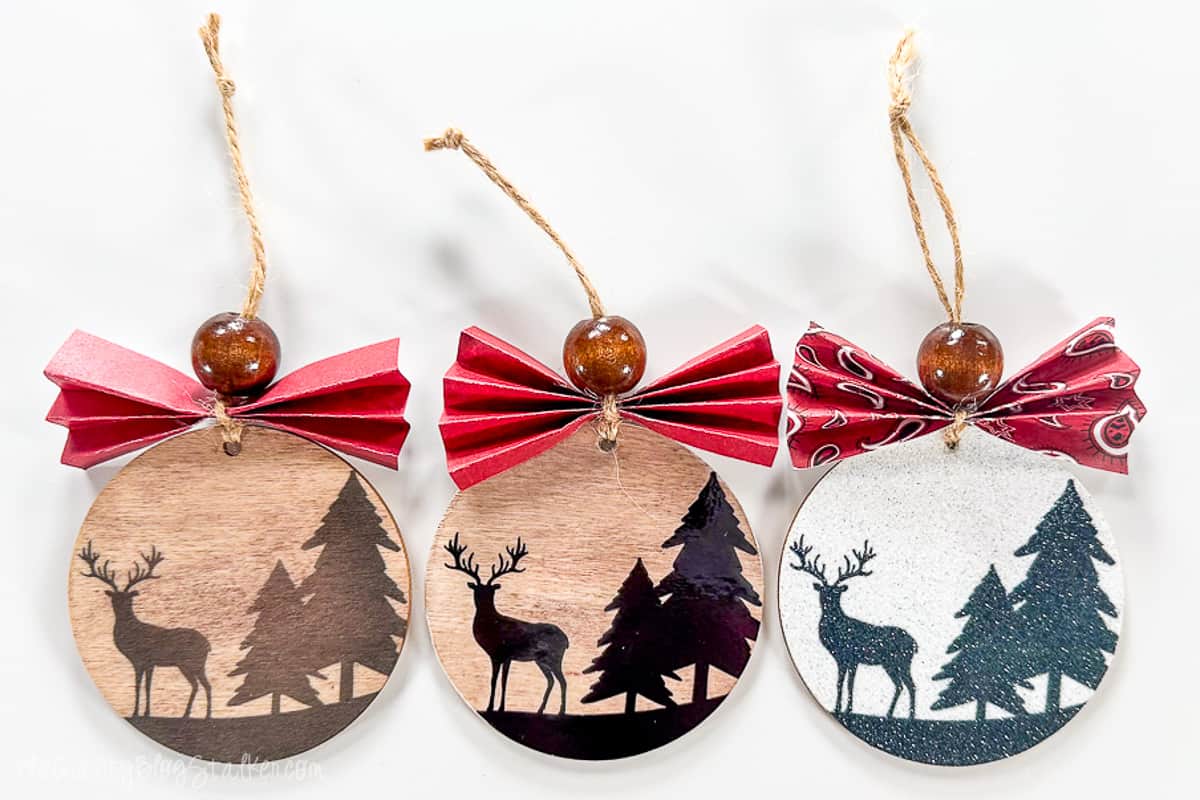
Today, we're stepping into the enchanting realm of sublimation to craft unique wooden Christmas ornaments you'll treasure.
Whether you call it Sublimation or Infusible Ink (Cricut's branded name for the same thing), the end result is equally magical.
I'll guide you through three super simple techniques to make your DIY ornaments stand out this holiday season.
So gather your sublimation or Infusible Ink supplies, and let's dive into some festive crafting!
Craft Video Tutorial:
Like videos? I have a video tutorial for you! Subscribe to my YouTube Channel so you don't miss any future videos!
Supply List:
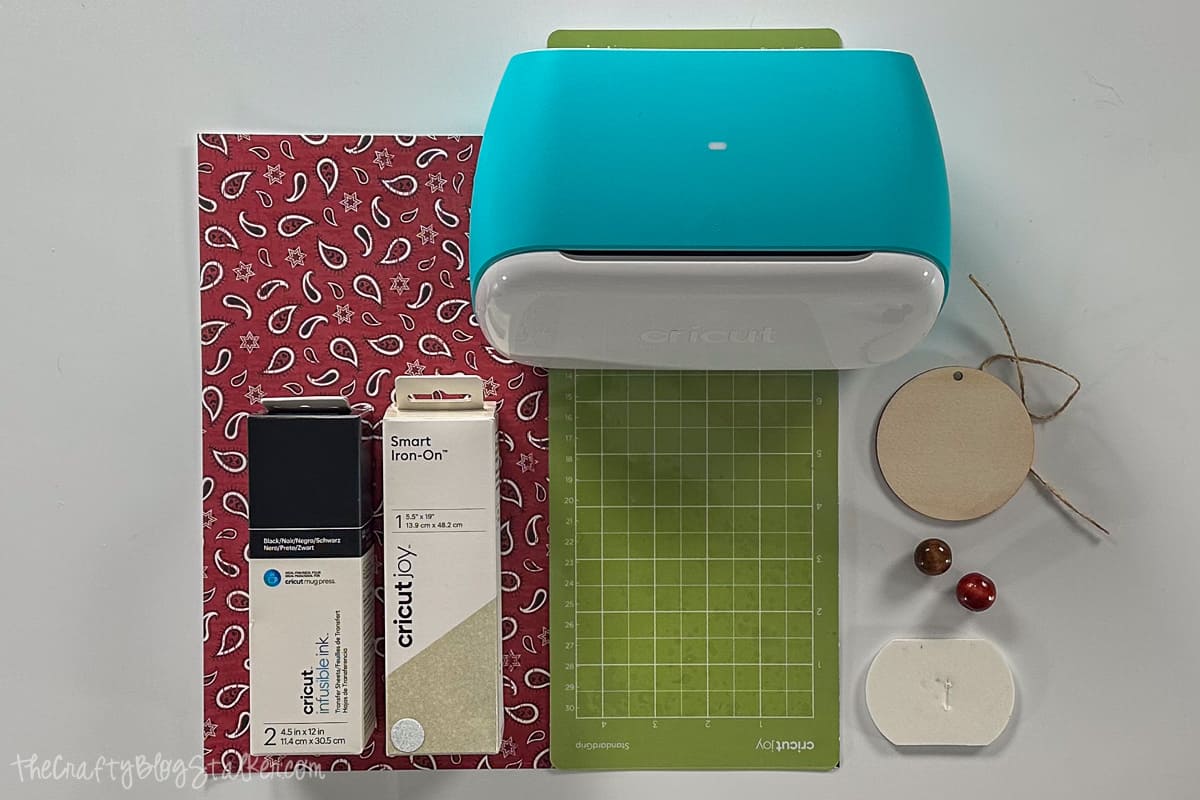
- Winter Scene Ornament SVG
- Cricut
- StandardGrip Mat
- Black Infusible Ink
- Butcher Paper
- EasyPress Heat Press
- EasyPress Mat
- Blank Wood Round Ornament
- Twine
- Wood Bead
- Matching Pattern Paper
- Paper Trimmer
- Craft Knife
- Sanding Block
- Glitter Iron-On (optional)
- French Roast Color Wash Tint (optional)
- Laminate Sheet (optional)
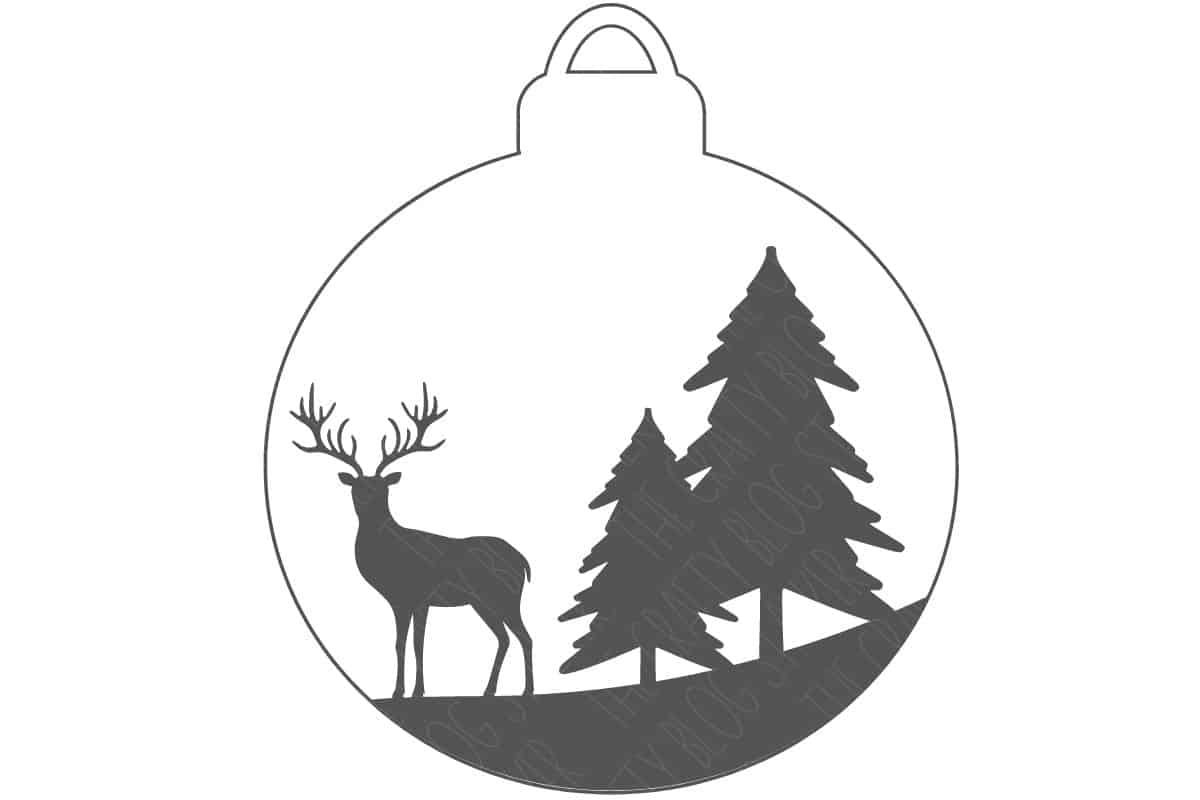
Free SVG File:
I am going to use the same SVG design for all of the ornaments so you can really see how the different methods look.
You can use it too. I have made it available to download for free!
Cricut Design Space:
Upload the SVG into Cricut Design Space.
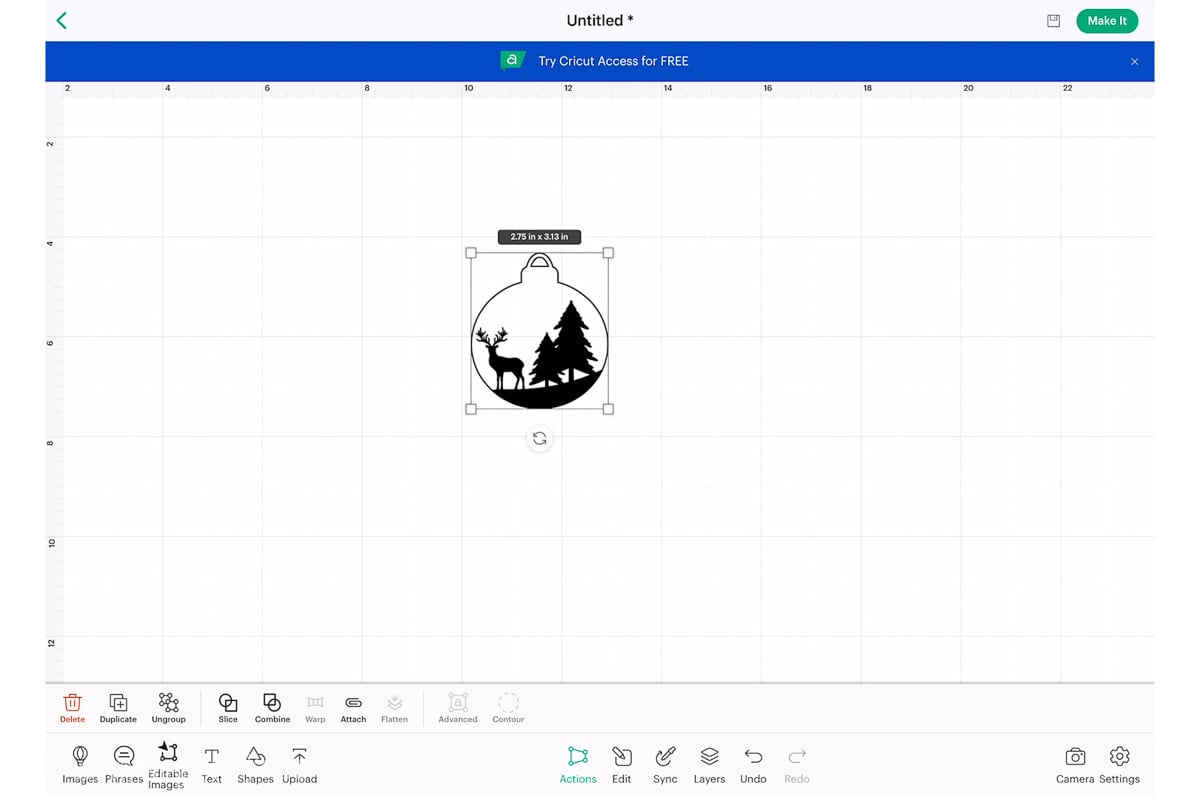
In the Layers Panel, you can see that this design consists of two layers.
The ornament shape and the winter scene silhouette.
Delete or hide the ornament shape so you are only left with the silhouette design.
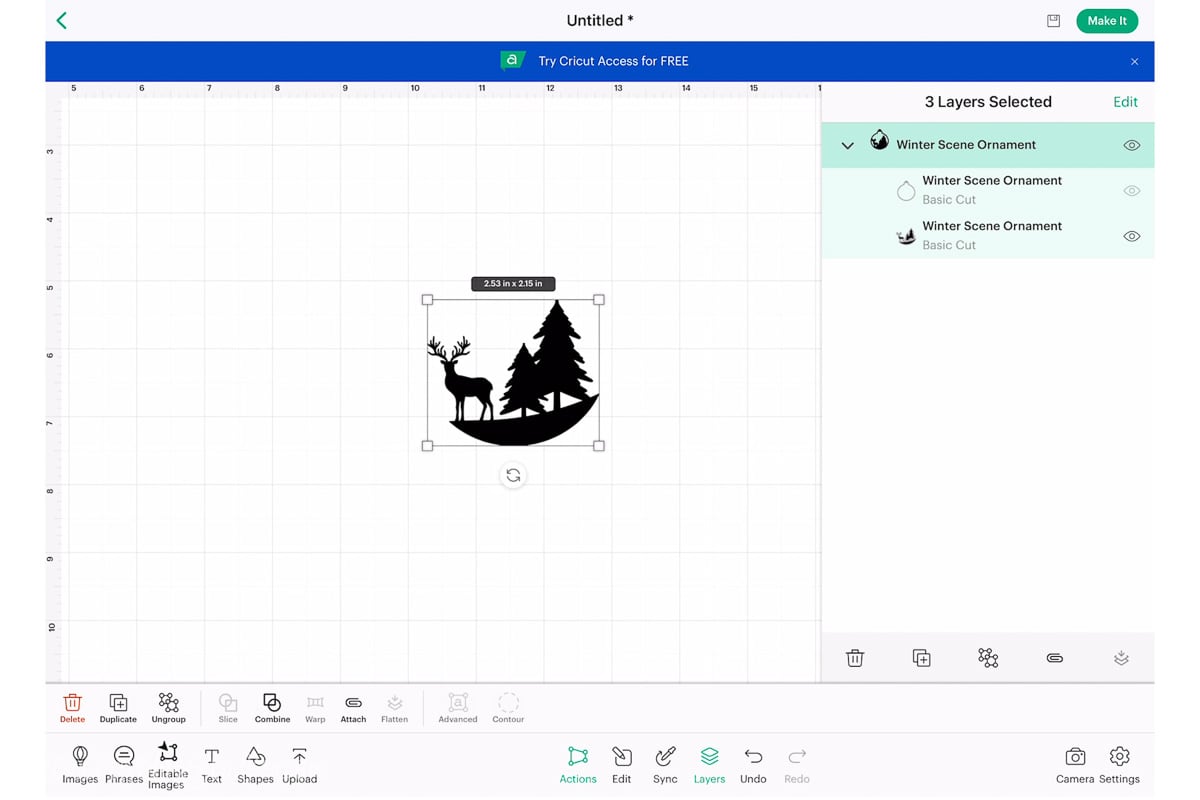
Measure the diameter of your blank wood round, and size the design 1/10 higher.
So if the diameter of your wood round is 2.5 inches, size the design to have a width of 2.6 inches.
Select 'Make It' to send the design to be cut.
On the first Mat Preview Page make sure to mirror the design, and if you want you can change the number of project copies. Since I am showing three different methods, I am cutting 3 projects.
Then I can move and rotate the designs to take up less space on my mat so I won't waste any of my Infusible Ink Sheet.
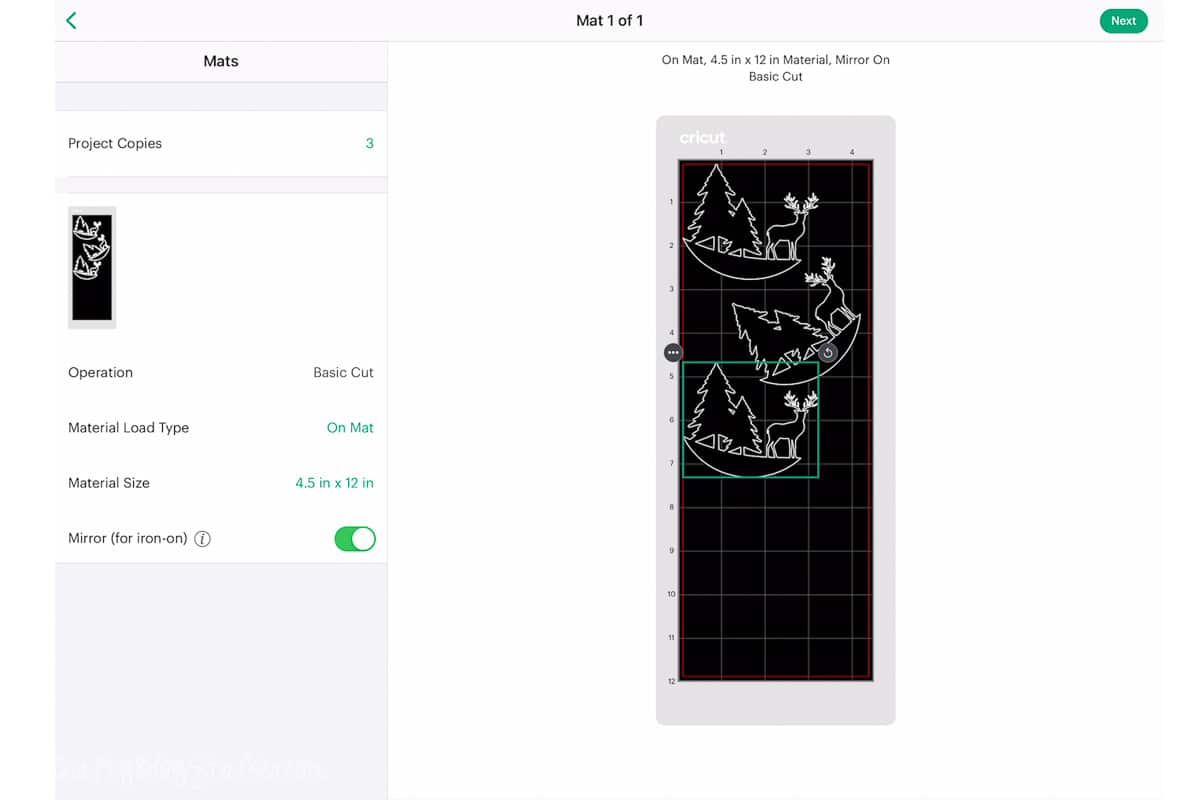
Select Infusible Ink as your material and send it to your Cricut to cut.
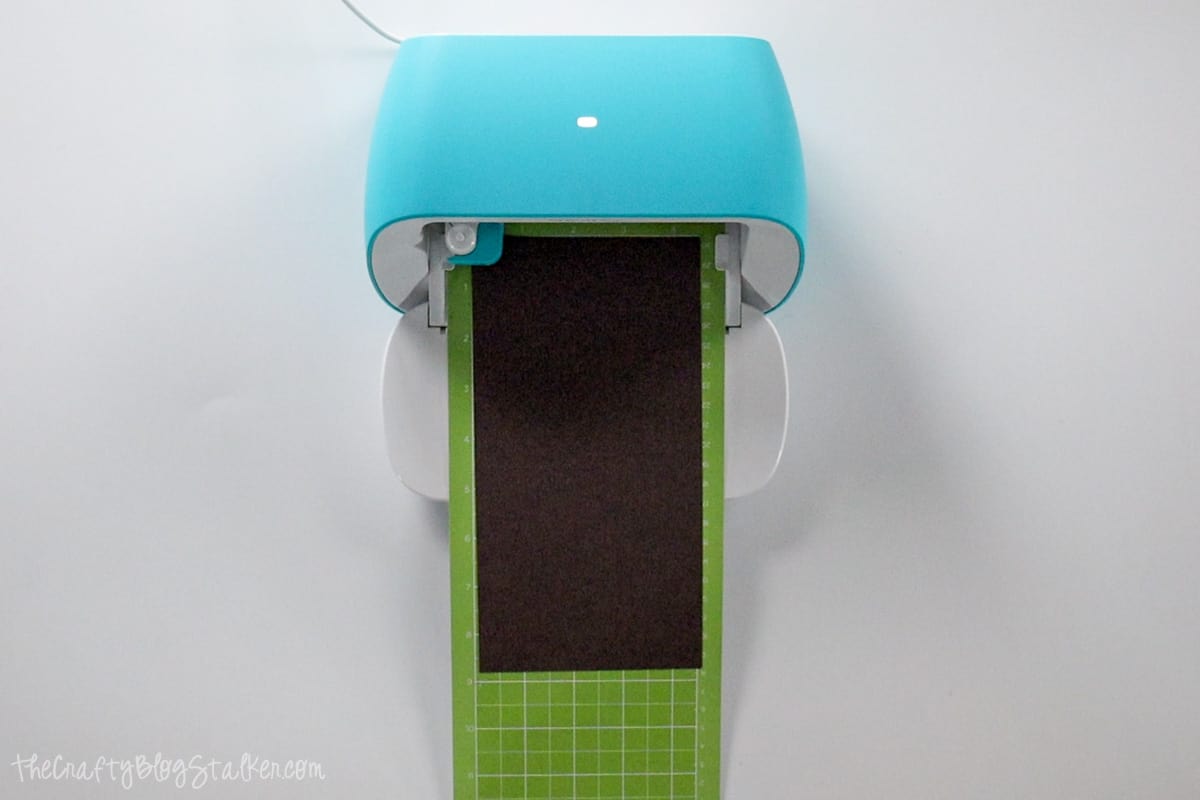
Weeding Infusible Ink:
To remove the sheet from the StandardGrip mat, turn it upside down so the Infusible Ink is touching the table.
Pull the mat back removing the mat from the sheet. This stops your material from curling as much,
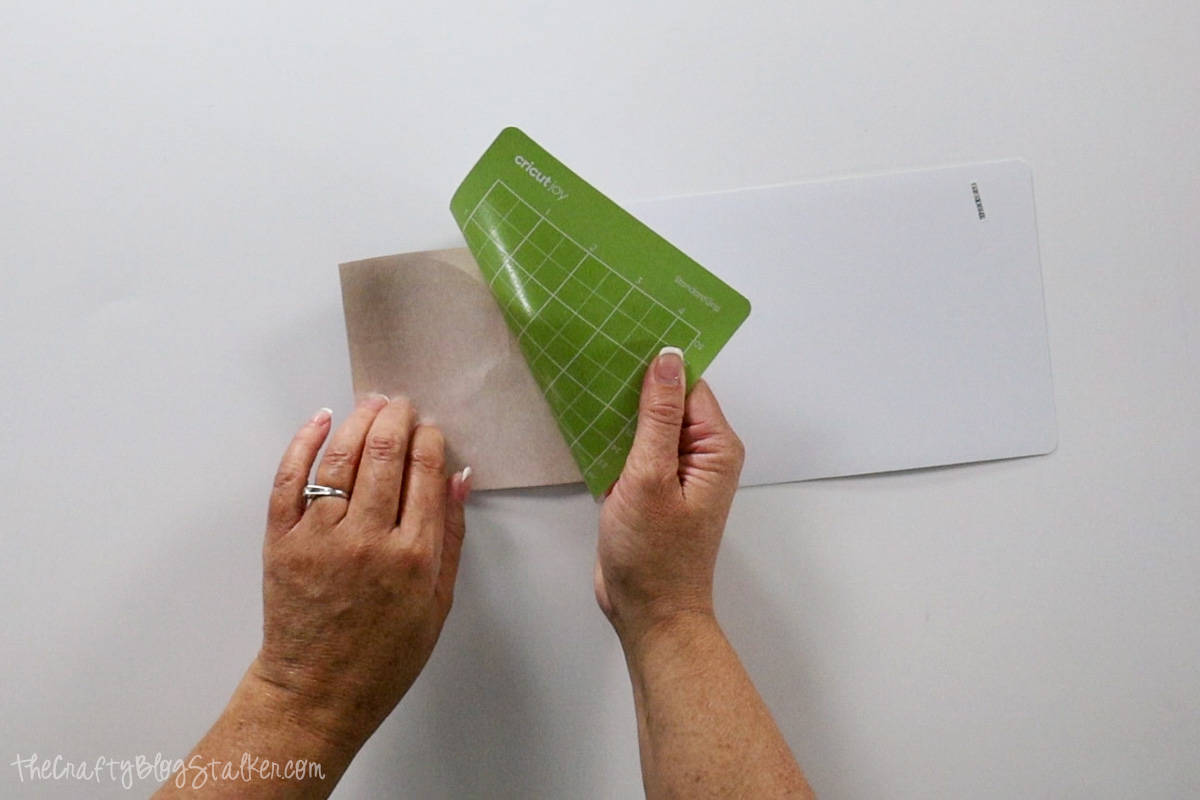
This stops your material from curling as much and is how you should remove all materials from the mat.
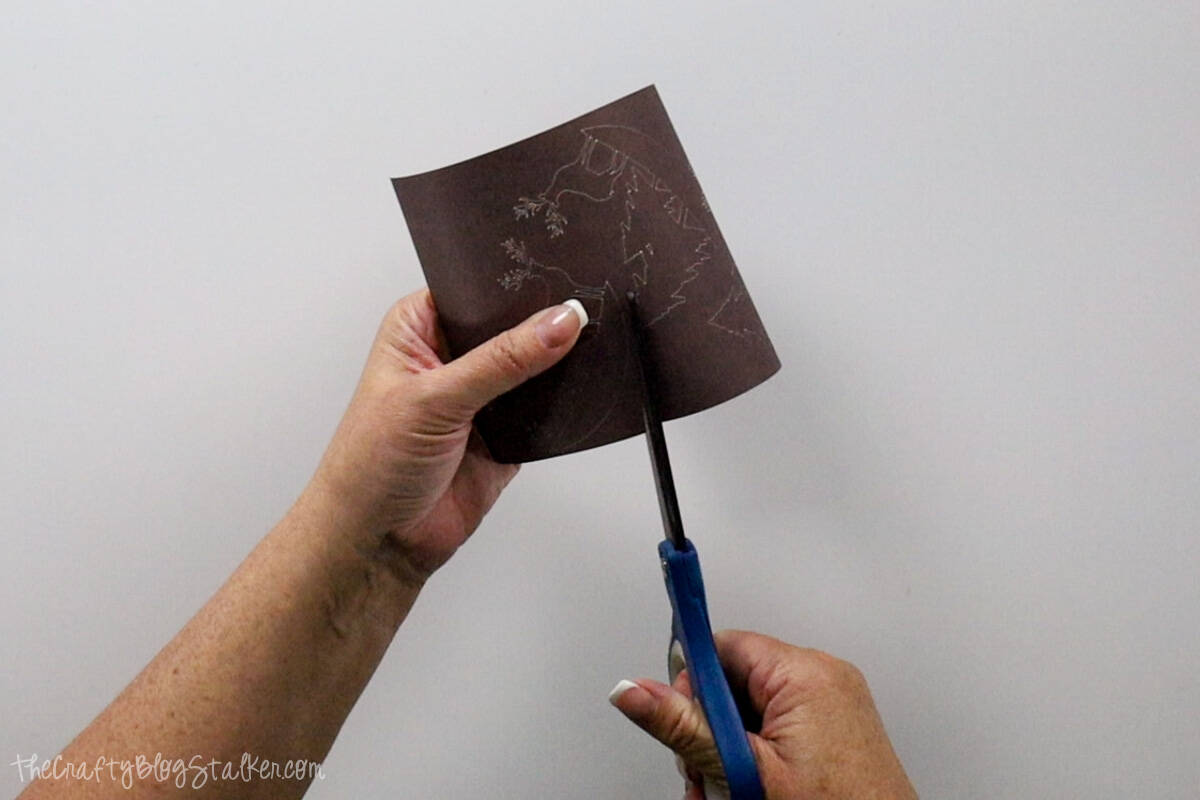
Cut the design pieces from the sheet with a pair of scissors.
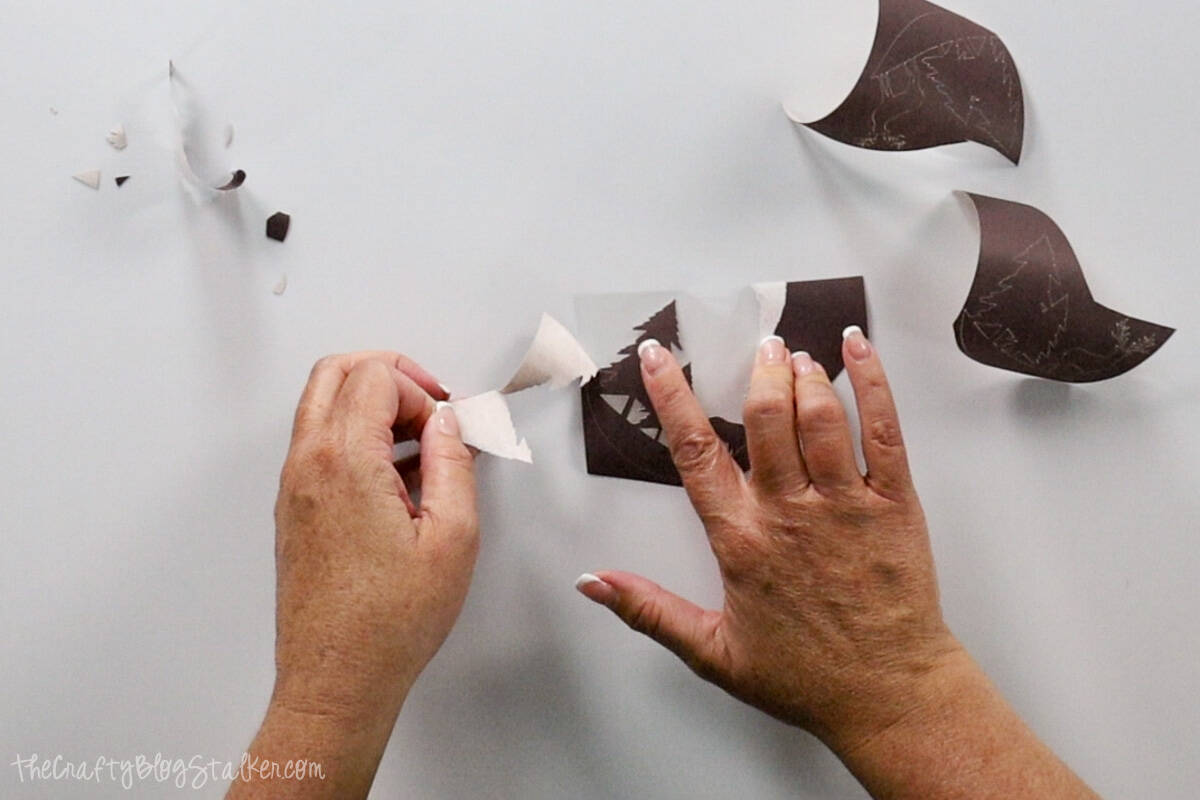
Then weed each individual design.
Sublimate on Glitter Iron On:
For our first technique, we are going to sublimate on Glitter Iron On.
Sublimation requires a polyester coating for the ink to absorb into, and glitter is polyester. That is how this method works!
Using the Cricut Heat Guide, I knew I needed to heat my EasyPress to 300º F for 40 seconds.
I cut a rectangle of White Glitter Iron-on just slightly larger than my wood blank.
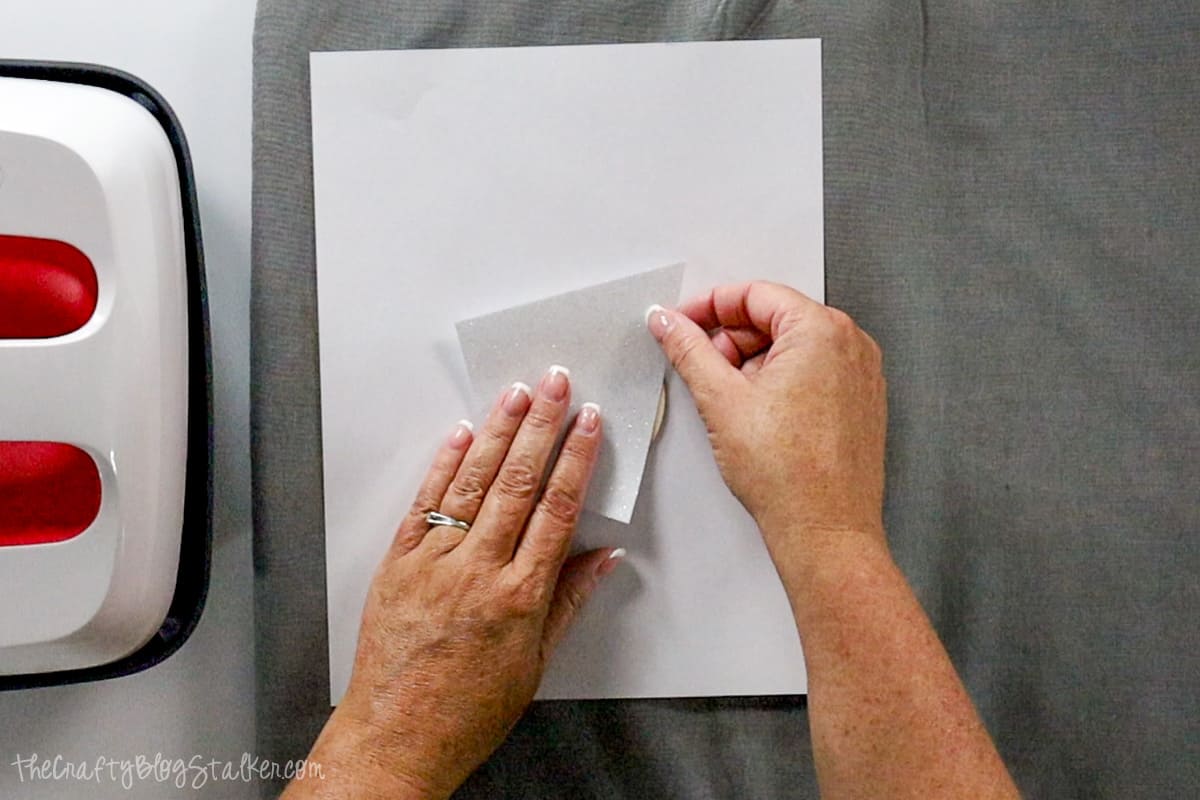
Place a sheet of paper underneath the wood round, the glitter iron-on on top, and press for 40 seconds.
When the iron-on was cool to the touch, I slowly removed the liner.
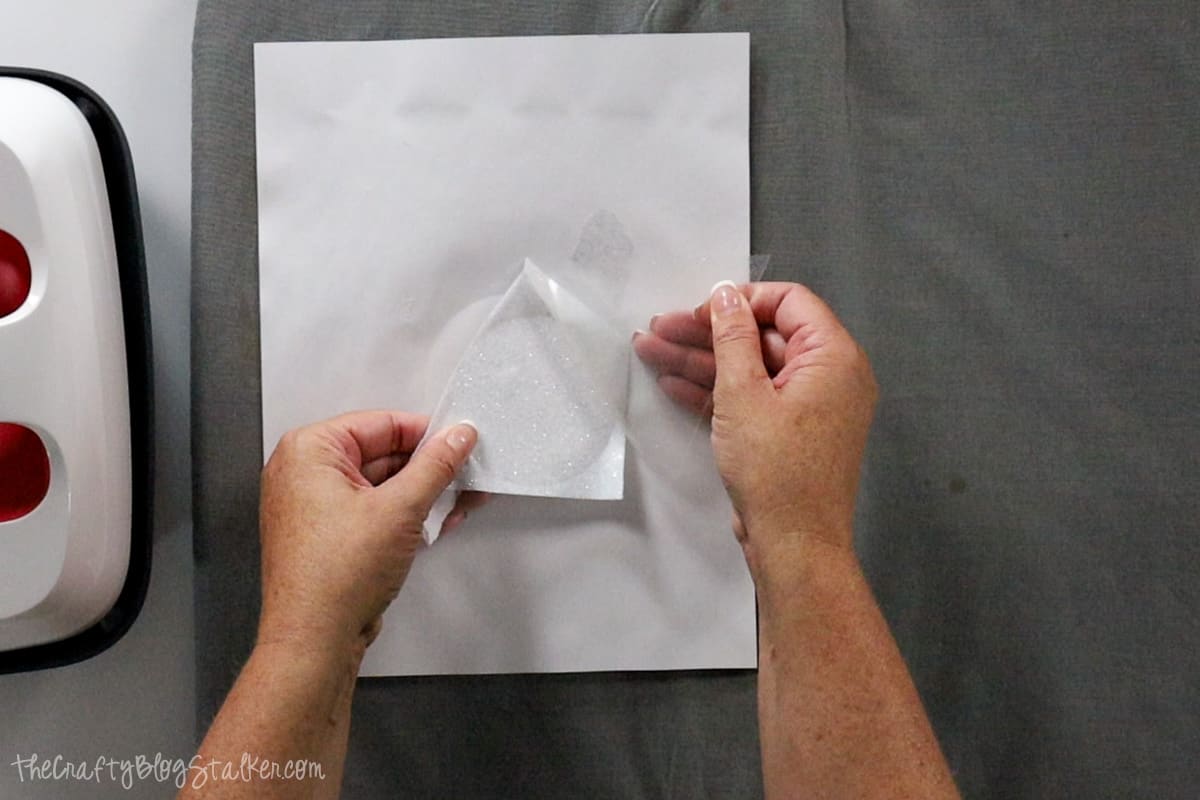
Using the sanding sponge, I went around the edge of the ornament, and this helped remove the excess vinyl, and my wood round was perfectly coated with the glitter iron-on.
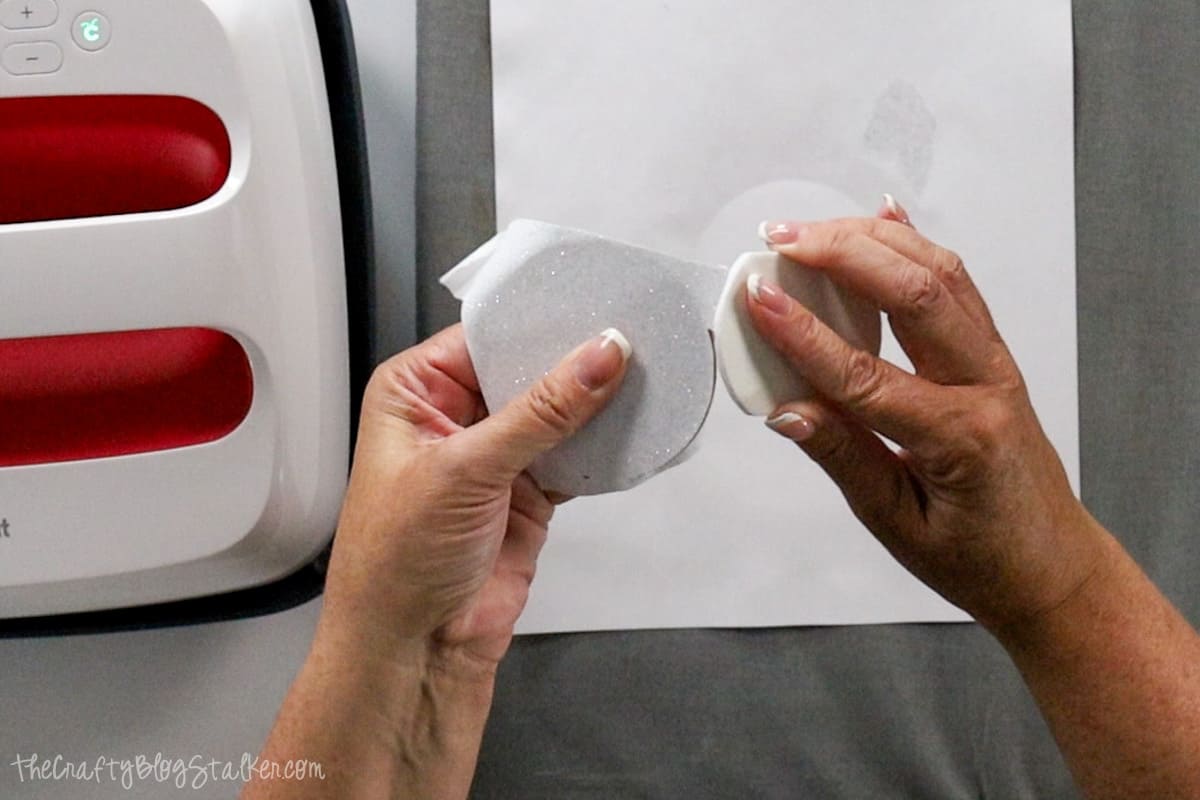
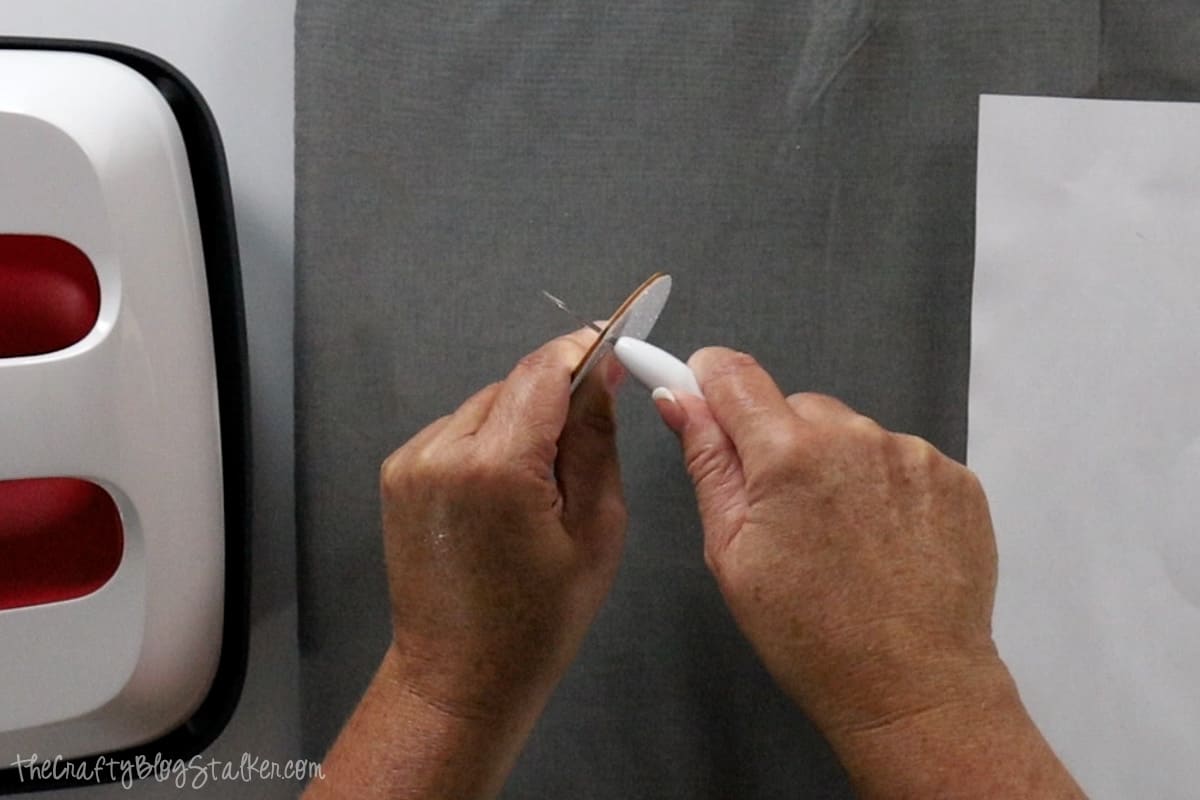
Use an awl and push it through the hole in the top of the ornament.
Place a piece of paper on top of the EasyPress Mat, then the glitter wood round.
Center the design onto the wood round. It is okay if the trees come off, but make sure the elk antlers are all the way on, and the bottom of the design covers the bottom of the ornament.
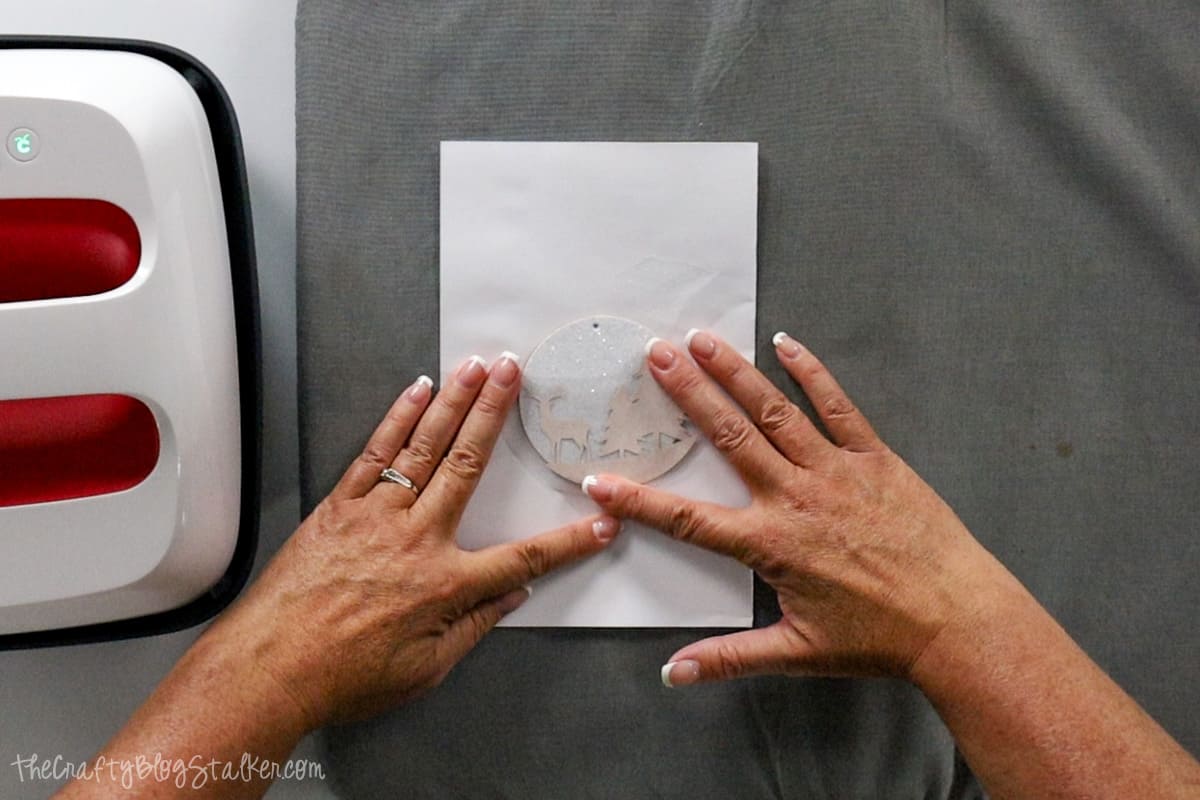
If you would like, you can tape the design in place so it doesn't move using heat-resistant tape, although I find the adhesive of the liner works great to hold the design in place.
Place another sheet of paper on top, and press for 400º F for 60 seconds. (I got this temperature setting from Cricut Heat Guide.)
Once the line is cool to the touch, you can carefully peel it back.
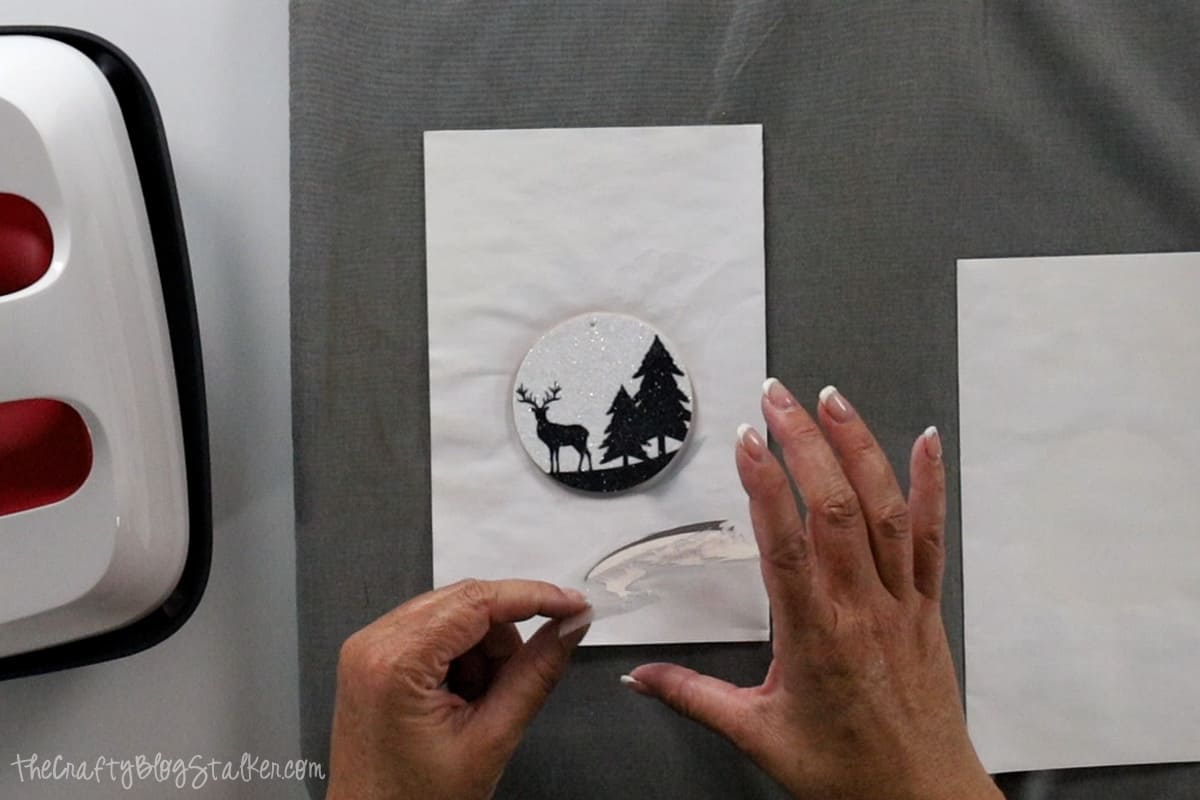
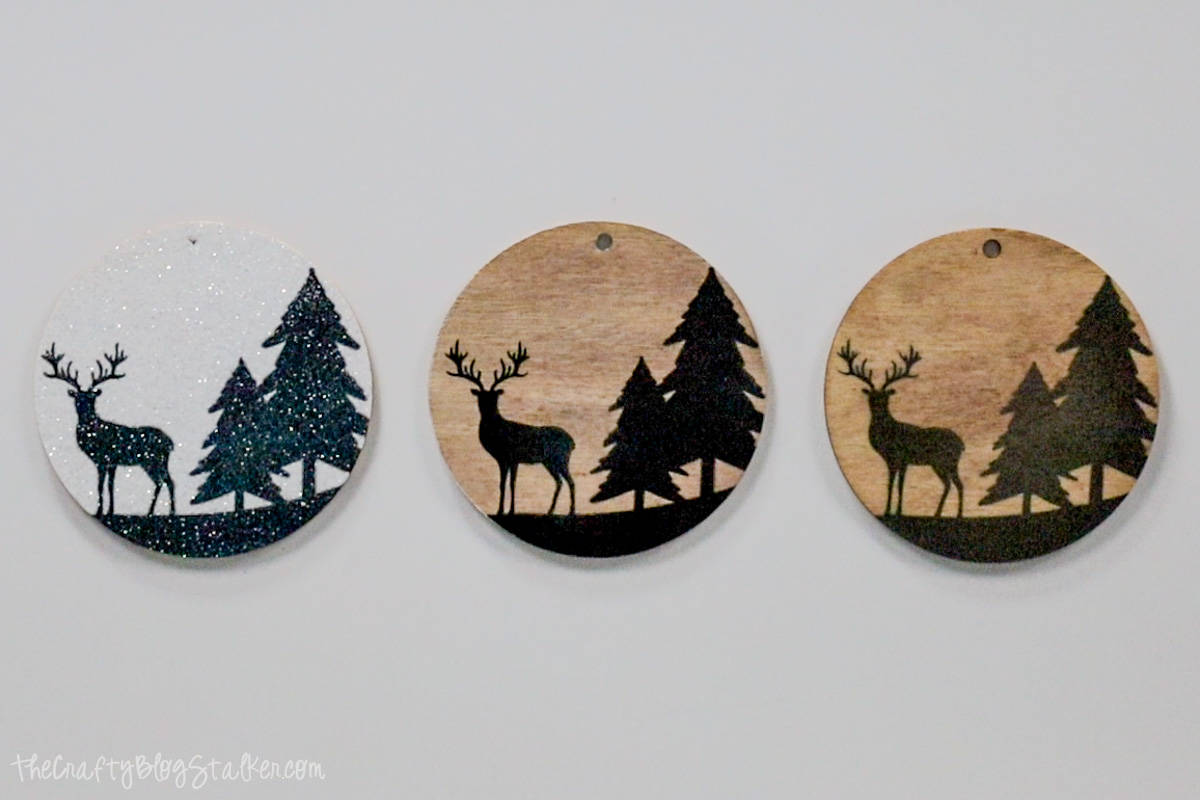
You can see how nicely that black Infusible Ink transferred onto the white glitter iron-on. The design really pops.
Sublimate on Laminate Sheet:
A Thermal Laminating Sheet is also a form of polyester that works great with the sublimation process!
To start, I am going to add a little bit of color to the wood round with some light stain.
I applied the stain with a wet cotton round and simply rubbed it all over the front side of the ornament.
This step is completely optional, and the wood can be left at its natural color if you prefer.
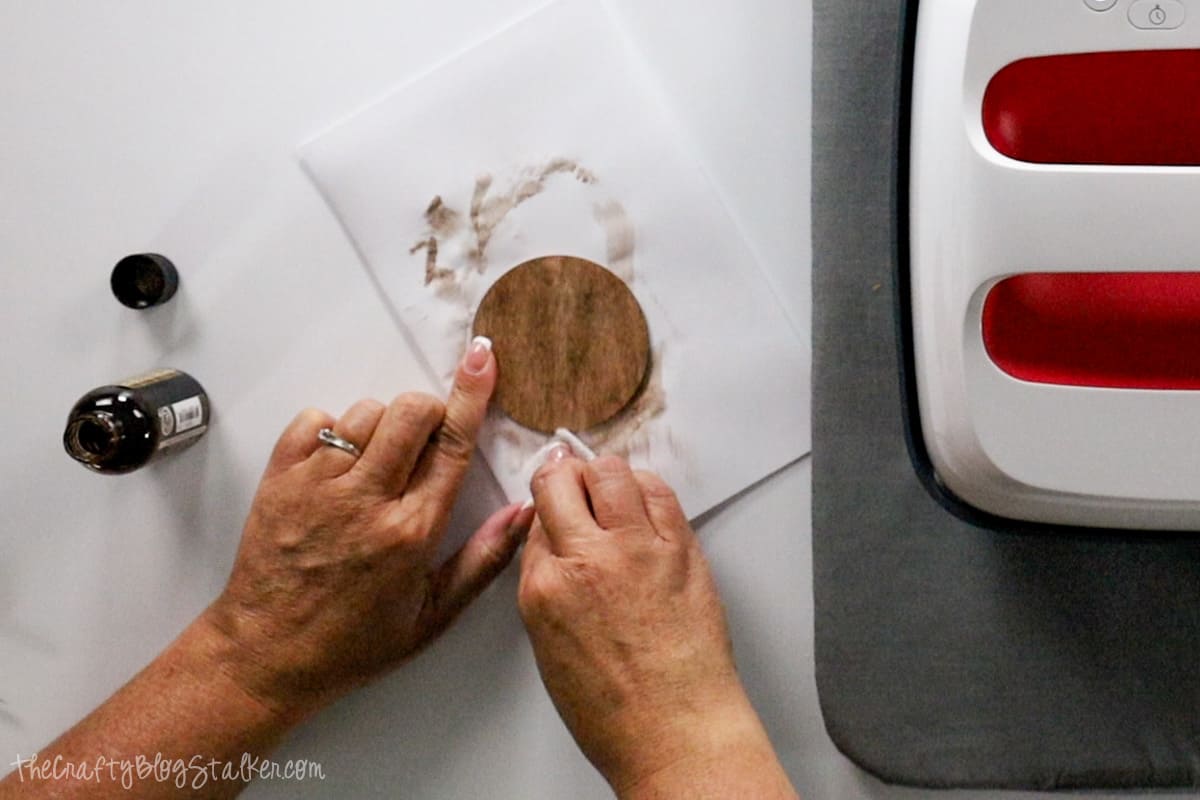
To dry the stain quickly, I placed the ornament between a folded sheet of paper and pressed it at 400º F for 20 seconds.
Take a laminate sheet, open it up, and tear it down the center seam.
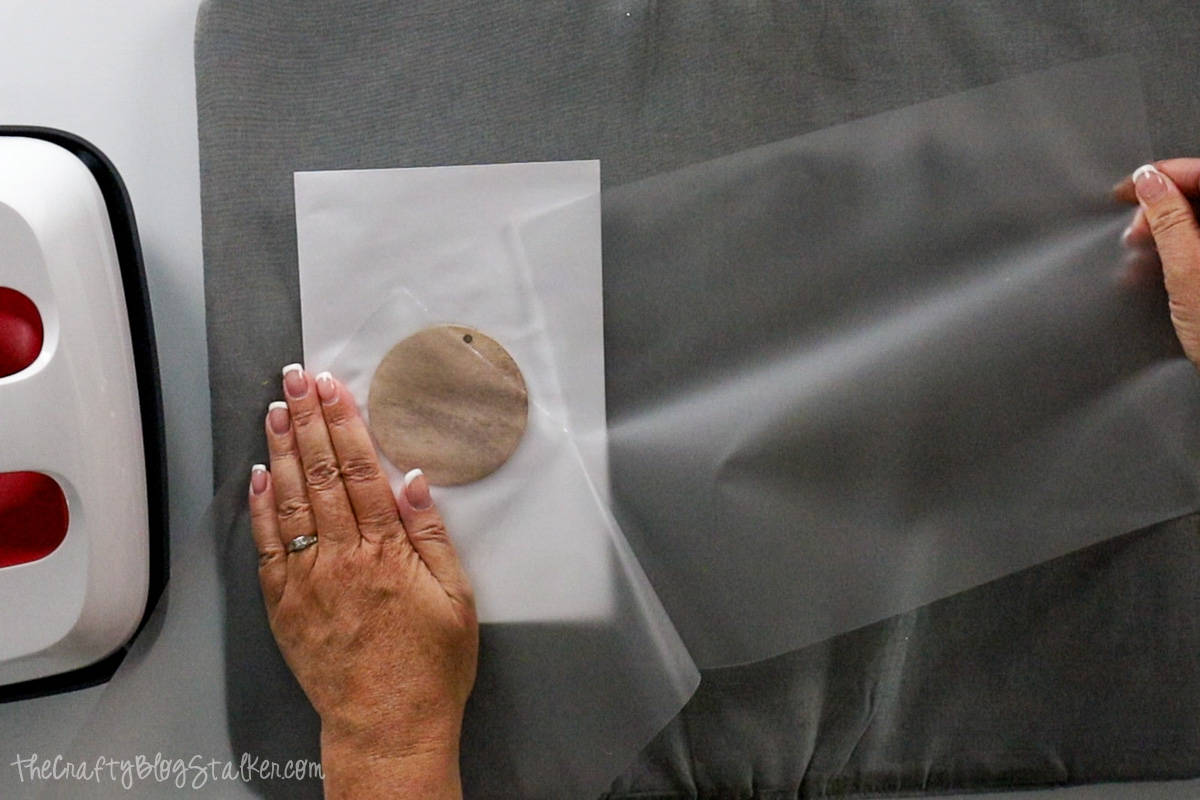
Then I cut a rectangle of Laminate sheet that was slightly larger than the wood round out of one of the sheets.
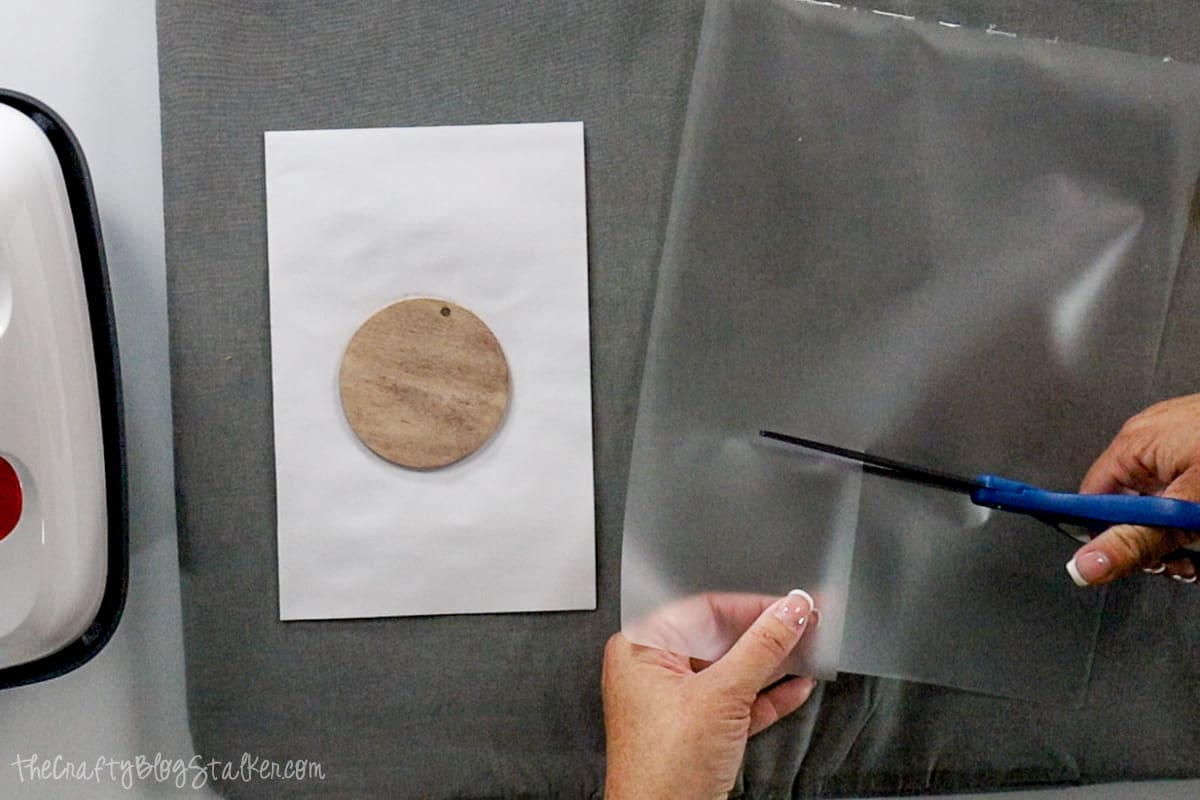
There are two sides to the laminate sheet. One is smooth, and the other side has a light texture to it.
Lay the texture side down onto the wood round.
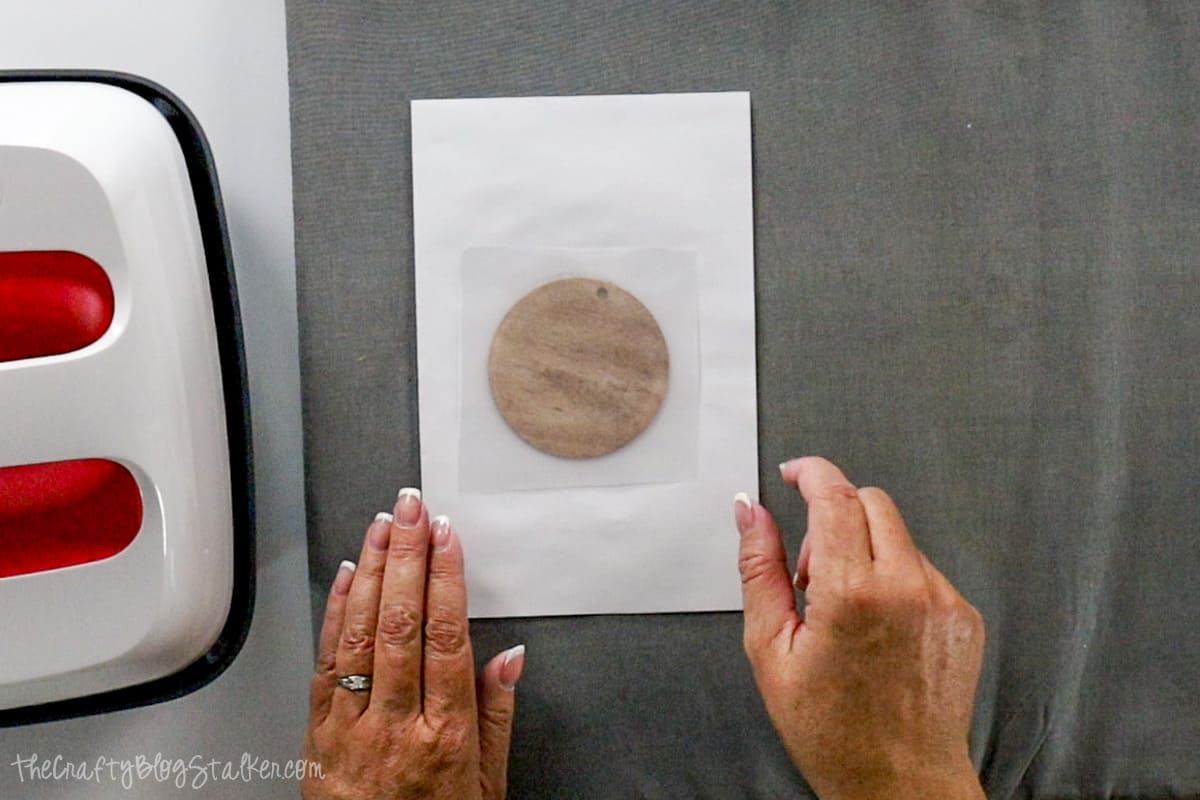
Place another sheet on top and apply the EasyPress at 375º for 2 seconds.
You only want to heat it enough to get it started sticking to the wood round. If you heat it too long the final product will be wrinkled.
Align the Infusible Ink design on the wood round.
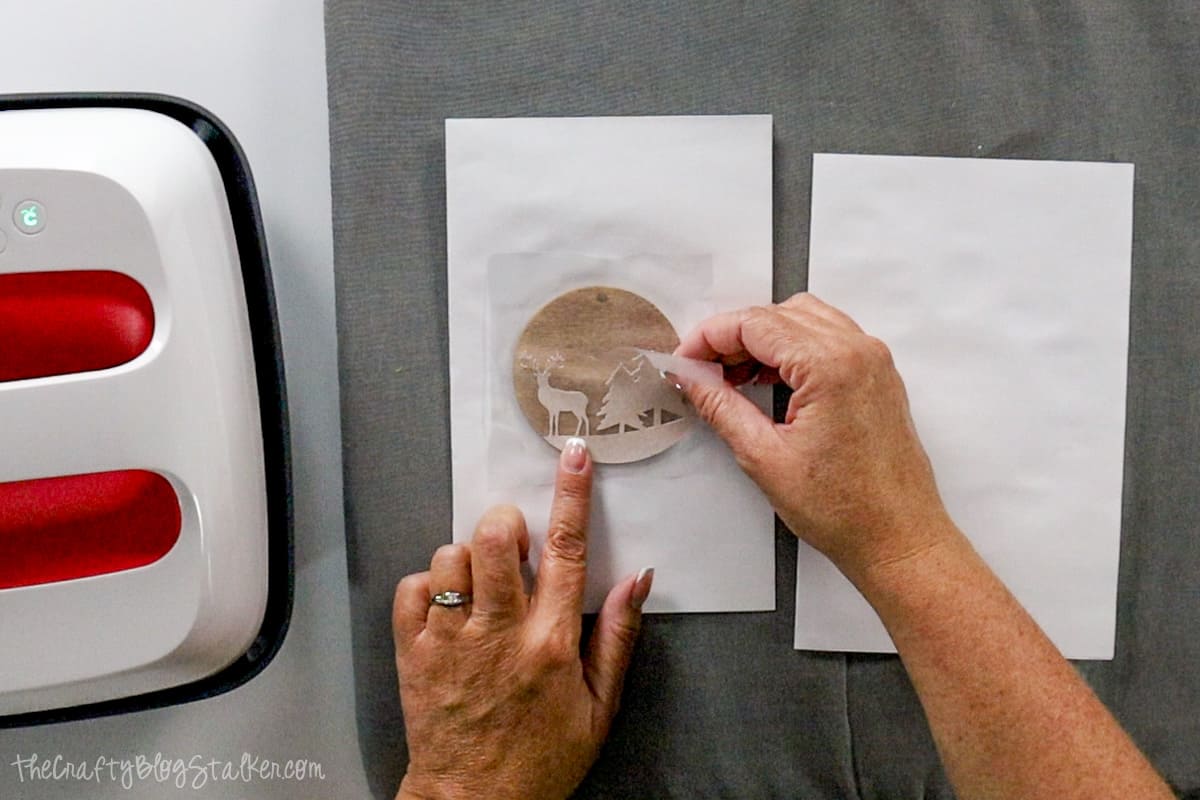
Cover with a sheet of paper, and press at 400º F for 60 seconds.
When the liner is cool to the touch, slowly peel it back.
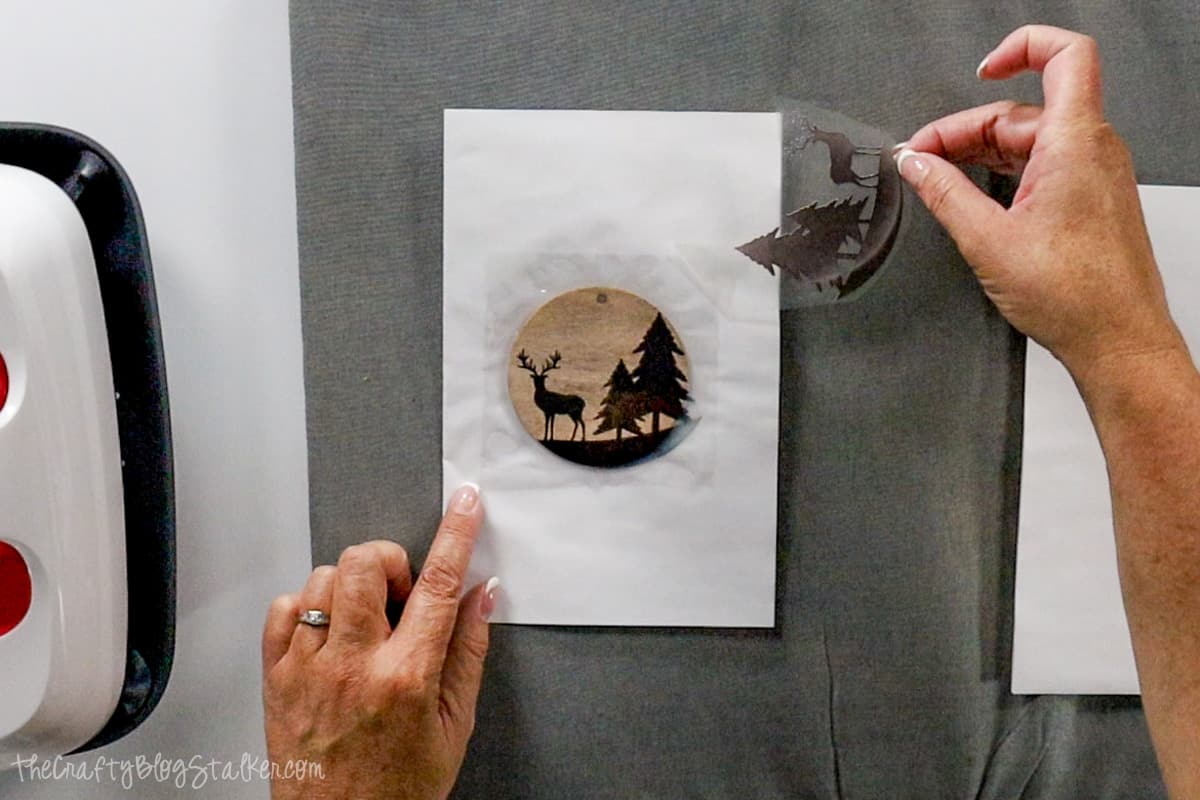
Peel the ornament from the paper, the laminate sheet will stick to the paper.
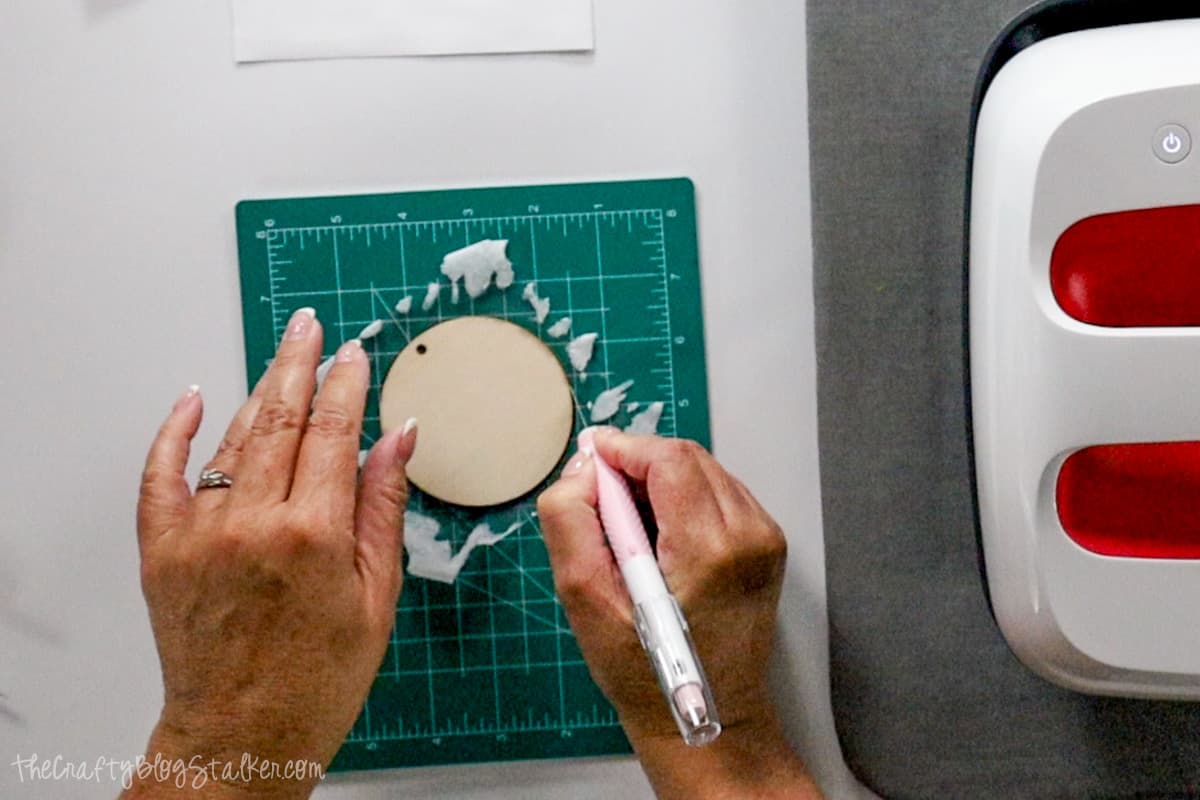
Using a craft knife and a cutting mat, go around the edge of the ornament to remove the excess laminate sheet, and push an awl through the hole.
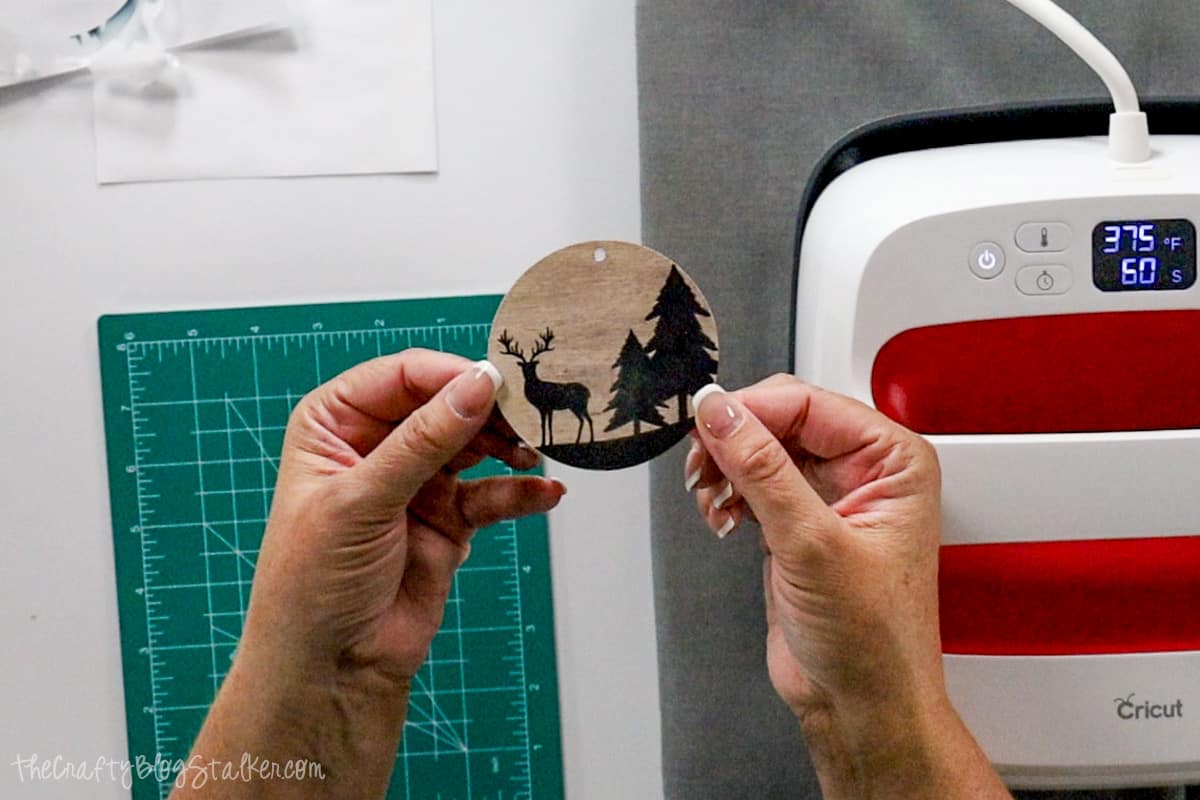
You can see that black really pops with the laminate sheet too!
Sublimate on Raw Wood:
To be honest, I am not exactly sure why this works. Wood must have a natural substance that works with sublimation.
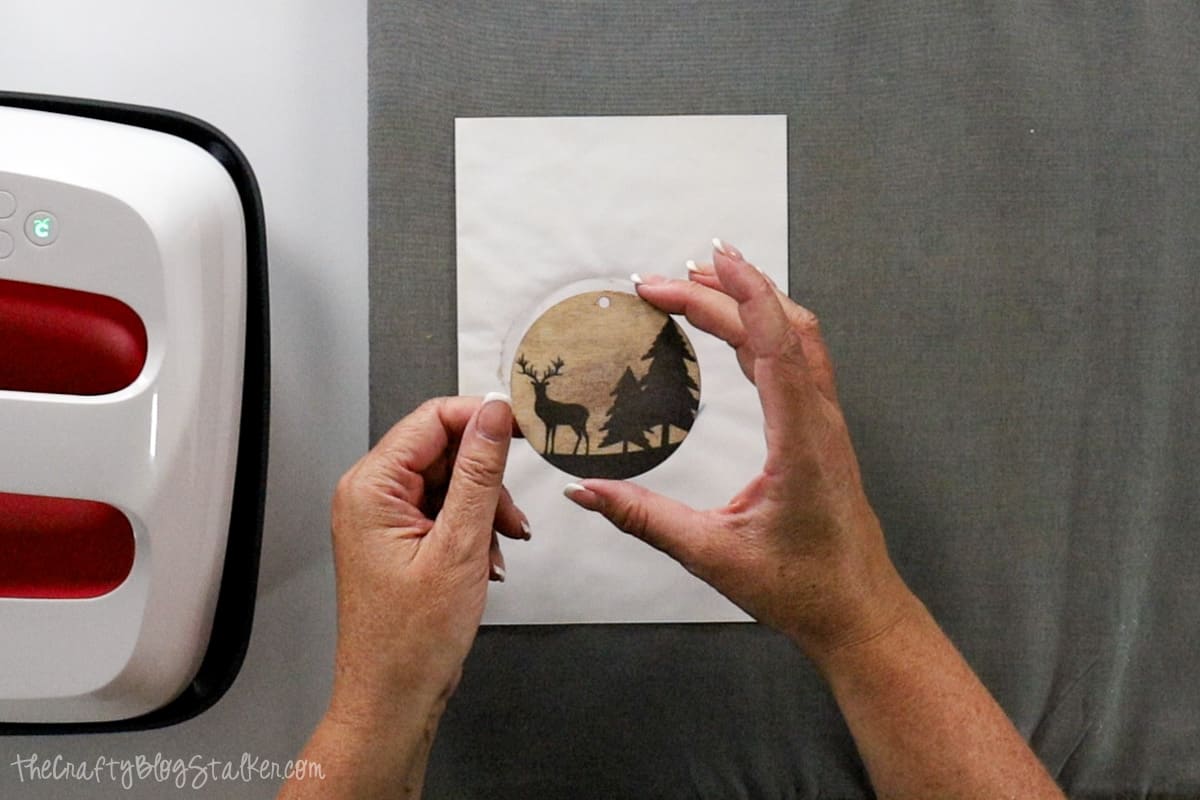
However, you may notice that the color doesn't pop quite like it did with the other two methods. So this method is great if you are going for an aged, or rustic look.
Again, I am going to add some light wood stain to my wood round with a wet cotton round.
Place the wood round between a folded sheet of paper and press at 400º F for 20 seconds.
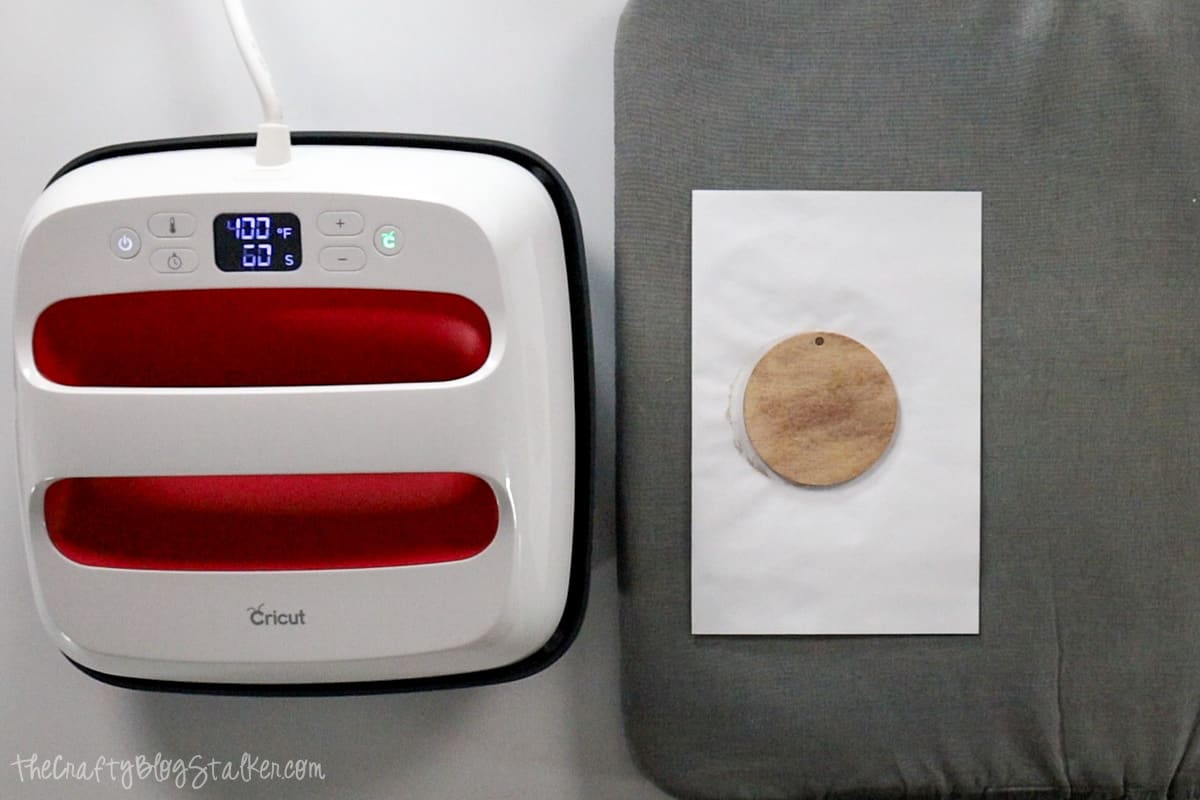
Place the Infusible Ink design onto the wood surface of the ornament.
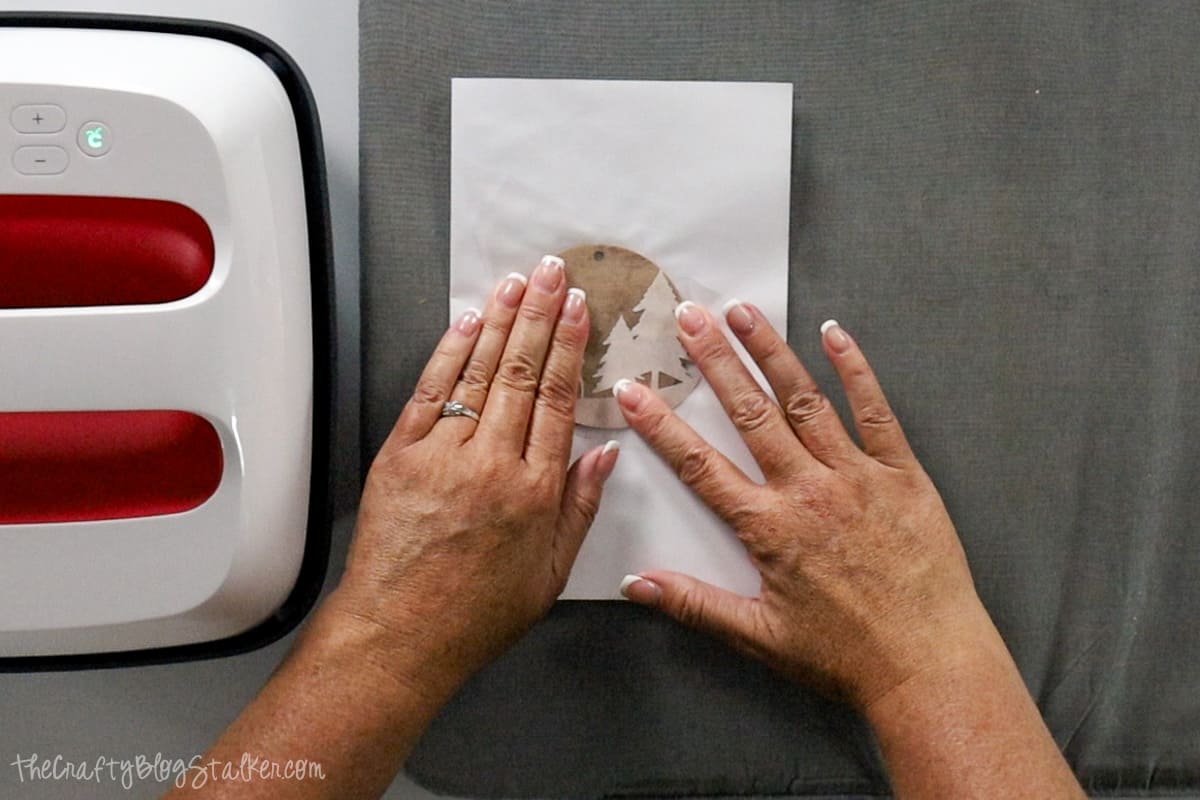
Cover with a sheet of paper and press at 400º F for 60 seconds.
When the liner is cool to the touch, slowly peel it back.
Here are all 3 of the sublimated wood ornaments side by side. Which style is your favorite?
Ornament Topper:
Now that we have sublimated our wood ornaments, we need to finish them in a cute way!
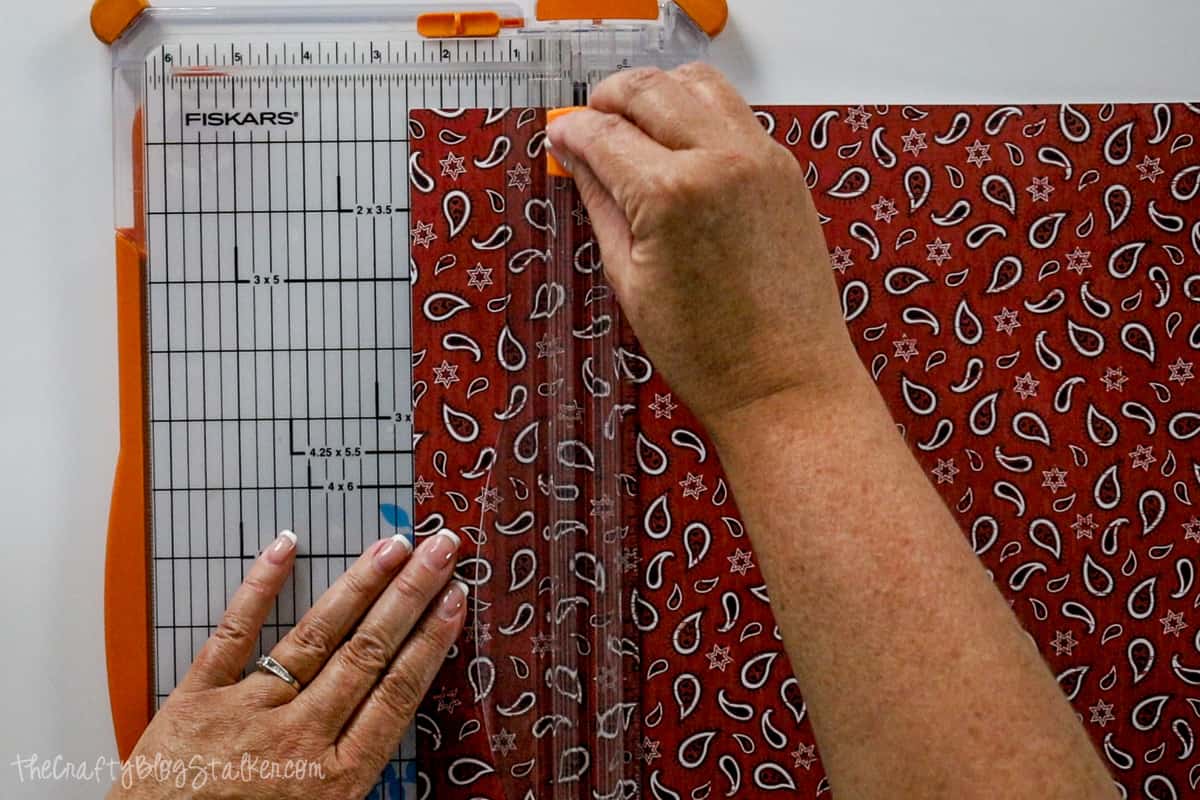
Cut a rectangle that measures 2.5x3 inches out of a matching patterned paper.
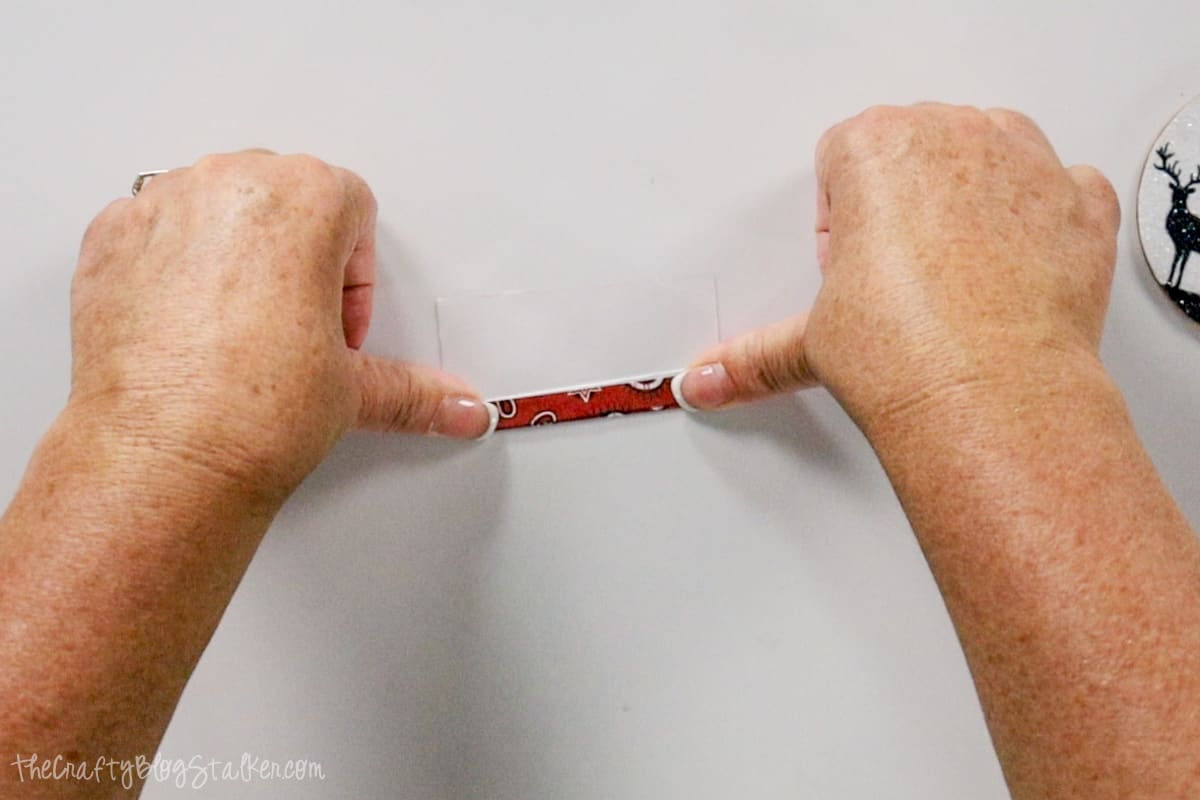
Accordion fold the paper rectangle. This doesn't have to be done perfectly but do try to have smaller folds.
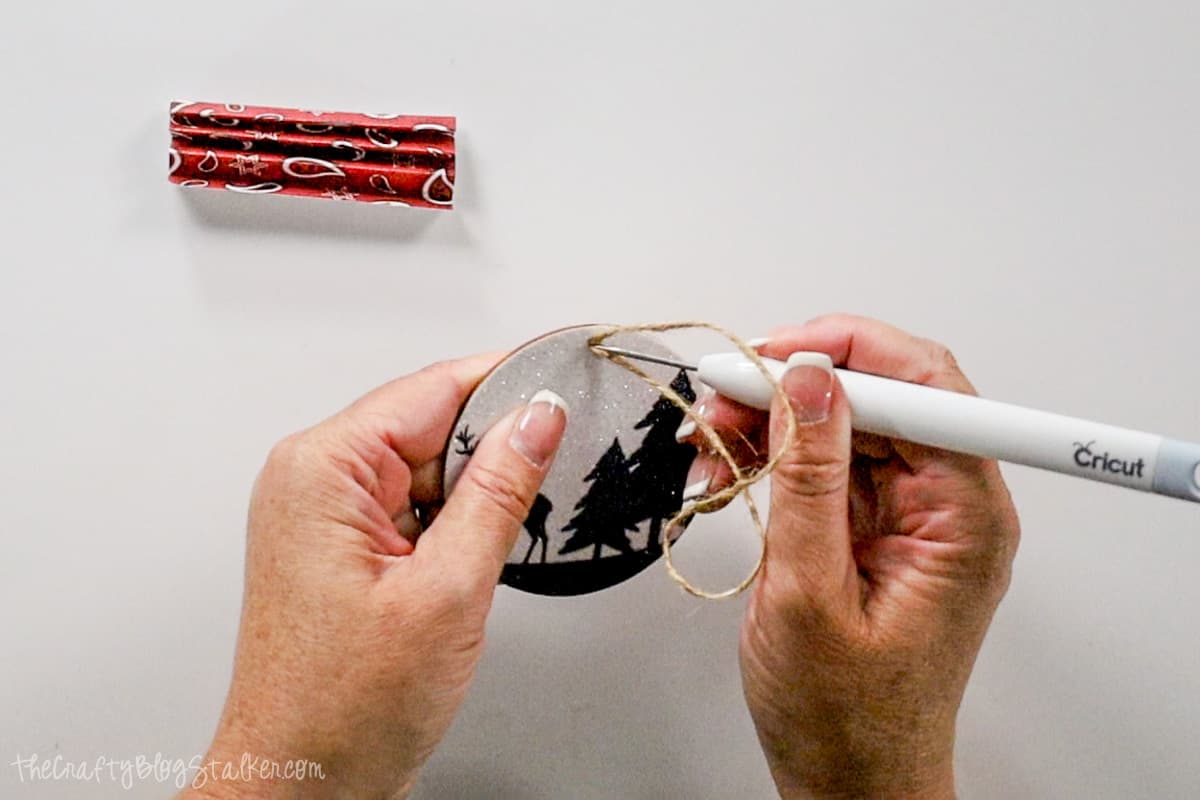
Cut a length of twin about 7 inches.
Use the awl and push the two ends of the twine through the hole in the ornament.
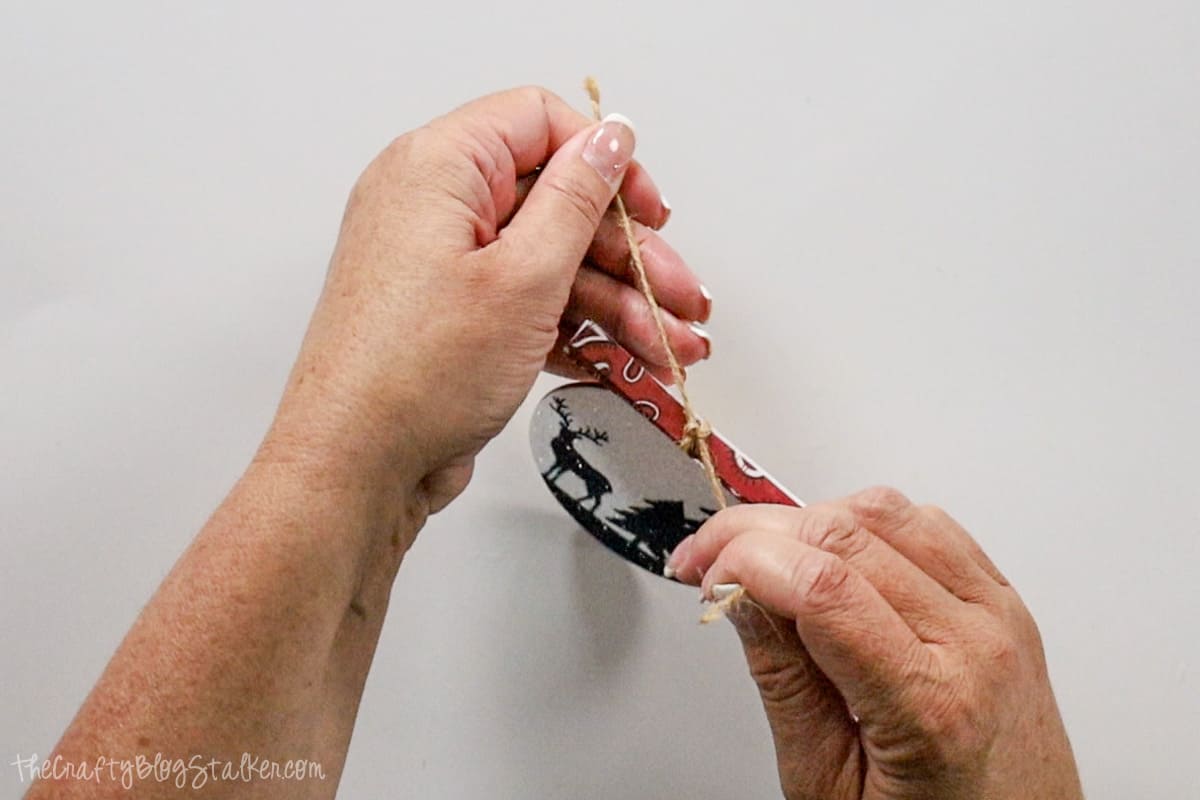
Pull the ends through the loop and tighten.
Take the folded strip and put it between the two ends of twine. One in front and one behind.
Tie a double knot over the center of the folded strip.
Carefully fan out the folded paper into a bow shape.
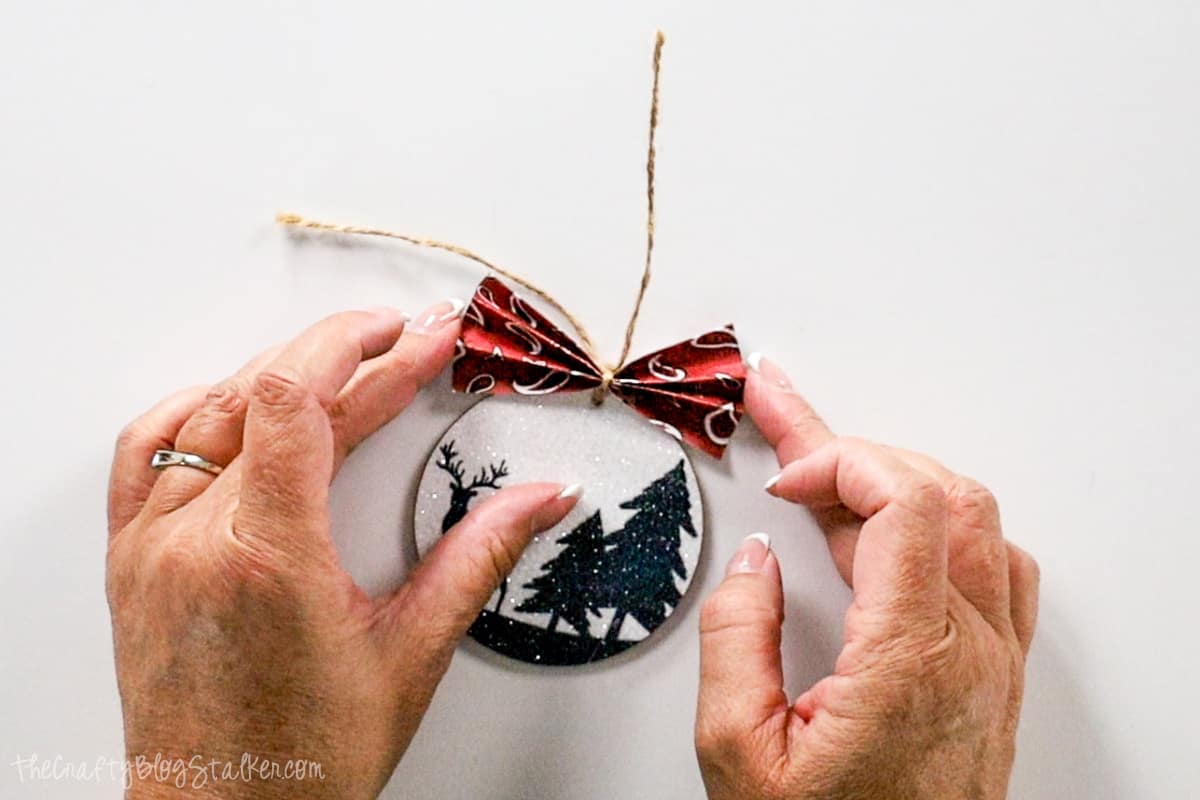
String the ends of the twine through a wood bead and tie the ends together in a knot.
Now the ornament is completely finished, and oh so cute!
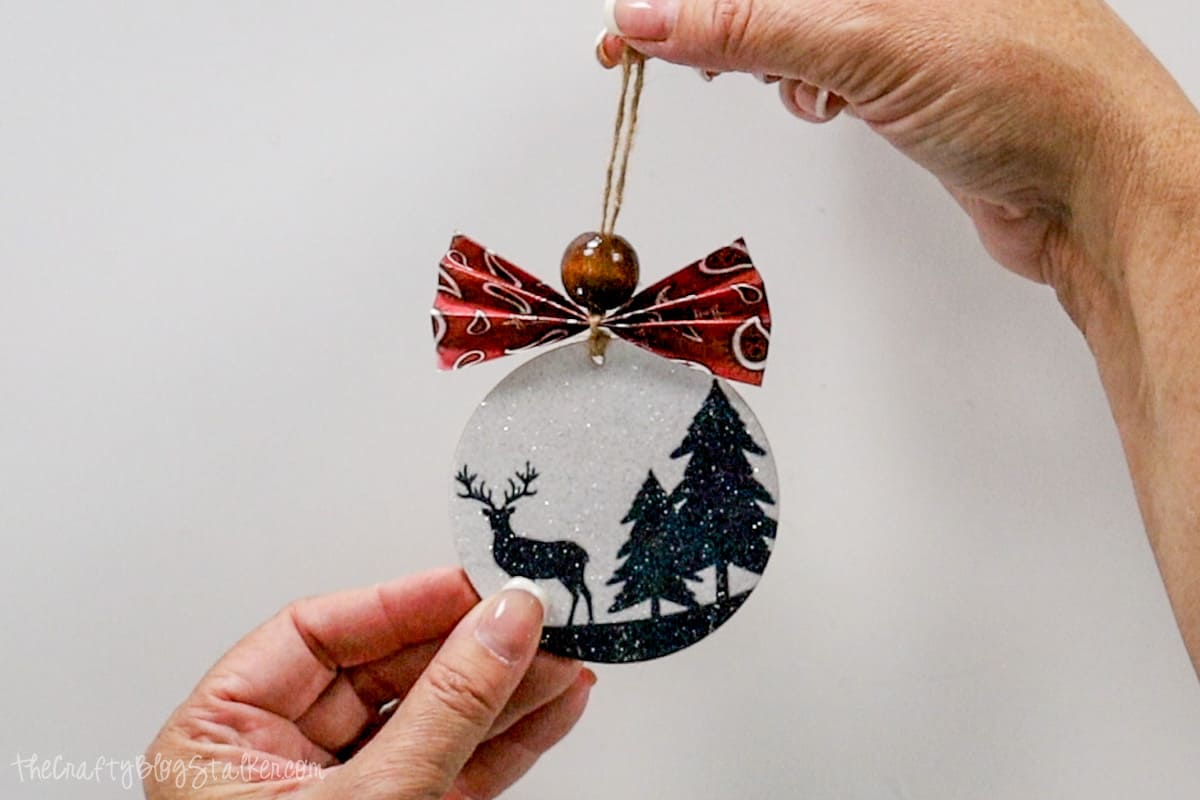
It is so hard to pick my favorite!

Our Sublimation Essentials List:
- We recently converted an Epson EcoTank 2720 Printer into a Sublimation Printer and that is what we use for all of our sublimation projects.
- Printer's Jack Sublimation Ink is designed specifically for use with the Epson printers and the colors look great!
- ASub-120G Paper is our go-to when printing sublimation. It has never jammed and the finished projects always look great! Plus, you can get 12% off when you use code BLOGSTALKER at checkout!
- These are my favorite Sublimation Cup Blanks. They make different sizes, with aluminum and glass!





Leave a Reply