



Learn how to clean a dryer vent in about 10 minutes to remove lint buildup, improve airflow, and help your dryer run more efficiently.
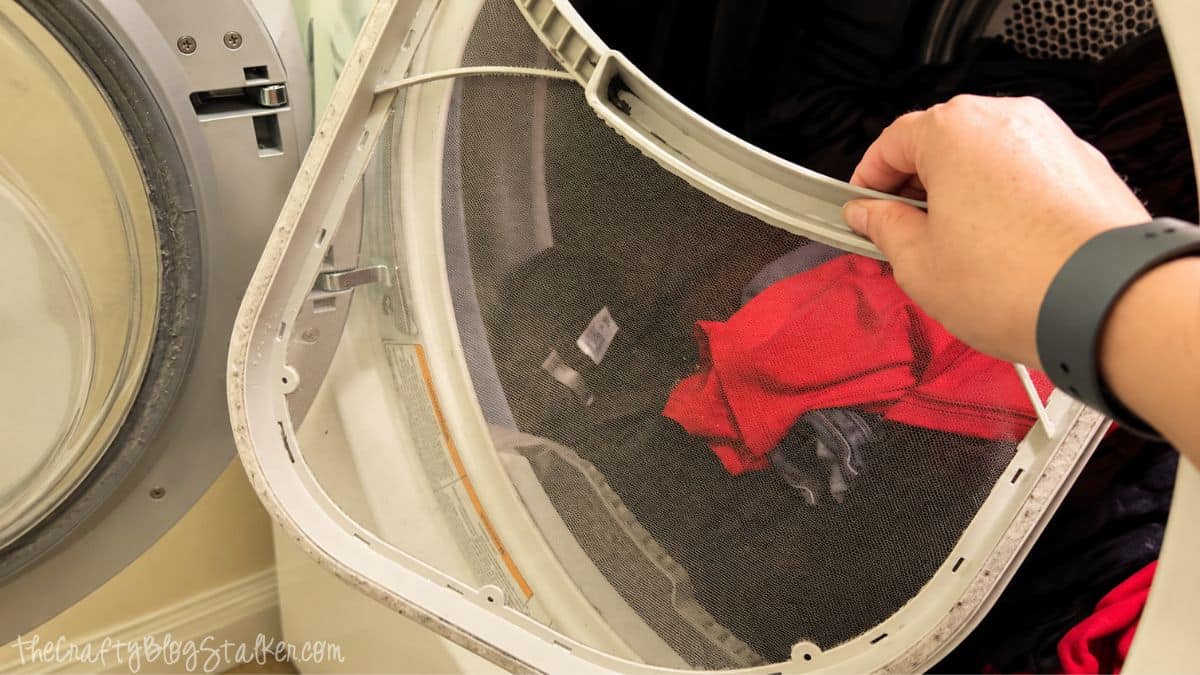
When we bought our home, the dryer came with it, and we were thrilled until we realized every load seemed to take at least two cycles to dry.
We put up with it for way too long because the dryer still worked, and buying a new one felt unnecessary.
Once I finally took the time to clean the lint trap and the area underneath it, I couldn't believe what a difference such a simple job made.
If laundry day takes forever because your clothes aren't drying like they should, this quick cleaning job is a great place to start.
Jump to:
Supply List
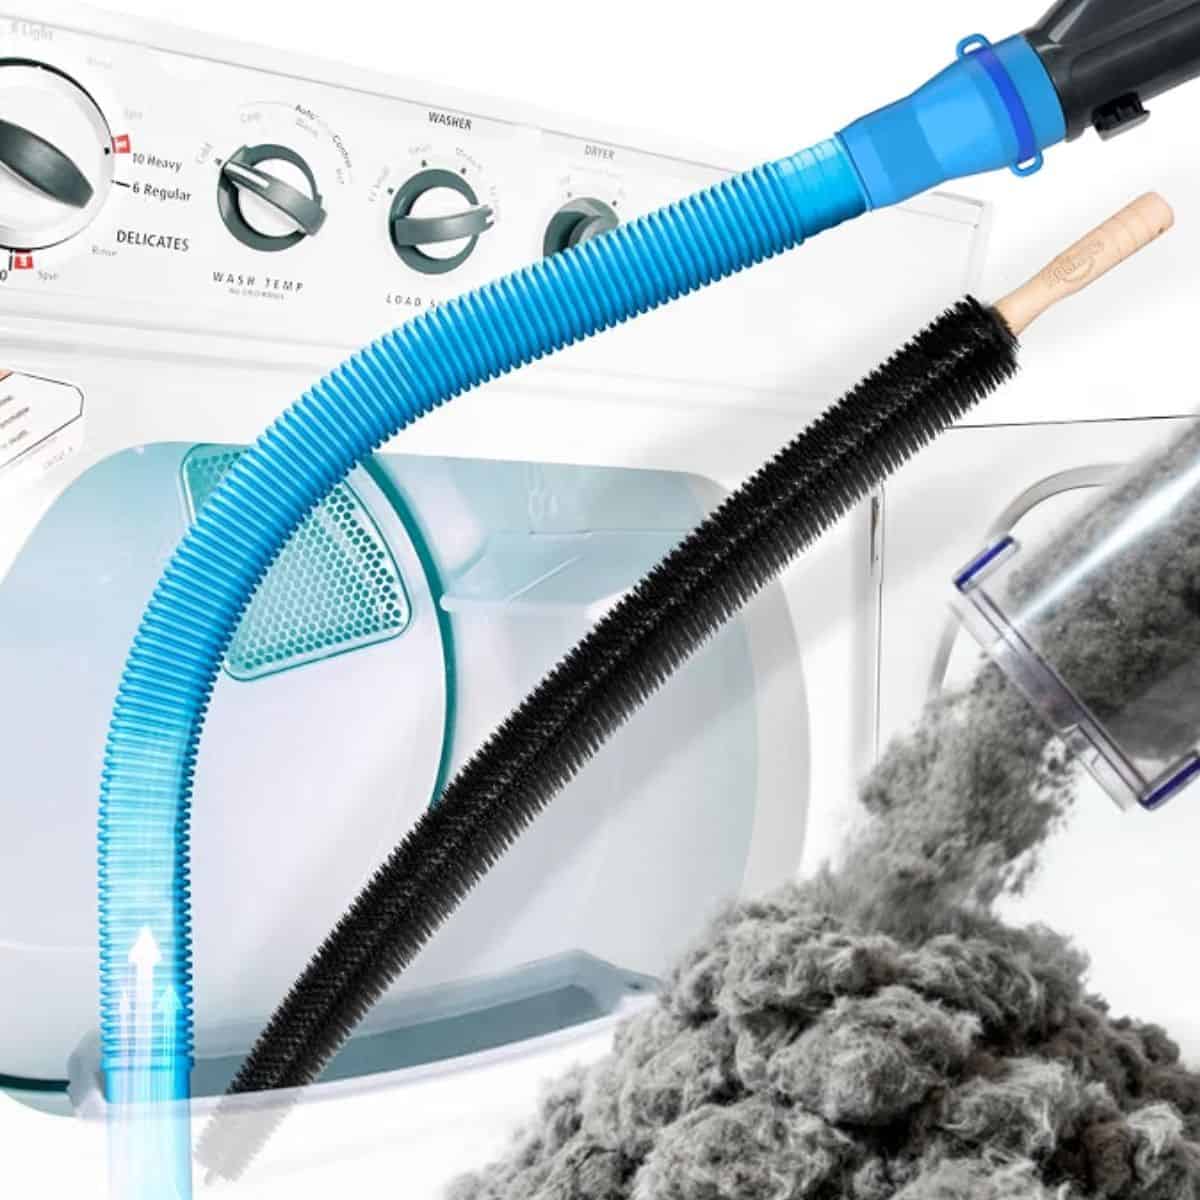
The dryer vent cleaning kit I have is older than the one linked above, so it looks a little different in my pictures.
The newer kit has several attachments and an extra-long brush that's handy for reaching dust, lint, and debris in those awkward spaces around the dryer.
For this particular cleaning job, the narrow vacuum attachment is my favorite part of the kit because it can reach much farther into the lint trap opening than a regular vacuum hose.
How Often Should You Clean a Dryer Lint Trap?
The loose lint on the screen should be removed before or after every load of laundry. This keeps air moving through the lint trap and prevents all that fluffy lint from accumulating.
The lint screen itself can also collect residue over time, especially if you regularly use dryer sheets or fabric softener. Even when the screen looks clean, that residue can coat the mesh and restrict airflow.
For a deeper clean like the one I'm showing here, I clean the screen and vacuum the lint trap slot at least once a year. If you do a lot of laundry or notice clothes suddenly taking longer to dry, check it sooner.
This tutorial focuses on cleaning the removable lint screen and the compartment where it sits.
The dryer's exhaust vent and ductwork that carry air outside are separate areas that should also be inspected and cleaned as needed, especially if you suspect a clogged dryer vent.
Cleaning the Dryer Lint Screen
Here is my lint trap. You can judge me by how gross it is because it is bad. And yes, this is what it looked like after I removed the loose lint. EWWW!
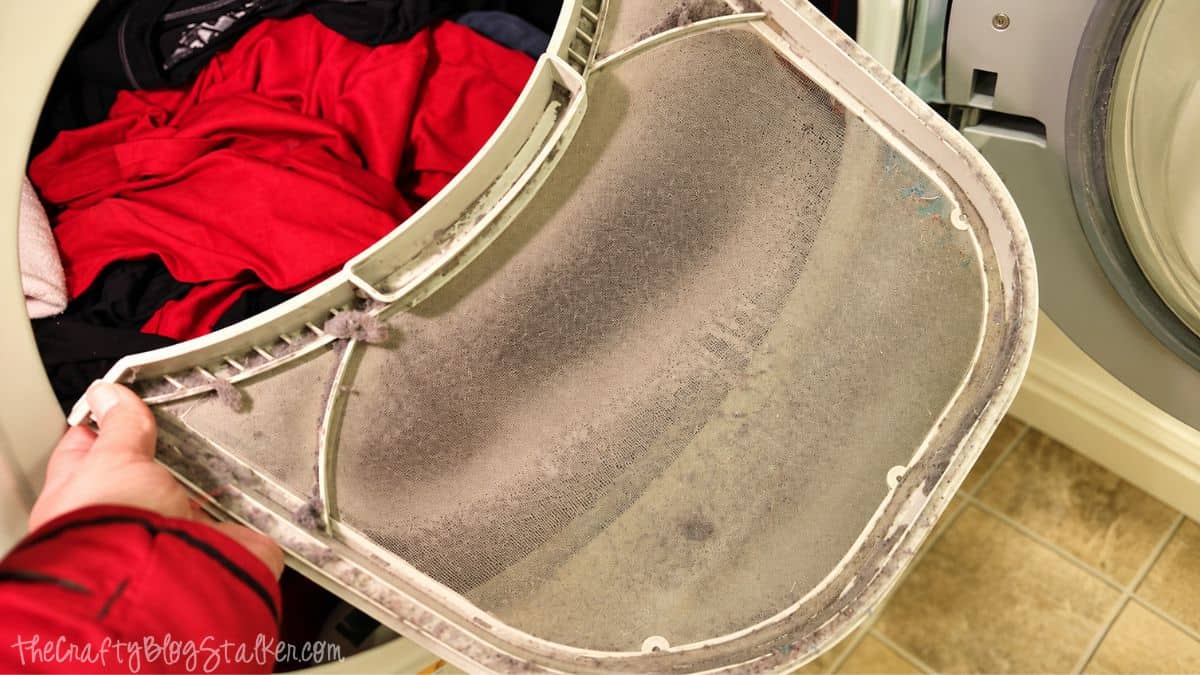
I took it straight to the sink for a good cleaning.
When I turned on the water, I was surprised it wouldn't even pass through the mesh easily.
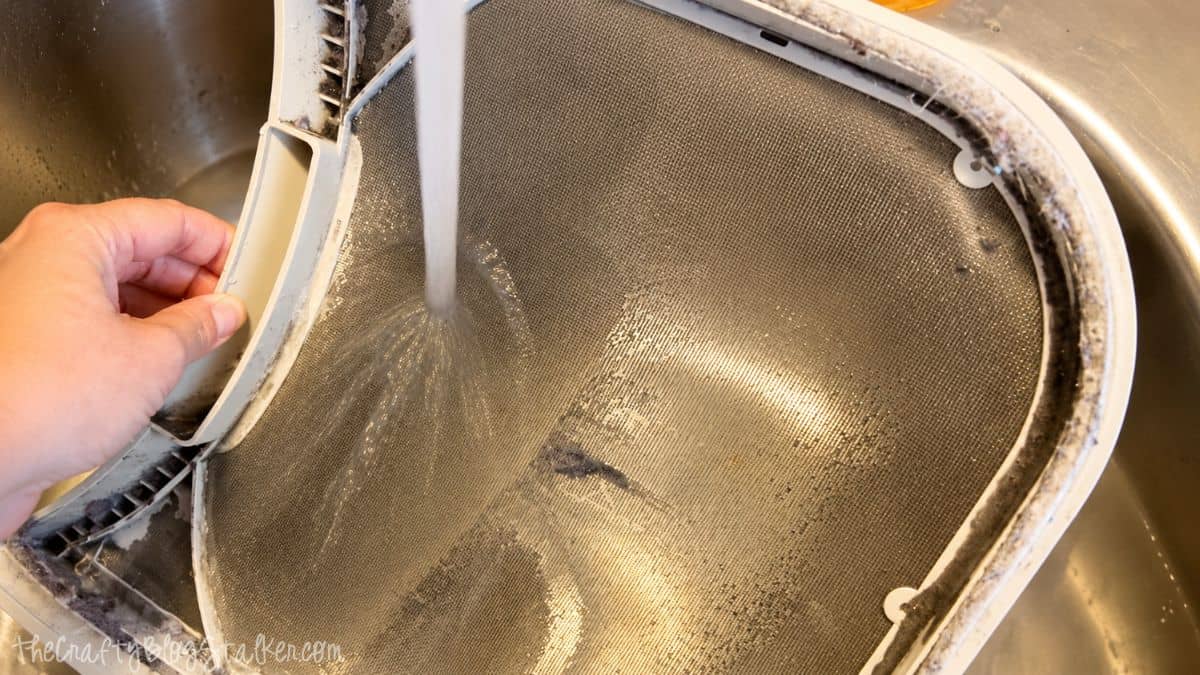
That was a pretty good clue that the screen had more buildup than I realized. A lint screen needs to allow air to pass through it, so a layer of residue covering that mesh isn't doing your dryer any favors.
My tool of choice for cleaning the screen is an old toothbrush. Mine is a freebie from the dentist, so no fancy equipment is required.
The small bristles work well to loosen residue and small pieces of lint caught in the mesh.
A small amount of dish soap also helps remove the film dryer sheets and fabric softener can leave behind.
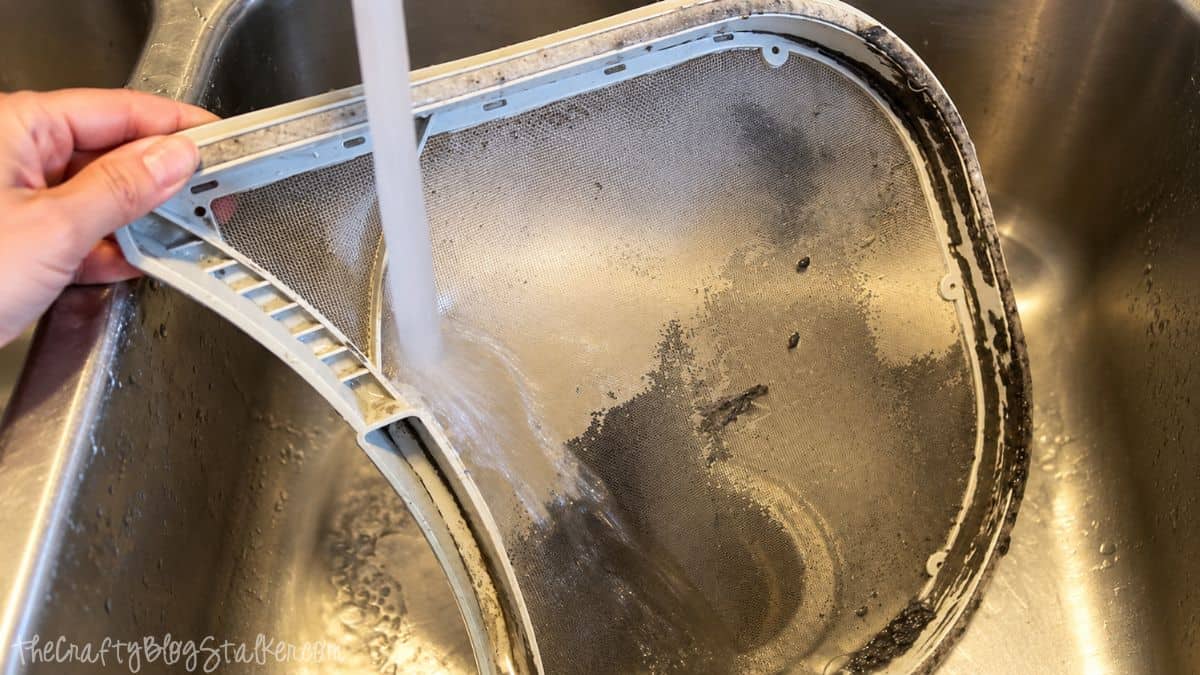
I expected this part to require some serious scrubbing, but the buildup came off surprisingly easily.
The whole cleaning process only took me about 10 minutes.
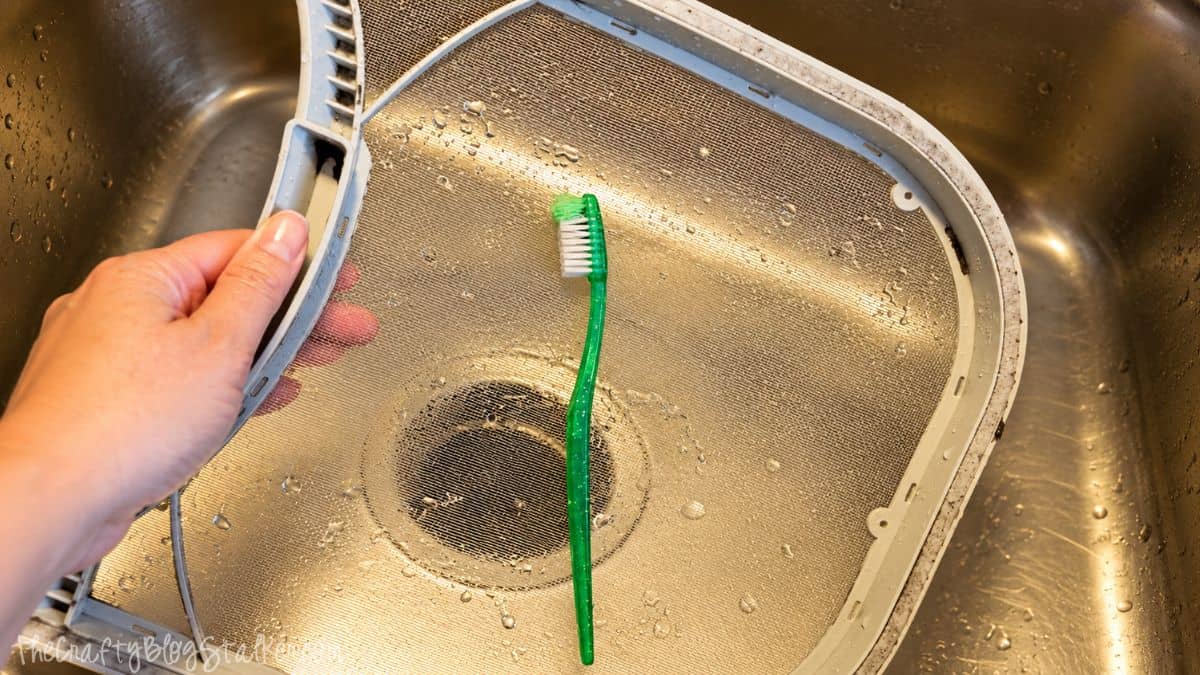
Let the lint screen dry completely before putting it back into the dryer. Mine dried quickly, and the difference was pretty satisfying.
Oh my gosh, you can actually see through it!
Cleaning Inside the Lint Trap
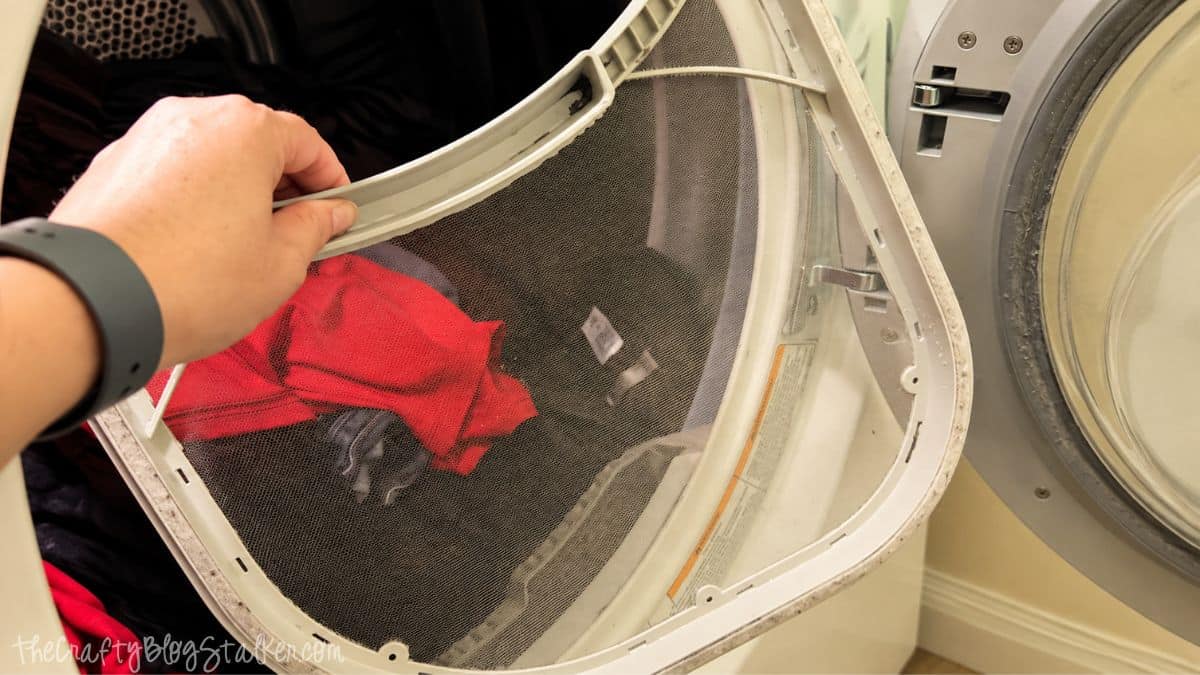
Next, I tackled the compartment where the lint screen slides into the dryer.
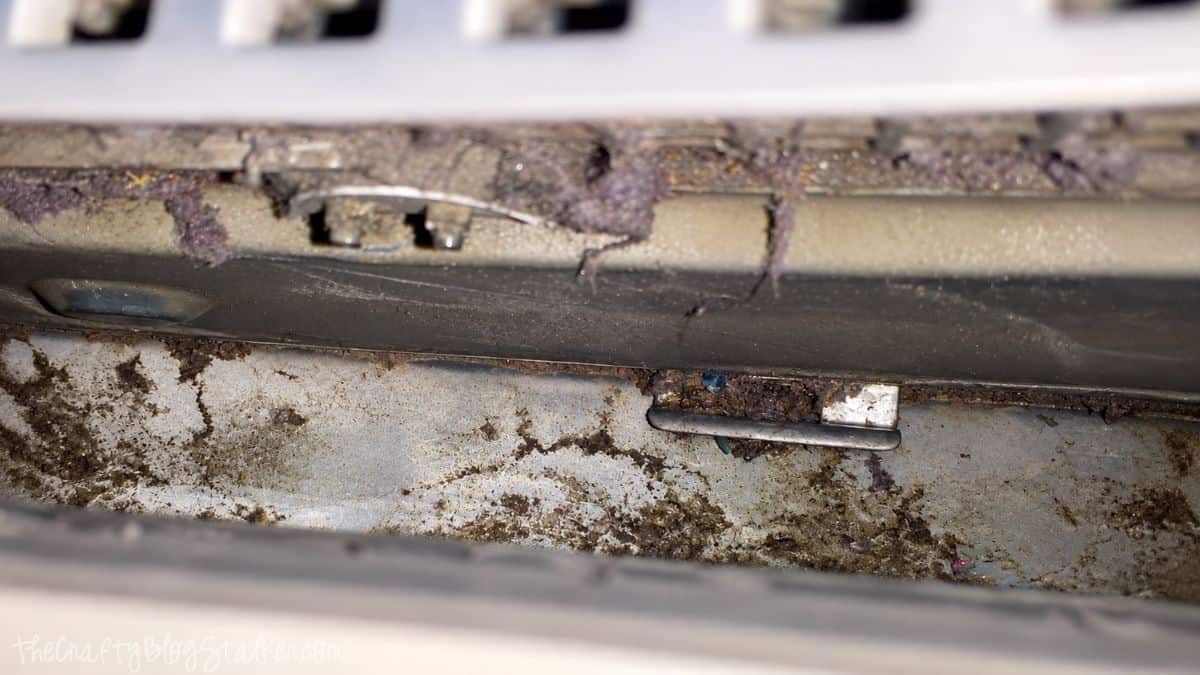
It was difficult to get a good picture inside, but lint built up along the sides, and quite a bit of debris collected at the bottom.
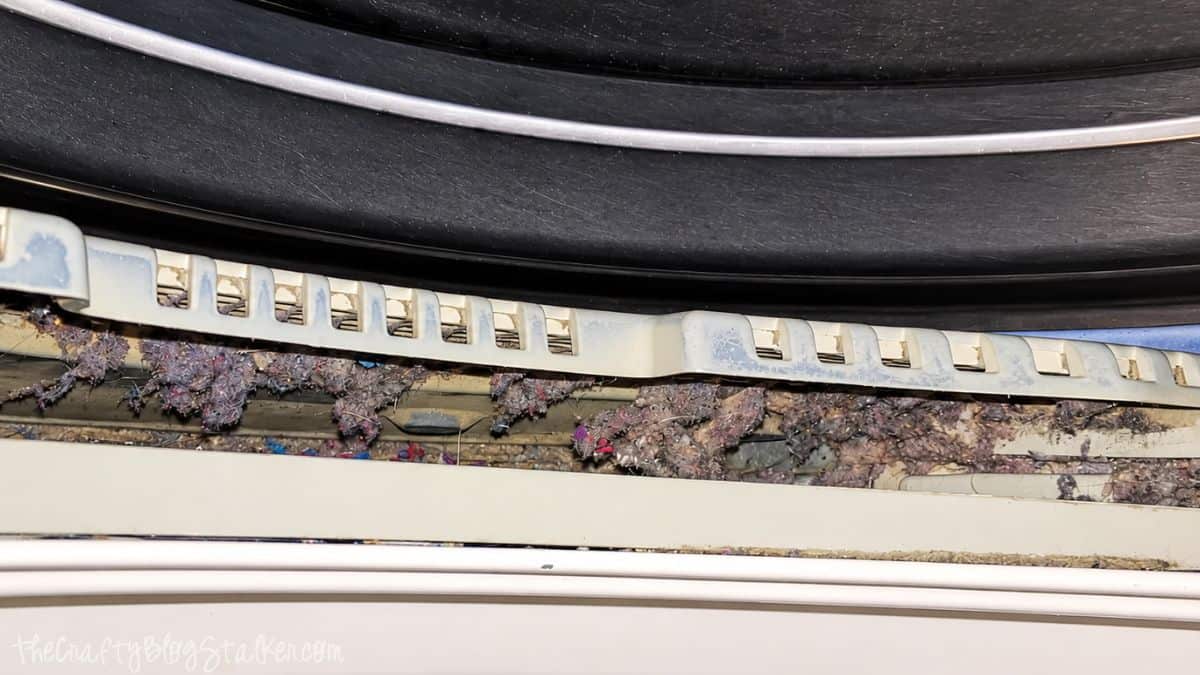
This is exactly why I like using a dryer vent cleaning kit. A regular vacuum attachment is too large to reach very far into that narrow space.
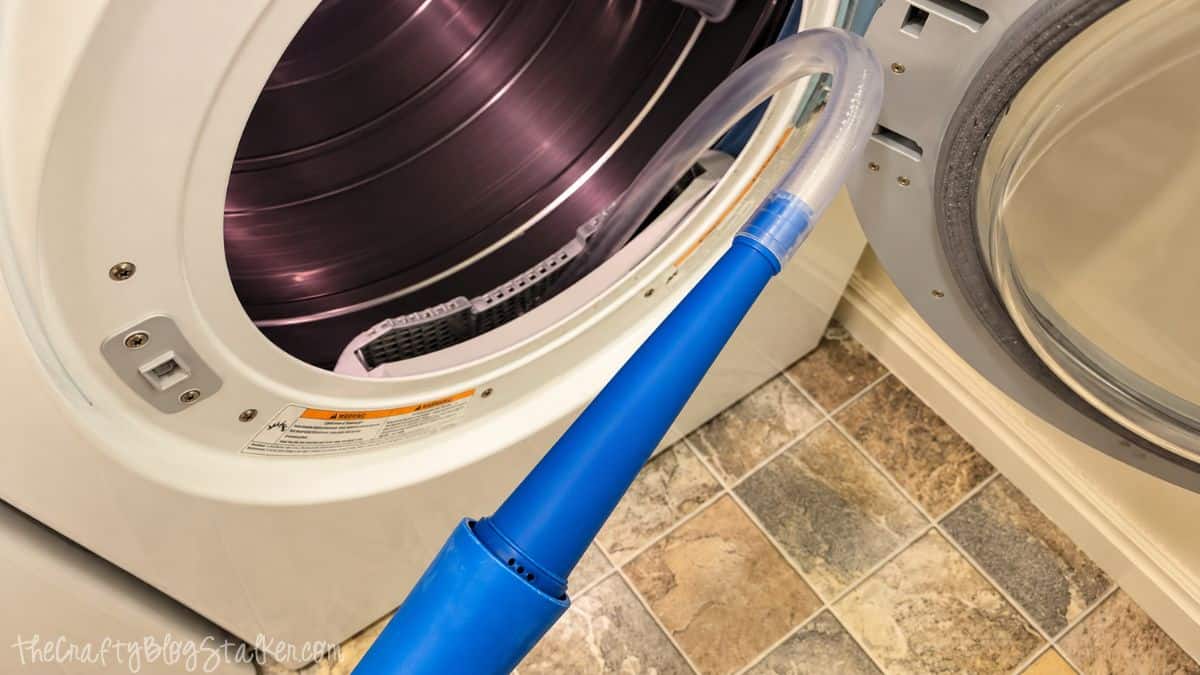
The kit includes an attachment that connects to the end of the vacuum hose and creates a much smaller flexible hose. That narrow hose slides down into the lint trap compartment and reaches areas that are otherwise difficult to clean.
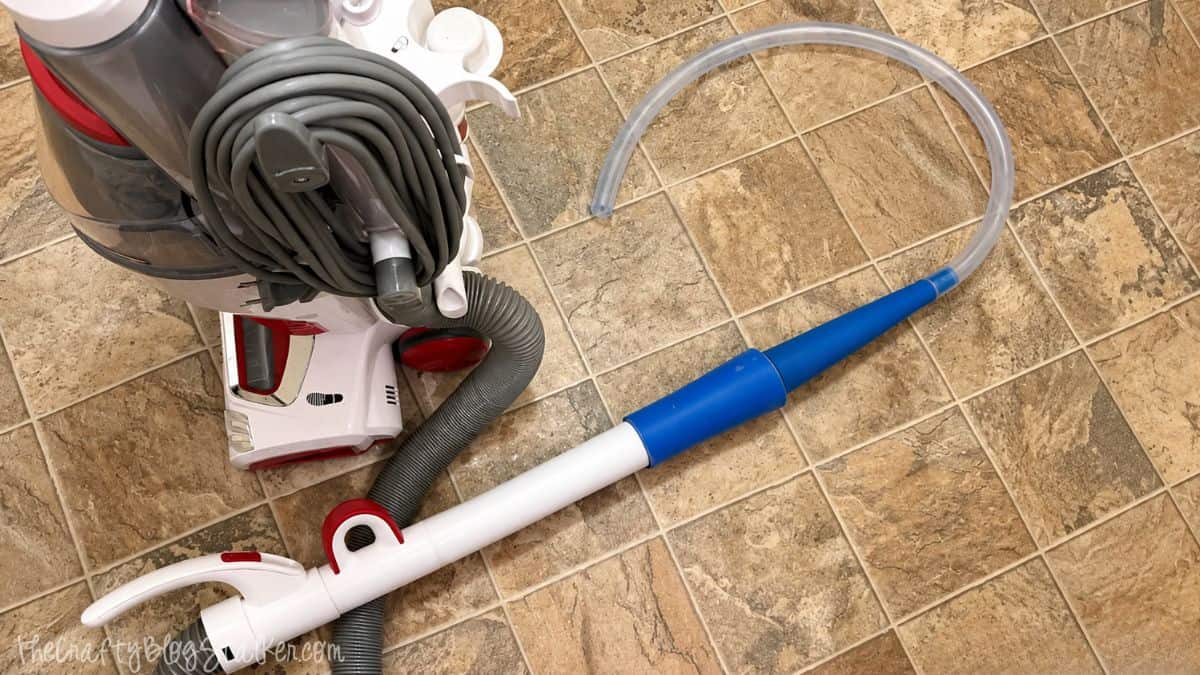
I moved the hose around inside the compartment to vacuum up as much loose lint, dust, and debris as possible.
It is so much easier than trying to fish everything out with a bent hanger or another makeshift tool.
When I finished, I could actually see the metal at the bottom again. It wasn't absolutely spotless, but it was so much better than where I started.
Cleaning the lint screen and the compartment underneath it made a noticeable difference for our dryer.
Clothes that had been taking multiple cycles were finally drying much more normally, which made me wish I had tried this simple fix a whole lot sooner.
If your dryer suddenly needs an extra cycle to finish a load, don't automatically assume you need a new appliance.
Checking for lint buildup and cleaning these areas is an easy place to start.
Frequently Asked Questions
There are several possible causes, but restricted airflow from lint buildup is one thing worth checking. Start with the lint screen and its compartment, and if the problem continues, the exhaust vent or another part of the dryer may need attention.
Remove the loose lint from the screen before or after every load. Keeping the screen clear helps maintain airflow while your clothes are drying.
Dryer sheets and fabric softener can leave a film on the mesh that doesn't come off when you peel away the lint. Washing the screen with a little dish soap can help remove that residue.
Try running a little water over the screen. If water pools on top instead of passing easily through the mesh, residue may have built up.
Not quite. This tutorial cleans the lint screen and the compartment where the screen sits inside the dryer. The exhaust vent and ductwork that lead from the dryer to the outside of your home are separate and may require additional cleaning.
Clothes taking longer than usual to dry, loads needing multiple cycles, or a noticeable drop in drying performance can indicate an airflow problem. Lint buildup is one possible cause, but you should investigate ongoing problems rather than simply adding more drying time.
You can still clean the lint screen, but any work involving moving a gas dryer, disconnecting it, or accessing the exhaust vent should follow the manufacturer's instructions and appropriate gas appliance safety precautions.
Need help with this project?
Click a button below to ask AI what to use if I don't have a dryer vent cleaning kit.
More Cleaning Ideas
There is always something around the house that could use a good cleaning. Here are a few more helpful cleaning ideas to save for your next productive day.



Hi, I'm Katie!
I'm so glad you're here. Want to make something fabulous? I'm here to help!
Kim
Oh my gosh! We have been dealing with this same issue...and eventually the clogged up filter will cause the dryer to overheat & it will keep shutting itself off & can burn out the thermostat. Guess how I know this? lol I've washed my lint filter but it didn't seem as clean as it should...using a toothbrush is a great idea! I'm going to go do that now! Well...I'm putting it on my "to-do" list at least 😉
Julie @ Logger's Wife
I have a dryer brush set that fits into the slot where the lint trap goes then another one to clean out the duct itself but I have never thought to scrub the lint trap. That is getting added to my to do list. 🙂 (visiting from A Little R & R Wednesdays)
Deedra
I need to do this so bad. I need that tool that you used when I do it. Looks so easy that my kids could do it. Have a great day.
Katie
I put it off for may too long too so I totally understand. 🙂
Chris
Thanks for sharing this at Funtastic Friday!
Sara Syrett
What a great solution! Thanks for sharing at Merry Monday!
Katie
Thanks Sara! I'm glad you liked my Dryer tip!
Carol
Thank you for this, many people are not aware and it is so important because lint is highly flammable. I have known several people whose house caught fire due to over heated dryers and lint, or even because the dryer was not vented properly. One family member vented it to their attic and summer hot attic and lint cost them their house. Just a reminder, when you clean your lint trap don't forget the vent. We have found it easier to clean if your vent is sheet metal rather than those expandable plastic hoses. Even short lengths need to be cleaned regularly.
Katie
Thanks, Carol! All great tips and a good reminder as to why cleaning the lint trap and vent are so important!
YVONNE
The Lint Lizard is a great tool to use. You can also go on the back of your dryer take off the hose that goes to the outside and clean that out because it has alot of lint build up in the hose . Then take your vaccum to the back of the dryer and clean that out to. I didn't realize that so much lint was in the back of the dryer. Make sure to unplug it first.
Katie
YES! Great tip Yvonne! Thank you!
Jean Campbell
Don't forget to clean the duct from where it exits your house if it is accessible. I installed a vent cover that is hinged so I don't have to remove it each time. I use one of those brushes that looks like a giant bottle brush with a super long flexible handle. It gets the lint stuck to the walls of the duct loose, then I can vacuum it out easily.
Katie Adams
Great tips! Thanks Jean
Deb
Thanks so much for posting this. It's so important and could save someone's home or even life. While I was always diligent about cleaning the lint trap, I just never got around to having the dryer duct cleaned. I don't even know why, I just didn't, and even though it was taking longer and longer for the clothes to dry, I kept putting it off until eventually, my dryer caught on fire. Thankfully, I smelled the smoke and was able to put it out before it got too bad, but it was terrifying. I still shudder to think what might've happened if I wasn't home when it happened. I've made it a point ever since to make a regular appointment to have the dryer duct cleaned. So, besides cleaning your dryer's lint trap regularly and getting the duct cleaned, another important tip is to NEVER run your dryer when you're asleep or not home. It's just not worth the risk.
Katie Adams
Hi Deb, I am so sorry that happened to you.That is so scary!