This post may contain affiliate links. For more information, please see our disclosure policy.
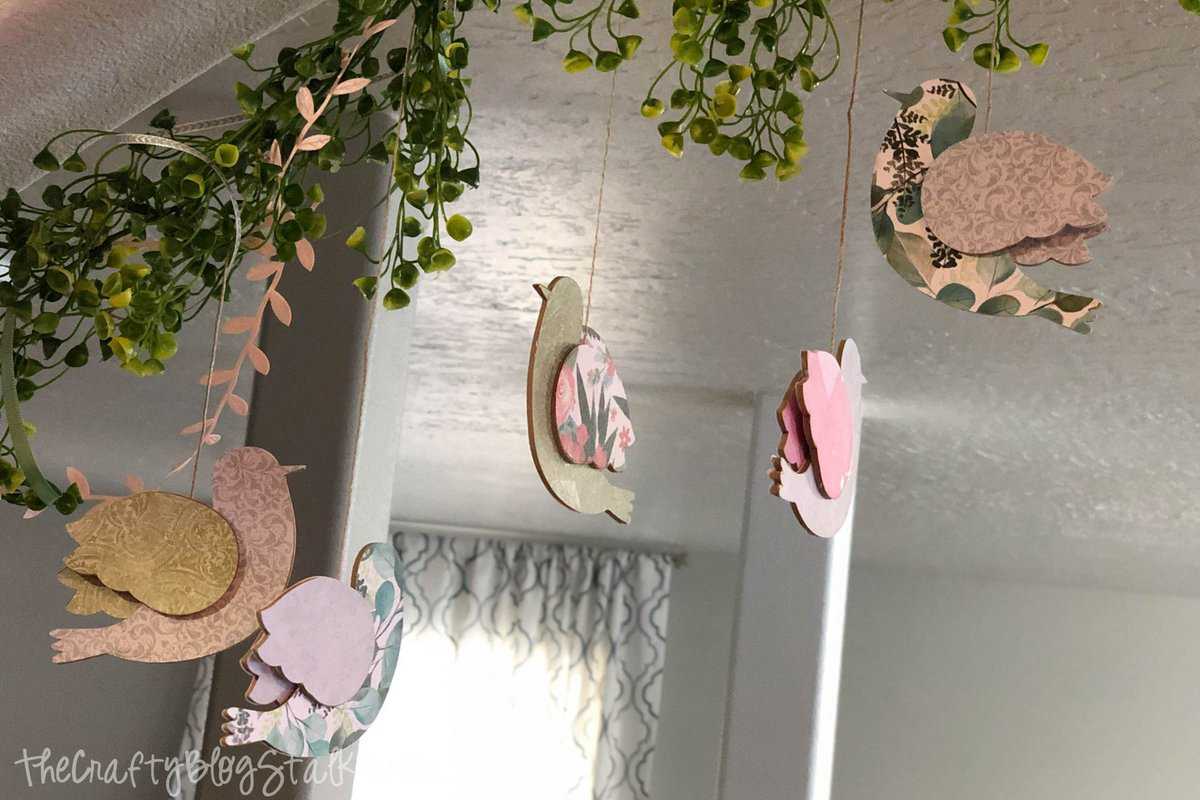
If you're looking for a fun and easy DIY papercraft, why not try this super cute paper bird garland! Read on to find out how to make a paper bird garland.
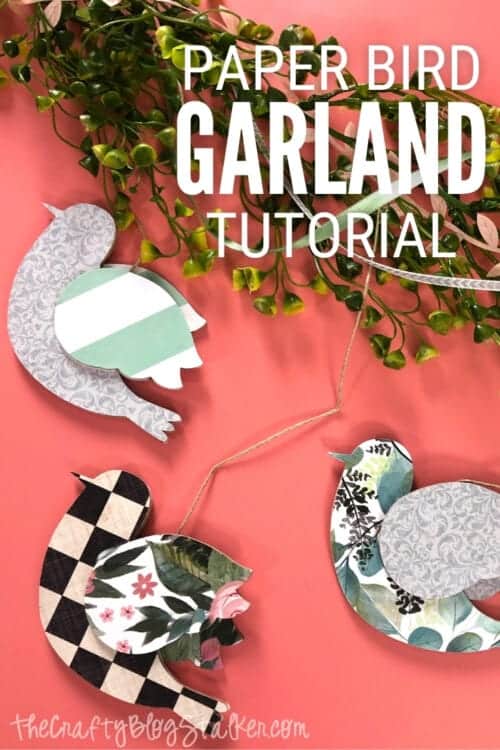
This bird garland is one of the most read tutorials on my website!
Readers have made it for nursery decor, Spring decor, and wedding decorations.
One reader even had it as a craft at her baby shower. She let her guests assemble the birds and leave messages on them that were later hung in the baby's room. How cute is that?!
This post was originally about a Hanging Bird Garland Kit, but sadly that kit is no longer available to purchase. Instead, we created a simple bird SVG file that you can grab for free and create this handmade Bird Garland using your Cutting Machine.
Craft Tutorial Video:
Like videos? I have a video tutorial for you! Please subscribe to my YouTube Channel so you don't miss out on any future video tutorials!
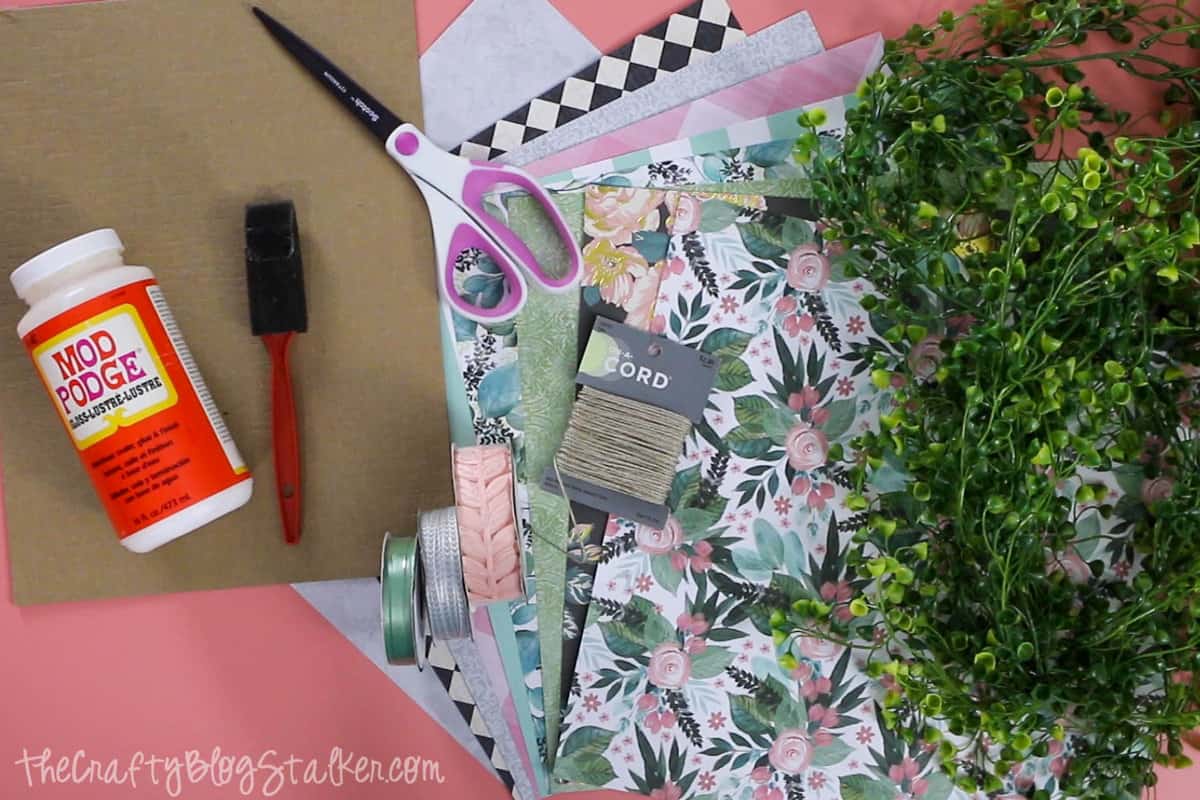
Supplies You'll Need to Create this Project:
Some links may be to similar items when exact items couldn't be found online.
- Cricut Maker
- Free Bird SVG Template
- Knife Blade
- StrongGrip Mat
- StandardGrip Mat
- Chipboard 2mm
- Pattern Scrapbook Paper
- Mod Podge
- Sponge Brush
- Ribbons
- Twine or a Strong Cotton Thread
- Greenery Garland
Cut the File in Cricut Design Space:
Grab the Bird Garland SVG.
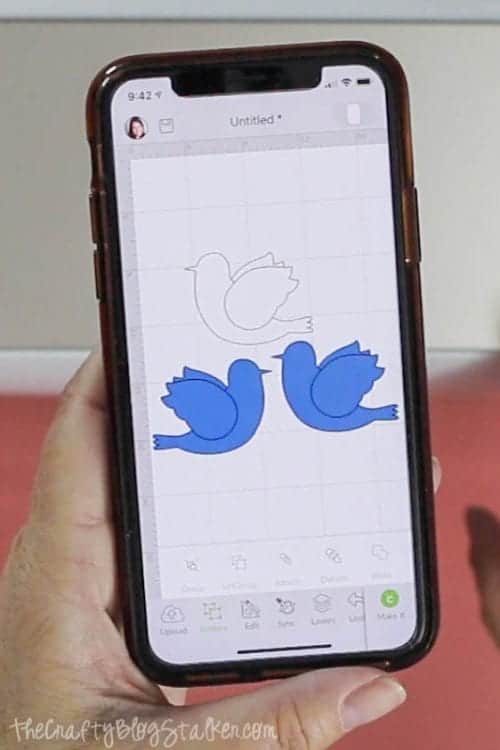
Upload the SVG file into your cutting software, I use Cricut Design Space.
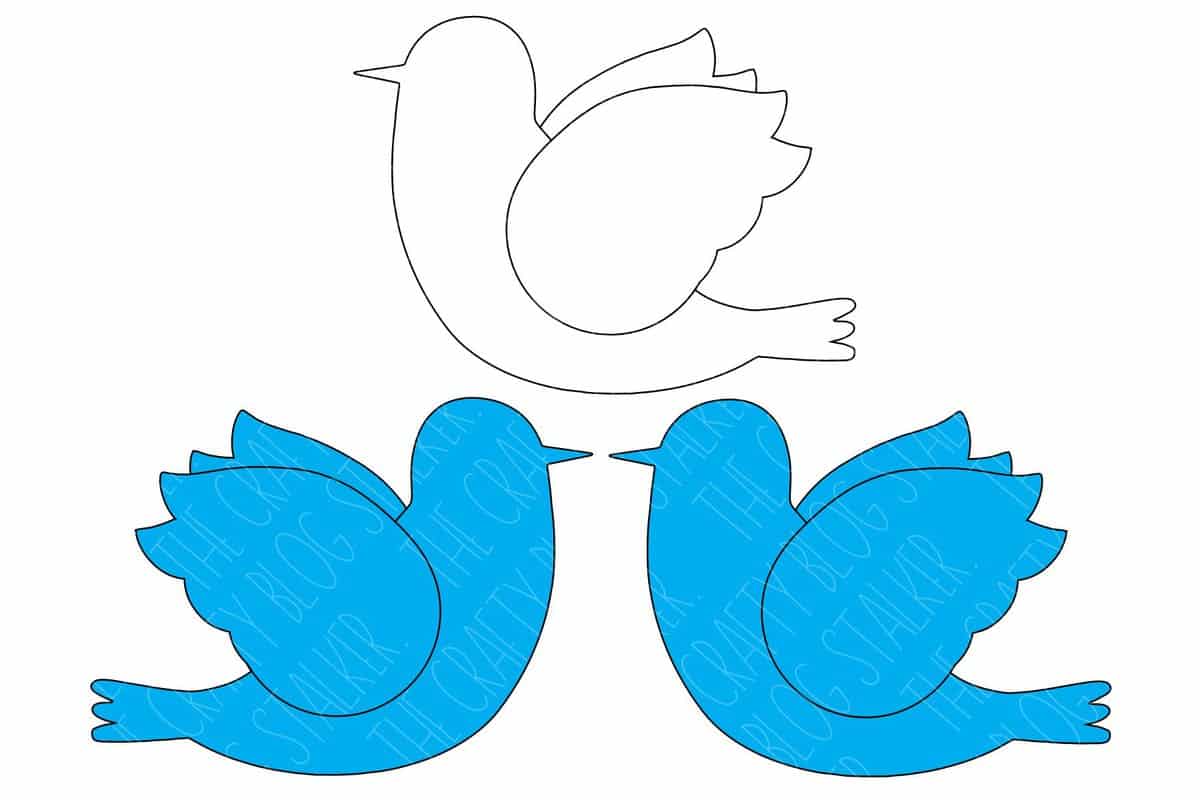
The birds are sized at 4 x 3 inches. This is the size I use for my garland, but feel free to adjust the size to fit your project better.
In the file, you will notice one white bird and 2 blue birds. The white bird is for the chipboard base of the bird. The blue birds are for the pattern paper to cover the chipboard. There are twice as many pieces because you will need to cover both sides of each piece.
To cut the chipboard, use the Knife Blade in your Cricut Maker.
Place the chipboard in the upper-left corner of the StongGrip mat and secure in place with strips of painter's tape along each side of the chipboard.
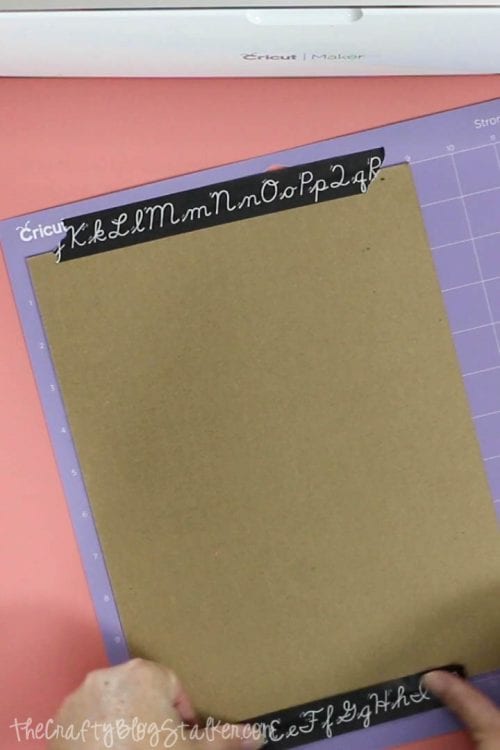
Cutting the chipboard on the maker does take some time. It takes several passes with the Knife Blade to cut it all the way through. So be patient, it will be worth it.
After the chipboard is cut, remove the Knife Blade and replace it with the Fine Tip Blade.
Apply the Pattern Paper to the Standard Mat and cut out the rest of the pieces for the bird.
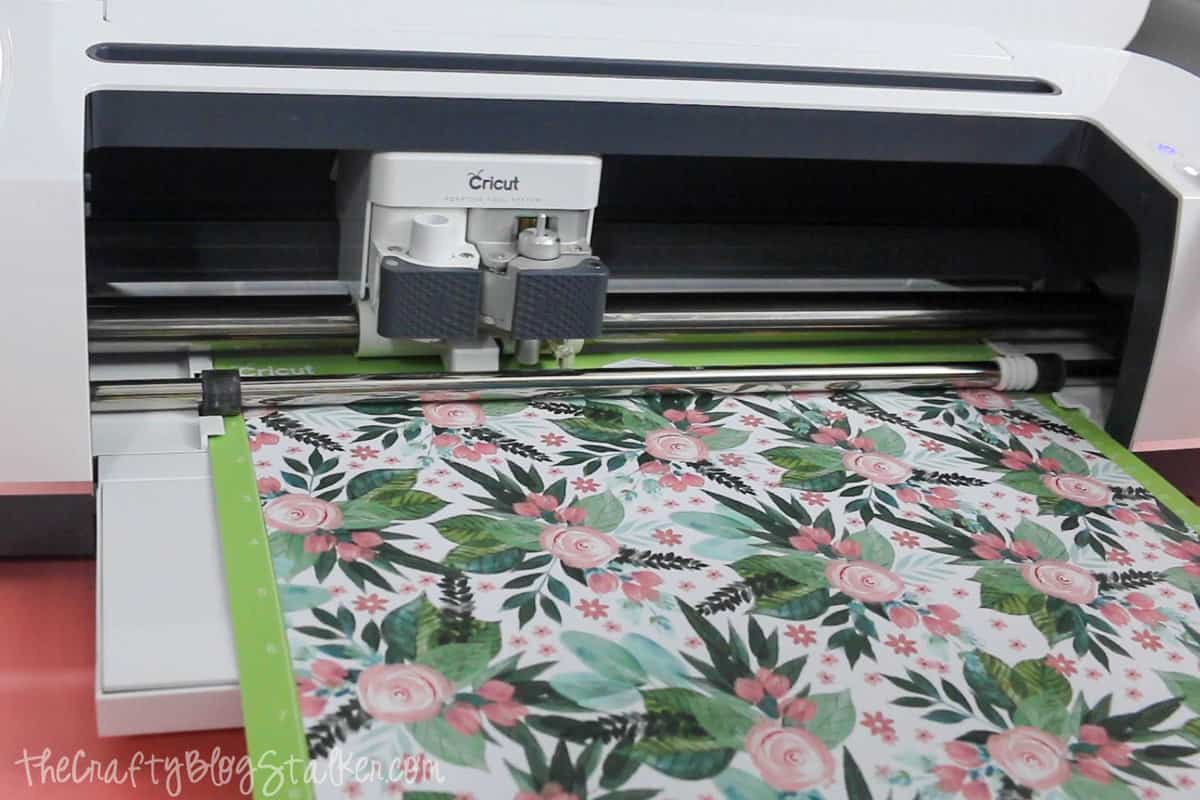
I cut out enough pieces to make 19 birds for my 6-foot garland but only used 16 of the assembled birds.
Assembling the Paper Birds:
If creating multiple birds with multiple patterns, begin by sorting all of the bird pieces into pattern stacks.
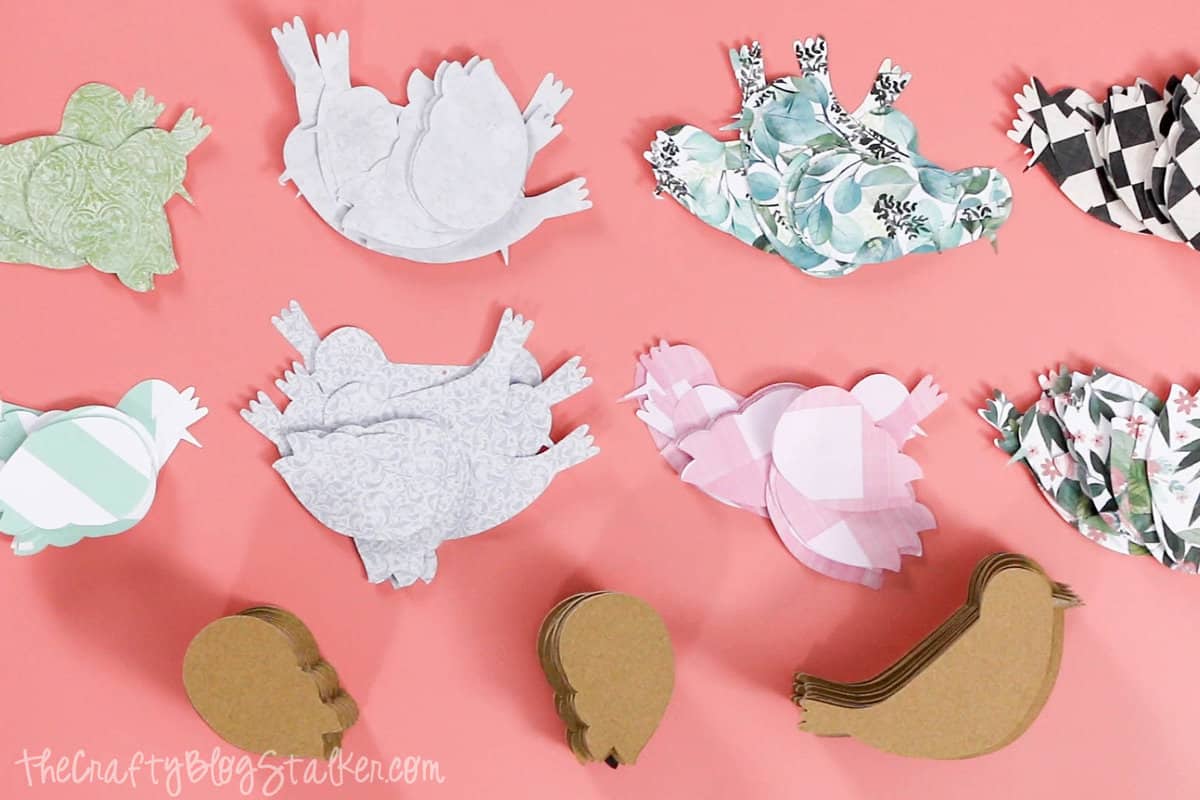
Sort through the bird bodies and wings and put the pieces together you will want for each bird. You will need two bodies and four wings to cover the chipboard pieces for each bird.
Use a foam brush to apply Mod Podge to the chipboard piece, and apply the matching pattern piece onto the chipboard.
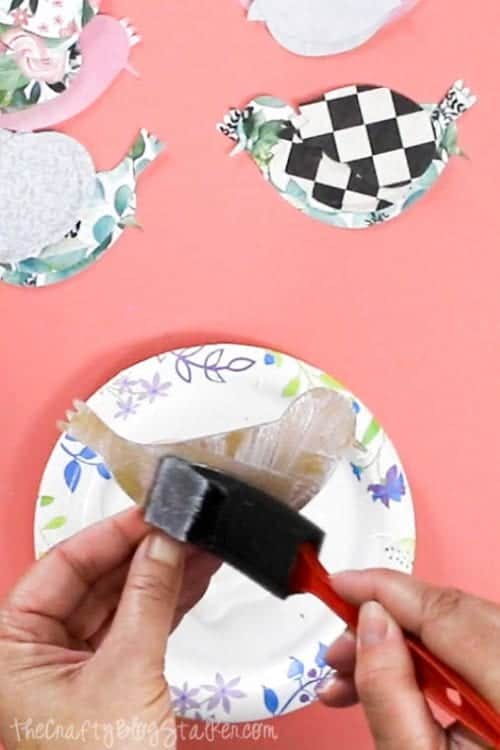
Tip: The paper bird bodies have a small hole at the top that can be pushed through with a paper clip or toothpick. Adhere the paper to the chipboard lining up the edges and the small hole.
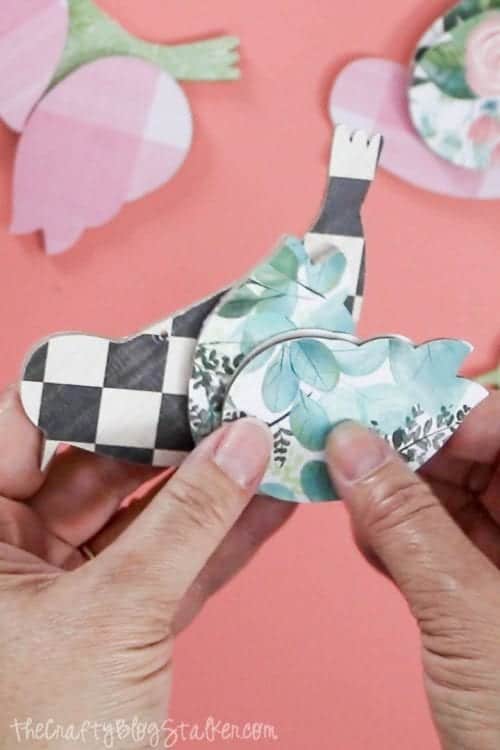
When all of the little bird bodies and wings have been covered, it is time to glue the pieces together and add the hanging twine.
Push the twine through the hole in the bird's body, tie a knot and trim off the excess. Measure 10-inches from the body and cut the length of the twine.
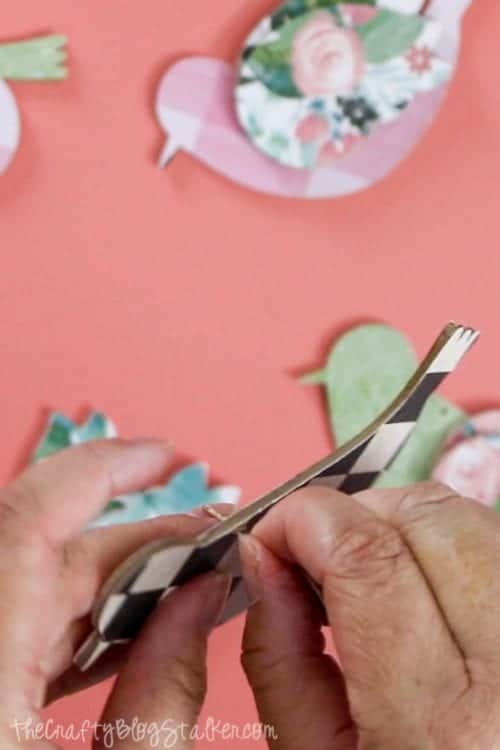
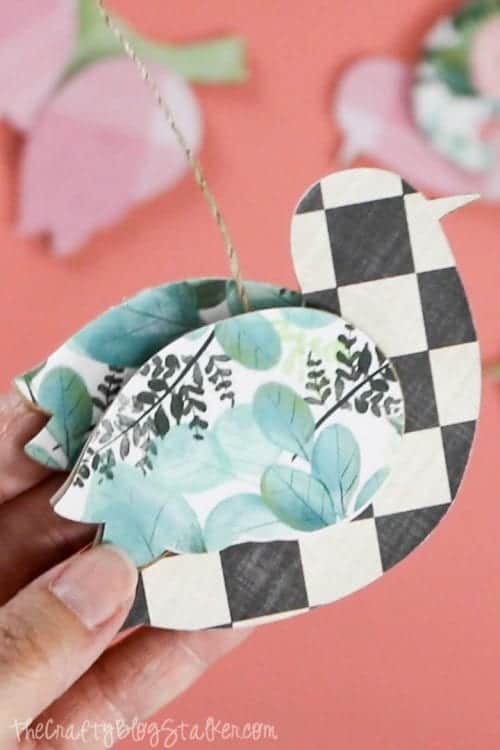
Apply glue to the bottom side of each wing and press it into place. Offset the wings just a bit so you can see the wing behind the one in front.
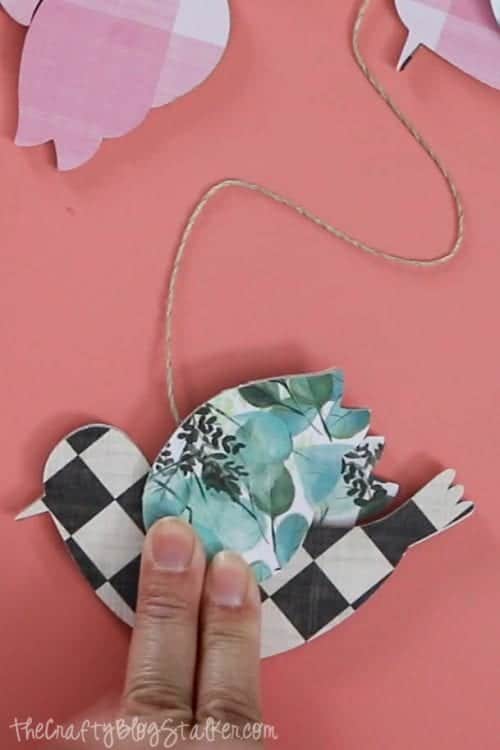
Isn't the finished birdie so cute?
Tieing the Birds onto the Garland:
You will need a large flat space like a table or the floor to tie the birds onto the garland.
Fold the Garland in half to find the center, and then unfold and lay flat on a large surface. Tie the twine of the first bird into that center spot, letting the bird hang about 5 to six inches below the garland.
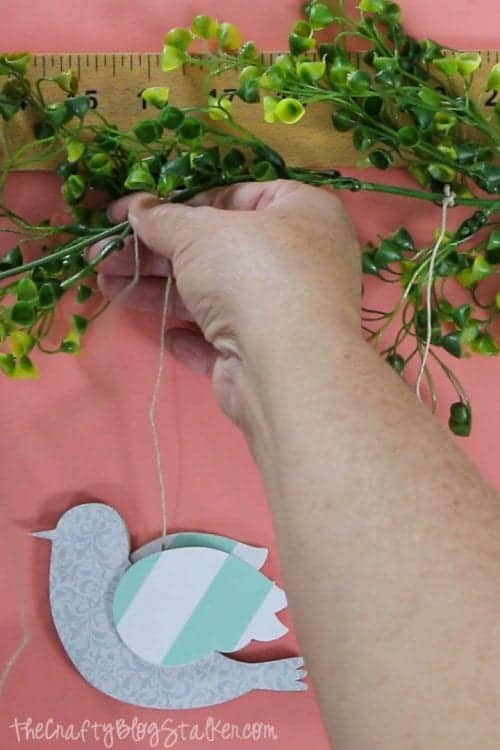
Tie another bird every 4 inches until you have covered the entire length of the garland with hanging birds in random order.
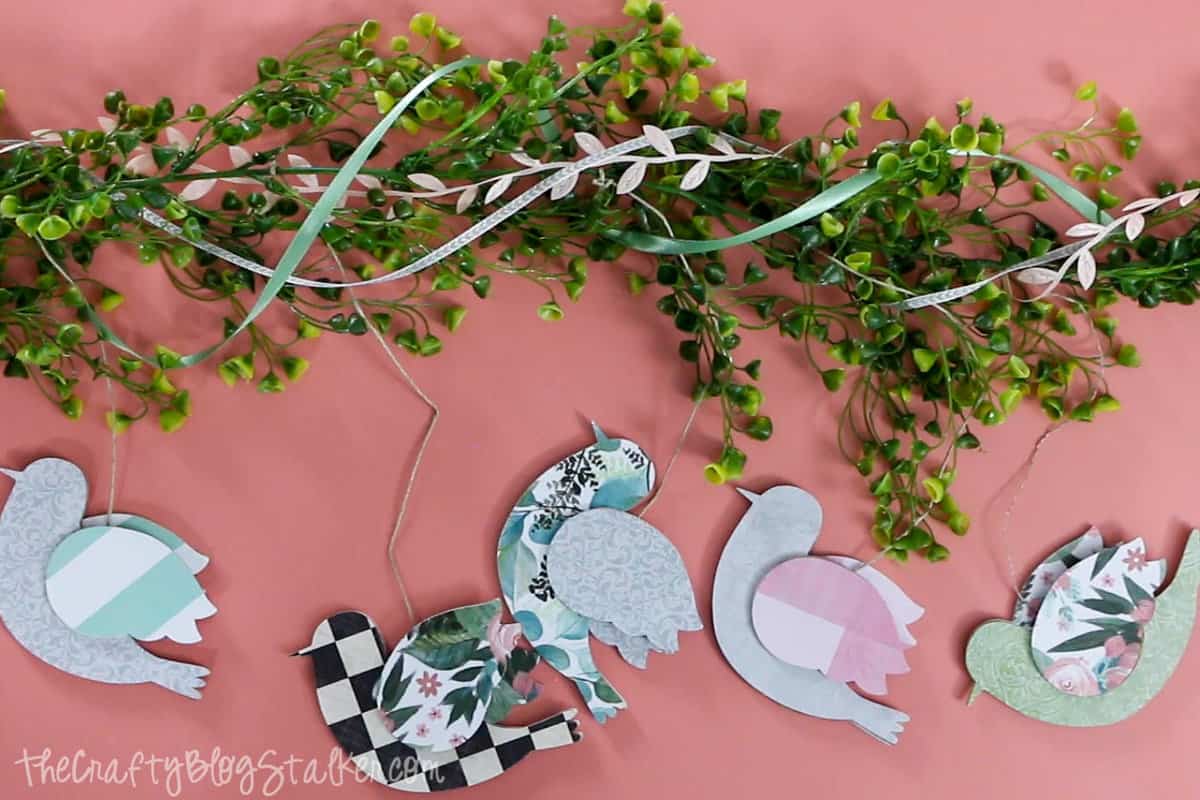
If you would like, take coordinating ribbons and loosely wrap those around the garland as well.
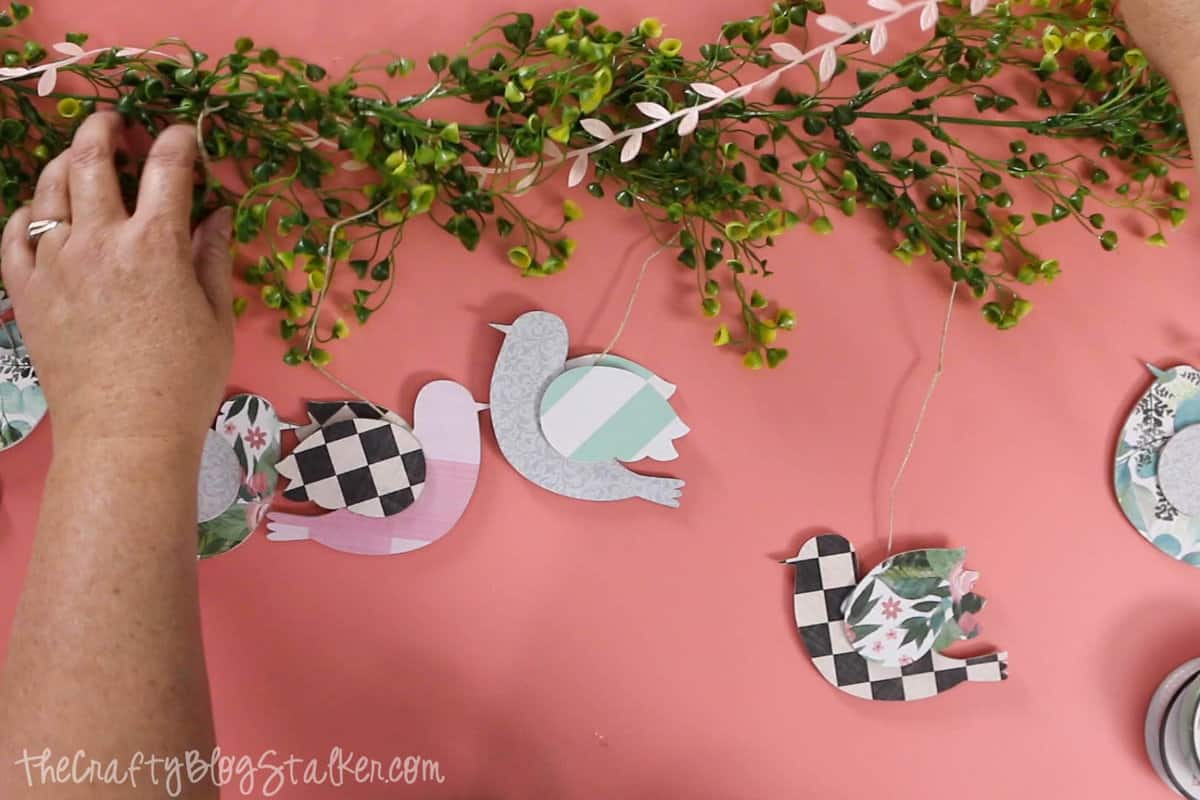
These can be adjusted once the garland is in place, and add a nice bit of charm to the garland.
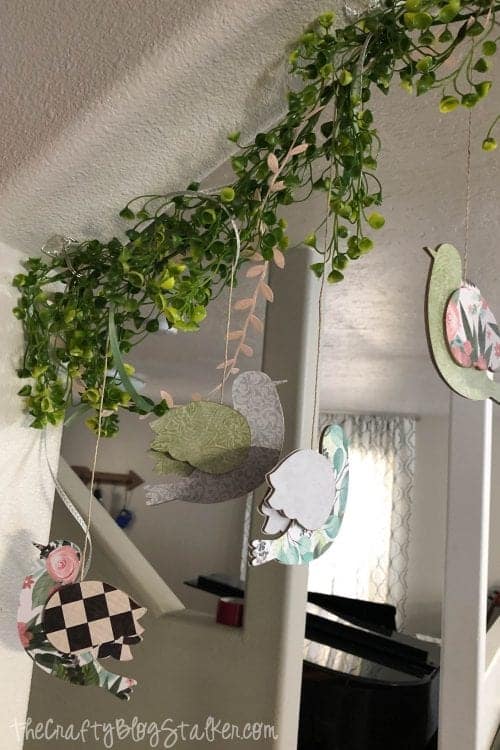
I hung my Bird Garland above the open arch wall separating my kitchen and main living area and I absolutely love how it looks.
Now the inside of my home can be warm with Spring even though it is snowing outside. I love it!
When you make this bird garland, please share a photo! We'd love to see it.
Our Crafting Essentials:
- The Cricut Cutting Machine is easily our favorite crafting tool. We use it in so many of our tutorials!
- These MakerX Crafting Tools are perfect for keeping in the craft room and are always ready when needed!
- This Fiskars Paper Trimmer is easy to use and cuts nicely without frayed edges.
- These Scotch Precision Scissors cut like a dream, and you get multiple pairs in a pack!



Pam@over50feeling40
So cute! What a fun idea for a nursery! Thanks for sharing with the Thursday Blog Hop!
Christine
Loving this idea, especially with Spring just around the corner!
Lori
Very sweet! Thanks for sharing at Dishing It & Digging It!
Laurie
Love the idea of using birds! Looks adorable. Thanks for sharing this week at Brag About It! Pinned and tweeted.
Laurie
Maarit
Cute birds!!
Katie
Thank you so much Maarit! This kit is available to purchase if you are interested.
Sherry
This turned out fantastic! I love the colors and patterns that you used. Thanks so much for sharing your tutorial with us at Funtastic Friday.
Lisa B.
Good Morning!! I wanted to let you know that your post has been selected as a Feature for the Welcome Home Wednesdays Link Party! Stop by this morning to see your post linked up and grab your Featured Button too! 🙂
Katie
Thank you so much Lisa! I can’t wait to see!
Randi
Oh gosh, I wish I could make these and them be that adorable!!!! I'm expecting a little girl end of May and this would be so perfect for her room!!
Katie
Congratulations Randi! This would be perfect for her room. Enjoy your new little girl!
whitney
do you have this as a SVG file when we but it so we can use our cutting machines? I want to make a ton at once for a baby shower.
Katie
I am sorry, but I do not have an svg file.
STEPHANIE ABBOTT
That is adorable! Love the paper patterns and birds. This would make a cute crib mobile too. Love!
Katie
I am so glad you like it Stephanie. Several people have used this banner for a baby shower banner too!
Heidi
Very fun! This would be so cute in a baby nursery! Thanks for sharing with Funtastic Friday!
Katie
Thank you, Heidi! I have actually had several people purchase the kit for baby showers. Have each guest assemble a flower and then you have a beautiful keepsake to keep in the baby's room!
Emily
This is darling!! It'd be perfect for a shower, or even just Spring decorating!
Yaquta
Where could I buy the kit I know it says not available anymore. Doing it on my own bit it's taking me forever.
Could please guide where could I buy the kit from. Is it available in London? Its for daughters birthday party
Katie
I am so sorry but the company that created the kit went out of business. So the kit is not available anywhere to purchase.