

How to make a journal for a bullet journal, junk journal, devotional writing, or whatever you want to write down. An easy DIY craft tutorial idea.
Complete step-by-step instructions below!

Journals can provide so many different uses! I wish I was better at having a junk journal, or a bullet journal, but I am boring and just like to jot things down like ideas and lists.
Whatever the reason for wanting a handmade journal, this step-by-step tutorial is going to show you exactly how to create your own from start to finish.
Supplies Used to Make a Journal
Items linked below may go to similar items when exact items couldn't be found online. Links are affiliate so when you purchase, I will get a small kickback to help fund the next tutorial!
- Chipboard
- Lined Notebook Paper
- Double-Sided Tape
- Pattern Paper
- Zutter Bind It All
- Fabric Scrap
- Felt
- Button
- Hot Glue
- 3/16 Eyelets
- Elastic
How to Make a Journal
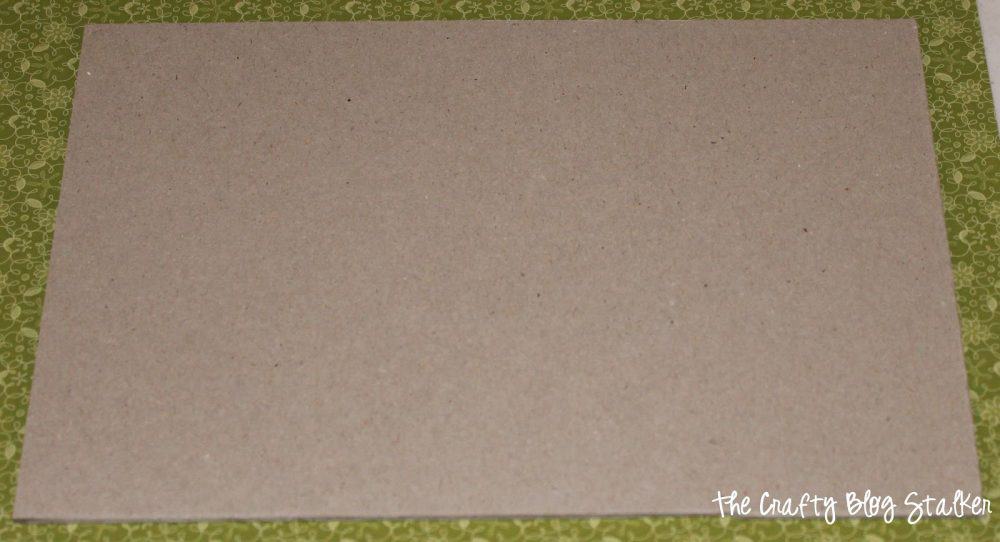
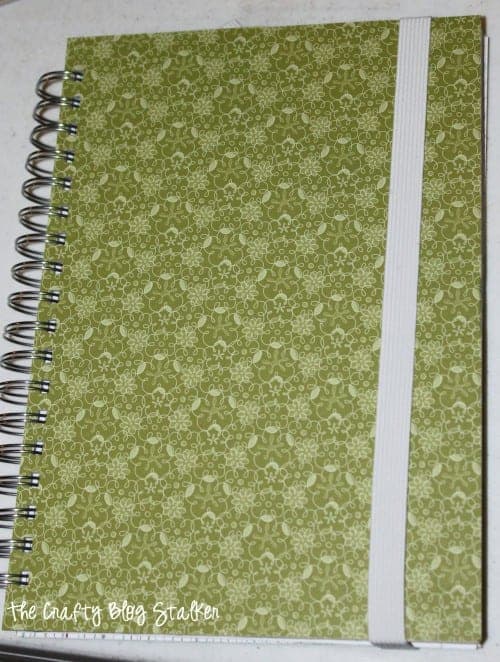
For the front and back cover, use a piece of chipboard that is cut down to 7 x 10 inches.
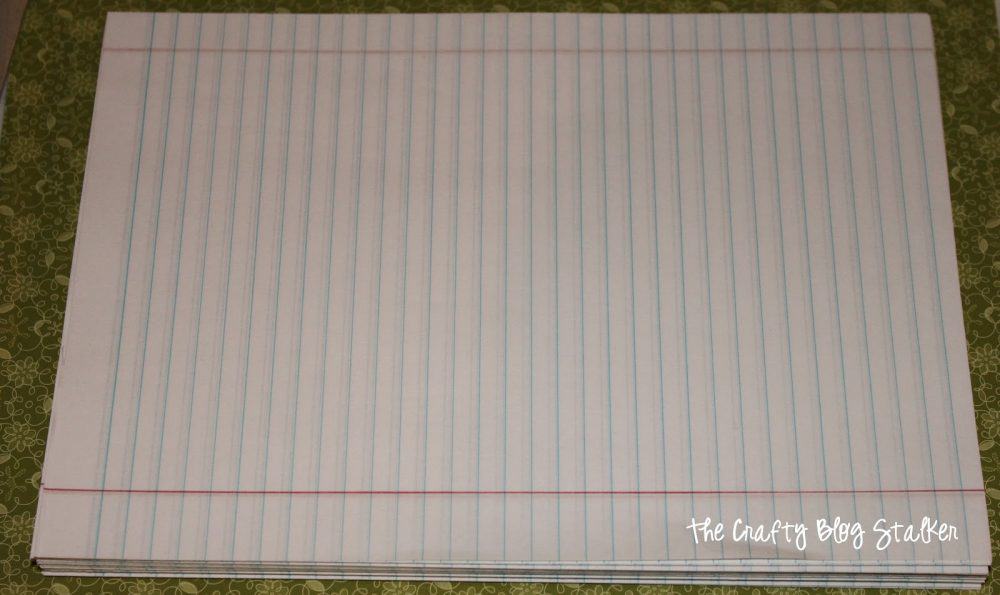
Cut the lined notebook paper to 6 13/16 x 9 13/16 inches so they would fit nicely inside.
For the front and back covers, go around all 4 sides of the chipboard with double-sided tape

To do the wire binding you will need a binder tool. I use the Zutter Bind it All
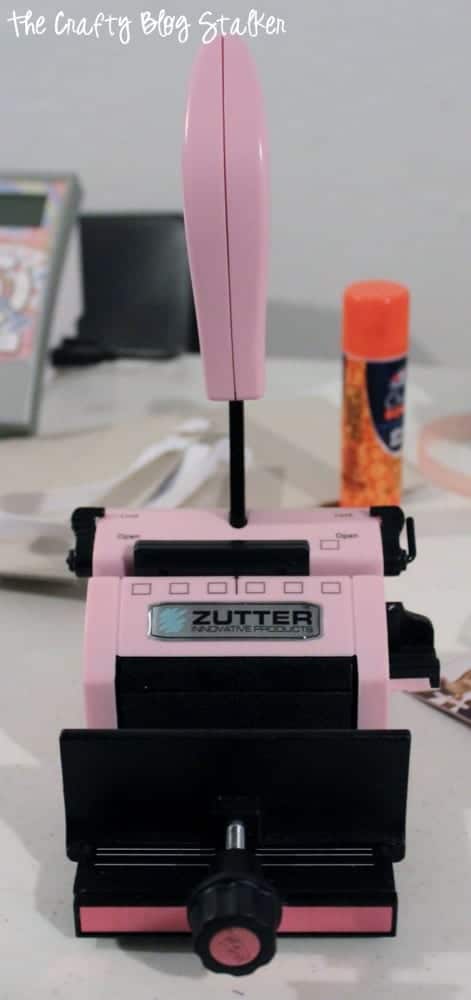
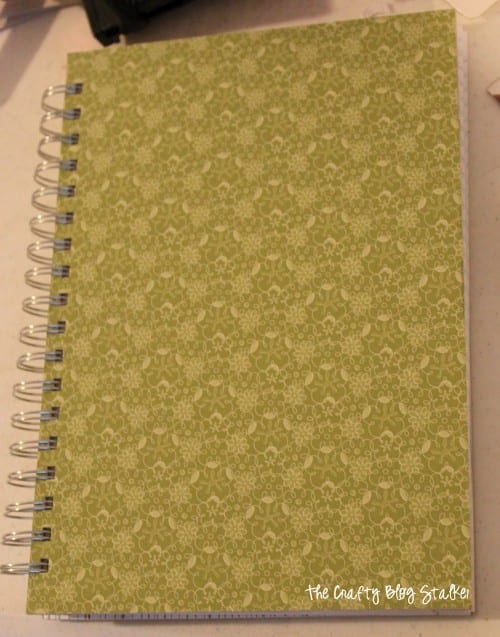
Follow the instructions that come with your binding tool and bind your journal. Doesn't it look pretty already?
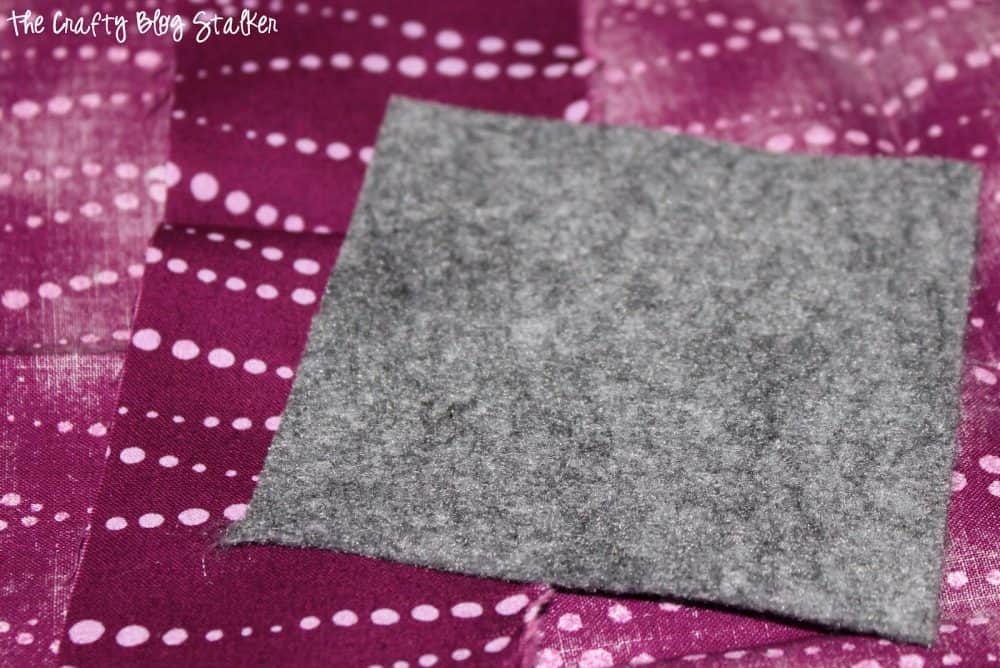
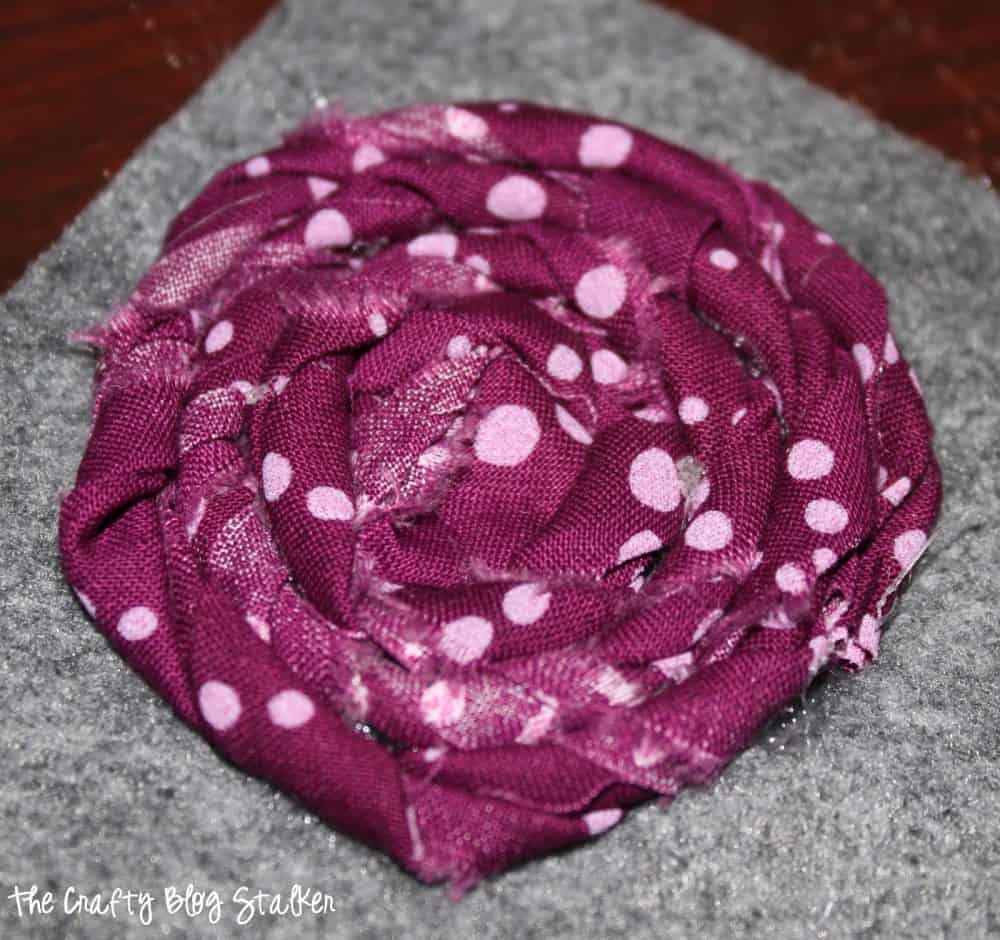
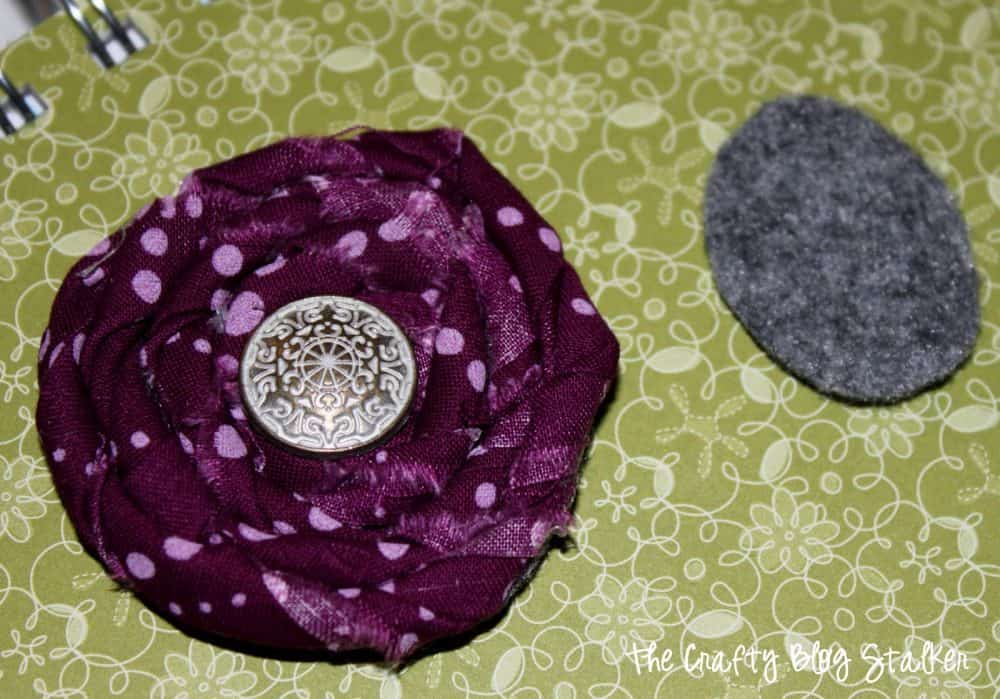
To dress up the front of the journal. I decided to make a twisted fabric flower. I had never made one before so I went on to Pinterest and found a great tutorial at NatSprat. It included great step-by-step pictures and was very easy to follow.
You basically make the twisted fabric flower with a strip of my fabric and a square of felt. Go to NatSprat for the full tutorial.
And twisted it into a flower. Isn't it cute? And this was the first twisted flower I ever made! They are really easy to make.
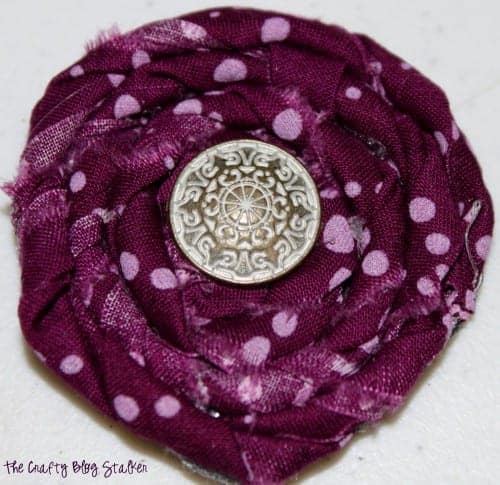
Trim the edges of the felt and hot glue a cute button to the center.
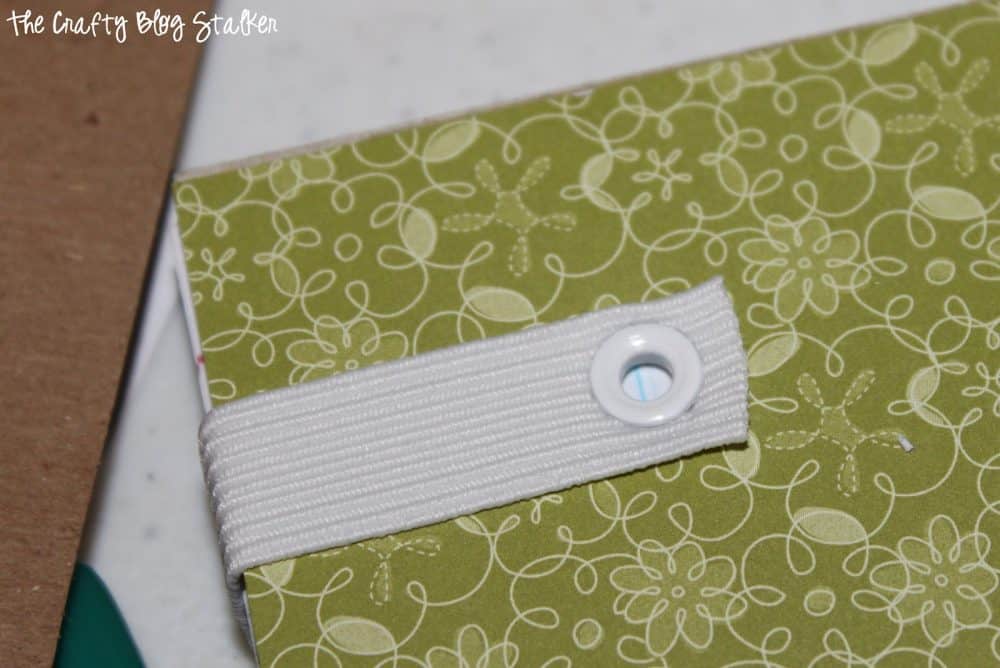
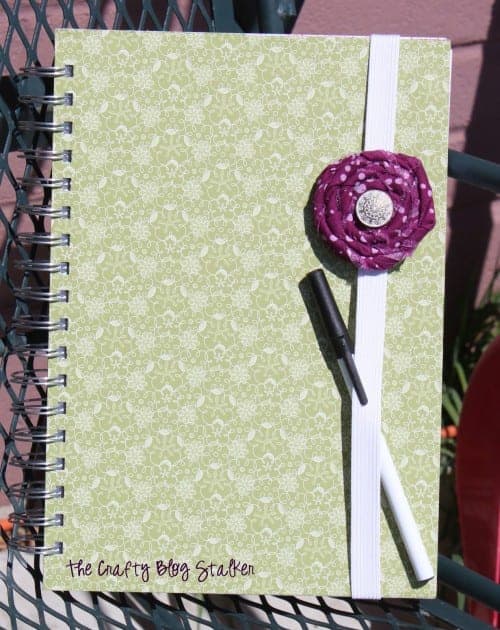
The elastic strap is totally optional but is a great way to keep the journal tightly closed.
I went to my sewing box and pulled out some elastic and used 3/16 eyelets to secure it to the journal. The length of elastic will depend on the size of the journal.
This is how the front looks with the elastic strap. As you can see it is a little plain so it needs that flower.
To glue the flower on, cut another small oval out of the felt and glue the oval to the underside of the elastic and then hot glue the underside of the fabric flower to the oval.
Isn't it cute and fun? Now I feel like writing something. Hmmmmm what should I write about?
How will you be using your journal?
Crafting Essentials
- The Cricut Cutting Machine is easily my favorite crafting tool. We use it in so many of our tutorials!
- These MakerX Crafting Tools are perfect for keeping in the craft room and are always ready when needed!
- This Fiskars Paper Trimmer is easy to use and cuts nicely without frayed edges.
- These Scotch Precision Scissors cut like a dream, and you get multiple pairs in a pack!
SayNotSweetAnne
Katie! This is a project after my own heart. I can't tell you how much I love making books. Somehow a fresh section of paper is so inspiring!
Lynette @ My Craft Discovery
That turned out very cute! I just barely bought a notebook to keep in my purse. It was kinda cute, but not quite what I wanted. I will probably embellish it up a bit. It really does make a difference to have something pretty to use, doesn't it? 🙂
Rachel
This is so cute! Thanks for sharing at Terrific Tuesdays.Rachel
Karen at Bargain-ista.com
This is so cool! I love journals! I carry one around with me and write down all mt project ideas 🙂
Karen
That is so cute! I always have a notebook with me and that looks so much cuter than a boring old plain notebook lol.
Emilee
My gosh this is so stinking cute! I wish I had one of those tool thingys I'd have a journal in every color!
Found you through the Thursday link up and I am so glad I did.. YOU are AWESOME! and I love your blog name!
Following you here on FB and on Pinterest!
http://mommamadeit.blogspot.ca
Michelles Tasty Creations
Hi Katie,
Thanks so much for linking up to Creative Thursday this week. This is adorable and right in time for Mother's Day and Graduation! I will be making lots of these in the near future.
Hope to see you again next week. Have a wonderful weekend.
Michelle
Melanie @ bear rabbit bear
The flower is my fav! So glad to have you at Things I've Done Thursday!
Our Side of the Mountain
Stopping by from Toys in the Dryer! That's a really sweet notebook/journal! I wish I had the binding tool! LOL
Kadie
I love it when people say "So I wanted a __________ and I just made one for myself"! It's great that you just wiped this up. I love the elastic and flower. So clever. Thanks for sharing with us at Link It Up Thursday.
Michelles Tasty Creations
Hi Katie,
Just a note to let you know you're being featured on Creative Thursday. Come by and take a look.
Michelle
Theresa
This is a cool project. I wish I had that tool! Did you secure your eyelet with a crop a dial? Since I don't have the other tool maybe I can cover a pre-made one with the embellishments & elastic! Love the idea! Found you from a hop. Hope you can drop by the door is always open.
Katie Adams
yes, that is exactly what I did. I made the hole first in the cover using the crop a dial and also used it to put a hole in the elastic piece and secured them both to the cover again with the crop a dial. It sure is a handy little tool!
Jess
So cute!!! I have a cinch it, I've only tried to use it twice and my spiral binding doesn't get round, when I do it it turns into a funky oval shape 🙁 Yours is so cute I love the fabric rosette!
xo Jess
{www.CraftyNonsenseNoted.com}
Katie Adams
I have learned that with my bind it all you have to go very slowly and not cinch it all at once. I will push it in just a little bit and move down the book. Then cinch it a little bit more and so on. When I have done it this way my binding doesn't turn a funky shape but stays nice and round. I hope that works on the cinch it too!
Jenny @ The NY Melrose Family
Your rosette is gorgeous! I love that your binding tool is pink. So fun. Thanks so much for sharing at Whimsy Wednesdays.
Ana Lopes
Super cute! Love it!
Thanks for sharing great tutorial!
Have a wonderful weekend!
Hugs from Portugal,
Ana Love Craft
~Glory~
Love this post! I love notebooks, journals and everything in between! I have tons in my job (I am an Administrative Assistant) I want to make them pretty! thaks for sharing!
ingrid@nowathomemom
I love journals, notebooks, yours turned out so beautiful, thank you so much for posting this tutorial! 🙂 now, I need to find a binder tool!
Huckleberry Love
Too cute! I love journaling. Definitely pinning this for future inspiration. 🙂
espirational
I really like that. Cool flower.
Carol S
Great journal! Love the elastic closure idea and the flower...super!
Diana - FreeStyleMama
My daughter would love this!
Mixed Kreations
Love your journal, and the added touch of the flower. Very pretty. I been experimenting with the mini journals to use in some of my jewelry designs.
Visiting from the Pink Hippo Party.
Linda @ MixedKreations.com/blog
Emilia Bellflower
It is so pretty. Great tutorial:)
Marie bloominghomestead
Super fun idea. I love this and these would make excellent gifts. I'll be featuring this on my party highlights post this week. 🙂