This post may contain affiliate links. For more information, please see our disclosure policy.
Create a spooky black and white striped skull wreath this Halloween! Easy to make, perfect for haunting decor. Follow our step-by-step guide. This post contains affiliate links.
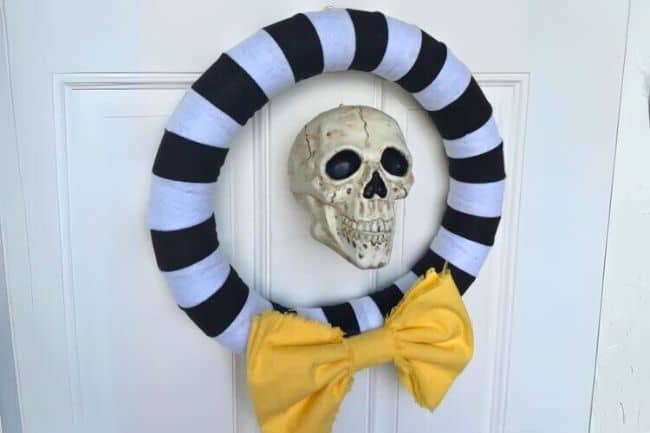
Halloween is just around the corner, and if you're anything like me, you're itching to get your home looking spook-tacular!
Well, you're in for a treat—no tricks here!
Today, I'm sharing a super simple DIY project that's going to add that perfect touch of eerie elegance to your front door.
It's a Striped Halloween Skull Wreath! Trust me, this isn't your average wreath; it's a hauntingly chic masterpiece that's as easy to make as it is eye-catching.
So grab your crafting supplies, and let's get started making Halloween wreaths that will be the talk of the ghost town!
Supplies Used:
- Foam Pool Noodle
- Gorilla Tape
- Plastic Skulls
- White Felt
- Black Felt
- Yellow Cotton Fabric
- Hot Glue Gun
- 12mm Screw Eye
- Fishing Line
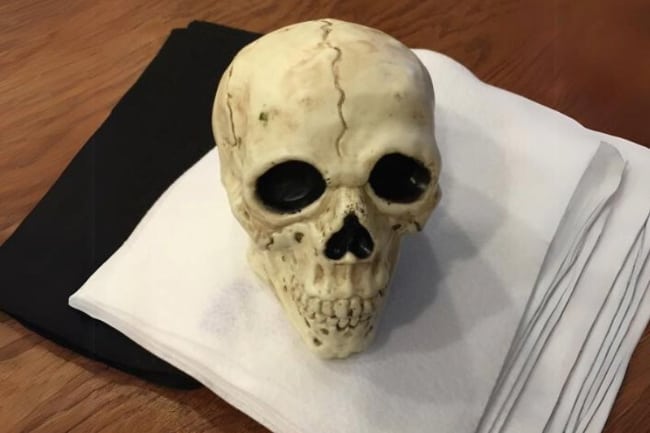
Most of these supplies can be purchased at your local Dollar Tree making this a budget-friendly project!
Wreath Form from a Pool Noodle:
This wreath was pretty simple to put together and I love how it turned out.
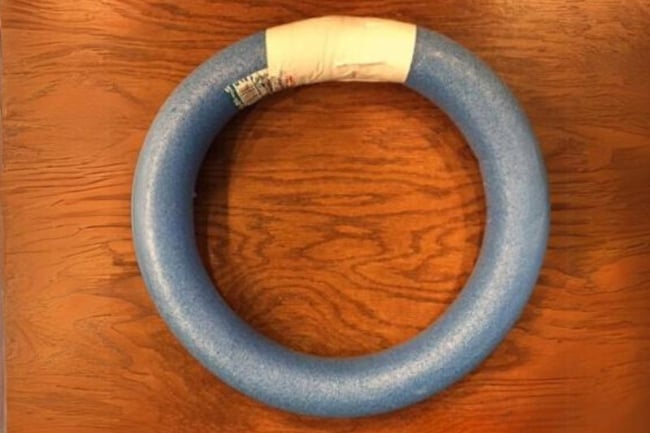
I started with a pool noodle that we had hiding in our closet. The hot summer pool days are over so I don't think it will be missed.
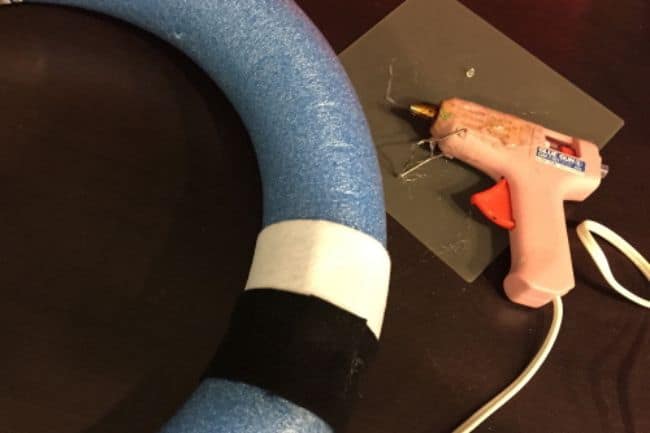
Using Gorilla Tape I taped the ends together to form the wreath shape.
Felt Stripes:
Cut the felt sheets into strips that measure 8.5 x 2 inches.
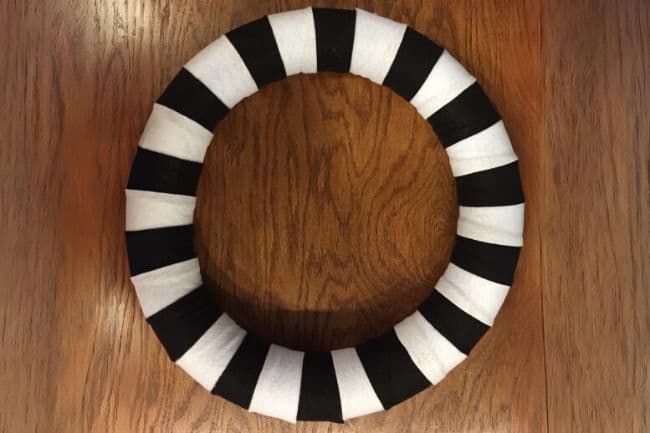
For my wreath, I ended up needing 14 strips of each the black and the white.
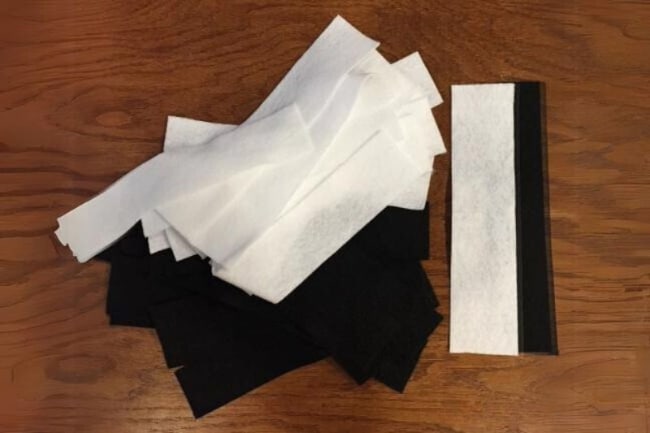
Glue the strips onto the wreath form with a glue gun in a striped pattern.
This is how my wreath looked after all of the felt strips were glued into place.
It's already looking really fun!
Hanging the Skull:
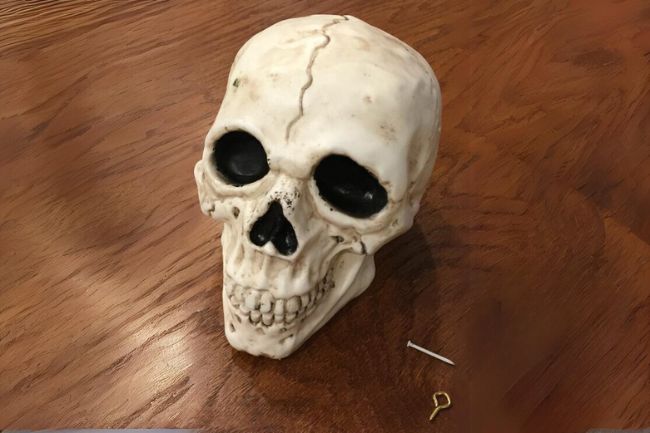
To hang the skull inside of the wreath, use a nail and a hammer to create a small hole at the top of the skull (not a sentence I ever thought I would say).
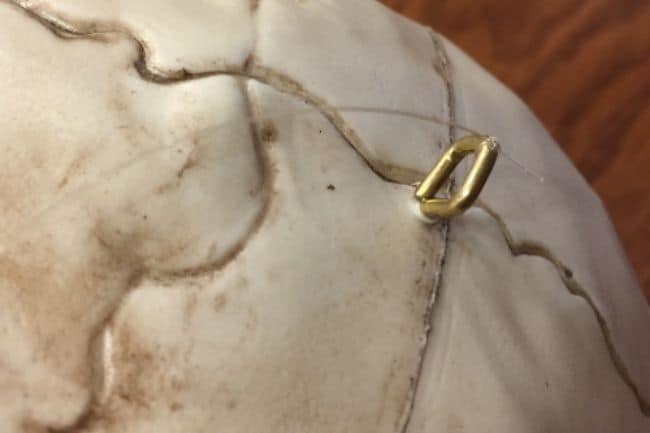
Take a long piece of fishing line and tie it to the screw.
You can secure the knot with a dab of glue.
Wrap the length of fishing line around the top of the wreath and tie it off when the skull is centered in the wreath.
The fishing line works great because it is clear and makes the skull look as if it is floating.
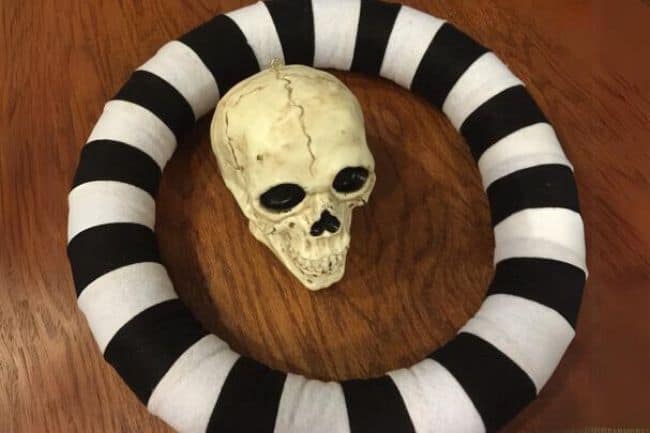
The wreath is cute but not quite done, it needed something more.
So I went digging through my fabric stash and found some yellow flannel fabric.
I frayed the edges of the fabric and made this fun bow.
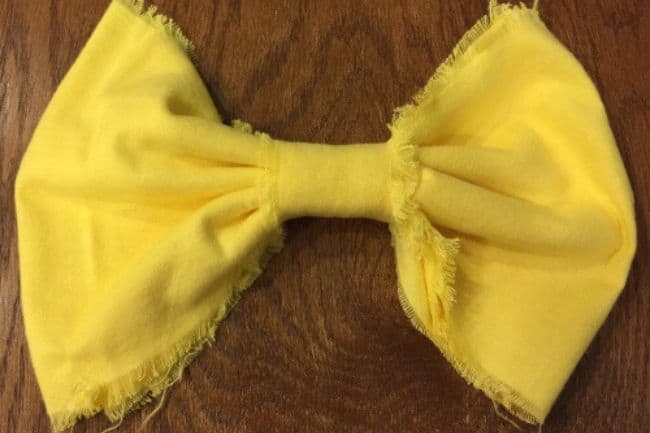
Hot glue the bow onto the bottom of the wreath, and now it looks complete.
The best part is that when the door opens and closes the skull head shakes back and forth. Creepy!!
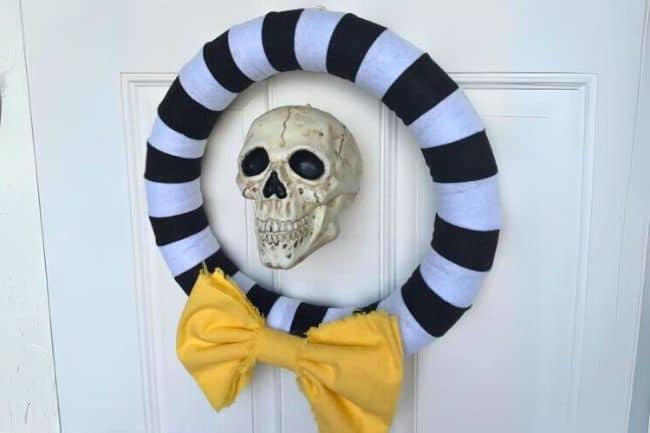
Trick or Treaters and guests will love your Halloween decor that is perfect for spooky season.
Our Crafting Essentials:
- The Cricut Cutting Machine is easily our favorite crafting tool. We use it in so many of our tutorials!
- These MakerX Crafting Tools are perfect for keeping in the craft room and are always ready when needed!
- This Fiskars Paper Trimmer is easy to use and cuts nicely without frayed edges.
- These Scotch Precision Scissors cut like a dream, and you get multiple pairs in a pack!




Rachel
Love this! Your right about the cute and creepy part. I can't decide if he is welcoming me in or scaring me off. Maybe both? haha. Thanks for sharing on Merry Monday!
Ida
I love this wreath. So perfect for Halloween!
Thanks for linking up at Merry Mondays!
Amanda @ The Kolb Corner
I am getting a very Nightmare Before Christmas vibe from him. I love it! Thank you for sharing at the Merry Monday Link Party!
Mila
Oh, the skull is spooky- loving it!
I love elegant touch-the bow 🙂 I think, you should name "him" somehow hahaha 😉
xx
Mila
milaslittlethings.com
Bobbi
Hi there! You were one of the most clicked at our Teach Me Tuesday party last week! Congrats!! Stop by and get a "Featured" button. Hope to see you again this week!
Kimberly
I love it! Perfect for Halloween. Pinned. Lou Lou Girls
Adrian
Love that skull! Thanks for linking with us at the Teach Me Tuesday Linky Party! I hope you'll have the time to party with us this week, as well.
Natalie
I love your wreath!
Thank you for sharing on Marigolds' Loft Tutorial Thursdays Linky Party.
Your post will be featured on the tutorial round-up tomorrow, 30 October 2014.
I look forward to seeing you again at next month's party.
x
Natalie
Shauna
Cute Wreath! I love using the pool noodle! I'm definitely going to be using that idea with my own wreaths.
Katie
Thanks Shauna! I'm so glad I could teach you something new! 🙂
Beverly
Love your Halloween wreath. So cute.
Bev