


Make Cricut Christmas cards with this free SVG! Use layered cardstock to create a pretty snowy woods scene with trees and a snowman.
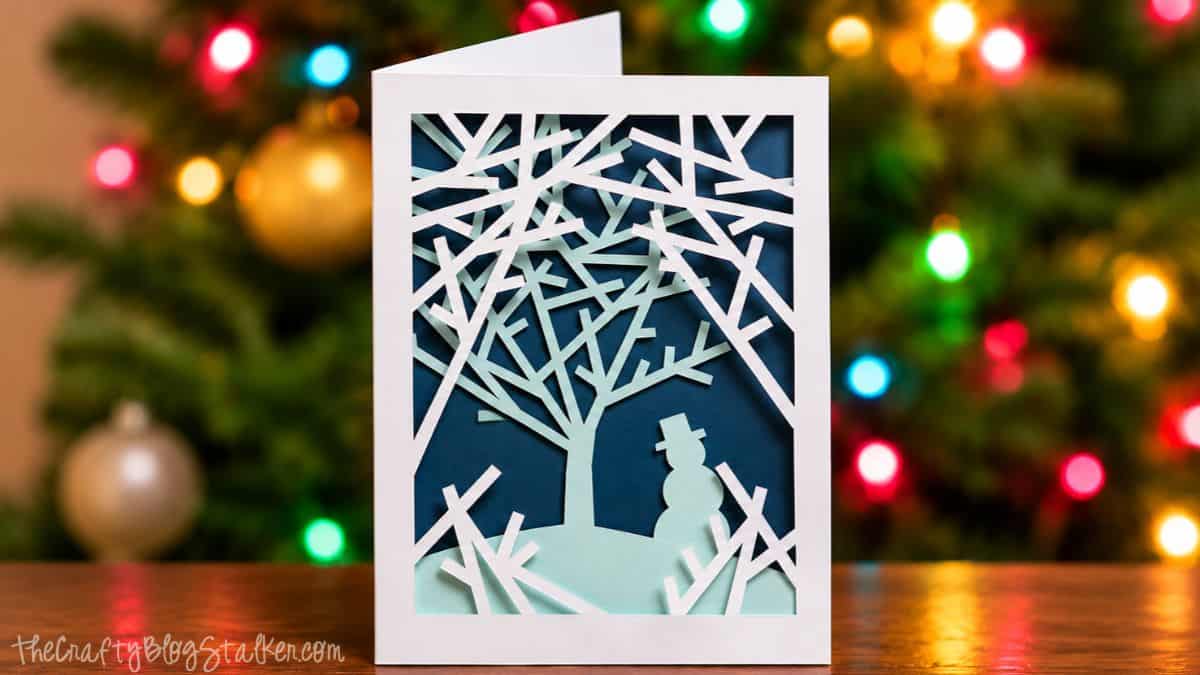
I love making Christmas cards with my Cricut, and this snowy woods card is one of my favorites.
It has white trees, a cute snowman, and layers of blue paper that make the scene pop.
The best part is that it looks hard to make, but it's quite easy!
I'm sharing a free Christmas card SVG so you can make one in about 30 minutes.
Jump to:
Skill Level: Beginner
Estimated Cost: $1 - $2 per card
Total Time: 30 minutes
Craft Tutorial Video
If videos are your thing, you're in luck-I've got a full tutorial ready for you!
Subscribe to my YouTube channel and stay inspired with every new project.
Supply List
- Cricut Cutting Machine
- Scoring Stylus or Scoring Wheel
- Snowy Woods Christmas Card SVG
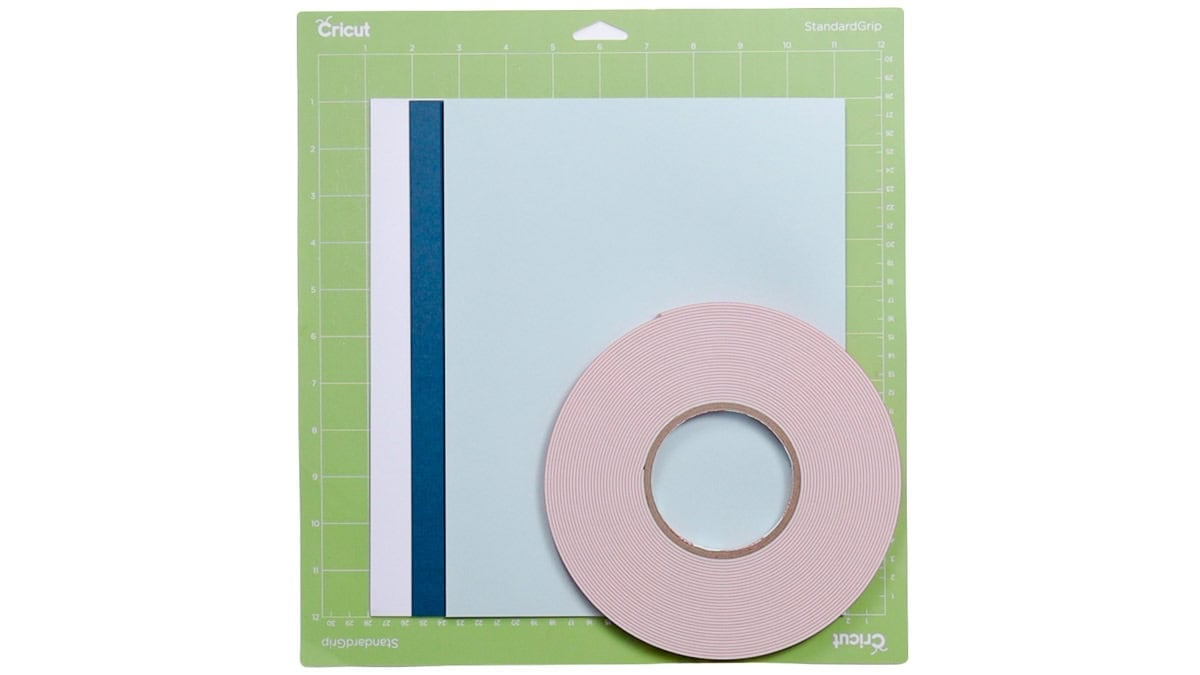
- Cardstock (white, light blue, dark blue)
- Adhesive Foam Tape
- A2 Envelopes
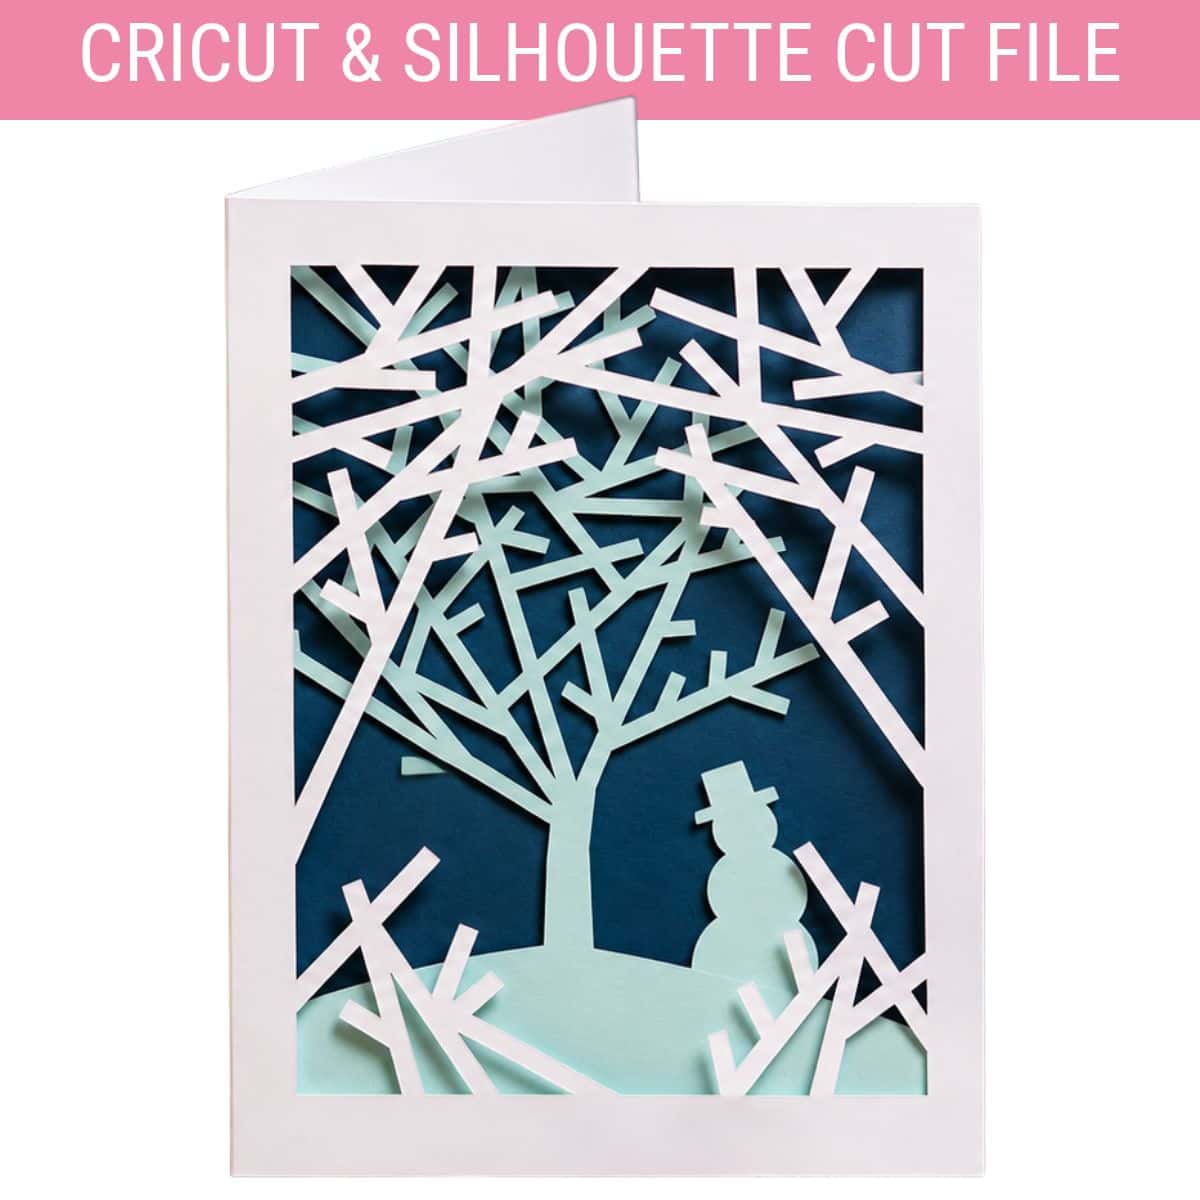
Grab the Free Christmas Card SVG
Get the free Snowy Woods Christmas Card SVG below.
The file includes all the pieces you need to make the card, so you don't need to draw or size each part yourself.
Set Up the Card in Cricut Design Space
This card is easy to make because your Cricut does most of the work.
The SVG is set to make an A2 card. When folded, the card is 4.25 x 5.5 inches, so it fits in a standard A2 envelope.
Open the SVG in Cricut Design Space to see all the parts of the card.
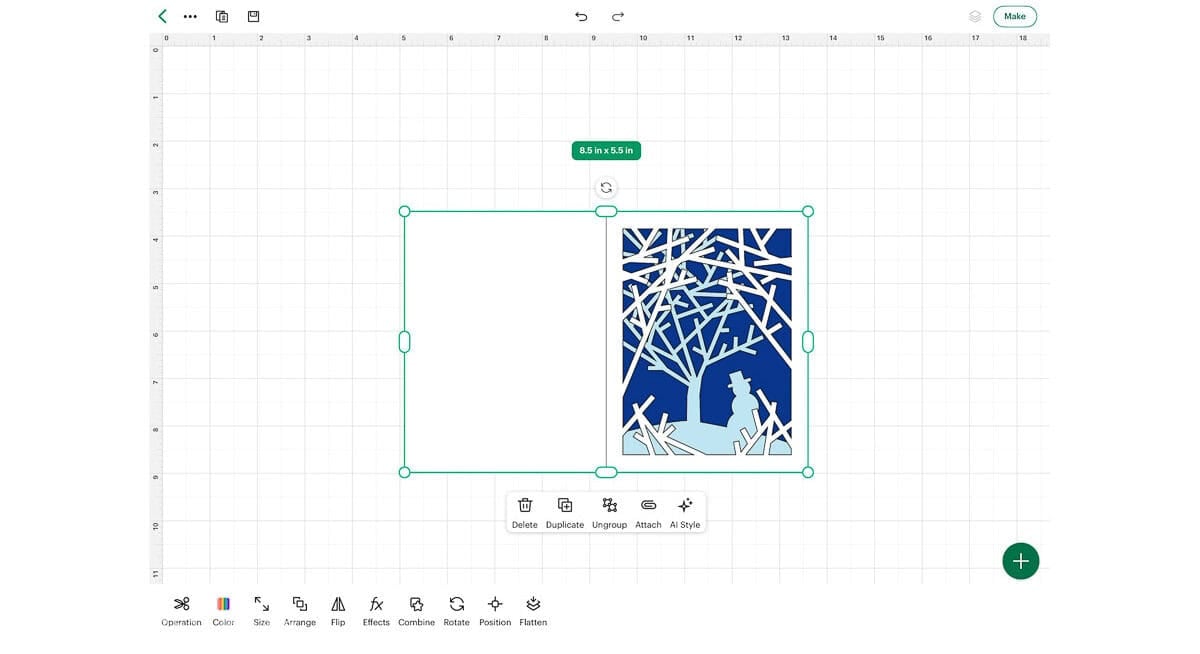
Ungroup the design so you can work with each part.
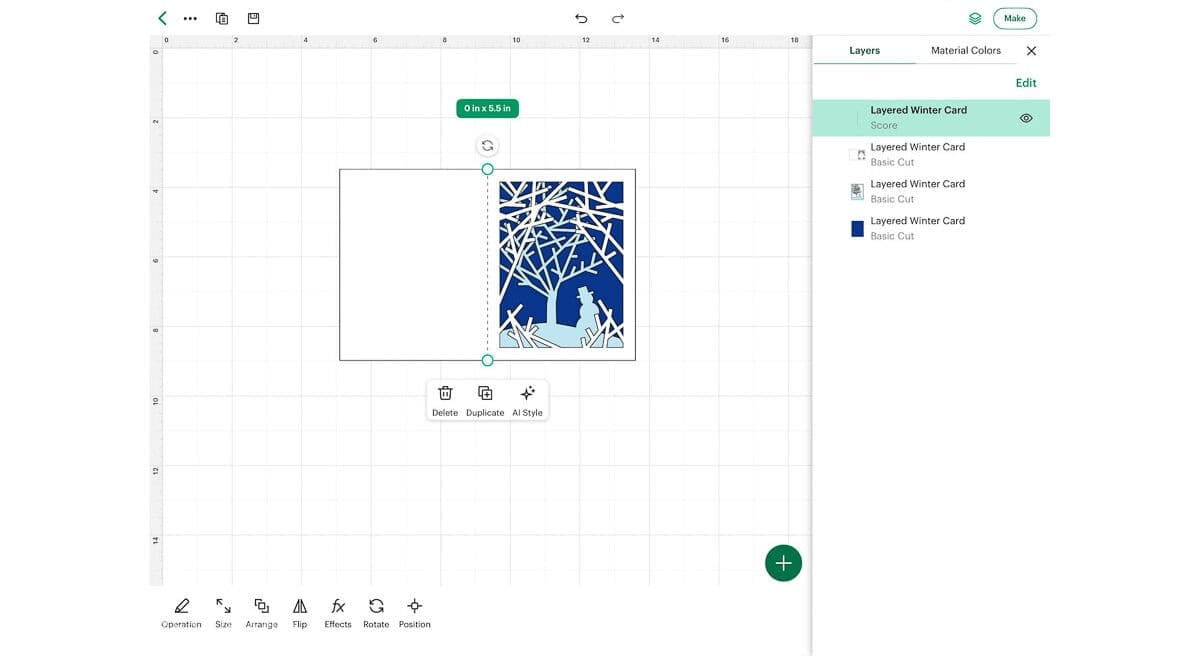
The main thing to check is the line in the center of the card base. This line needs to be set to Score, not Cut.
You'll also need to attach the score line to the card base, so Cricut knows where to fold.
If you skip this, your Cricut may cut the card in half. Oops!
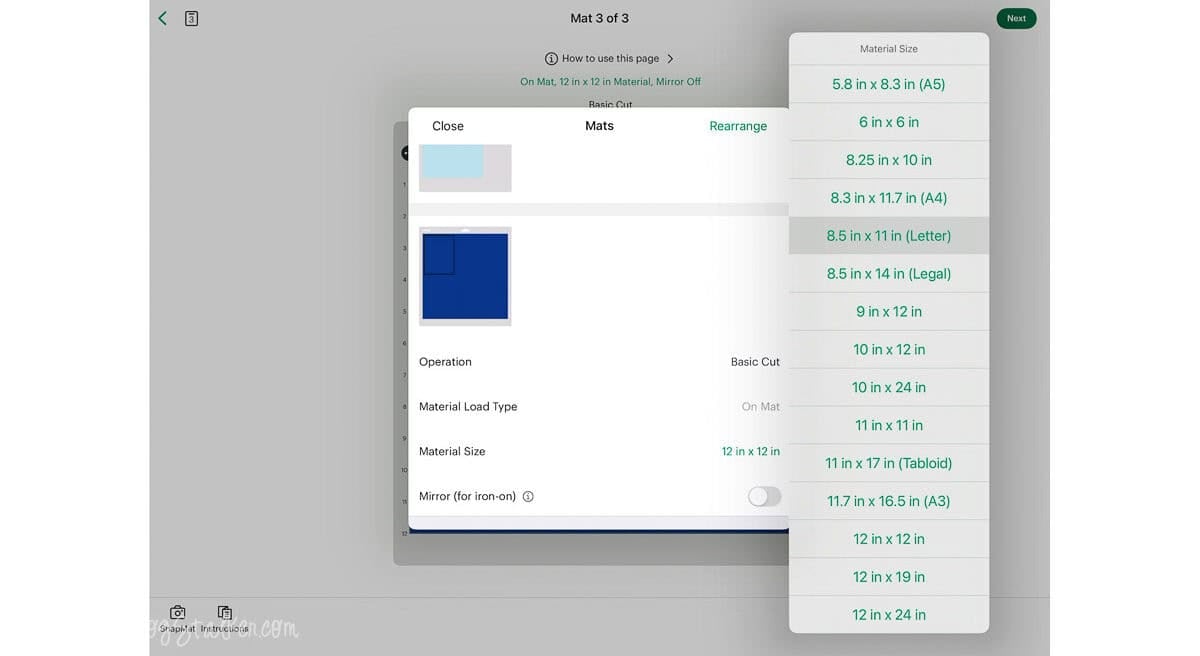
I use 8.5 x 11-inch cardstock for this project, so I set the paper size to match.
This helps make sure all the pieces fit on the mat.
And since you're making one card, why not make two?
You can change the number of copies in Cricut Design Space. This is a great way to make more Christmas cards without setting up the file each time.
Keep an eye on the tool prompts as you cut. Cricut Design Space will tell you when to use the scoring tool and when to use the cutting blade.
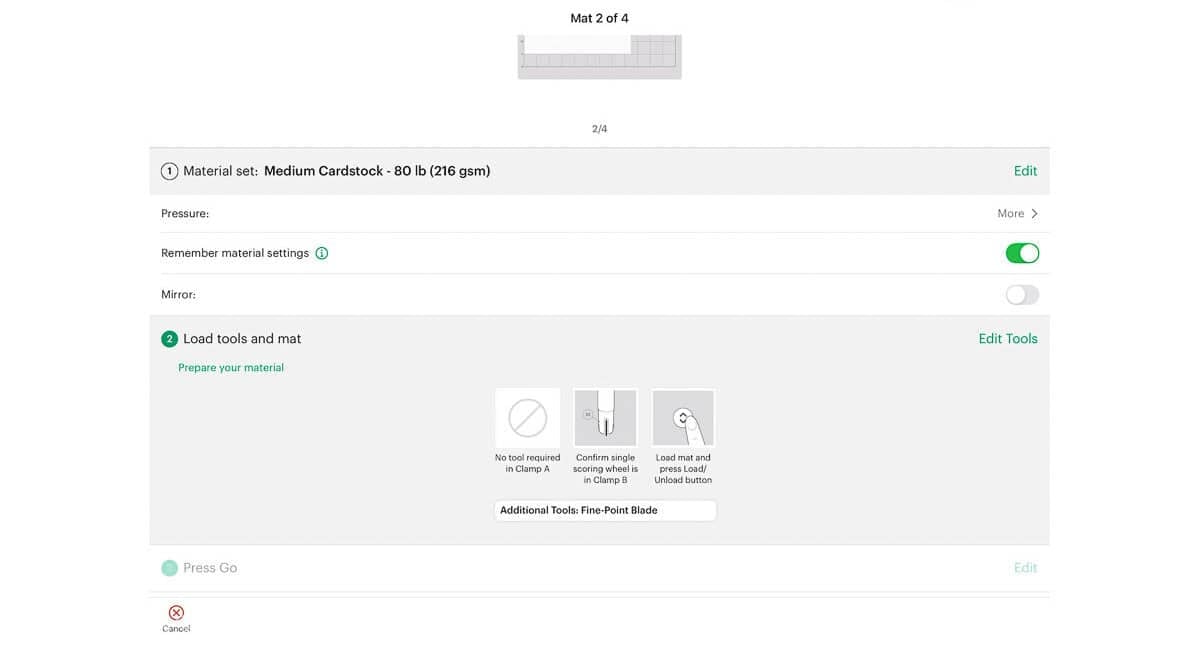
You'll use three cardstock colors for this card: white, light blue, and dark blue.
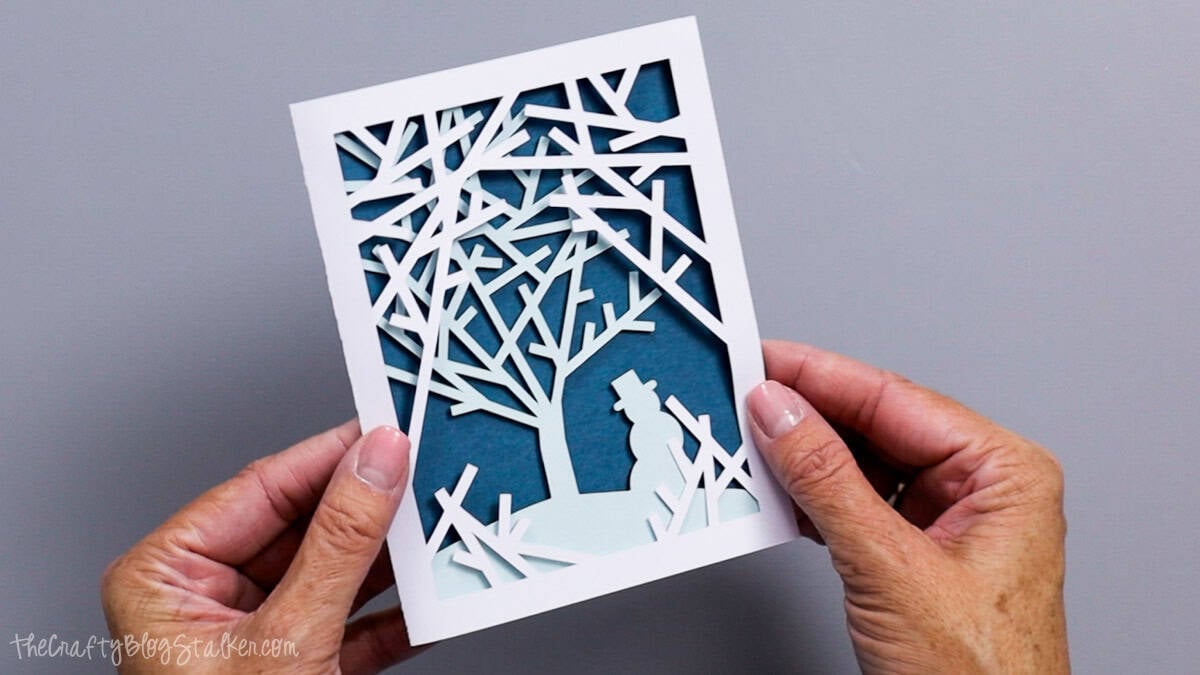
I love how the dark blue looks like the night sky, while the white trees look like they're covered in snow.
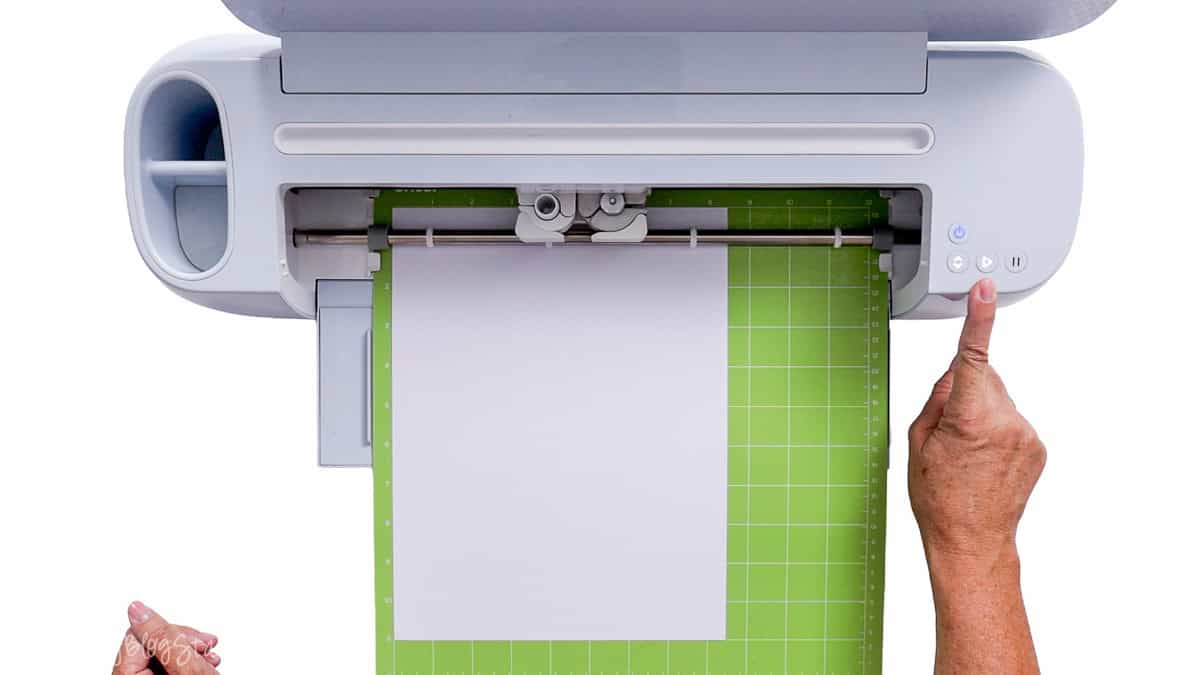
Once the Cricut is done, you'll have all the paper pieces ready to put together.
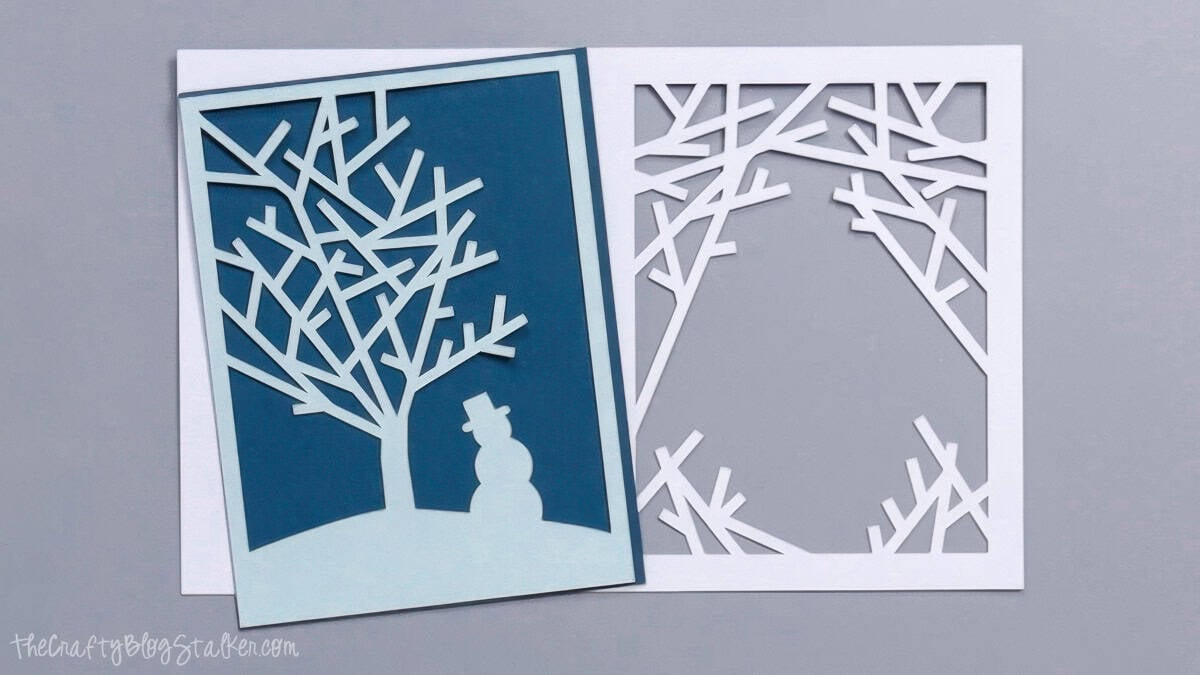
Put the Card Together
This is my favorite part! It's fun to see how a few flat pieces of paper can turn into such a pretty Christmas card.
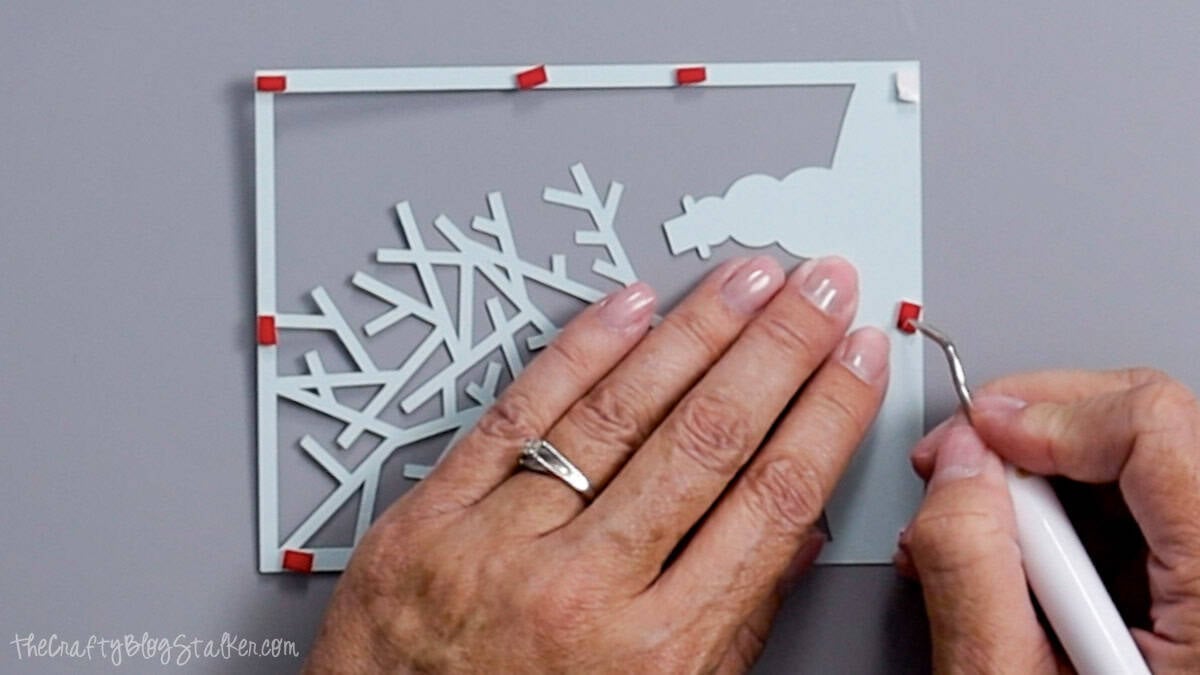
I use foam tape instead of glue to hold the layers in place.
The foam tape adds a bit of space between each layer, which makes the trees and snowman stand out.
I like to place foam tape near the edges and behind the tree and snowman. This helps keep the paper from bending.
A weeding tool is great for peeling the paper off the foam tape. Those little bits can be hard to grab with your fingers!
Open the card and center-align the light blue layer on the card's back base.
You want to see a nice, even white edge around the light blue paper.
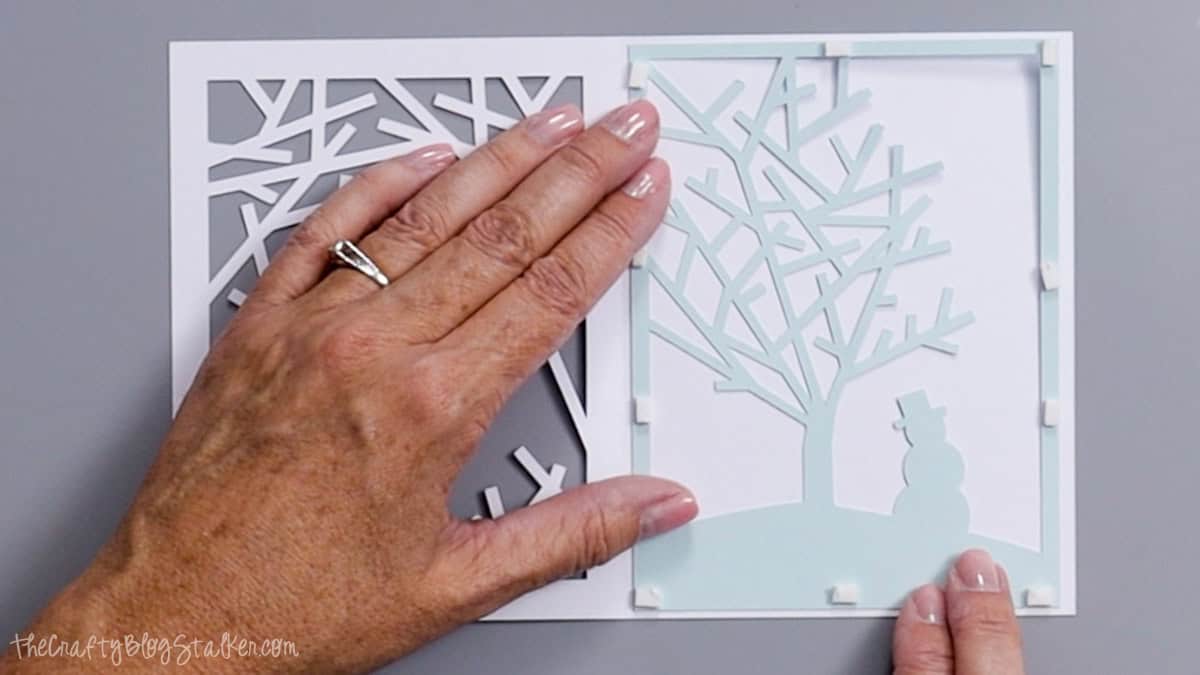
Close the card and press the front onto the light blue layer. This helps line up the pieces.
Add foam tape to the back of the light blue layer, just like you did on the front. Peel off the tape backing.
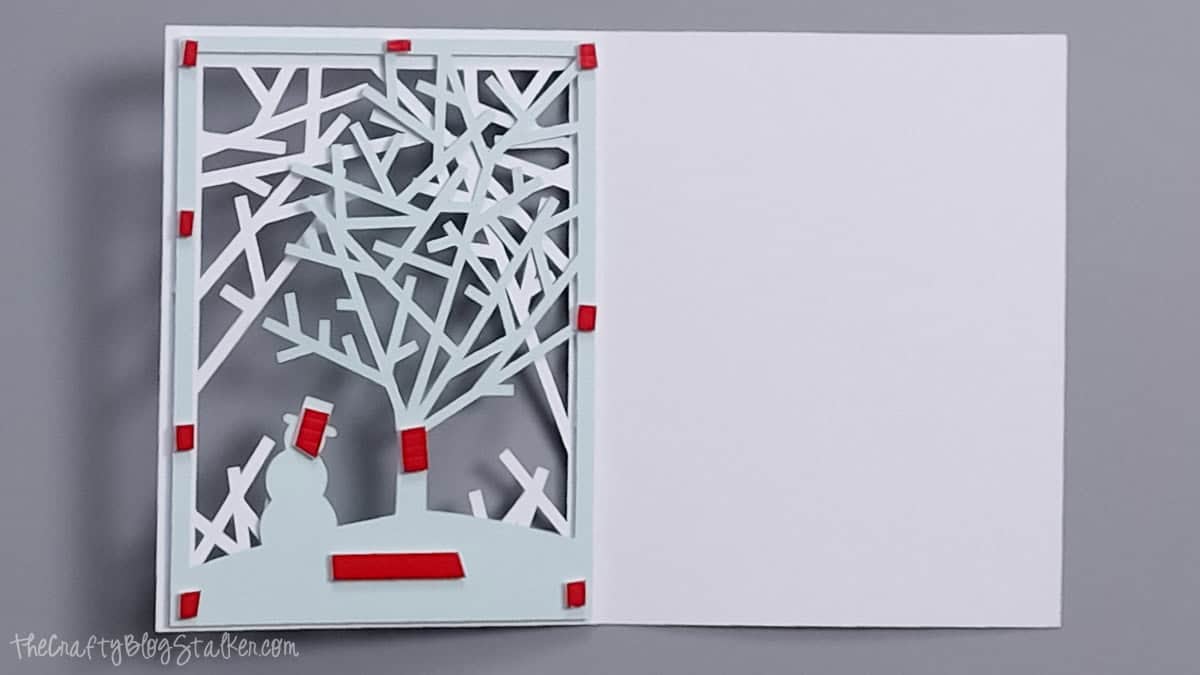
Open the card again and place the dark blue rectangle in the center of the card base.
Make sure the white border is even on all sides.
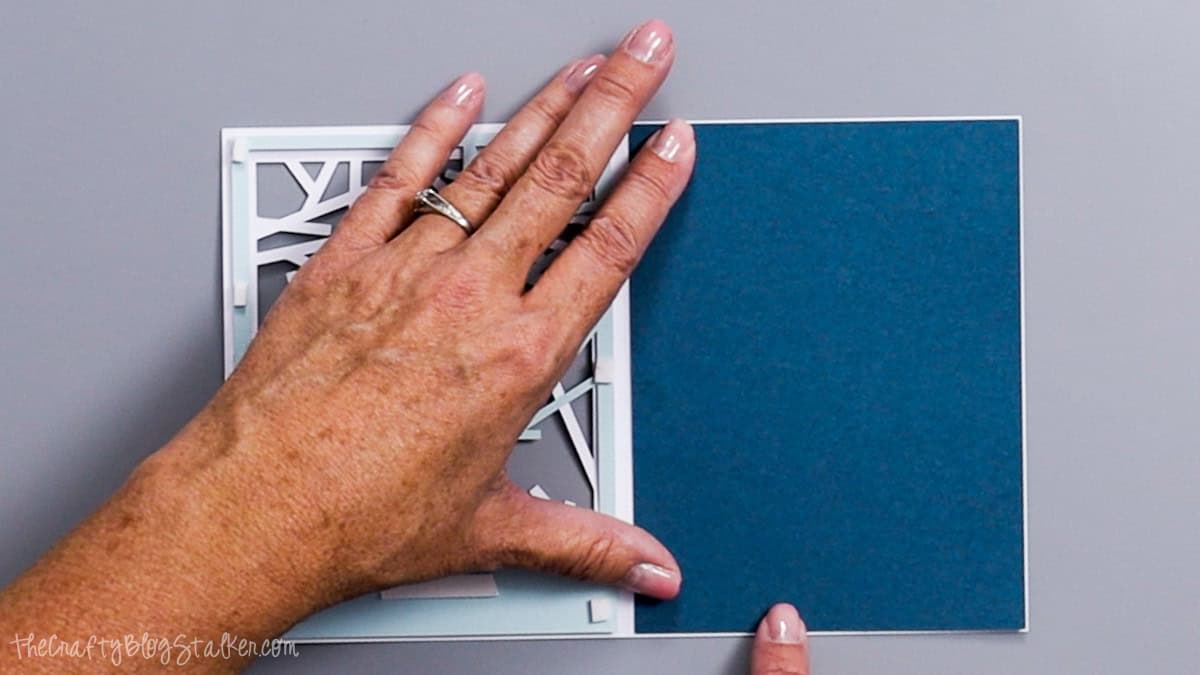
Fold the front of the card closed and press down all over to make sure the layers stick in place.
And that's it! You have a cute Christmas card that looks like it took much more time than it did.
Add a note inside, write "Merry Christmas," and it's ready to give to someone you love.
If you're mailing your Christmas cards, try to send them by December 15 to give them plenty of time to arrive before Christmas!
Tips for Making Cricut Christmas Cards
Use a clean cutting mat.
The tree branches have small, thin parts, so you'll want your paper to stay in place while the Cricut cuts.
A clean mat with good grip will help you get clean cuts.
Take care with the small pieces.
When you remove the paper from the mat, go slowly. I like to turn the mat over and bend the mat away from the paper.
This helps keep the small tree branches from tearing.
Hide the foam tape.
Make sure the foam tape stays behind the card's solid parts.
If the tape sticks out past the paper, you may see it through the tree branches.
Try new colors.
You don't have to use the same colors I did!
Try green, silver, or even pink for a fun new look. Just pick colors that let each layer stand out.
Make a few cards at once.
If you want to send lots of handmade Christmas cards, cut more than one set of pieces at a time.
Then you can assemble them while you watch a Christmas movie.
Check before you mail.
The foam tape makes this card thicker than a flat card.
Make sure it fits in the envelope, and check with the post office to see if you need extra postage.
It's also a good idea to mail your cards early, so they arrive before Christmas.
Frequently Asked Questions
The card is 4.25 x 5.5 inches when folded. This is called an A2 card, and it fits in an A2 envelope.
A scoring tool helps make a neat fold in the card base.
If you don't have one, you can fold the card by hand using a ruler. Just make sure you don't leave the score line set to Cut in Cricut Design Space.
Yes, you can use glue, but the card will look flatter.
Foam tape gives the layers space and makes the snow scene pop.
Of course! You can use any colors you like.
I love the blue-and-white look, but green, gray, and silver would also be pretty.
The card base is 8.5 inches wide before you fold it, which is too wide for the original Cricut Joy.
A larger Cricut machine is best if you want to make the card at full size.
Yes! These cards are great to make early.
Keep them flat in a clean, dry spot until you're ready to write your note and mail them.
Need help with this project?
Click a button below to ask AI how to resize the Christmas card SVG in Cricut Design Space.
More Cricut Christmas Crafts
If you had fun making this card, you'll love trying more Cricut Christmas crafts!




Hi, I'm Katie!
I'm so glad you're here. Want to make something fabulous? I'm here to help!
Julie
Ah, I think I saw these on instagram earlier in the week, they are really beautiful, love them.
Emma (Kids Craft Room)
Wow, these have turned out so well. Really pretty.
Katie
Thank you so much Emma!
Emma
This came out beautifully! I'm loving playing around with my new Cricut Explore for holiday cards this year!
Vickie
The card is stunning! I have always enjoyed receiving hand made cards for any occasion. Hopefully soon (when we get our new house built) I will have the time and the space to make such creations myself! Thanks so much for the tutorial!
sally
hiya loved the card and great instructions you posted
went onto the design space website to purchase this file but unable to, I was hoping to use it on the cricut mini
hope you can help me xxx
Heidi
Handmade cards are getting harder to find. You've created a lovely one! Thanks for sharing the instructions on Funtastic Friday!
Katie
Thank you Heidi! I am so glad that you like it!
Annie Schumacher
Is this cut file still on design space? I don't see it.
Katie
It is no longer on Cricut Design Space but I have made an SVG that you can download for free. https://thecraftyblogstalker.com/downloads/snowy-woods-christmas-card-svg/
Derek Burns
Beautiful card!
Katie Adams
Thank you, Derek!