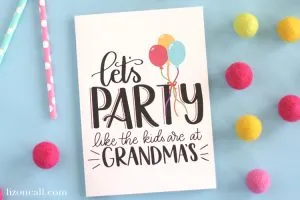
Make a handmade birthday card for a friend using water brushes. Below is the step-by-step tutorial on how to create a fun watercolor look.
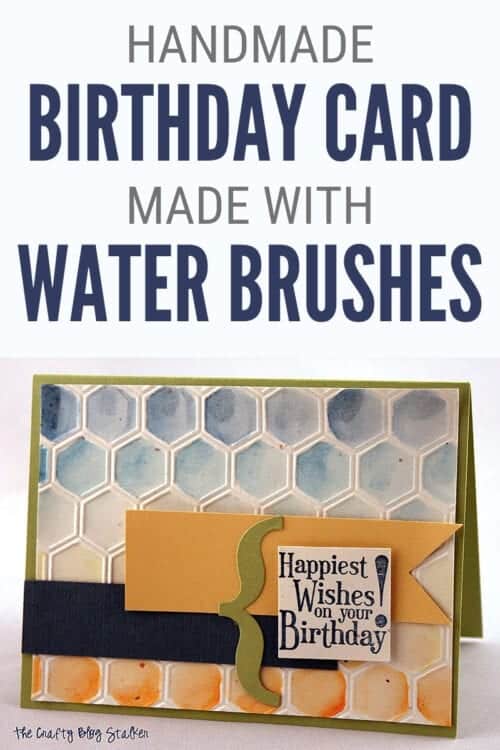
Do you like to make handmade birthday cards for all of your favorite people? In my opinion, there is something so special about receiving a handmade card, so I try to give them whenever I can.
Cardmaking really is so much fun, and it lets you become an artist. You can make whatever is pleasing to your eye, and you don't have to follow any rules.
Supplies You'll Need to Create this Project:
This post contains affiliate links.
- Big Shot
- Colored Cardstock
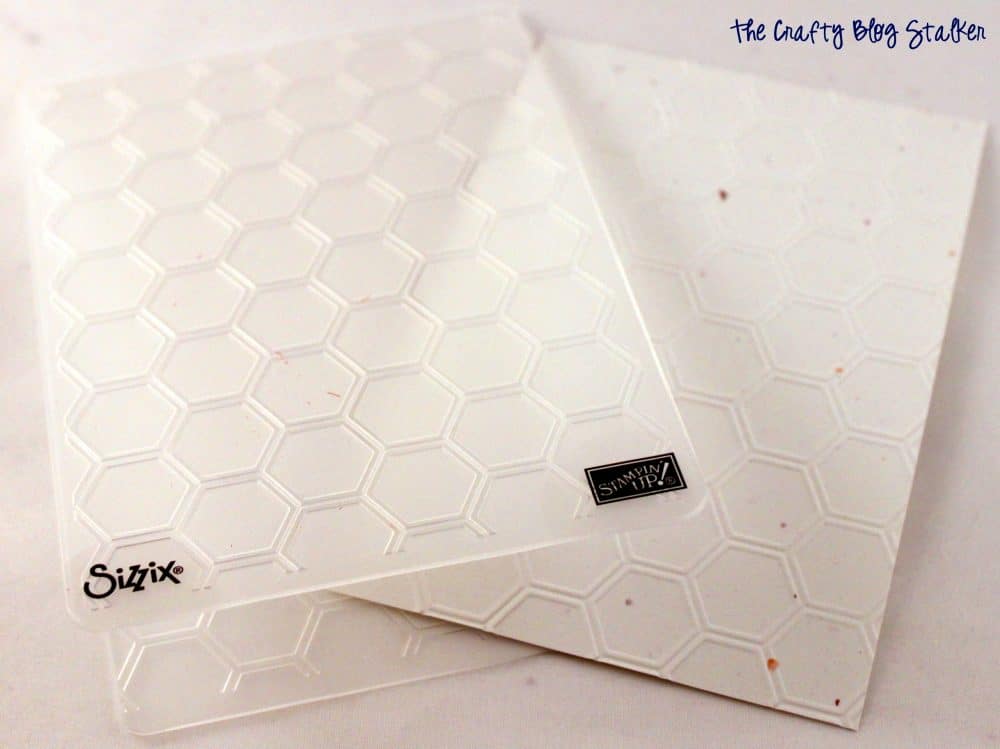
- Hexagon Embossing Folder
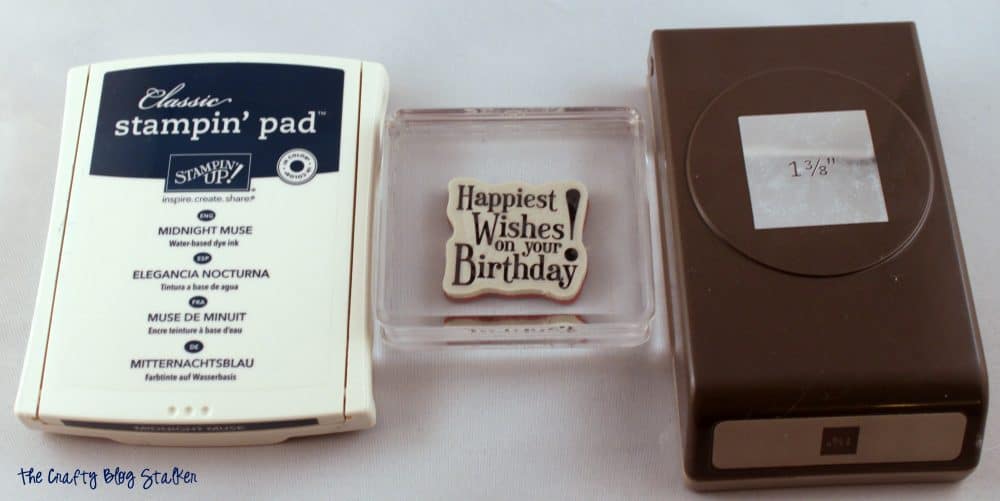
- Ink Pads
- Water Brush
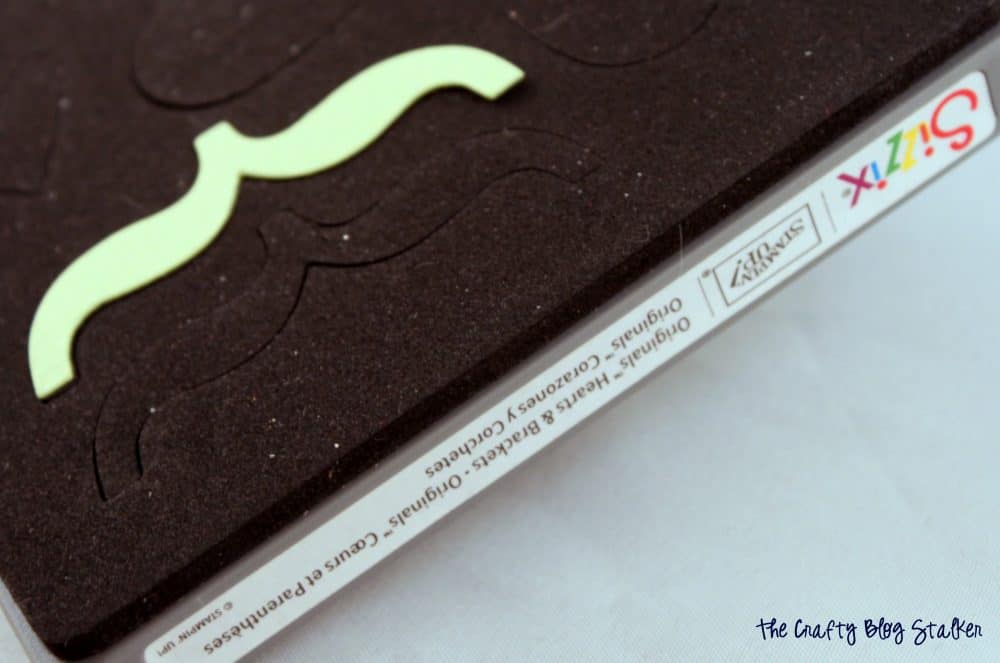
- Brackets Die
- 1 ¾ Square Punch
- Happy Birthday stamp set
- Double-Sided Adhesive
Cut Cardstock to Size:
For the card base, cut an 8 ½ x 11 piece of hunter green cardstock in half so you have two pieces that measure 8 ½ x 5 ½.
Fold that piece in half and you will have your card base that measures 4 ¼ x 5 ½.
Next comes the fun part of decorating the card!
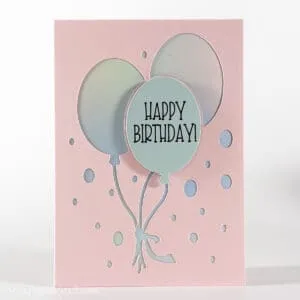
Take a rectangle of white cardstock that measures 4 x 5 ¼ and run it through the big shot using the honeycomb embossing folder.
Watercolor with Water Brushes:
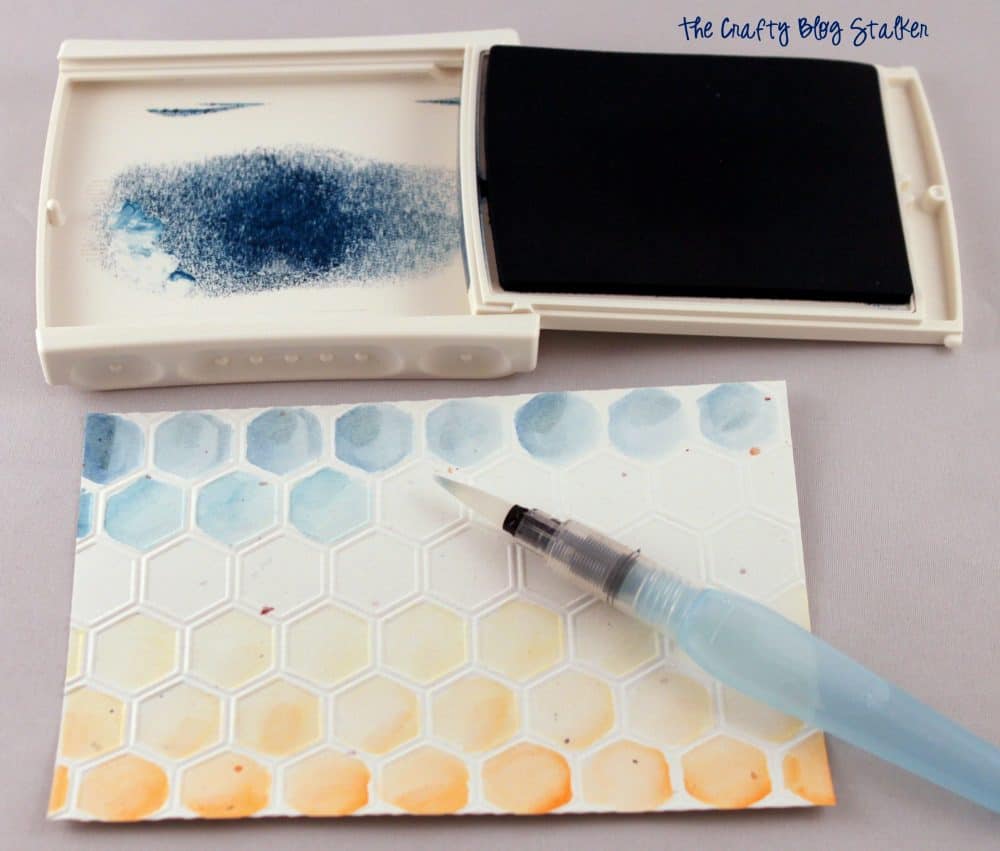
To color the embossed cardstock, use water brushes and ink pads.
For the Ombre look, choose 3 blue ink pads and 3 orange that go from light to dark.
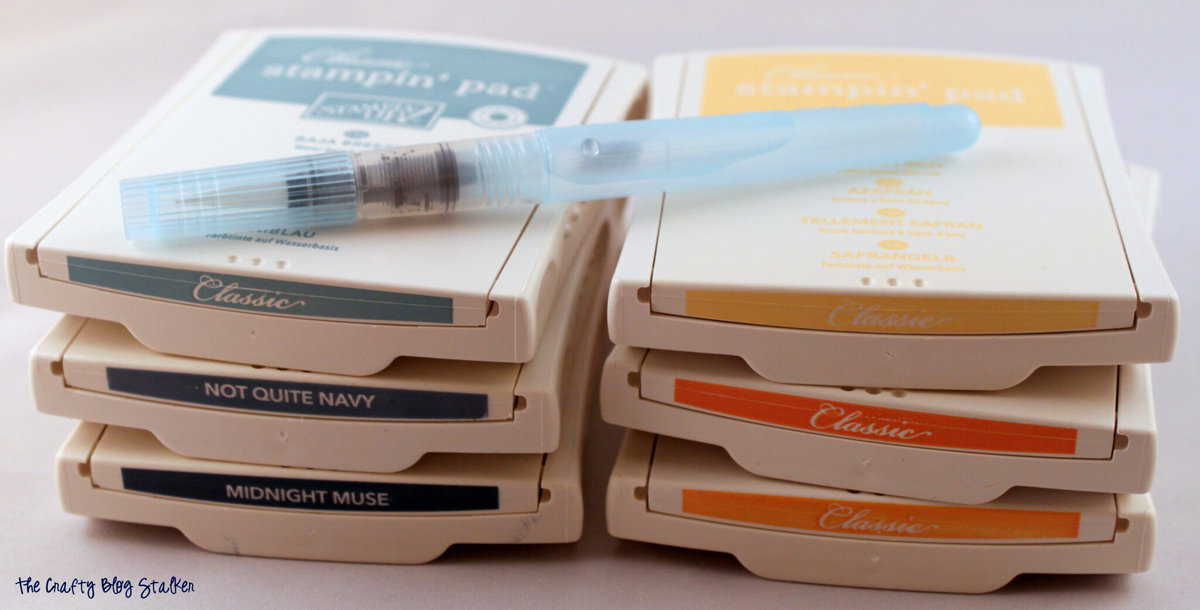
The water brush is like a paintbrush, but it has a reservoir inside that holds water. So if you dip the brush in some ink and give the brush a light squeeze it lets you paint with the ink and gives you an easy way to watercolor.
The easiest way to pick up the ink onto the water brushes is to squeeze the ink pad while the lid is still on. This will get ink on the inside lid.
Open the ink pad, and pick up the ink with your water brush off of the lid of the ink pad. Then paint.
For this honeycomb pattern, I did one color per row of hexagons. Picking a corner of each shape to be colored darker than the other corner. That is how you get the fade into each color look.
Additional Paper to Cut:
Do not assemble until the watercolor honeycomb rectangle is completely dry.
Choose 2 coordinating papers and cut, one piece into a 1 x 4 inch strip, and another color into a 1 ¼ x 4 inch strip.
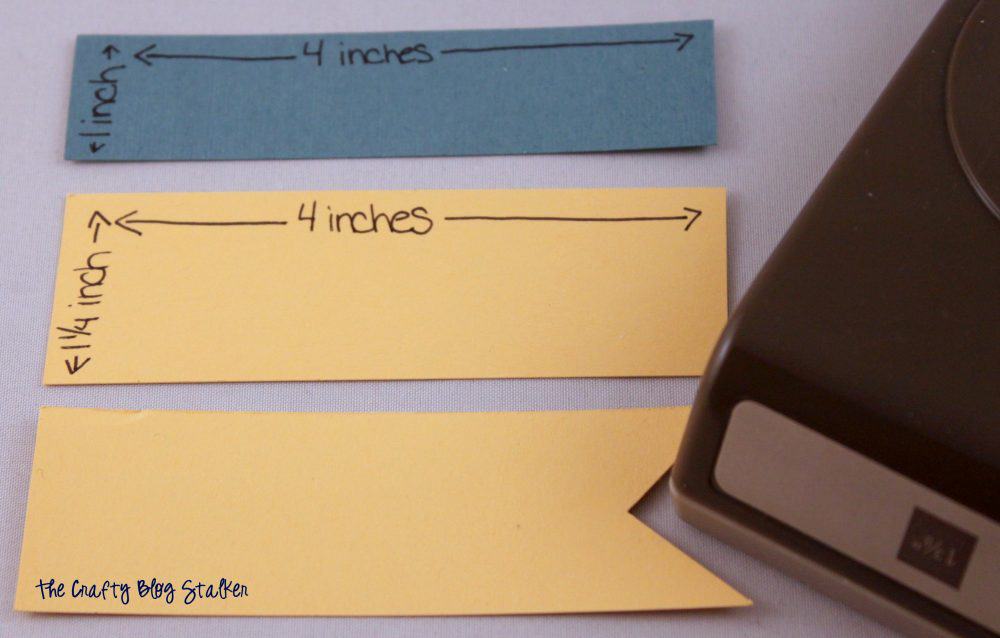
At the bottom of the 1 ¼ x 4 inch strip, use a square paper punch to cut out the end to give it a dovetail.
Brackets are a great way to make the eye focus on specific points of a card. Cut a bracket out of a coordinating color that is about 2 inches tall.
For the stamped greeting on the front of the card, use the darkest blue ink from the watercolor background and a birthday stamp on the same white card stock.
My greeting was punched out using the 1 ¾ square punch.
Assembling the Card:
To assemble the card, center the watercolor honeycomb piece onto the front of the card.
Layer the paper strips and sentiment as shown below.
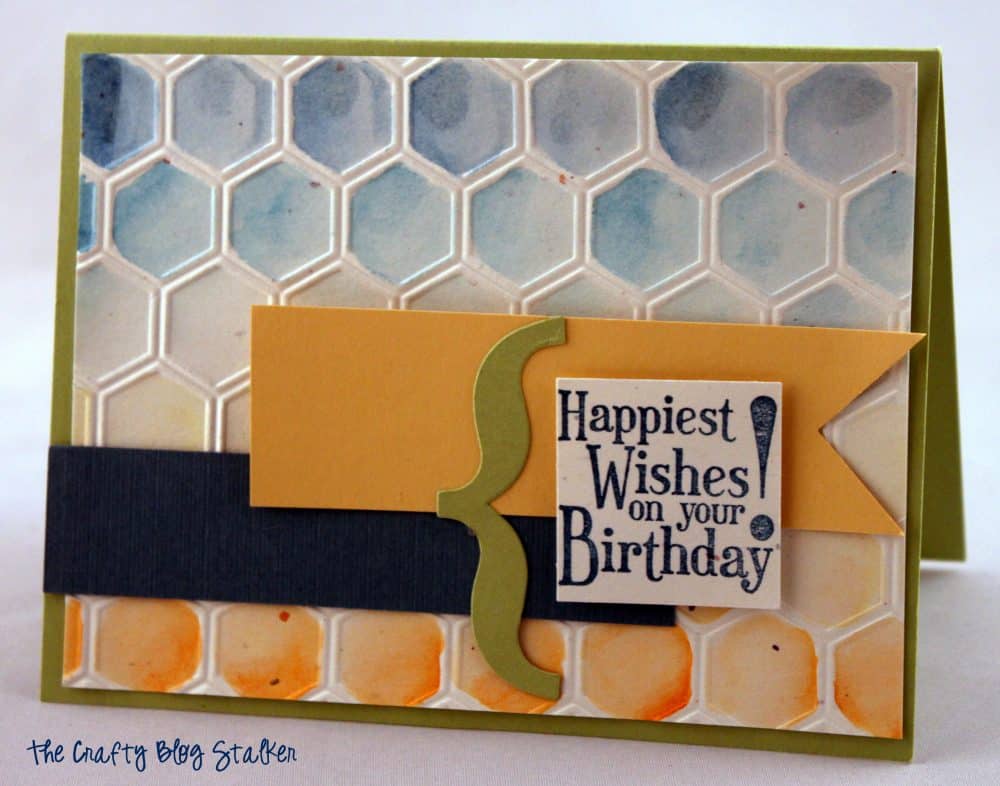
This card turned out even better than I had imagined. I love it when that happens!
Our Crafting Essentials:
- The Cricut Cutting Machine is easily our favorite crafting tool. We use it in so many of our tutorials!
- These MakerX Crafting Tools are perfect for keeping in the craft room and are always ready when needed!
- This Fiskars Paper Trimmer is easy to use and cuts nicely without frayed edges.
- These Scotch Precision Scissors cut like a dream, and you get multiple pairs in a pack!
Recommended Posts

Katie Adams
Creator at The Crafty Blog Stalker
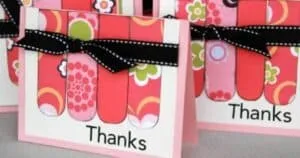
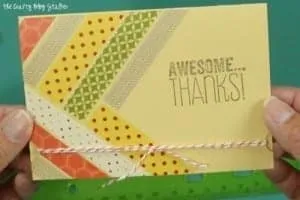
- DIY Watercolor Thank You Cards
- Make Cutaway Cards in Cricut Design Space
- 29 Step-by-Step Paper Envelope Tutorials
- How to Make Easy DIY Harry Potter Magic Wands
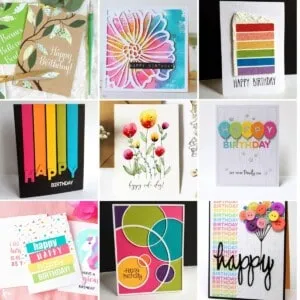
- 20 Easy to Make DIY Birthday Cards
- 20 DIY Party Decorations for any Celebration with Step By Step Tutorials
- How to Make DIY Return Address Labels with Cricut
- How to Make a DIY Gift Card Box
- How to Make Paper Boxes and Gift Packaging
- Handmade Thank You Card with Washi Tape
Mary
Katie, I love the background on this card. I just opened my embossing folder today. I'll have to try this technique very soon! Great Job!
Tanya
So pretty! I love paper crafts!
Teresa Kline
fabulous, thanks for sharing!
enjoy *~*
Diana - FreeStyleMama
Love the honeycomb print!
VMG206
Katie
Great card! I love SU.
I found you today thru Monday Funday Linky Party, where I'm #418. I hope you will stop by my blog and leave a comment, too!
~ Megin of VMG206
Judy
Hi, I love all the cards that you made. They all look nice. New follower via GFC. If you have the time, please stop by for a visit.
Judy
Kendra
Hi, Katie! I just love this card! I just started making my own cards, but they don't look at beautiful as yours.
Allison {A Glimpse Inside}
Very cute Katie! I don't make enough handmade cards and when I do, I so don't go all out on them. I want to try more though. Someday! lol
Thanks for linking up to this week's Catch a Glimpse Party. I'll be featuring this tomorrow. 🙂
Rachel Rusticus
Perfect card for a swap, so on trend with colors and patterns!
Mel Lockcuff
I love making homemade cards; this is really cute! Thanks for sharing on Inspire Me Wednesday!
Natalie Buehler
Very sweet card,
Thanks so much for linking up on Tutorial Thursdays, hope to see you again this week 🙂
x
Natalie
Barb Marshall
"A birthday card swap at work," I am intrigued and would love to hear more about this as I am a huge advocate of the lost art of letter writing. I bet your card was met with many accolades! Visiting via "OneKriegerchick' linkup
Katie Adams
I don't actually organize the card swap, I was just apart of the group. But they are pretty easy to organize. Just get a group of people together. The number doesn't really matter. IF there are 5 in your group than everyone makes 5 of the same card. Get together to swap and everyone walks away with 5 different cards. They are quite fun.
Tracy Speight
This is a great card I like the Ombre look. Thanks for sharing this on the Get Crafty Fridays. I love card swaps. Do people still do those card swaps. I would love to hear more about it.
Katie Adams
I don't actually organize the card swap, I was just apart of the group. But they are pretty easy to organize. Just get a group of people together. The number doesn't really matter. IF there are 5 in your group than everyone makes 5 of the same card. Get together to swap and everyone walks away with 5 different cards. They are quite fun.
Alison Agnew
I really should make more of my cards-especially when I see fun tutorials like yours. Thanks for sharing at Fridays Unfolded!
Alison
Nancherrow
Keitha
Thanks for the easy tutorial for this card. It is really pretty. Do you organize your card swap? That would be a great way to get to get a variety of cards.
Katie Adams
I am glad you like the card Keitha. Thank you. I don't organize the swap, I am just a member of it.
afiya mishra
It is awesome katie........
Katie
Thank you Afiya! I am so glad you like this handmade Birthday card.
Create With Joy
Love your card! Congrats - you're one of our Featured Guests at this week's Inspire Me Monday party at Create With Joy!
Katie
Thank you so much for the feature. I'm honored!