This post may contain affiliate links. For more information, please see our disclosure policy.
Reuse that old shirt and make a fashionable headband you'll love to wear! Below is the t-shirt headband tutorial with a video.
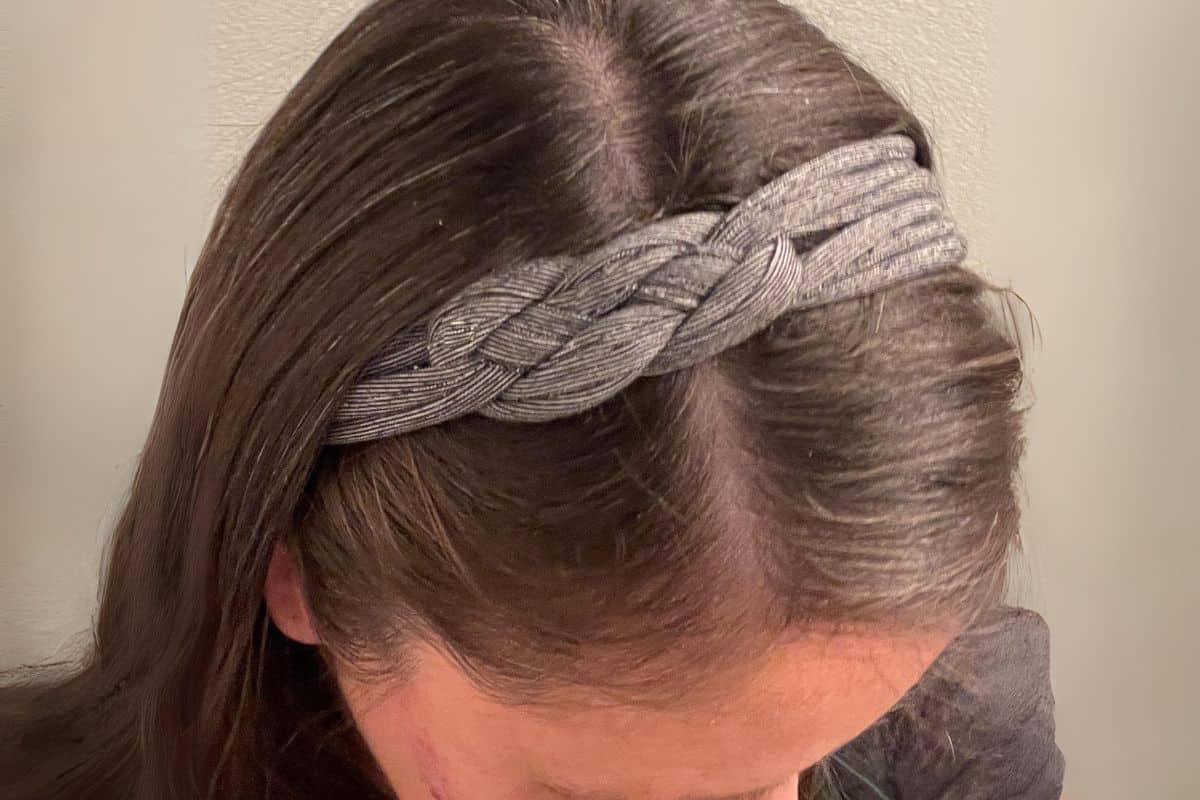
Do you wear headbands a lot? They are easy to wear in your hair and add some style when you don't want to spend a lot of time.
The headband we are going to show you how to make today is very simple and is no-sew!
Yup, everything is put together with hot glue. But don't worry, these headbands are super durable. Plus they're cute, and that is what is really important!
Craft Video Tutorial:
Like videos? I have a video tutorial for you! Subscribe to my YouTube Channel so you don't miss any future videos!
Supply List:
Some links may be to similar items when exact items couldn't be found online.
Headband Tutorial:
Fold the shirt in half lengthwise.
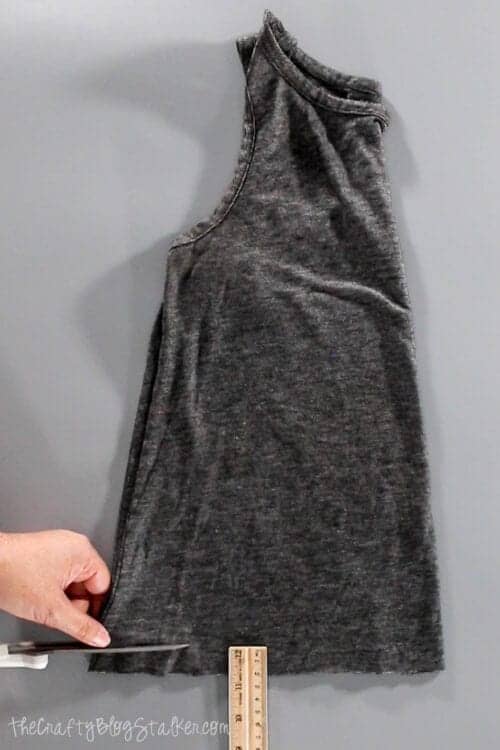
Cut off the bottom seam. If your shirt is like mine where the front of the shirt is shorter than the back of the shirt, cut high enough to cut off the entire bottom seam.
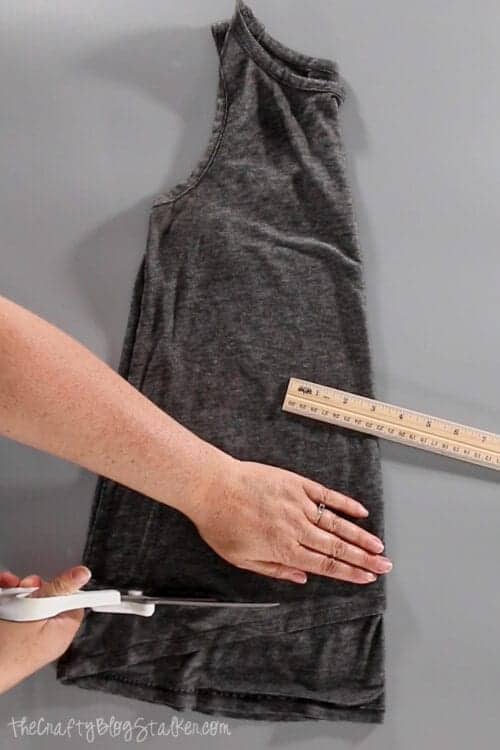
Cut three strips off the bottom of the shirt that are about 2 cm wide.
Stretch the strips of fabric and snip off the side seams so you are left with six strands.
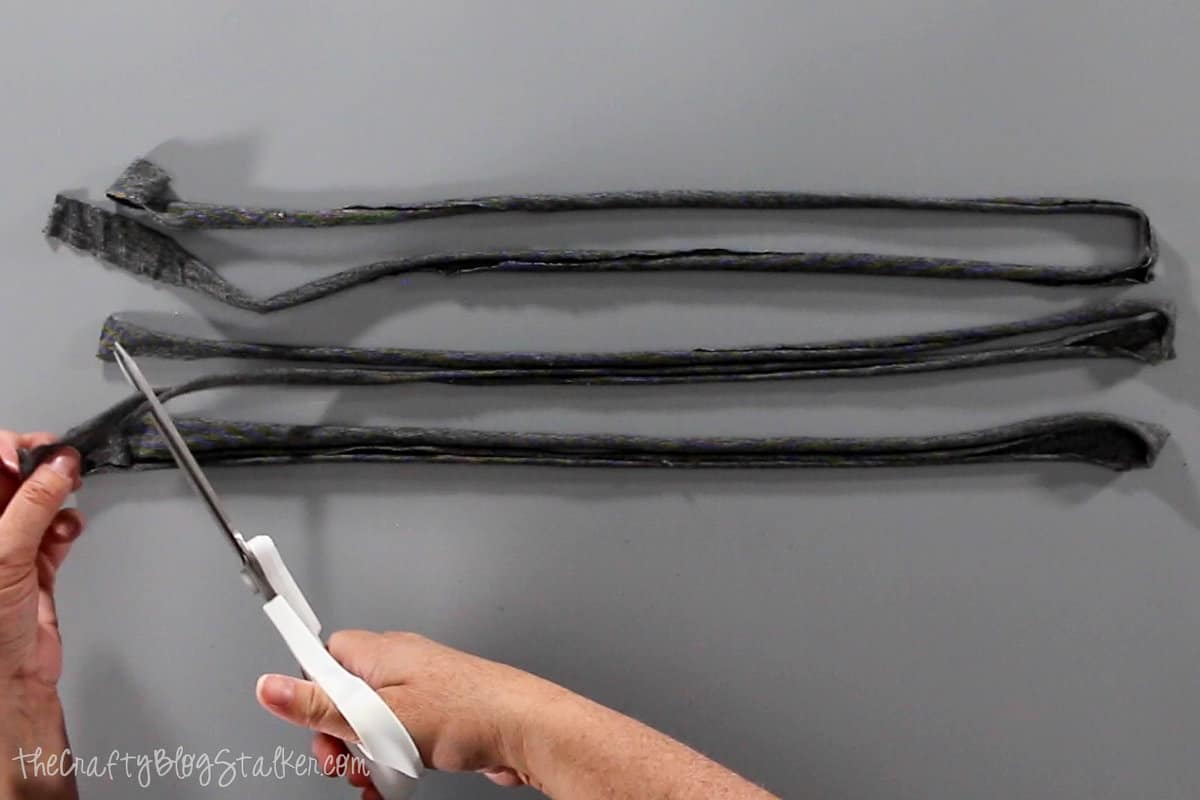
Separate the strands into 2 groups of 3.
On the second set of three, we have wrapped different colors of washi tape around the ends to help you with the weaving instructions.
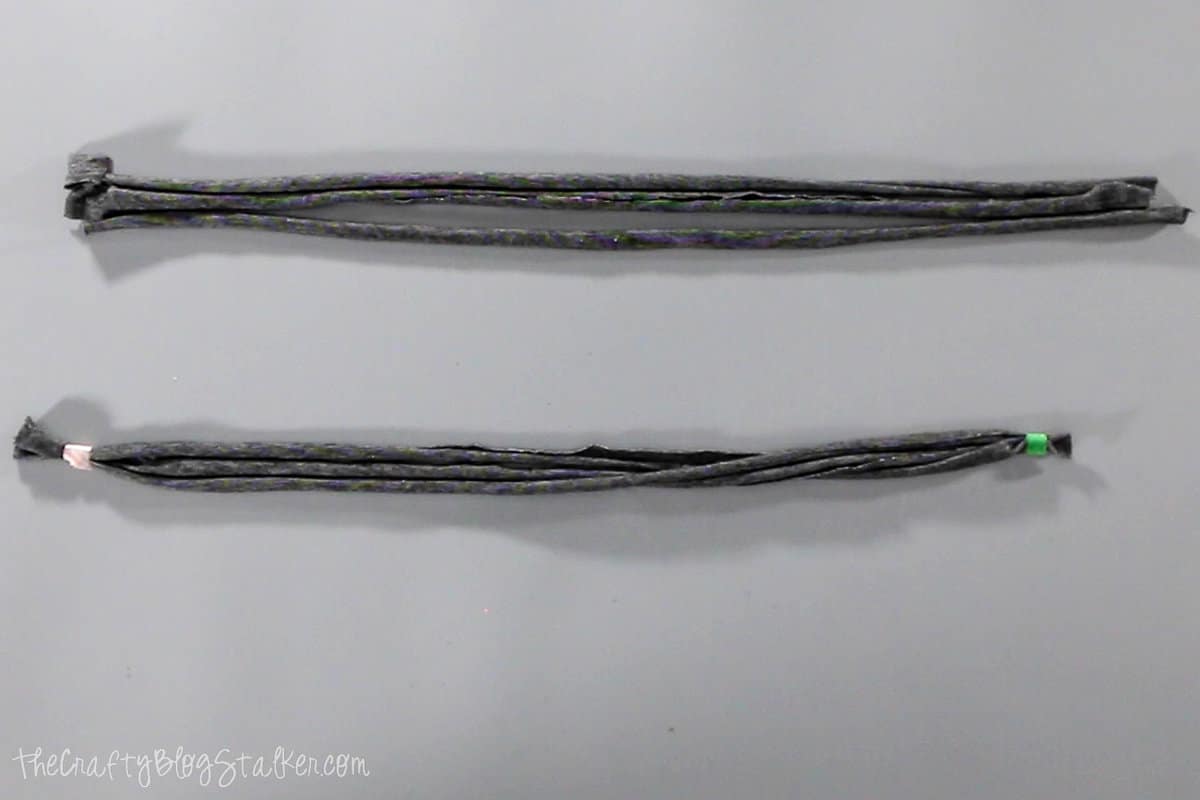
Weaving the Knot:
Lay the first set onto the table in the shape of a fish. With the top strand going off to the left.
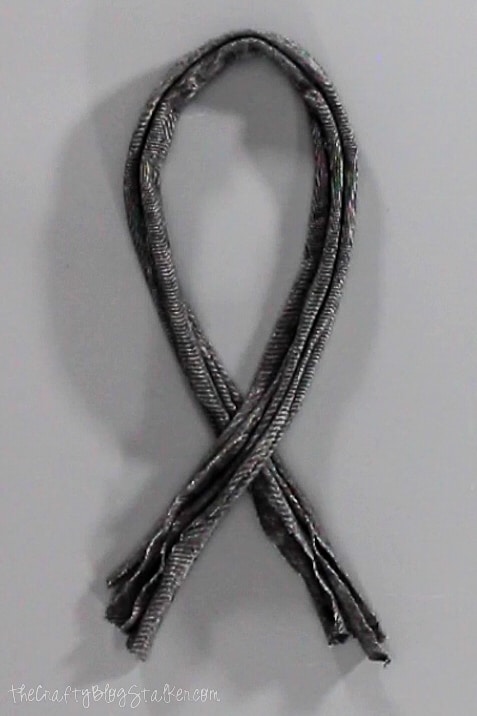
Lay the second set with the washi tape ends over the top of the fish in a U shape.
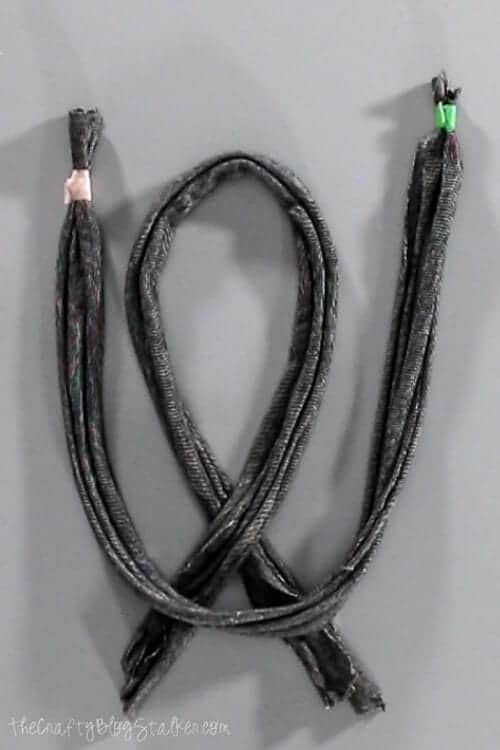
Pull the right strand of the fish tail and place on top of the U shape.
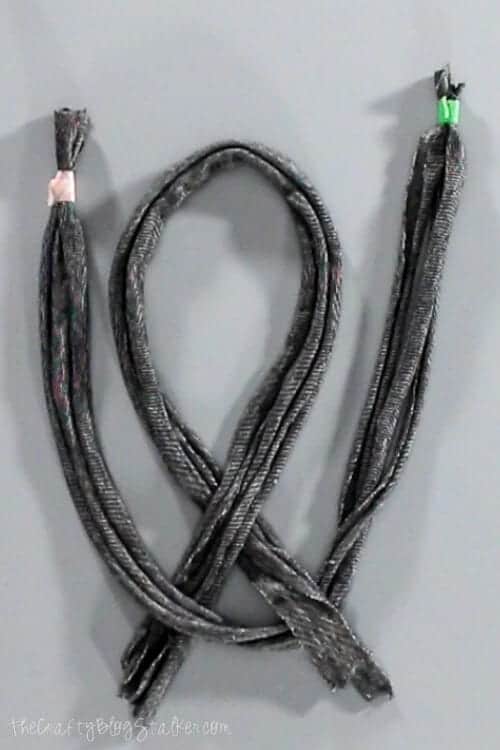
Take the pink side of the U shape and place underneath the fish shape.
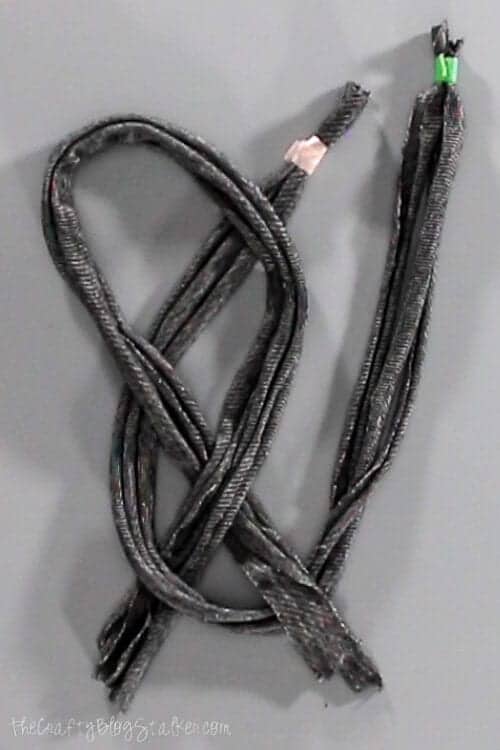
The green end of the U shape and weave over the fish, under the pink end, and over the fish again.
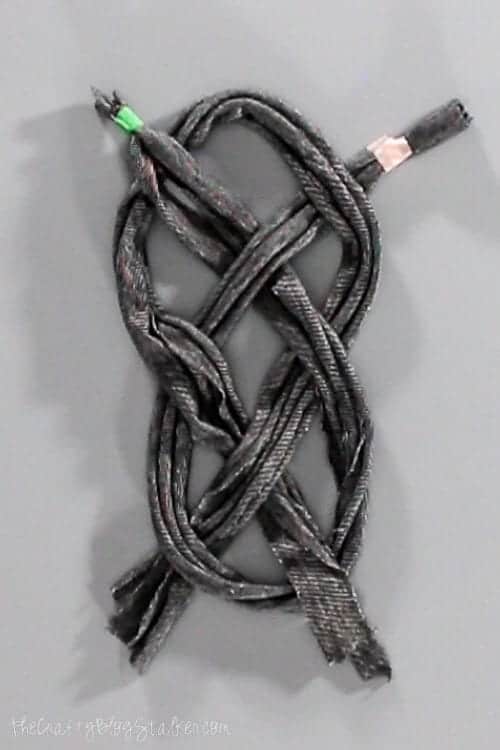
Evenly pull the ends of the knot to tighten.
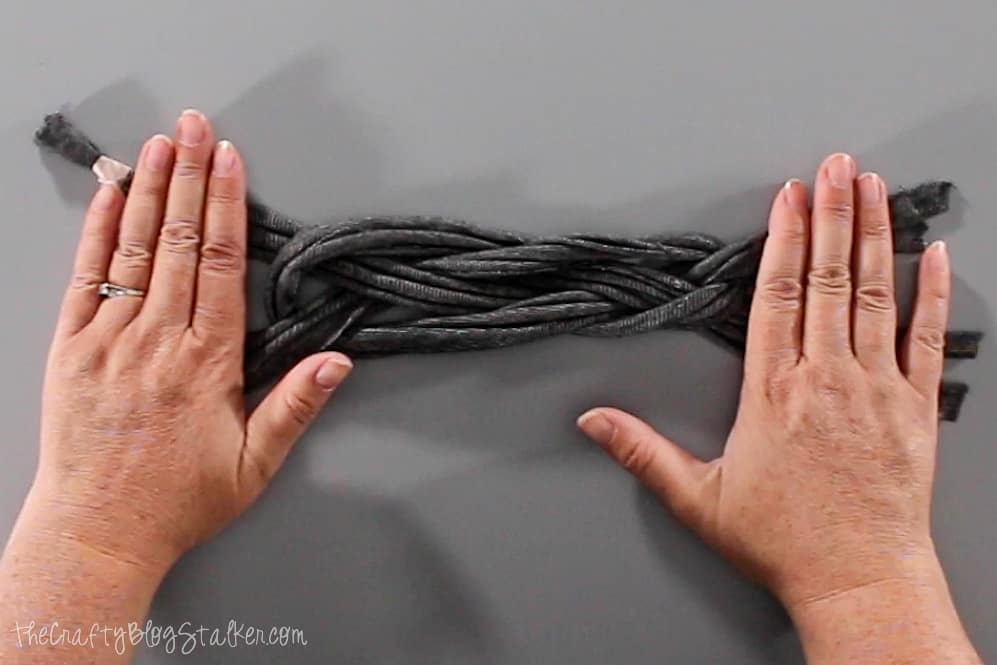
Once the knot is to your desired tightness and look, we can finish the headband.
Finishing the Headband:
Cut 3 rectangles out of the remaining shirt. 2 pieces that measure 4 x 6 centimeters, and 1 piece that measures 7 x 10 centimeters.
Stretch the pieces just like you did the strands before.
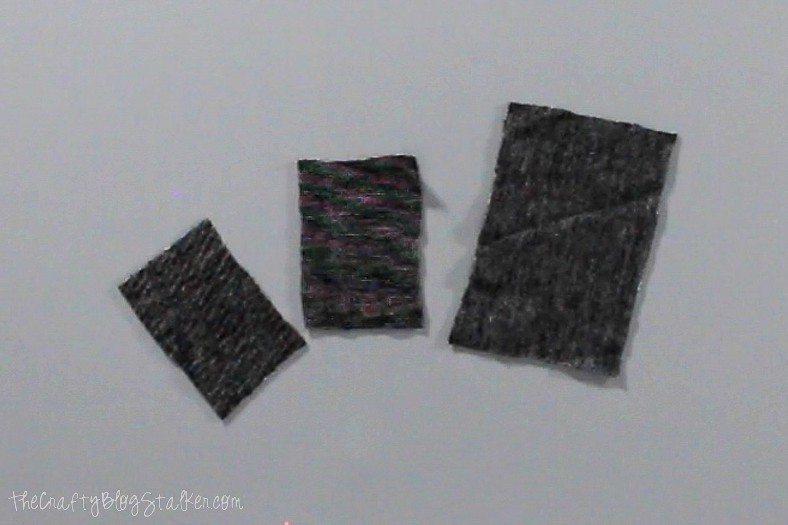
Use a smaller rectangle piece, and glue across the ends of one side of the knot.
Repeat, and do the same to the other side.
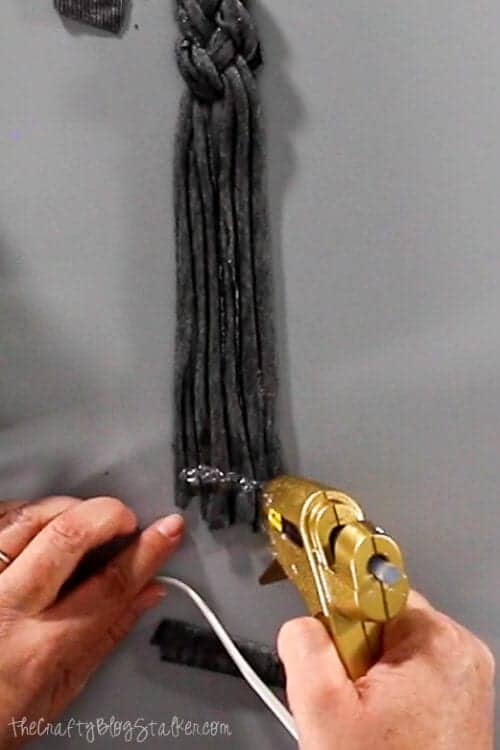
Trim off the uneven strands below the band and any extra of the band that reaches out on the sides where there aren't strands.
With the larger rectangle, fold the rolled edges in and apply hot glue to the center of the rectangle. Then press the two pieces together with your fingers.
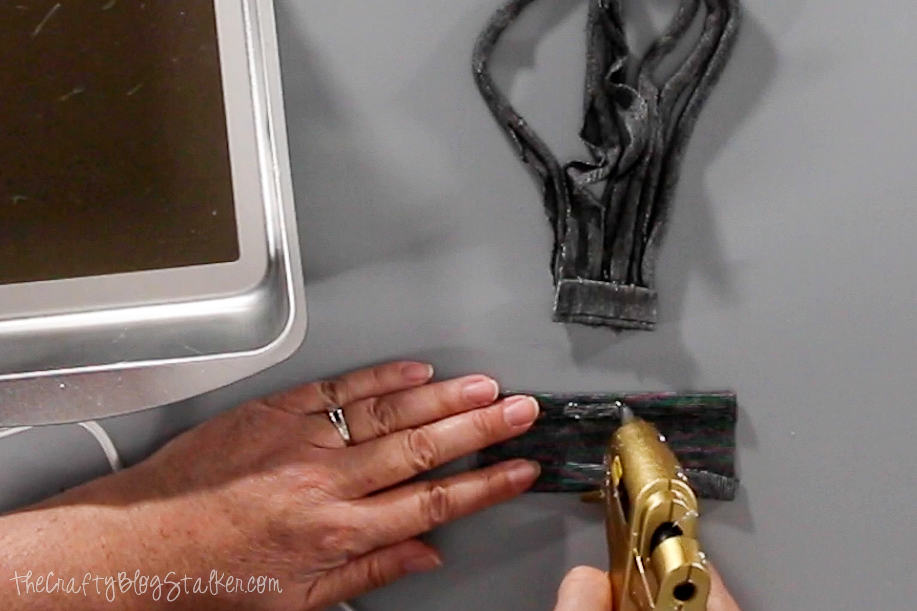
Repeat with the other end of the headband, making sure not to twist the strands.
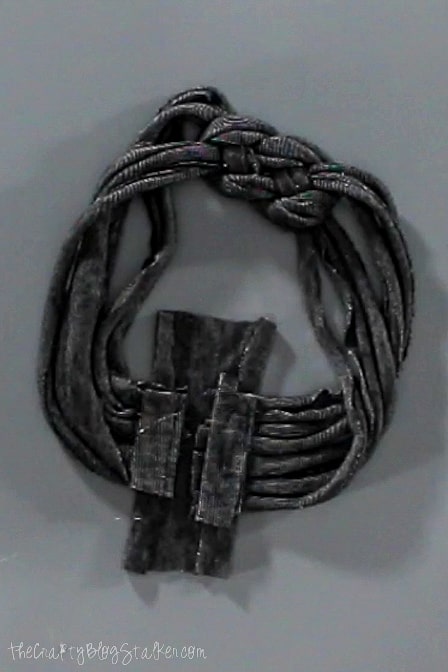
Fold the edges of the larger rectangle over the other bands, and secure in place with hot glue.
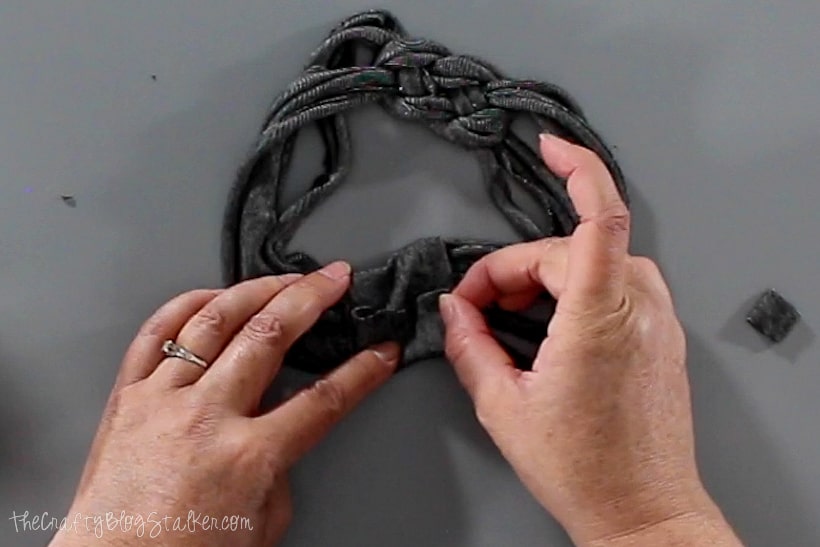
Once the glue is cooled and dry your headband is ready to go!!
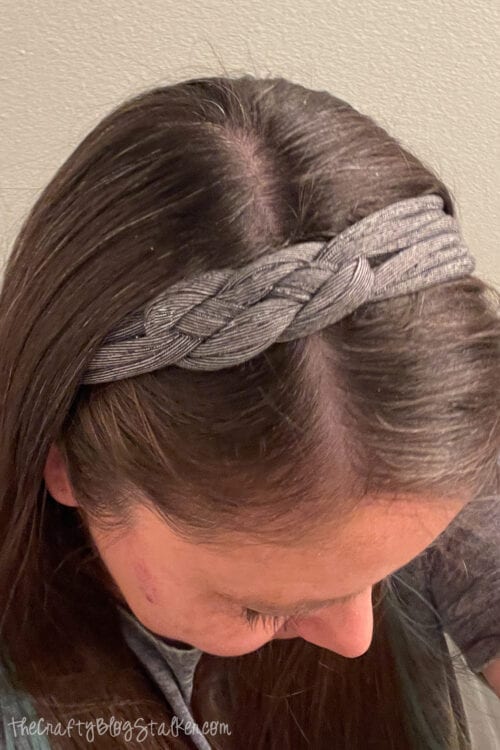
I absolutely love how mine turned out, and I have been wearing it for several days now.

If you love this easy headband tutorial, please give it a five-star review and help me share it on Facebook and Pinterest!
Our Crafting Essentials:
- The Cricut Cutting Machine is easily our favorite crafting tool. We use it in so many of our tutorials!
- These MakerX Crafting Tools are perfect for keeping in the craft room and are always ready when needed!
- This Fiskars Paper Trimmer is easy to use and cuts nicely without frayed edges.
- These Scotch Precision Scissors cut like a dream, and you get multiple pairs in a pack!








Sara
Oh so cute! thanks for sharing! p.s. purple is my secret favorite color.
scody
Nice! I am definitely going to gave to make some for me and my girls! All of ours are too big or too small.
P.S. Read your 'about me' blurb and it was great to hear you have time to craft now. My girls are 12 months and 27 months and I miss having me-time for crafting! Great idea for a blog btw! My blog gets neglected because I can spend so much time surfing the blogosphere for crafty inspiration!
http://mamabubbles.blogspot.com
Just Jaime
Looks great! Thanks for sharing!
cookieandclaire
Headbands intimidate me - not making then... wearing them. I feel like people will look at me weird when I wear them (But I live in Los Angeles - there is a lot more to look at than me in a headband!)
I need to work through this because this is too cute! Maybe I will give it a try!
La-Dee-da crafter
Wow, I love it. I will have to try this.
ladeedacreations.com
following you now
Jennifer
hello
just wanted to let you know that I have mentioned this post on my blog. If you wish for me to remove any material please let me know.
thanks http://eatcraftsow.blogspot.com/2011/07/link-party-like-9.html
alicia
Hey that looks really good, and made out of a tshirt? I will have to take a look at how to do it 🙂