Craft a lit-up Spiral Paper Christmas Tree with our free SVG and a few Dollar Store supplies for a unique, budget-friendly holiday decor piece.
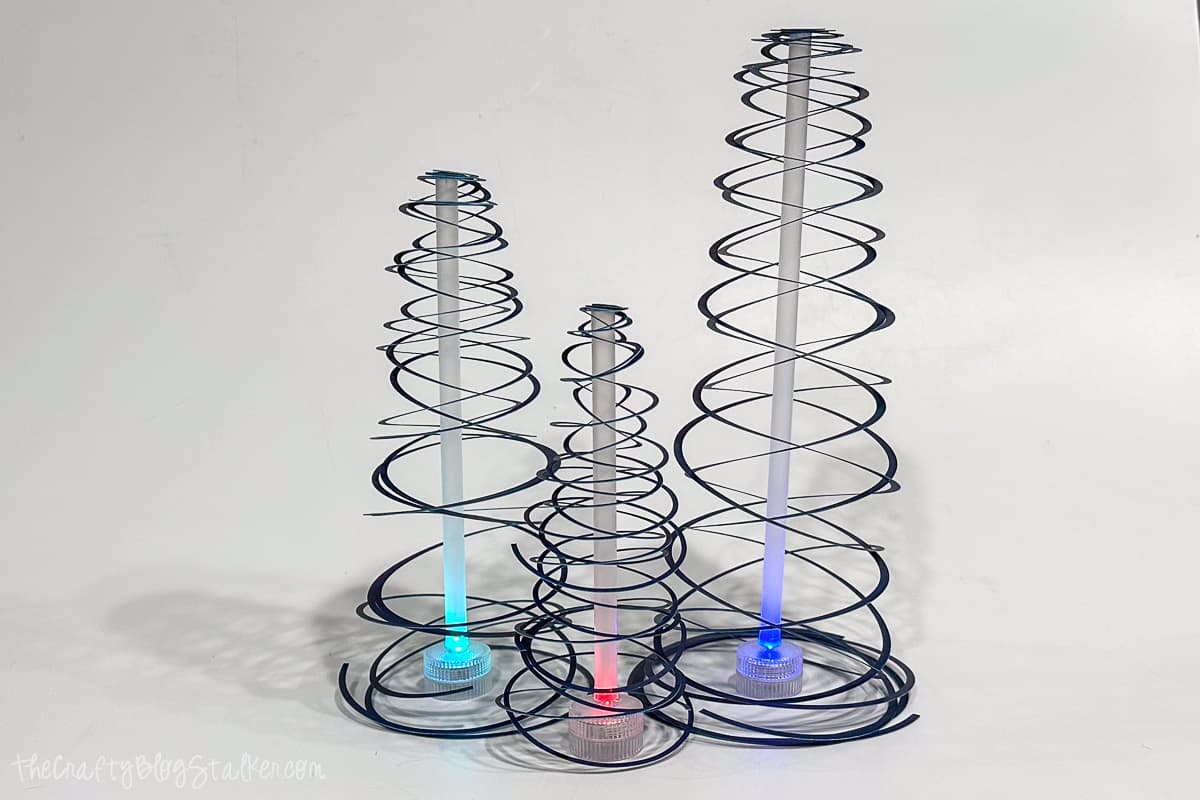
Get ready to add a whimsical touch to your holiday decor with this delightful Spiral Paper Christmas Tree craft!
With just a few simple supplies from your local Dollar Store and our handy free SVG file, you'll be able to create charming, illuminated Christmas trees that are sure to brighten up any corner of your home.
This easy paper craft is not only easy on the wallet but also a fun activity to get both young kids and adults into the festive spirit.
So, gather your crafting gear, and let's light up the holiday season with Christmas crafts that are as unique as it is beautiful!

AD: Shop Cricut.com
Craft Video Tutorial:
Like videos? I have a video tutorial for you! Subscribe to my YouTube Channel so you don't miss any future videos!
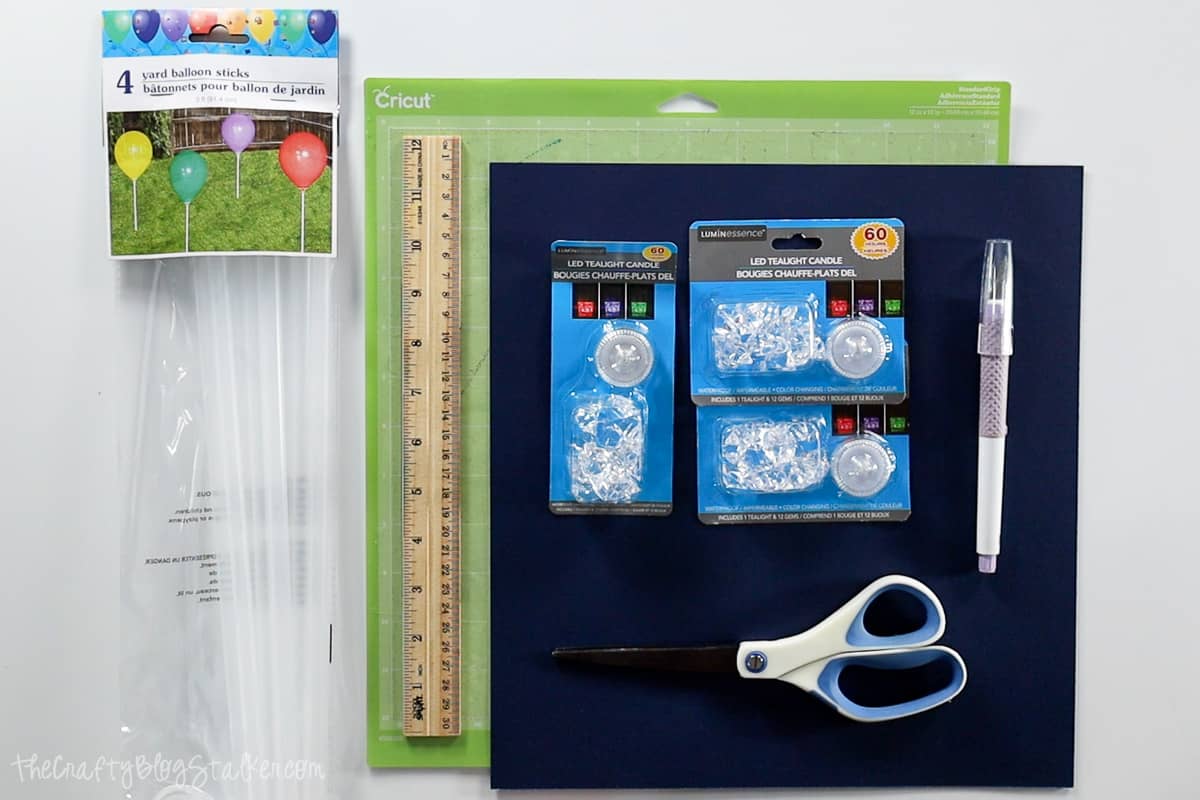
Supply List:
Links may go to similar items when exact items couldn't be found online. Help me continue to provide free tutorials by shopping my affiliate links. Please review our Privacy Policy.
Grab the Free SVG Cut File:
The first step is to grab the SVG Cutting File.

Cricut Design Space:
This SVG should work in any cutting system that accepts SVG files.
I am going to share the next couple of steps for Cricut Design Space. If you are using a different cutting software, the steps may be different.
Upload the file into Cricut Design Space and add the design to your canvas.
To size the width of the spiral, half the height of the tree.
For instance, for a 10-inch tree, the spiral width would be 5 inches. For an 8-inch tree, the spiral width would be 4 inches.
I am making a trio of trees, and want a 10-inch, 8-inch, and 6-inch tree, so I need 3 spirals sized to 5 inches, 4 inches, and 3 inches.
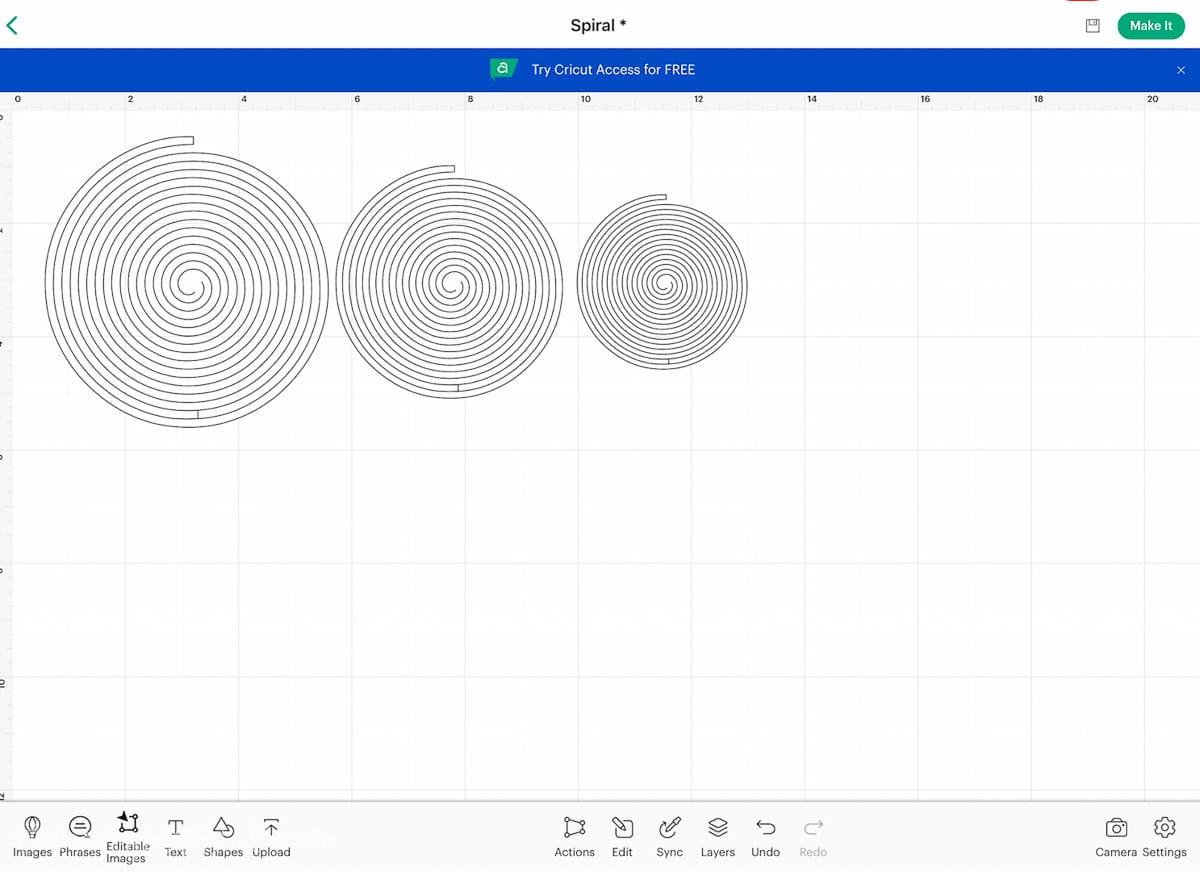
Click on Make It.
Each tree needs two cut spirals for a fuller look so change the number of Project Copies to 2.
CDS puts the spirals on two different mats, but they can all fit on one with a little bit of moving the cuts around.
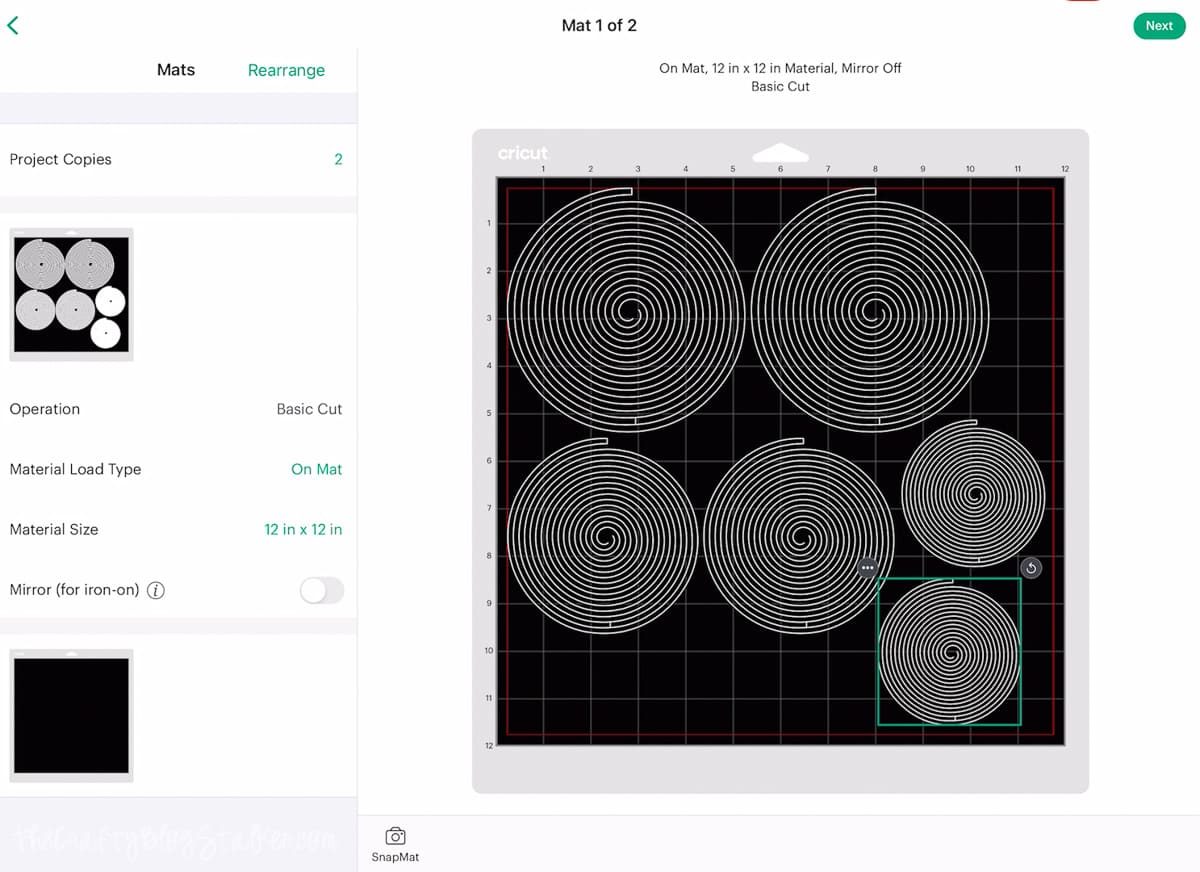
Select Next, and choose Cardstock as the material setting.
Place the cardstock onto a StandardGrip Mat and load the mat into your Cricut machine.
Hit the load button to load the mat, and hit the play button when it starts to blink. Then the Cricut will your shapes.
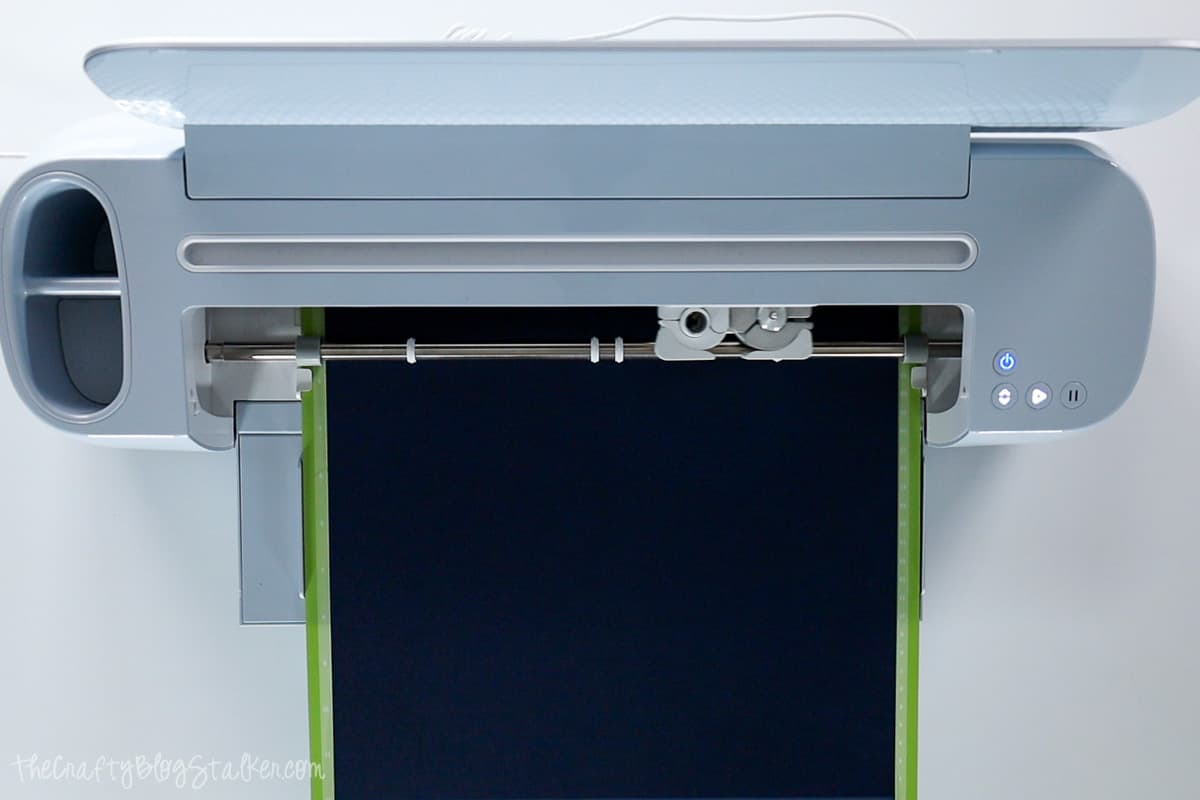
After the shapes are cut unload the mat.
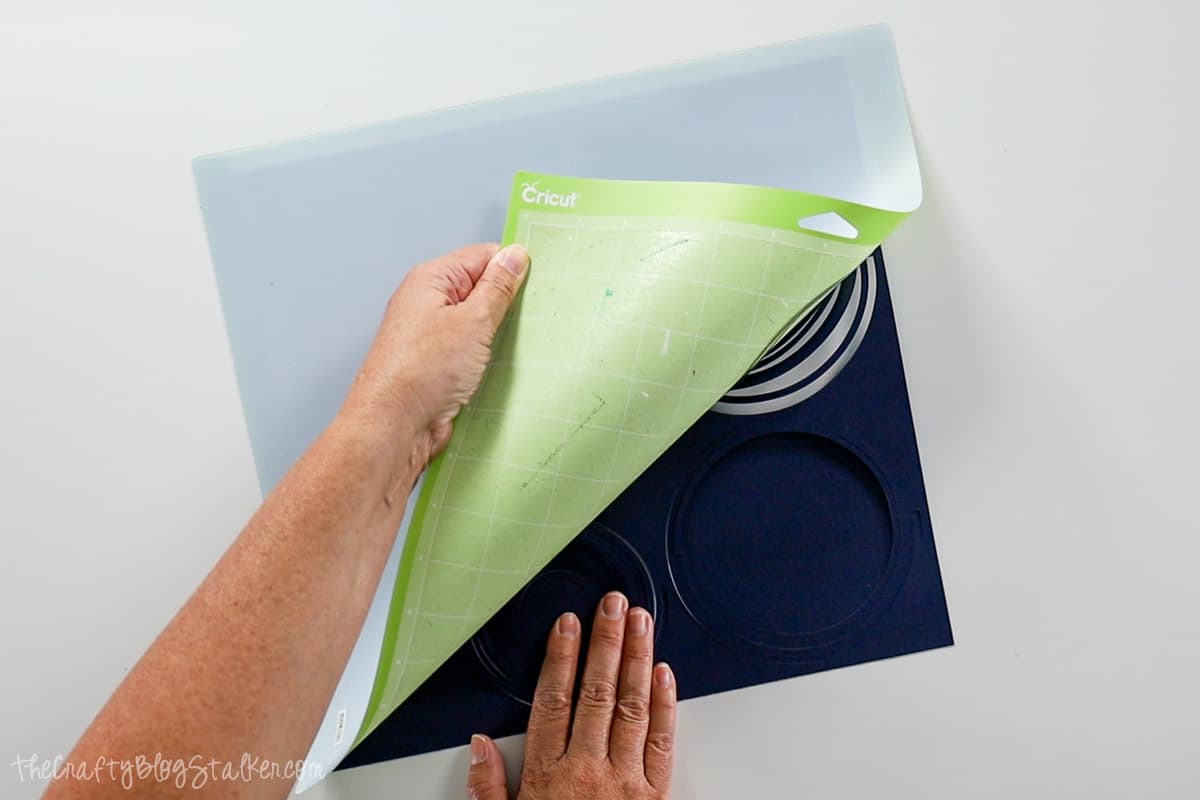
To remove the cuts, turn the mat upside down and slowly remove the spirals from the mat.
Removing the paper this way stops it from curling.
Assembly:
Measure out the height of your trees on the balloon steaks and cut them down to size with a pair of scissors.
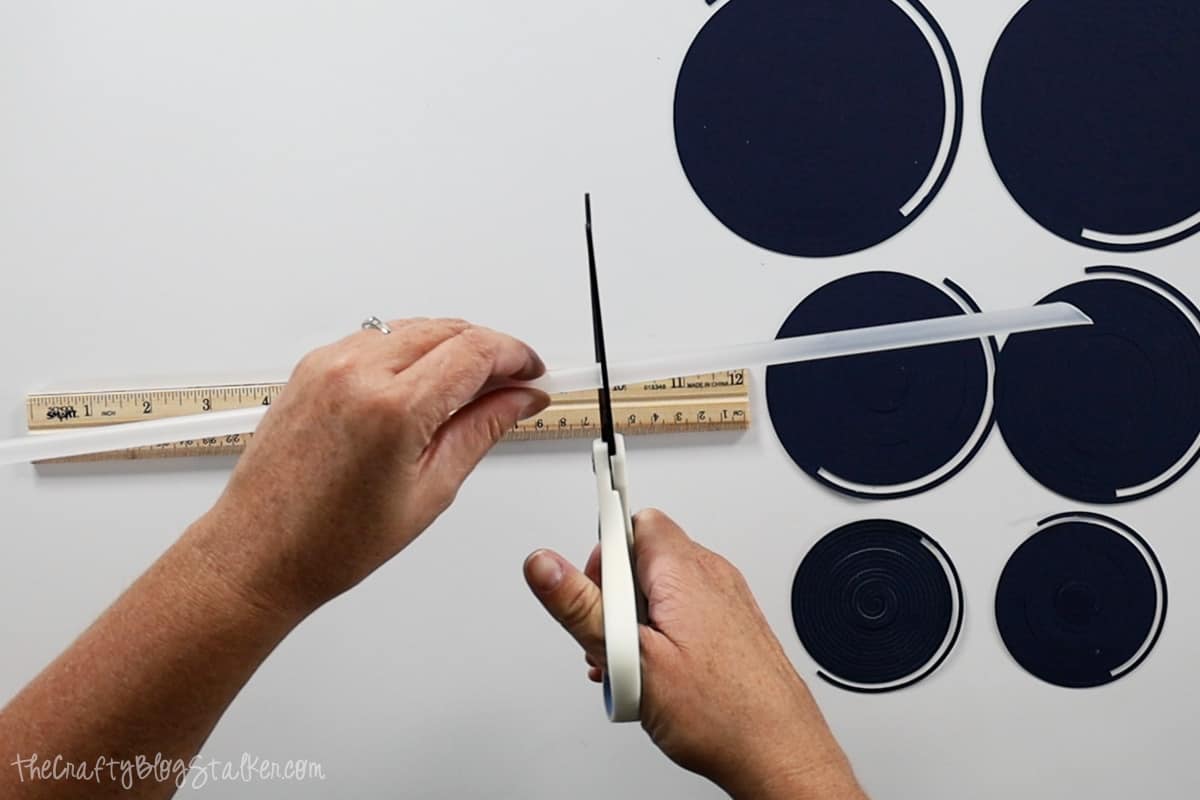
I cut one at 10 inches, one at 8 inches, and one at 6 inches.
The LED tea lights came with plastic diamonds, but I'm not going to use those for this project, only the candle.
Carefully twist open the tea light, remove the paper circle, and twist the top back on.
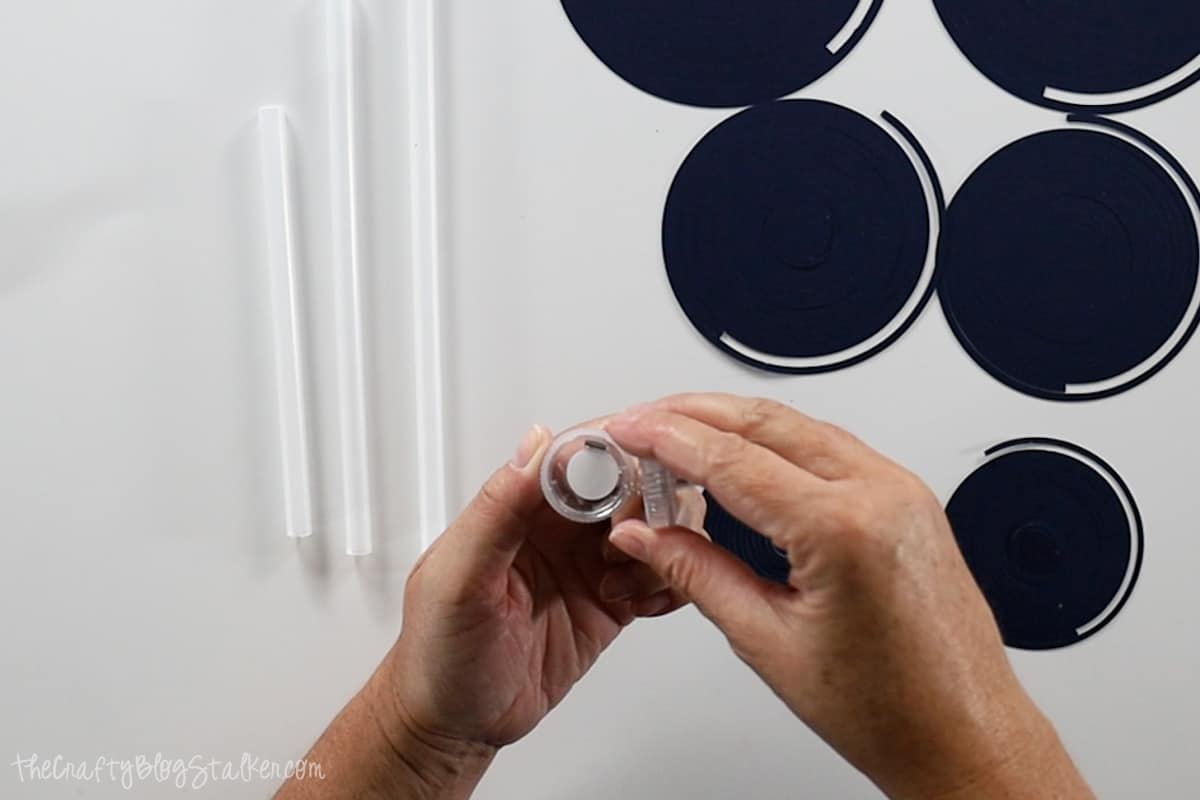
Twisting the tea light is how you will turn the lights on and off. You can go ahead and leave them on for now.
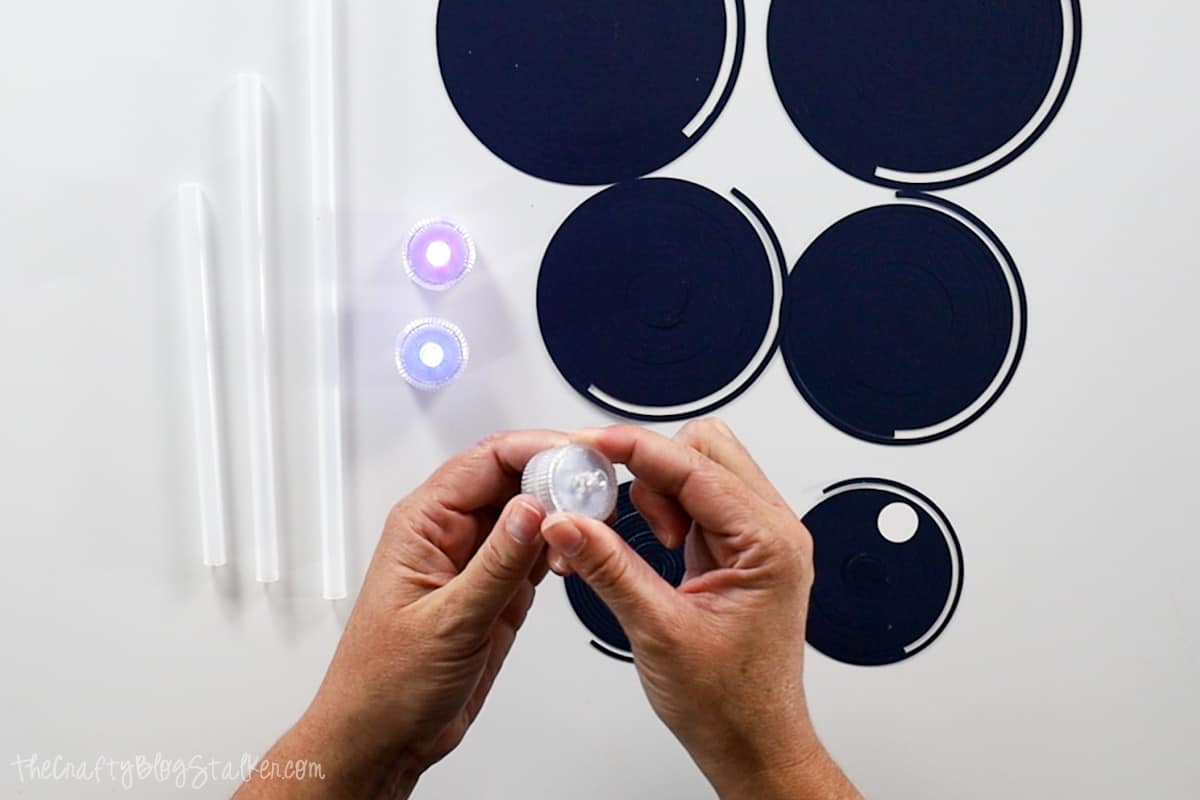
Press the plastic steaks over the light portion of the tea light. They hold in place really well.
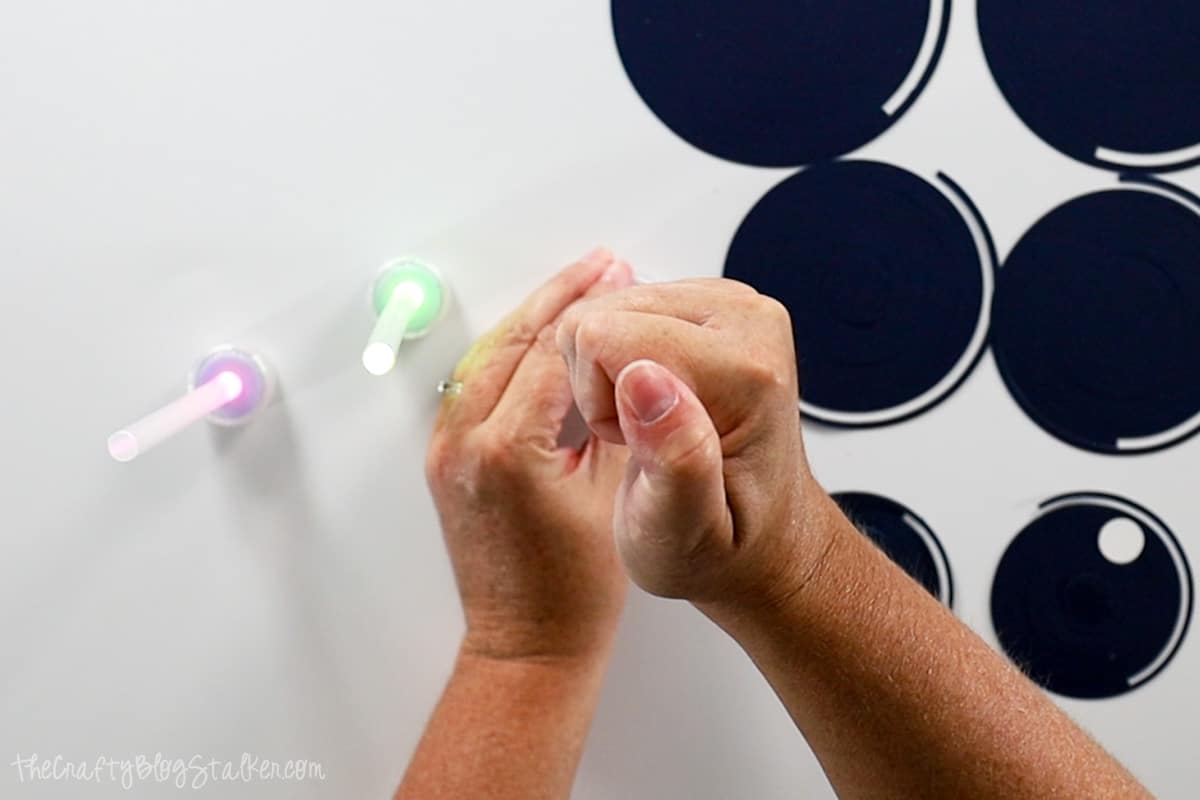
Layer two of the same-sized spiral cuts and place them on top of the appropriate-sized tree.
Put the center of the spiral over the plastic steak and gently pull down on the paper spiral. Easy Peasy!
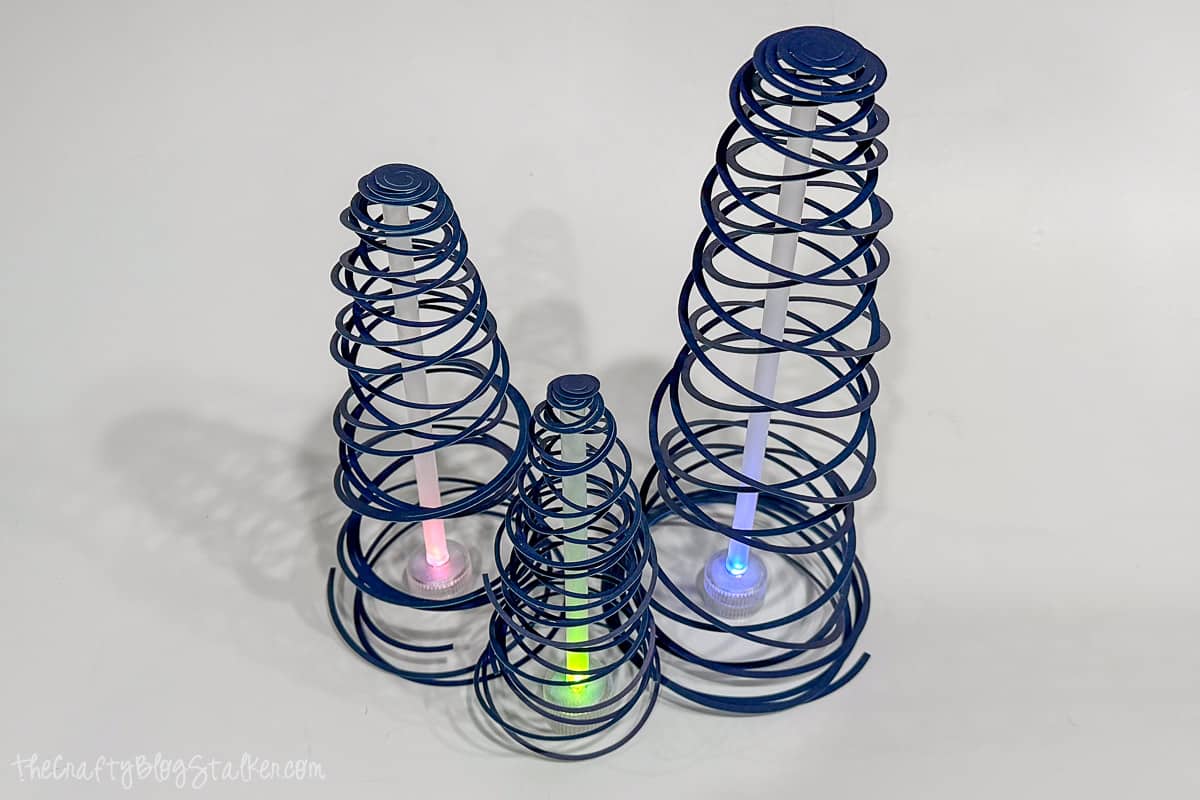
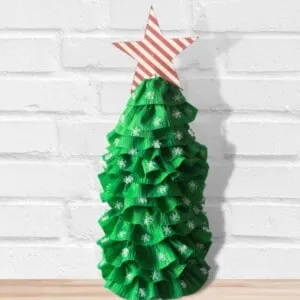
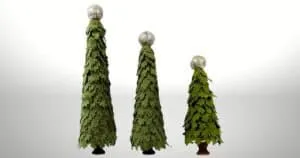
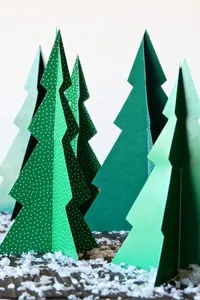
The spirals create that beautiful Christmas tree shape. Aren't they so pretty?
The LED tealight makes the perfect tree trunk that holds the tree upright with ease.
When the lights are out you can see how the light travels up the plastic balloon steak.
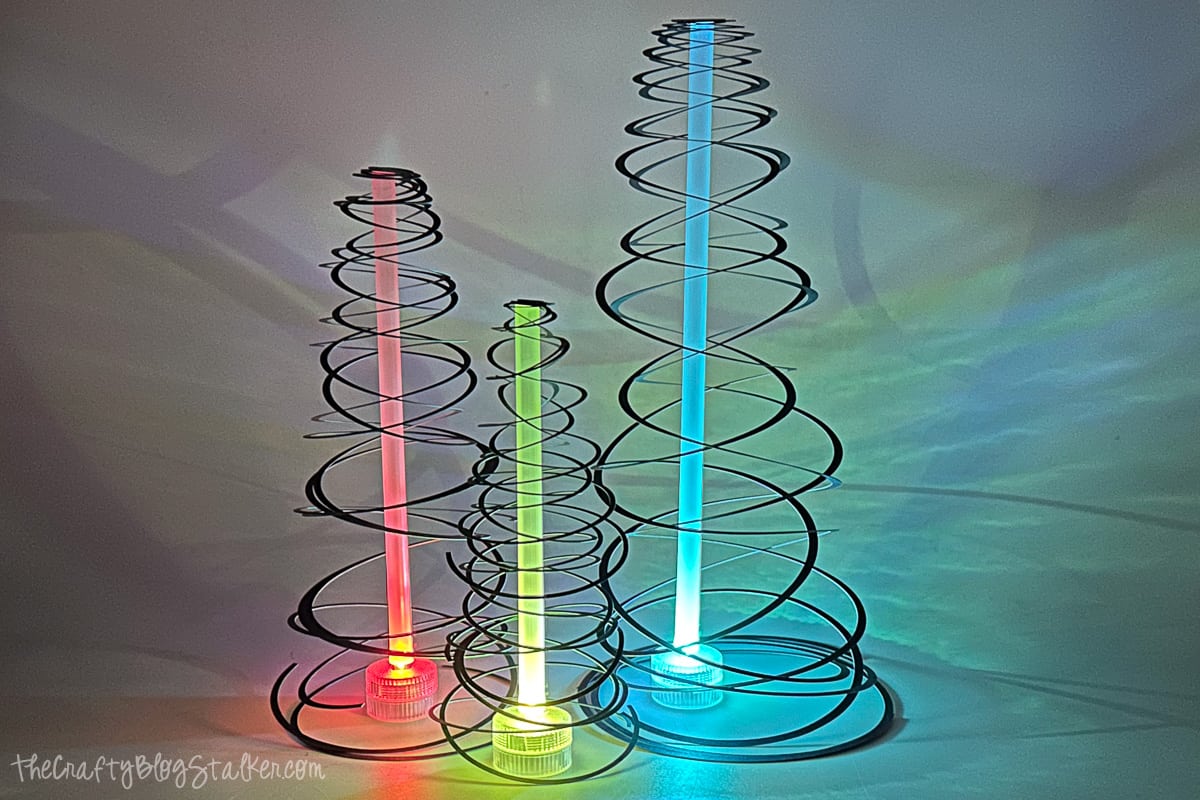
These spiral tree decorations would look great on a mantle or as a table centerpiece.
Make your own variations by using different colors of glitter cardstock or construction paper, and making trees of different heights!
Our Crafting Essentials:
- The Cricut Cutting Machine is easily our favorite crafting tool. We use it in so many of our tutorials!
- These MakerX Crafting Tools are perfect for keeping in the craft room and are always ready when needed!
- This Fiskars Paper Trimmer is easy to use and cuts nicely without frayed edges.
- These Scotch Precision Scissors cut like a dream, and you get multiple pairs in a pack!



Anna-Marie Field
Hi Katie, Love it!!! Not a lot needed to make this beautiful tree!!! I think if you used nice scrapbook paper, you could make it even bigger and have a few different sizes!!! Simple and beautiful, Thank you!!! Have a fab day!!!
Love
AMarie
Reduce, Reuse, Renewed
Very unique and cute!
Talya Tate Boerner
Very cute! I agree with Anna-Marie, lots of different sizes and colors would be cool. Maybe on a mantel…
Christine Graves
Love that! I also really like that you used 2 papers instead of just one. Looks great 🙂
Jen Hawhee
What a pretty decoration!
Misty Van Staaveren
You could get so creative with these! What a fun project!
Britni Vigil
These are so fun! Thanks for sharing on the weekend re-Treat link party! Hope to see you again Thursday at 7PM.
Britni @ Play. Party. Pin.
Angela from simplybeautifulbyangela.com
I love them! So eye-catching and creative 🙂
Kimberly
I'm totally in love with this! So cool! Pinned and tweeted. We appreciate you being a part of our party, and I hope to see you on tonight at 7 pm. We love partying with you!
Happy Monday! Lou Lou Girls