This post may contain affiliate links. For more information, please see our disclosure policy.
Learn how to make a Large Skeleton with the Cricut Maker and Kraft Board. Great for Halloween Party Decor! An Easy DIY Craft Tutorial Idea. This is a sponsored post on behalf of Cricut. All opinions are my own because I love giving you helpful tutorials!
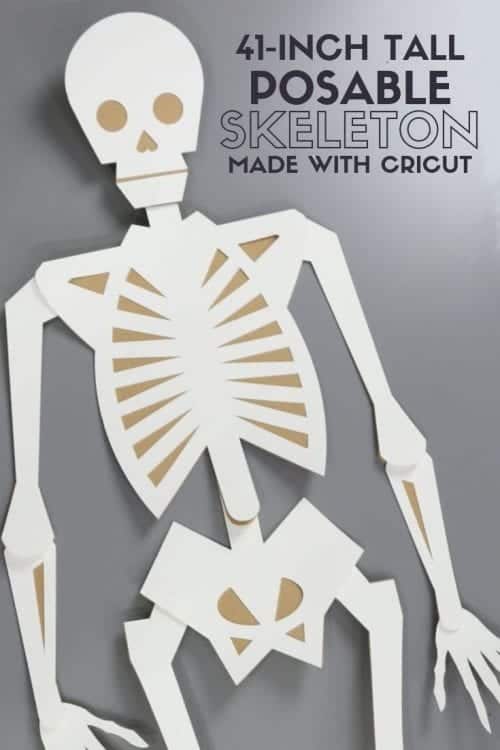
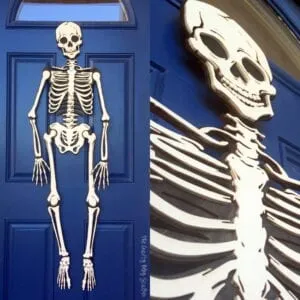
Do you like to decorate for Halloween? Or what about Halloween Parties? If so, you need to make this 41-inch Tall Skeleton. He is a super fun project and he is movable!!
The best part is that he is made with the Cricut Maker and you can use the file I created so there is no guesswork! Let the Cricut Maker cut the pieces and then you assemble. Easy Peasy!
Supplies Used for Paper Skeleton
- Skeleton File - Cricut Design Space
- Cricut Cutting Machine
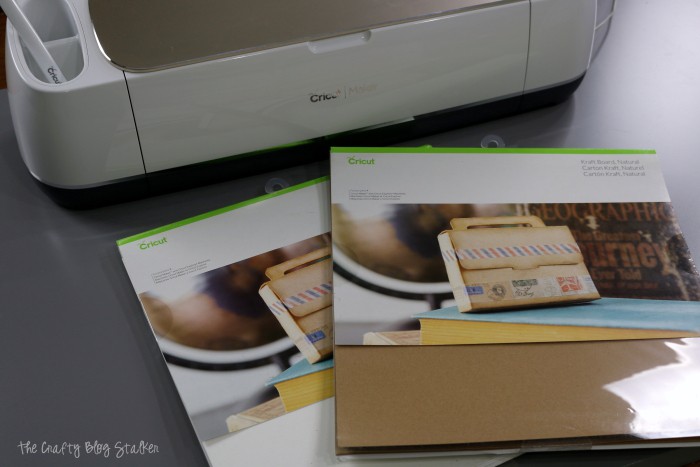
- Natural Kraft Board
- White Kraft Board
- StandardGrip Mat
- Weeding Tools
- 14 Brad Fasteners
- Hole Punch
- Adhesive
Cutting the Design with the Cricut Maker
You will need to start in Cricut Design Space, which the designing program used to cut with the Cricut Maker.
Your screen may look like this if you are on a computer. But the instructions are the same whether you are on a computer or a device.
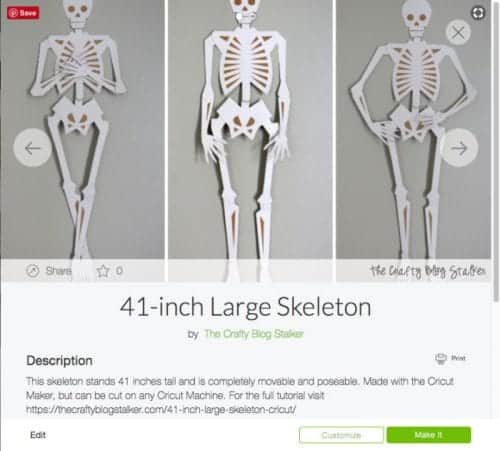
From here you have two options. You can select Make It and you will be taken directly to the mats to cut your pieces. The other option is to Customize. But remember to select all pieces before you resize, otherwise, your pieces won't match. I have sized the pieces as large as I could to get them to fit 12x12 sheets.
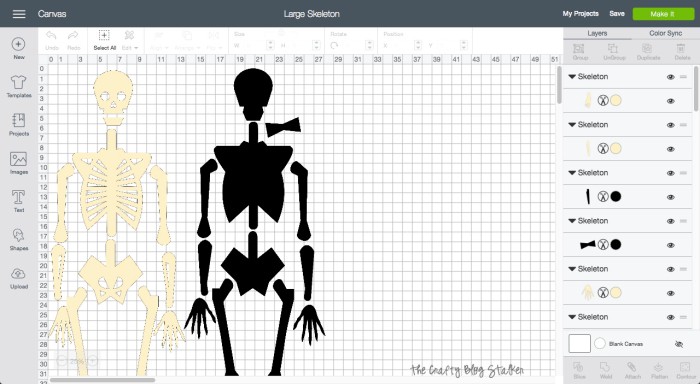
Then follow the prompts to cut the skeleton pieces out. The way the skeleton is sized it requires 4 sheets of Natural Kraft Board and 4 sheets of White Kraft Board.
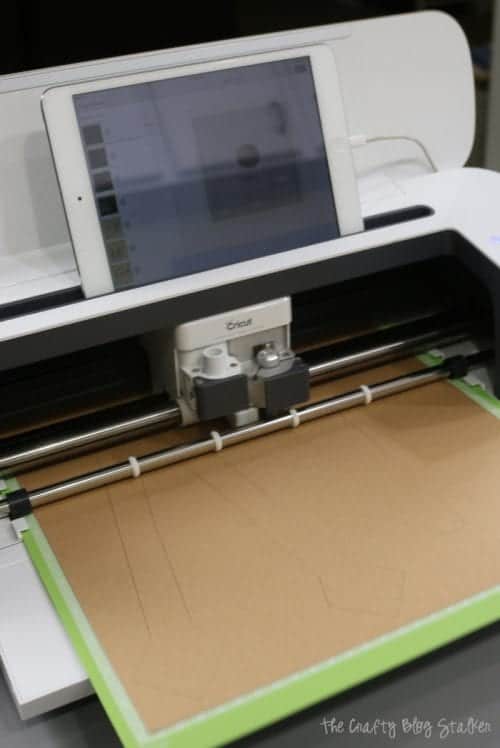
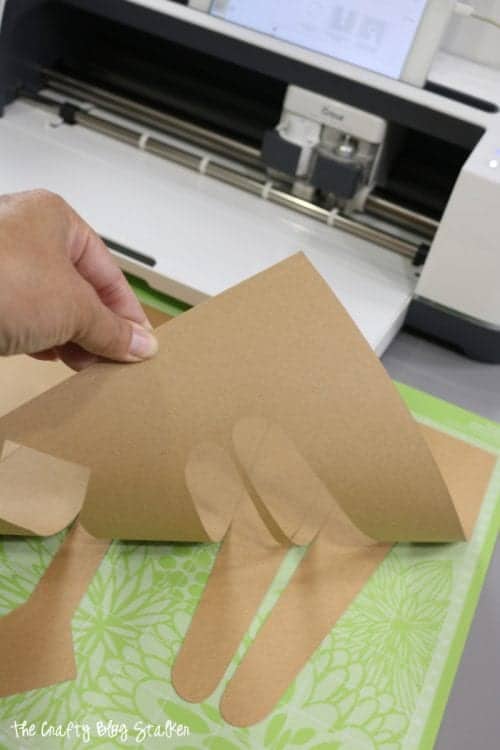
When each sheet is done cutting, carefully peel it away from the mat. Careful not to touch the sticky parts of the mat. You don't want the oils from your skin on the mat because then the sticky won't last as long. You can use the spatula tool to remove the little pieces from the mat.
Applying Adhesive to the Skeleton Pieces
Keep the pieces separated by color. This makes it easier to match them up and make sure you don't miss any.
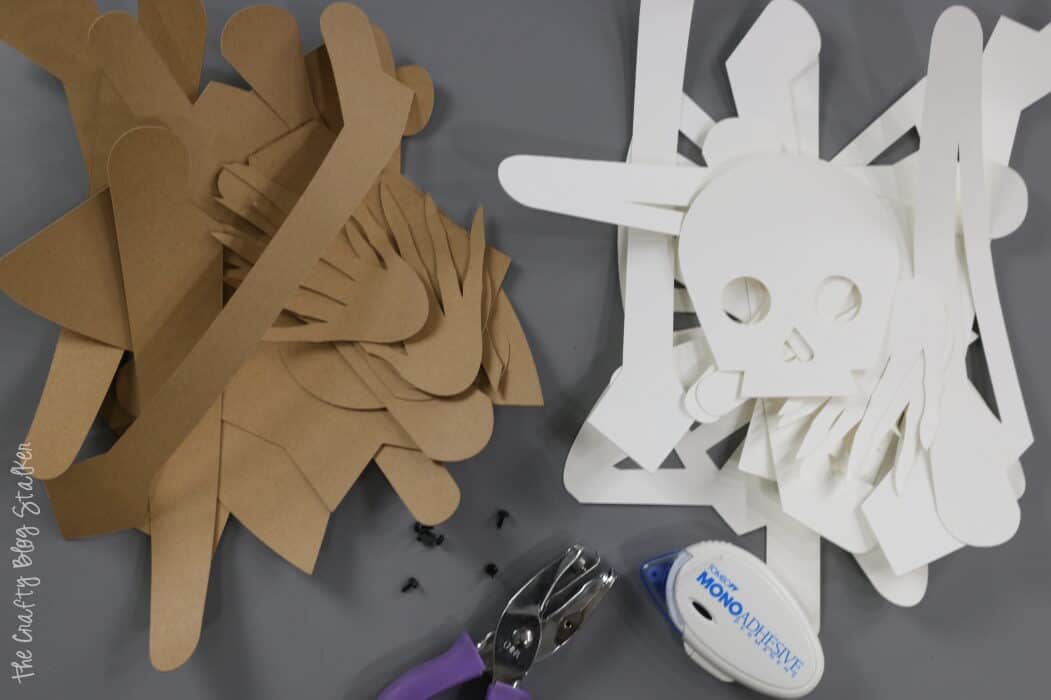
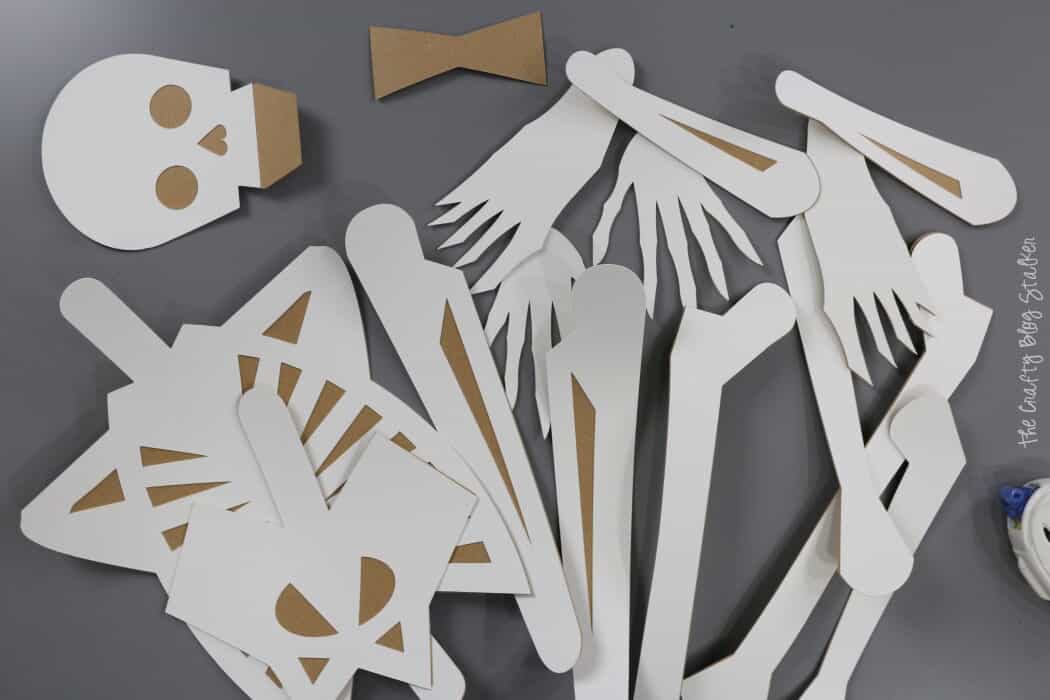
For each bone piece, there is a matching white and natural Kraft Board piece.
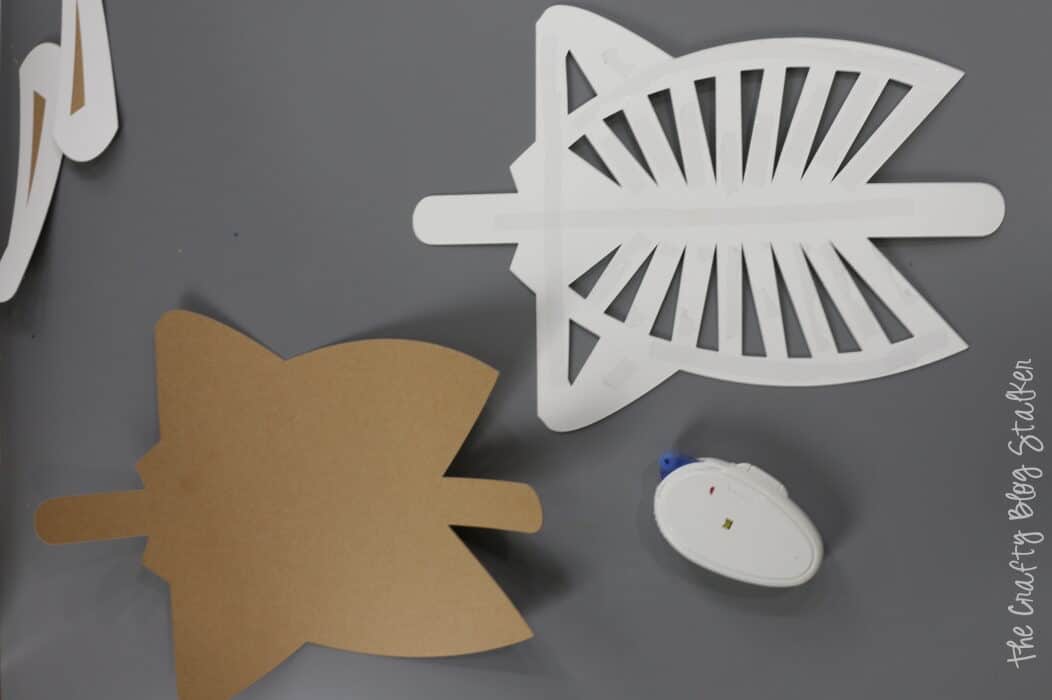
Apply adhesive to the back of the white piece. Do not put the adhesive where the joints are. This is where we are going to put the brads and we want to make sure the joints stay movable.
Center the white piece over the natural piece and apply light pressure so the adhesive sticks to each piece.
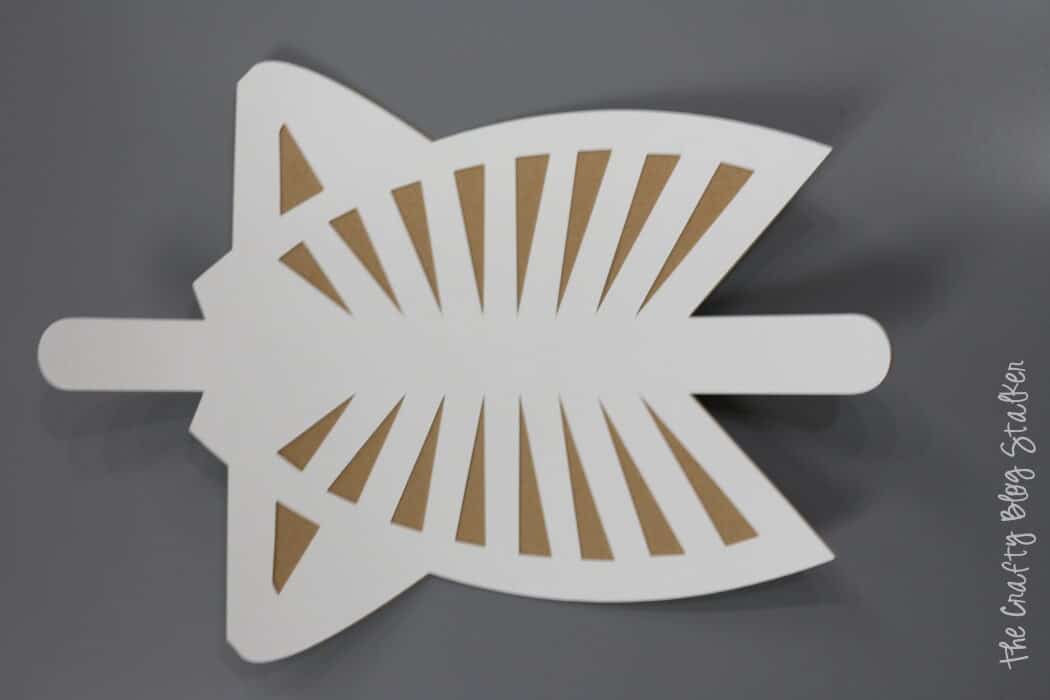
Here you can see where I left the joint adhesive-free. Most pieces have two joints so the easiest way to remember it is to just apply the adhesive to the center part of the pieces. Layer all of the pieces except the skull. Do not adhere the bottom portion of the skull just yet to the natural piece.
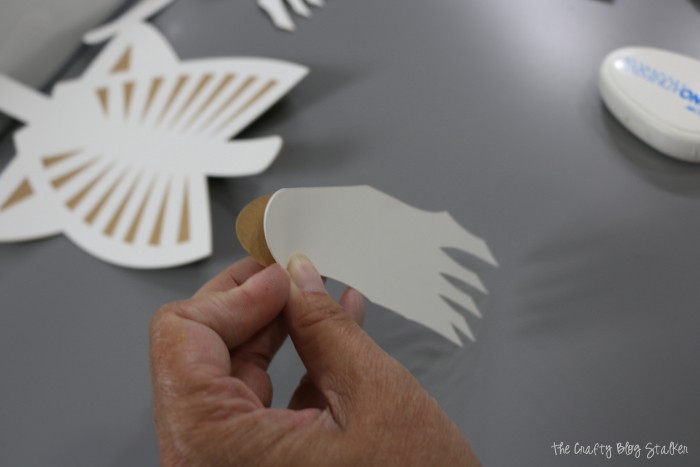
Here is my pile of bones! It looks cool already!
Assembling the Skeleton
Now we begin punching holes and using the brads to connect the pieces.
I started with the head and moved down. Place the head where you want it centered on the neck and hole all of the layers together. Insert a brad and open the tongs on the back to secure into place.
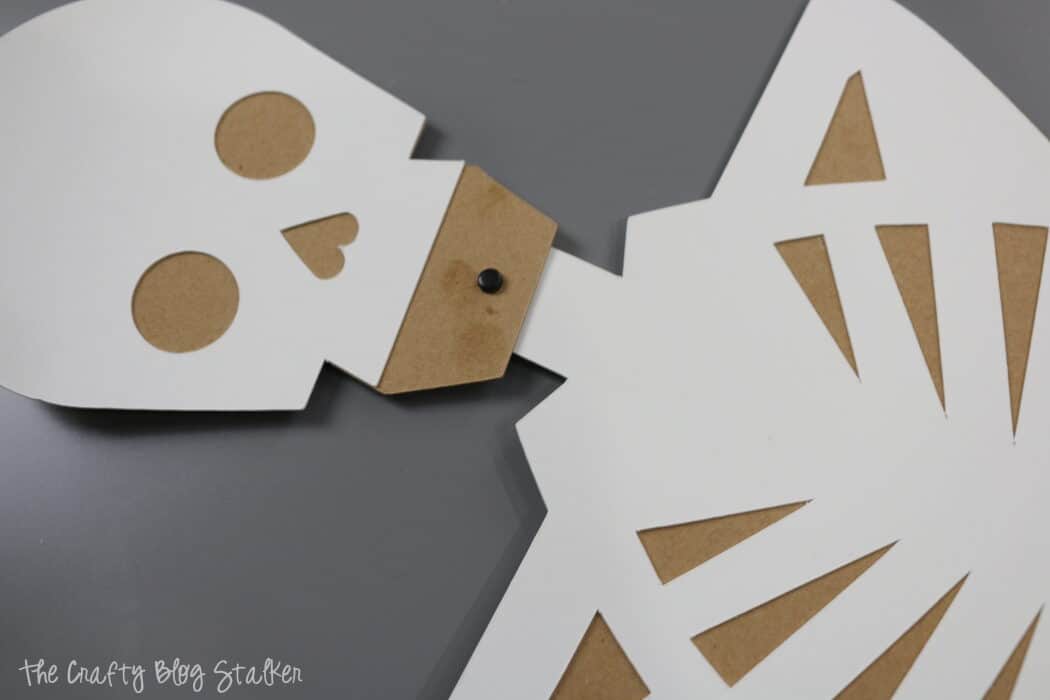
Now you can adhere the bottom piece of the skull into place to cover the brad.
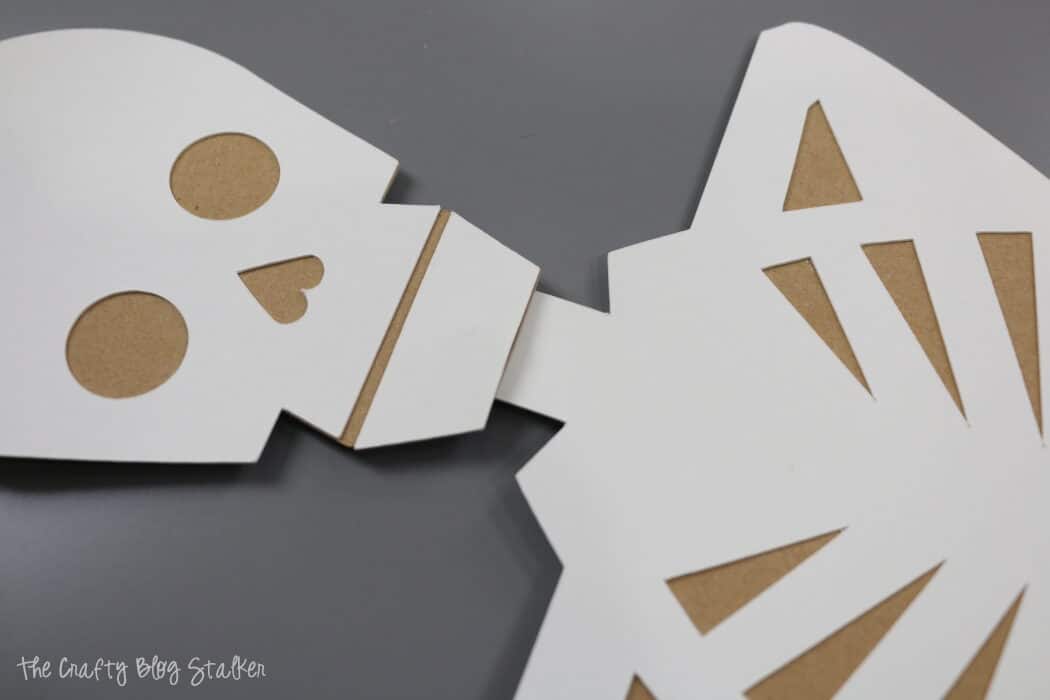
Moving down the body, the next piece to attach is the arms. Slide the top bone of the arm between the white and natural layers of the shoulder. Position in place and punch the hole and then insert the brad. By putting the brad in the middle you can't see them and they are hidden!
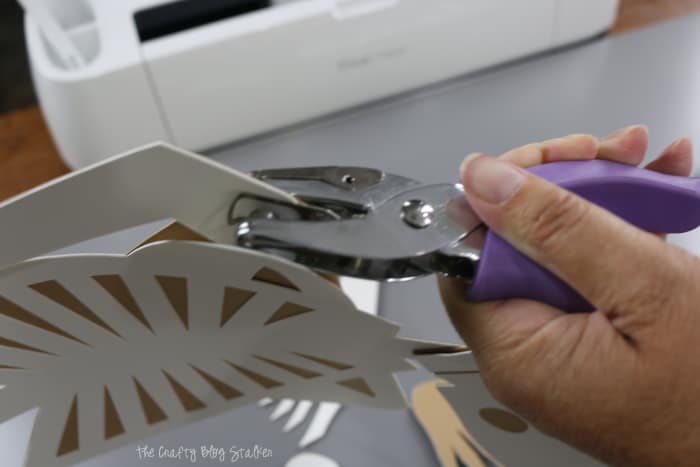
Continue down the skeleton securing all of the joints with a brad until your bone pile is a complete skeleton!
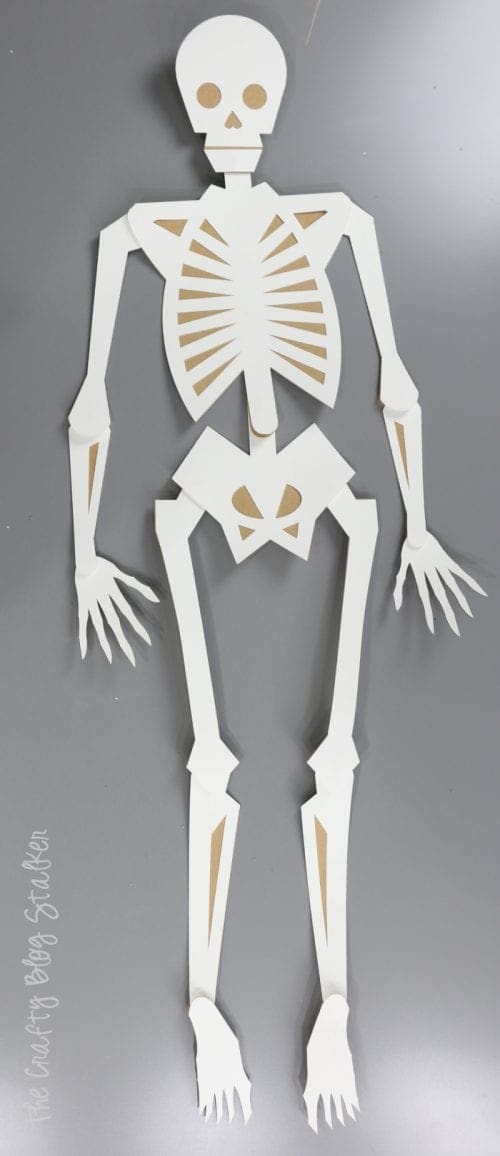
Isn't he so cool! I am kind of in love with my new skeleton and I love how big he is!!
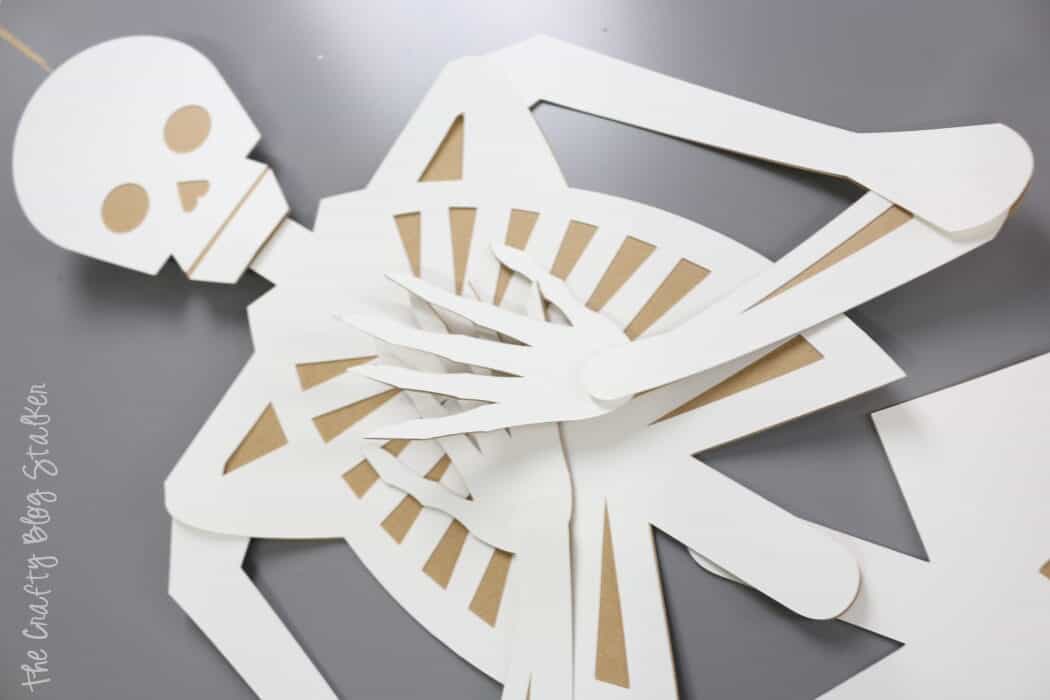
I also love that he is posable and can be arranged into all sorts of positions!
How will you use your 41-inch Tall Skeleton? For a Handmade Halloween or something completely different?
Our Crafting Essentials:
- The Cricut Cutting Machine is easily our favorite crafting tool. We use it in so many of our tutorials!
- These MakerX Crafting Tools are perfect for keeping in the craft room and are always ready when needed!
- This Fiskars Paper Trimmer is easy to use and cuts nicely without frayed edges.
- These Scotch Precision Scissors cut like a dream, and you get multiple pairs in a pack!



Joyce
Thank you for providing this project! When I click the link for the skeleton file, I get the Cricut page in my browser which wants me to either launch DS or download it. When I click to launch DS, I do not see any skeleton file. If I have DS already running and click the link to get the skeleton file, I get the same results. A second instance of DS opens up and all I see is the start page for DS. There is no skeleton file. Not sure what I'm doing wrong.
Joyce Brisebois
I am using a laptop with Windows 10 and Chrome browser.
Katie
Joyce, you are not doing anything wrong. The original link had gone bad. I fixed it and now it should work. You will be prompted to open Cricut Design Space, but when it opens it should open to the project.
Let me know if it is giving you any more issues.
LYDIA CRUZ SANCHEZ
HELLO MY NAME IS LYDIA FROM PUERTO RICO I WANT TO MAKE THIS SKELETON BUT I DO NOT KNOW HOW TO DOWNLOAD INTO MY CRICUT DESIGN SPACE CAN YOU BE SO KIND TO EXPLAIN THANK YOU
Katie
Hi Lydia,
Use the link in the tutorial marked Cricut Design Space Skeleton. That will take you to the project. Everything is sized to make the skeleton 41 inches tall. Have fun!
Miss Bibi
Thank you for providing this project! I am having the same issue as a previous commenter. When I click the link for the skeleton file, I get the Cricut page in my browser which prompts me to either launch DS or download it. When I click to launch DS, I do not see any skeleton file. Not sure what I’m doing wrong or if the link may be broken 🙁 I would love to use this in my classroom.
Katie
I updated the link. You could try deleting your cookies on your computer and then see if the link works for you.
You can also search in community projects in Cricut Design Space. Look for "41-inch Large Skeleton" and you should find it there as well.
Barbara
Love this skeleton project for Halloween! Would love to see a similar project of a larger than mat scare crow as well.
Katie Adams
I am so glad you like the tutorial Barbara!
Lynette
I have just made your skeleton for my great nephew 8 years old, he's going to love it! Thank you for the template, its really lovely!
Katie Adams
You are welcome! I am so glad you enjoyed it!
Pennie
OMG! Love this skeleton project! Can I use glue to stick front and back together instead of tape? I don't have any double sided tape on hand at the moment.
I used a bat as the bowtie!
Katie Adams
Oh I love the idea of a bat as the bow tie. SO CUTE!!!!
Yes, glue will work fine, it just may need some drying time.
Joyce L
Thank you for this fun project. Cut perfectly from Cricuit; then your instructions were very clear and easy to follow. It is really cute!
Katie Adams
Thank you so much Joyce!