Learn how to make Bitmoji Decal sticker for your car window using vinyl and a Cricut. An Easy DIY Craft Tutorial Idea. Personalize your car!
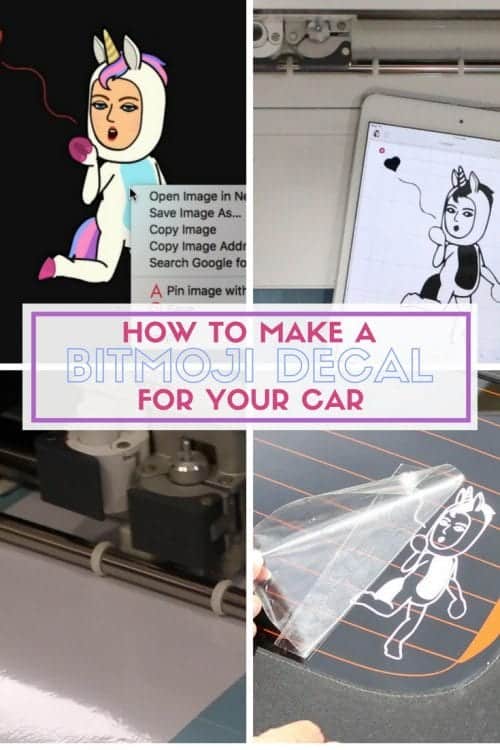
Do you have a Bitmoji? Aren't they so cute?! Recently, I found that my Bitmoji can wear a unicorn costume, and it is my favorite!! A Bitmoji is your own personal emoji. You can use the Bitmoji app and create a little cartoon character that looks just like you! Then, in texting or email, you can insert your Bitmoji just like you would with emojis. They really are a lot of fun!

I love to use my Botmoji so of course, I need my personal emoji on my car too! In this tutorial, I am going to show you how to make a Bitmoji Decal that you can put on your car window, laptop, or really anywhere you want to stick your cute little mini-me. My decal was cut with the Cricut Maker, but any of the Cricut machines could cut this for you.
Like videos? I do have a video tutorial if you would prefer to watch the tutorial. Please subscribe to my YouTube Channel so you don't miss out on any future video tutorials!
Supplies Used: Some links may be too similar items when exact items couldn't be found online.
How to Make a Bitmoji Decal for your Car with Cricut
For this tutorial, I am using a mac. This can be done from a pc or a device like a phone or a tablet, but your screen may look different depending on what you are using.
Begin by deciding which Bitmoji image you want to use. The best are the ones without a background. If there is too much going on in the image it will be harder to create an outline. Once you have decided on your image, save it to your device or computer.
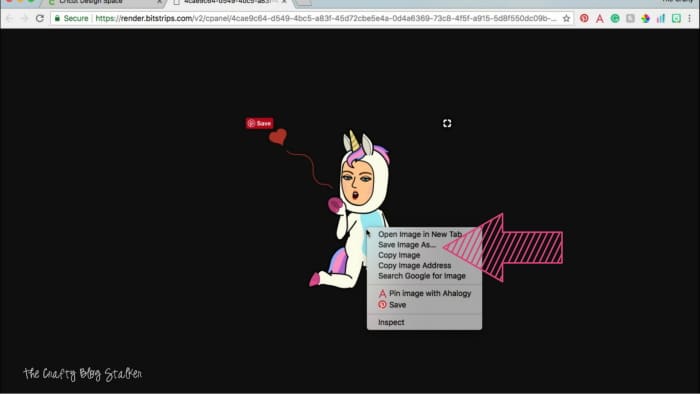
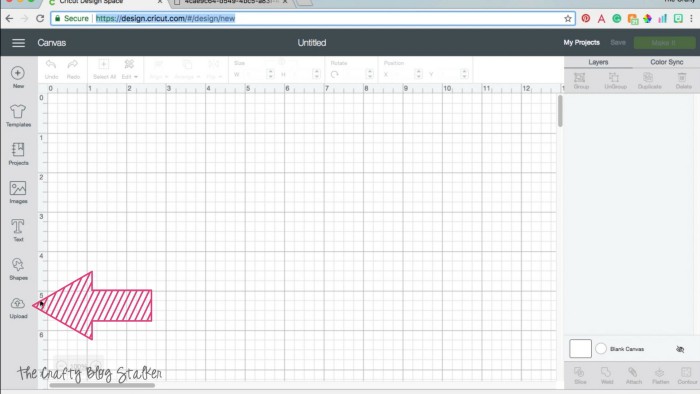
Open Cricut Design Space andelect start a new project.
On the Canvas page, select the upload icon.
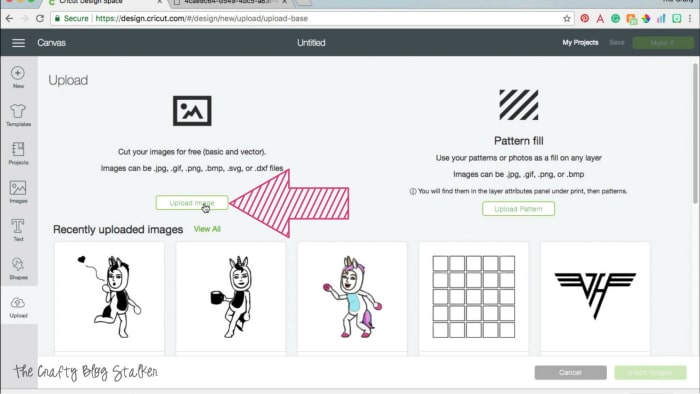
Select Upload Image and bring in the Bitmoji image you saved.
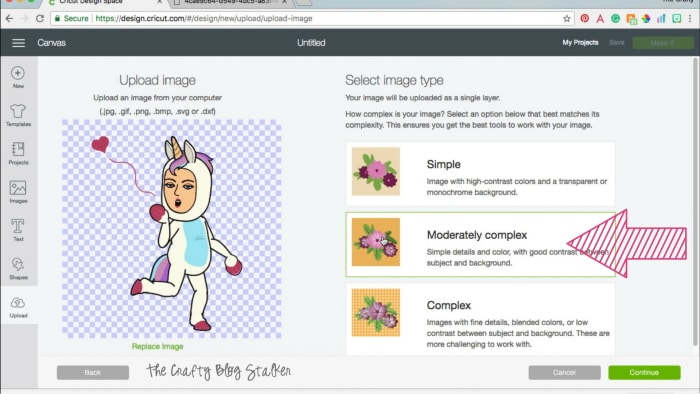
After your image is uploaded you can select the image type. This is how much detail and color you want your image to have. Since we are going to be removing detail and color for our decal I chose the moderately complex.
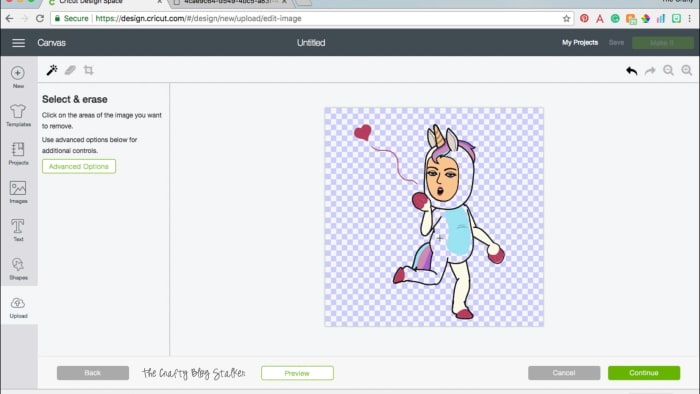
Then you are brought to the Select and Erase page. this is where you remove the colors and details to make your single-color outline for your decal.
Everywhere you see the blue and white check is clear. Using the eraser tools you want to remove most of the color only leaving the outline. The video tutorial shows you this entire process if you want to see it done from start to finish.
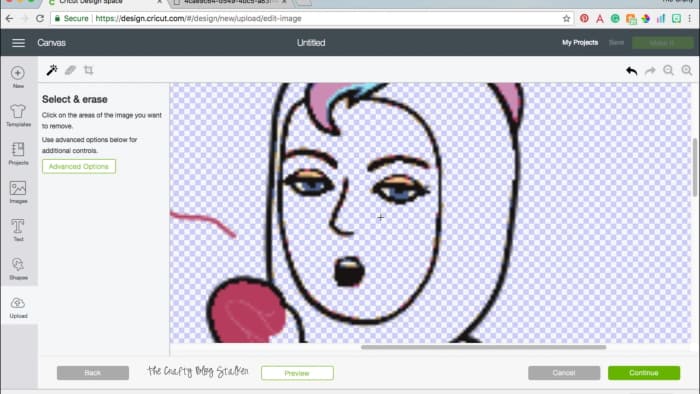
Don't forget, you can zoom in and out so you can focus on the small details and make the image look exactly how you want.
To preview how your cut image is going to look, select the preview button. This way you can double-check how your decal is going to look before you finalize the image.
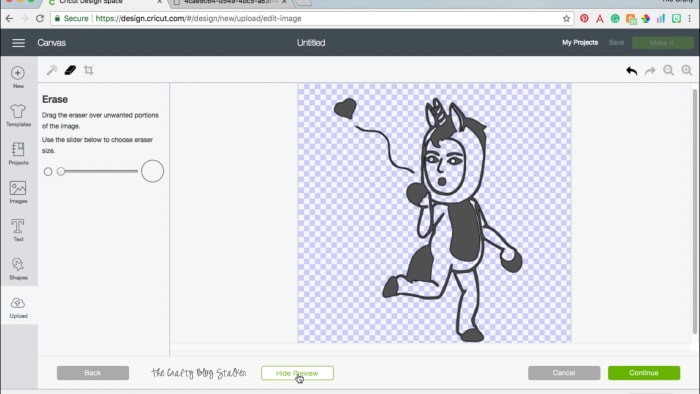
When you are happy with your image, select the cut image on the right and select Save.
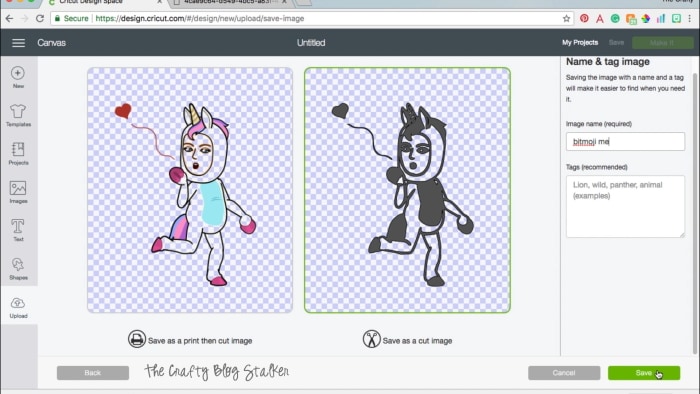
Insert the new image into your blank canvas. From here you can size the image to what will work best for your space. I made mine 6 inches tall.
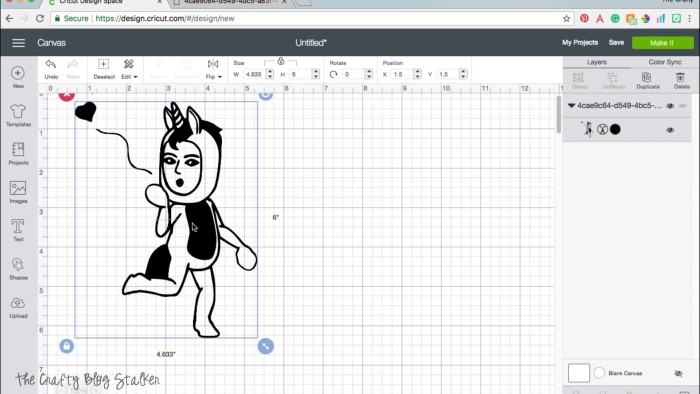
I like to design on my computer but then cut from my iPad So after the image is exactly how I want it, I pull out the iPad.
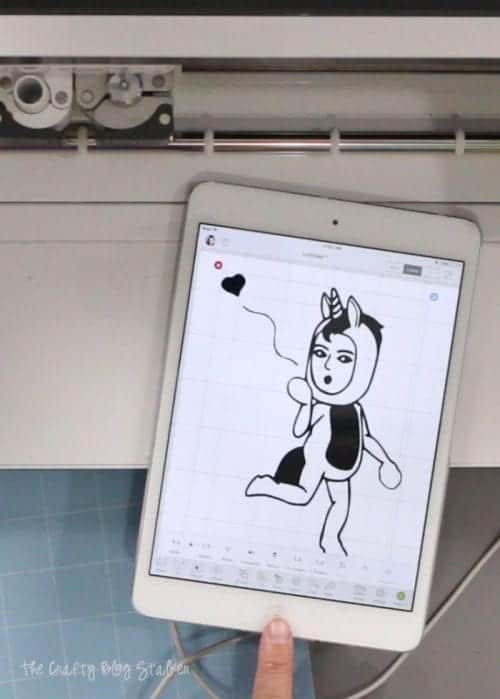
Select the green Make It button and follow the prompts in Cricut Design Space. Depending on what Cricut machine you are using the prompts may be different.
Since my decal is going on the outside of my car window, I am using premium outdoor vinyl. Regular vinyl can be used, but I wouldn't recommend it for auto decals.
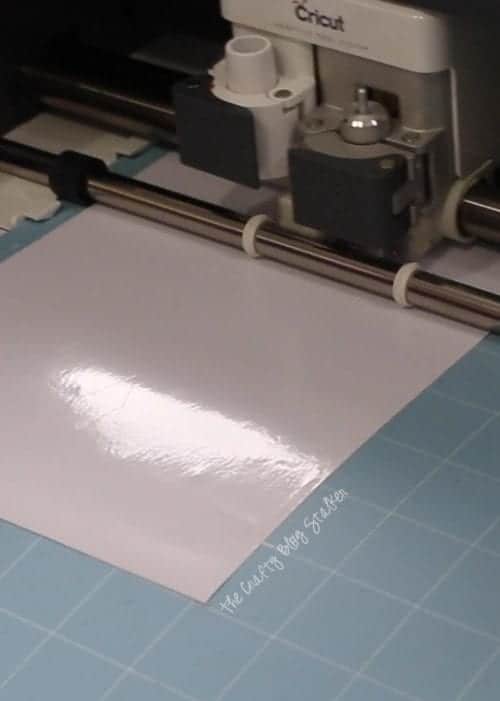
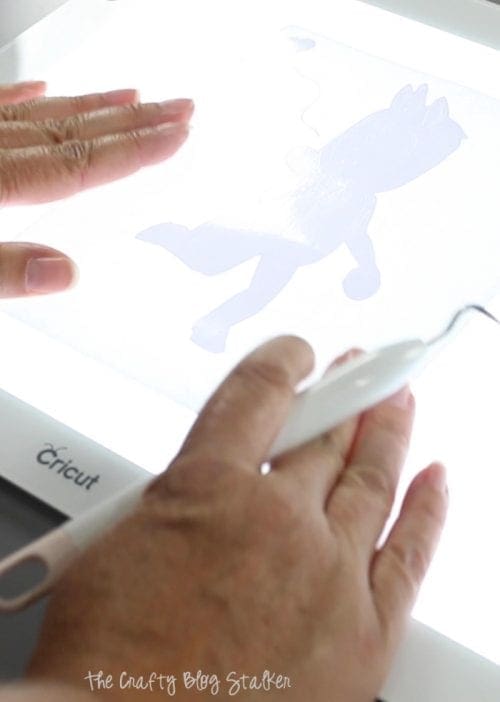
After the vinyl is cut, it is time to bring out the BrightPad and weeding tools. Remove the excess vinyl, only leaving the outline of your decal. I know it's hard to see since the vinyl is white and the backing paper is white.
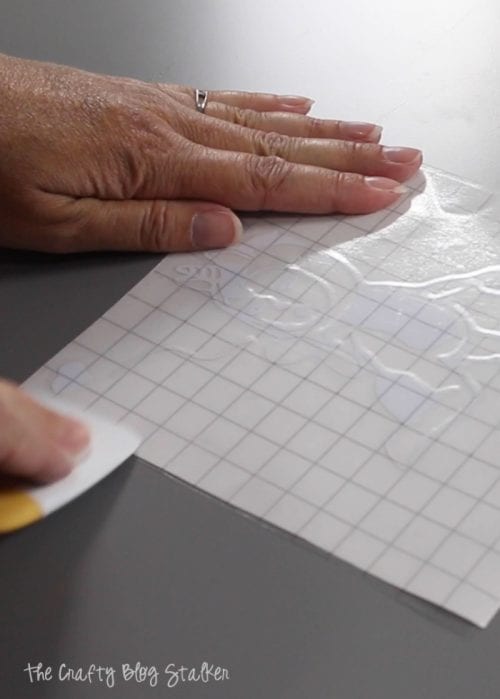
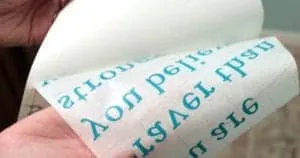
Cut a piece of transfer tape to the same size as your decal. Peel back the paper backing and carefully lay the transfer tape over your decal. Using the scraper tool, really press the transfer tape onto the vinyl decal. Even turn the paper over and go over the backside several times as well.
Now it's time to apply the decal to your car window!! Make sure the surface is nice and clean. Use window cleaner and rubbing alcohol to remove any residue and make sure the decal sticks nice and strong to the window.
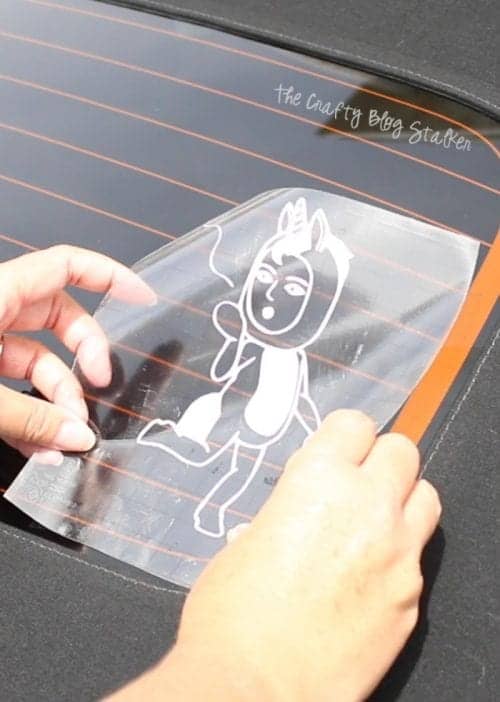
Peel back the paper backing from the vinyl so only the decal is left sticking to the transfer tape. Carefully lay the decal where you want it on your window.
Using the scraper tool, press the decal onto the window.
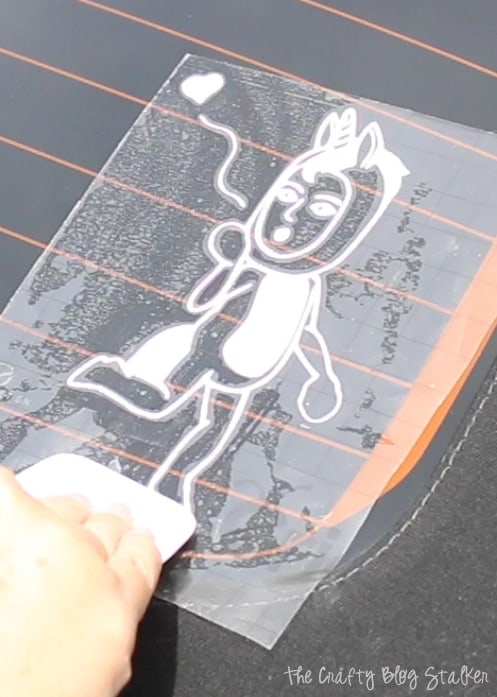
Slowly peel back the transfer tape leaving the vinyl decal stuck to the window.
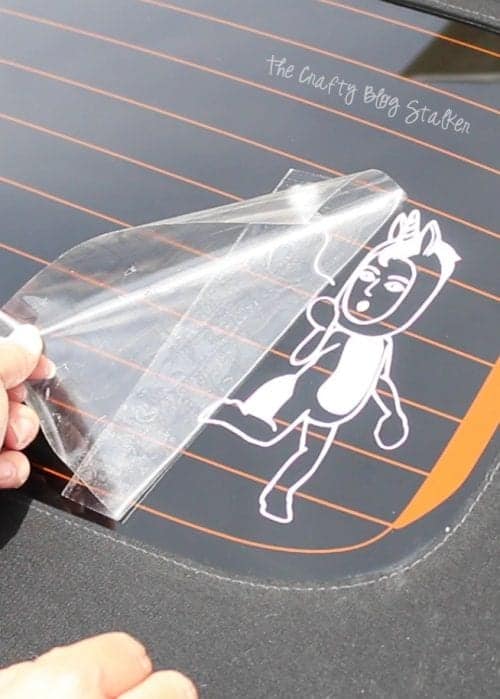
It looks so good, I love it!!!
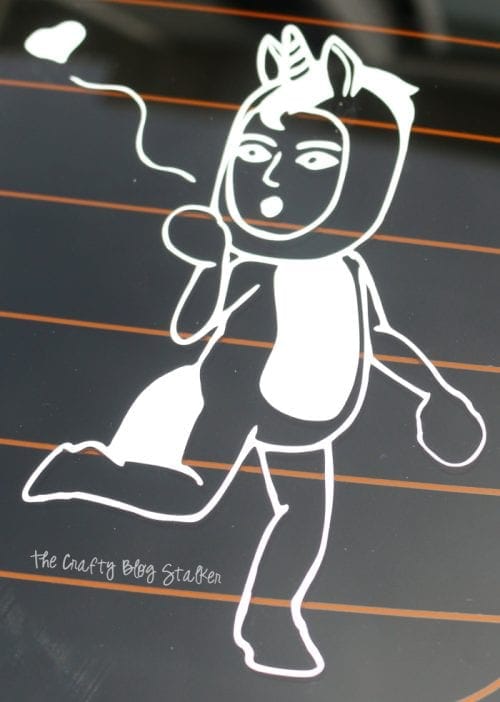
Now my cute little car has a cute little Bitmoji me!
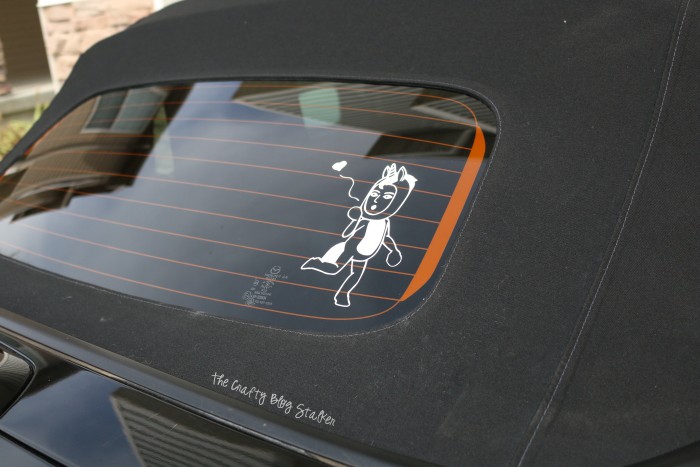
What image would you put on your back window?
Our Crafting Essentials:
- The Cricut Cutting Machine is easily our favorite crafting tool. We use it in so many of our tutorials!
- These MakerX Crafting Tools are perfect for keeping in the craft room and are always ready when needed!
- This Fiskars Paper Trimmer is easy to use and cuts nicely without frayed edges.
- These Scotch Precision Scissors cut like a dream, and you get multiple pairs in a pack!





Amy
This was great. Thank you for breaking down the steps. Video was easy to follow and I had success as I worked side by side with it.
Katie
Thank you, Amy. I am so glad yyou were able to follow along the tutorial and make your own Bitmoji decal!