

Create a Cute DIY Halloween Shirt with a Freezer Paper Stencil, Bleach, and a Free SVG! A funny bleached shirt that is perfect for your Halloween Party.
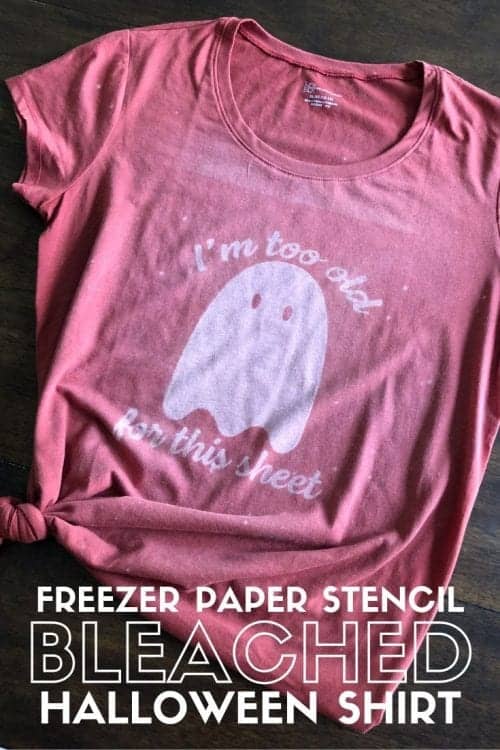
Dressing up for Halloween is a ton of fun but takes a lot of work! This funny Halloween design perfectly describes how I feel about it.
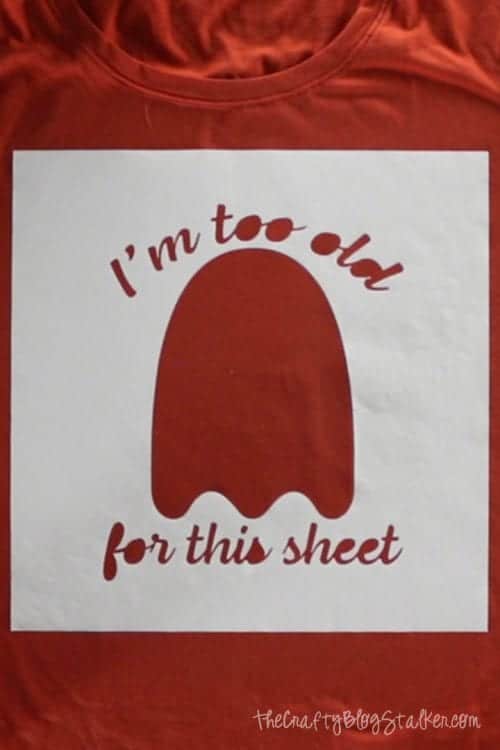
I am too old for this sheet! Add the cute little ghost, and you have a fun Halloween Shirt!
Supplies Used to Make a Funny DIY Halloween Shirt
Some links may lead to similar items when the exact item is unavailable.
- Cricut Cutting Machine
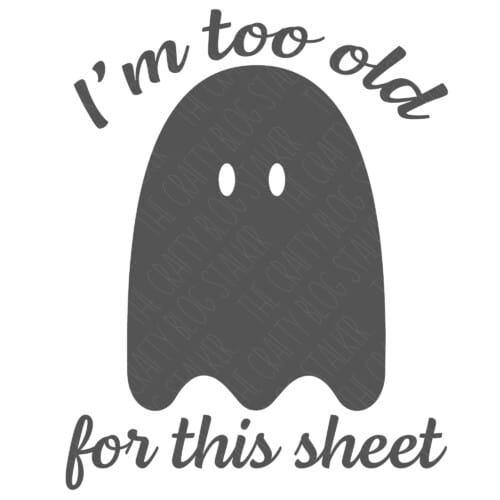
- Free SVG file - I'm Too Old For This Sheet
- LightGrip Mat
- TShirt
- Freezer Paper
- Spatula Tool
- EasyPress
- Bleach
- Spray Bottle
DIY Funny Halloween Shirt Video Tutorial
Like videos? I have a video tutorial for you! Please subscribe to my YouTube Channel so you don't miss out on any future video tutorials!
Cut the Design
Grab the free SVG cut file.
Upload the file into Cricut Design Space. Size the image appropriately to the project you are applying it too. For my shirt, I sized the design to 7.5 inches wide.
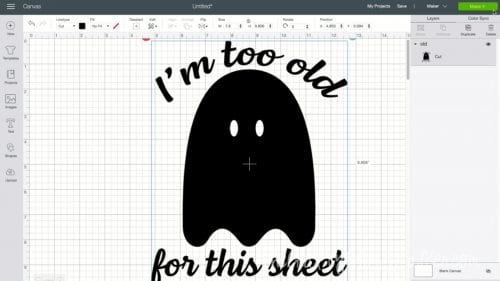
Make sure to mirror the image when you are on the mat preview.

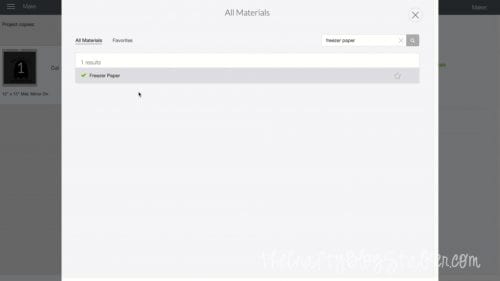
Select Freezer Paper as your material type.
Lay a piece of 12 x 12 freezer paper onto a LightGrip Mat with the shiny or waxy side up.
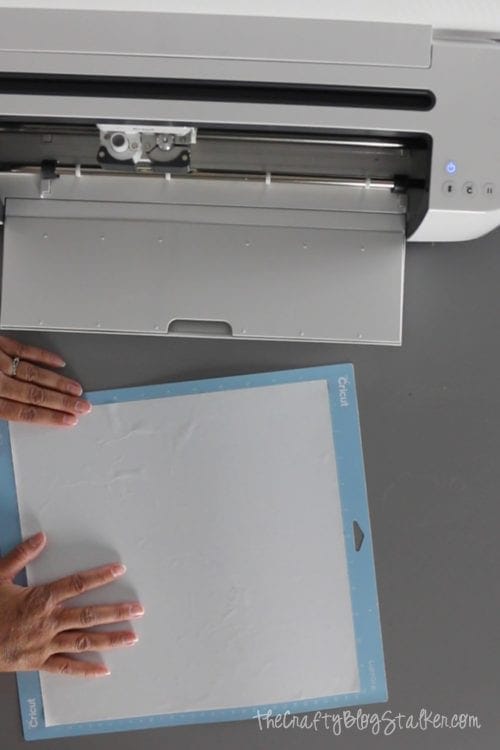
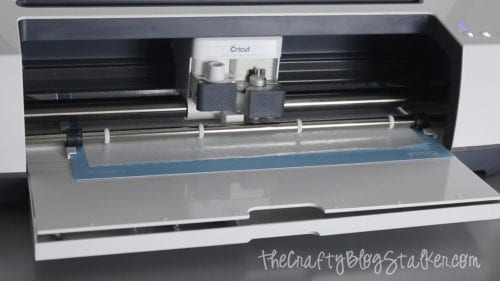
Load the mat and cut the design.
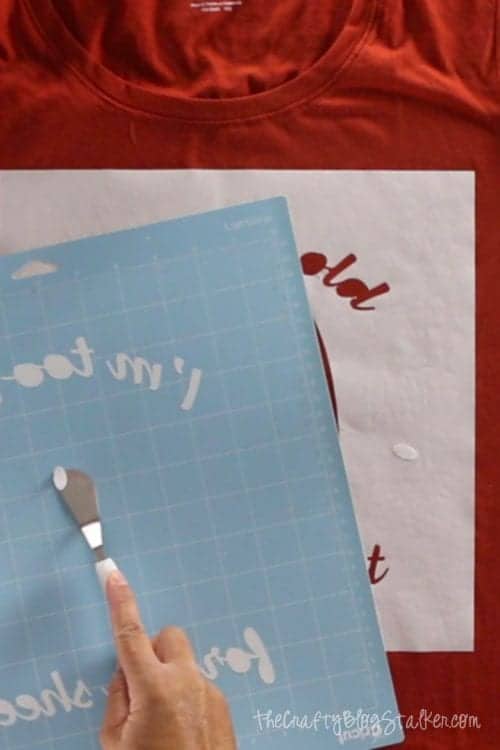
Carefully remove the freezer paper stencil from the mat. A bit of patience will be needed here so go slow. You don't want to rip the freezer paper. I found the spatula tool helpful.
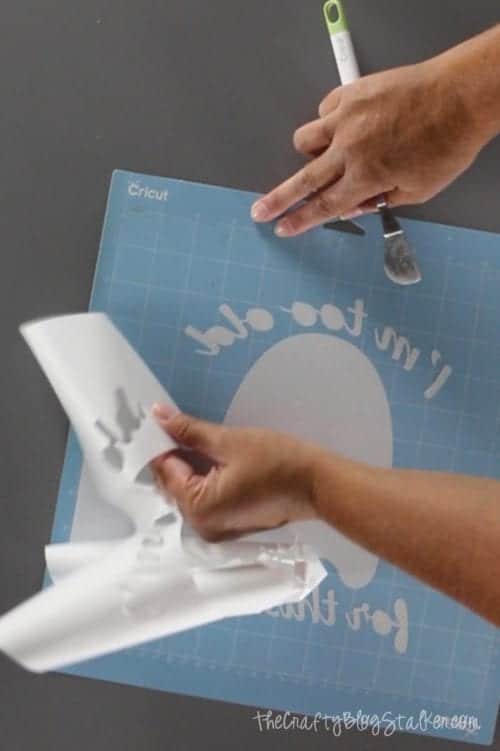
Since we are using the freezer paper as a stencil we want to use the negative of the design.
Applying the Freezer Paper Stencil
Lay the freezer paper stencil down on the shirt with the waxy side down.
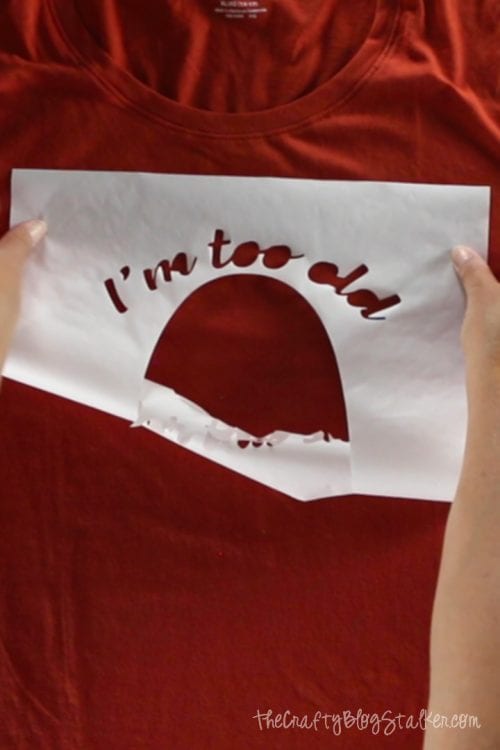
I found it helpful to only work on one section at a time. Get one part of the stencil laid flat and iron into place with the EasyPress. Start at the top and work your way down the stencil.
Once the main part of the stencil is applied, remove the inside letters and eyes and iron them into place.
The smaller pieces can be a bit tricky especially because it is harder to tell which side is the waxy side and which side is the paper side. If the piece doesn't stick turn it over and try again.
Now that all of the pieces are in place, cover the rest of the shirt with freezer paper to protect it from the bleach. You only want the open spaces of the stencil exposed.
Also, put some cardboard into the shirt to protect from bleedthrough. You don't want the design on the back of the shirt too. 🙂
Bleaching the Shirt
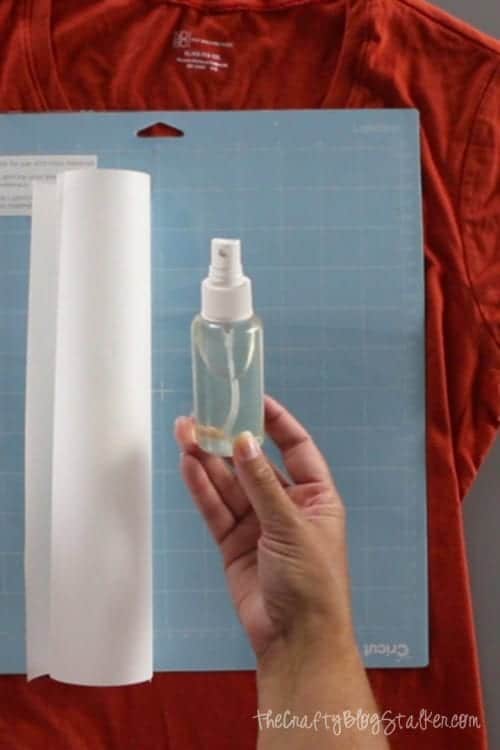
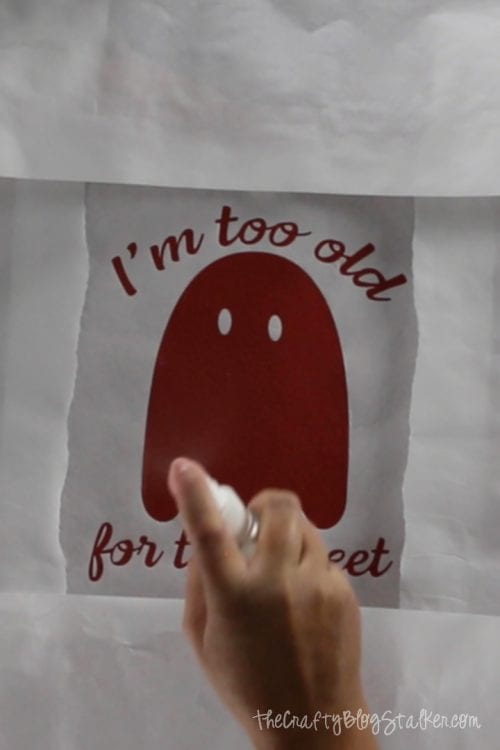
In a small spray bottle combine 1 part water with 1 part bleach and shake to combine.
Spray the mixture onto the shirt. Careful not to get the spray underneath the freezer paper on the sides.
Let the bleach set until the shirt is dry to the touch. For me, that was about 1 hour.
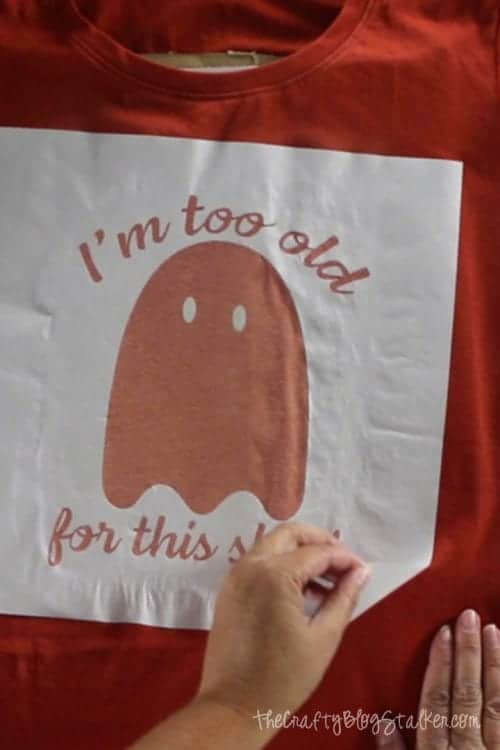
The freezer paper easily peels from the shirt fabric. Remove the entire stencil, and don't forget the little pieces from the inside of the letters.
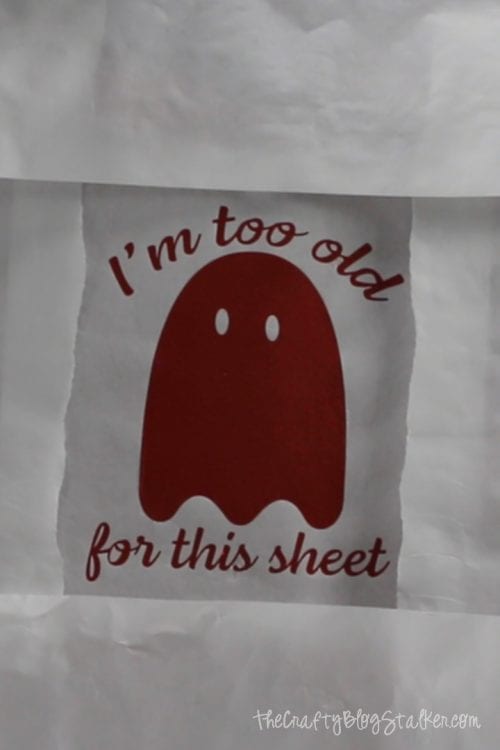
TaDa!! The shirt is finished! How easy was that, and the bleaching effect is so cool!
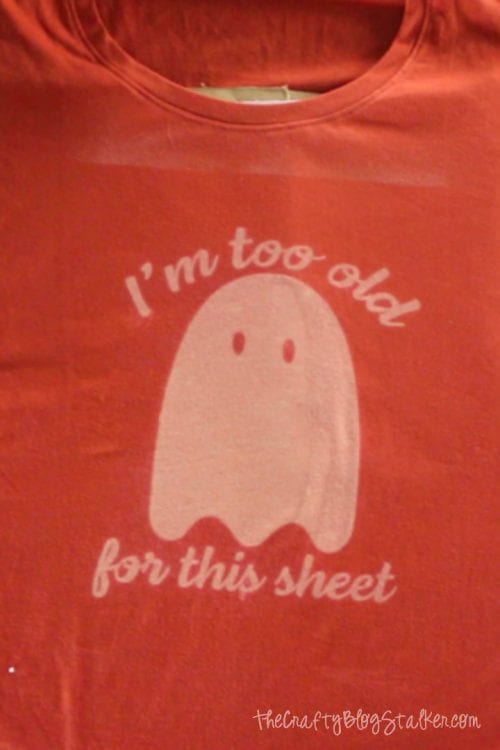
I can't wait to wear my totally awesome funny Halloween shirt!
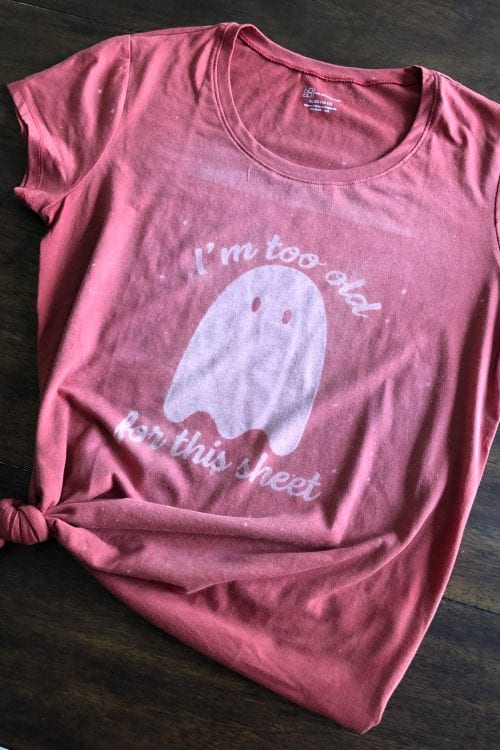
The Free SVG can also be used to cut vinyl if the bleaching seems a bit overwhelming!
How will you make it? With bleach or with heat transfer vinyl?
Crafting Essentials
- The Cricut Cutting Machine is easily my favorite crafting tool. We use it in so many of our tutorials!
- These MakerX Crafting Tools are perfect for keeping in the craft room and are always ready when needed!
- This Fiskars Paper Trimmer is easy to use and cuts nicely without frayed edges.
- These Scotch Precision Scissors cut like a dream, and you get multiple pairs in a pack!