



Create a vampire pumpkin with silly eyes and spooky fangs! These little Halloween pumpkins are perfect for tabletops, shelves, and centerpieces.
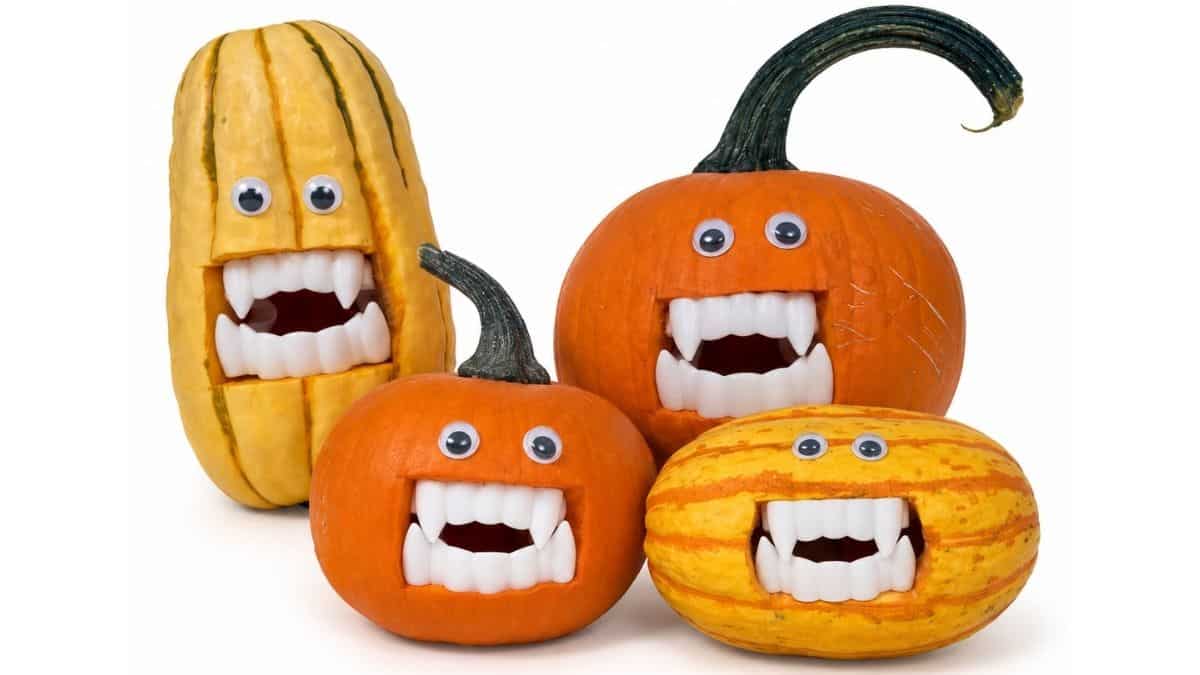
I kept seeing silly little vampire pumpkins pop up online and knew I had to make a vampire pumpkin of my own.
Using a small pumpkin or decorative gourd and adding plastic fangs gives each one so much personality without making it scary.
They're a fun project for anyone who likes Halloween decorations that lean more cute and quirky than creepy.
Grab a few little gourds, and let's turn them into an adorable group of vampires!
Jump to:
Skill Level: Beginner
Estimated Cost: $10
Total Time: 20 minutes
Craft Tutorial Video
If videos are your thing, you're in luck-I've got a full tutorial ready for you!
Subscribe to my YouTube channel and stay inspired with every new project.
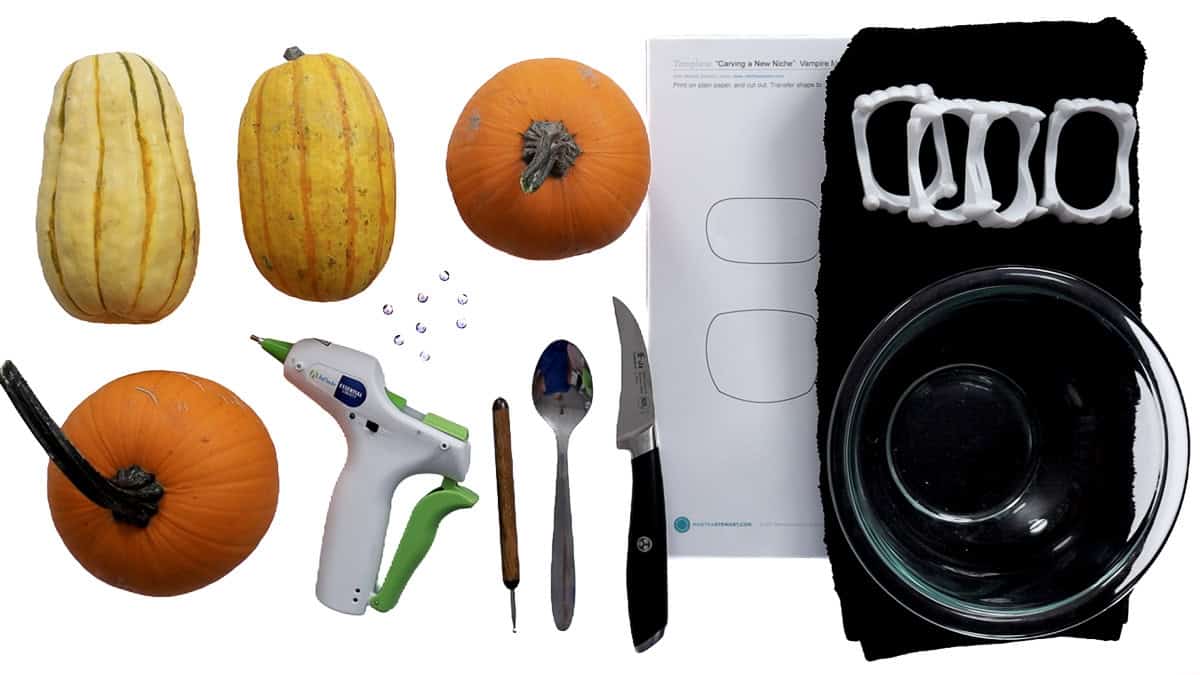
Supply List
- Small Decorative Gourds
- Printable Mouth Template
- Plastic Vampire Teeth
- Small Knife
- Spoon
- Hand Towel
- Masking Tape
- Embossing Stylus
- Googly Eyes
- Hot Glue Gun
Prepare the Pumpkins
When selecting your pumpkins or gourds, look for ones that sit securely on their bottom or side. It's hard to display a silly vampire pumpkin when it won't stay in place. 😆
You can also have fun with the different shapes. A tall, skinny gourd or a squat little pumpkin can give each vampire a completely different personality. There really isn't one perfect pumpkin for this project, which makes choosing them part of the fun.
Start by printing the free mouth template. It includes two different mouth sizes, one for closed teeth and another for open teeth.
The mouths on the template were wider than my plastic fangs, so I used a pencil to mark new lines and adjusted the width to fit my teeth better.
Before carving, hold the teeth against the template and make any adjustments you need.
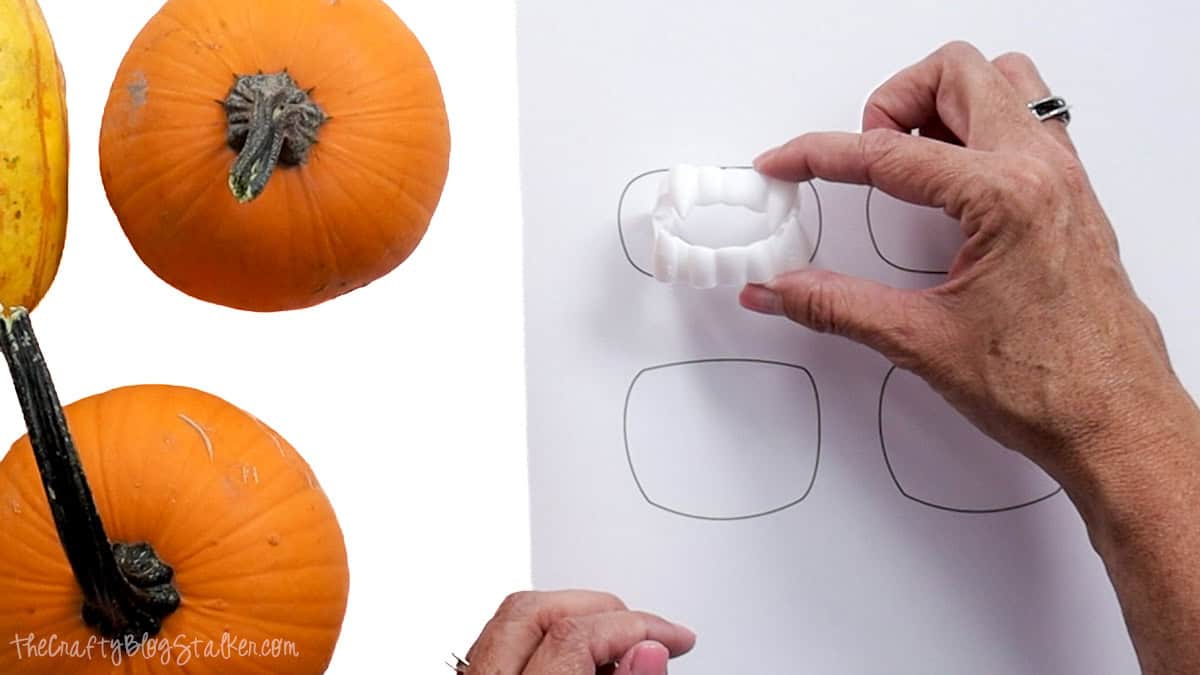
I'm creating four vampire pumpkins, so I decided to make two with closed teeth and two with open teeth.
The two larger gourds will get the open vampire teeth.
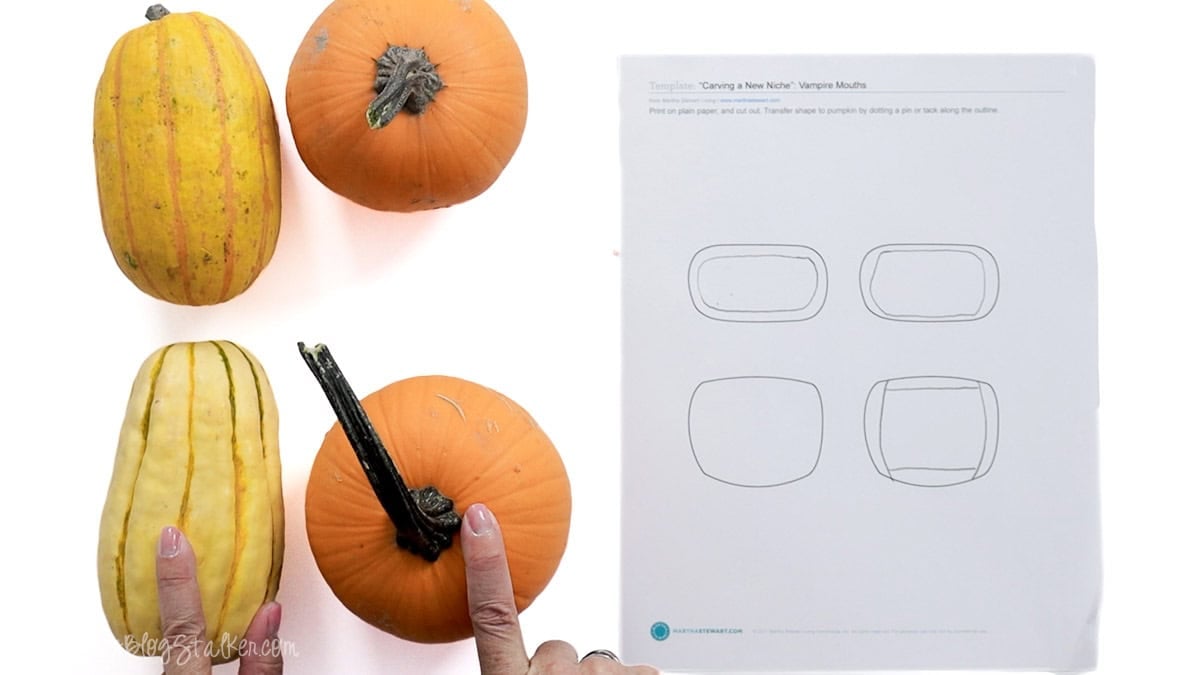
While I made four different vampire pumpkin faces, I'm only showing the process on one since the steps are the same for each.
Before carving, I gave each gourd a good bath to remove any remaining dirt and then dried them completely.
Pumpkins and gourds are technically fruits, even though we often think of them alongside fall vegetables.
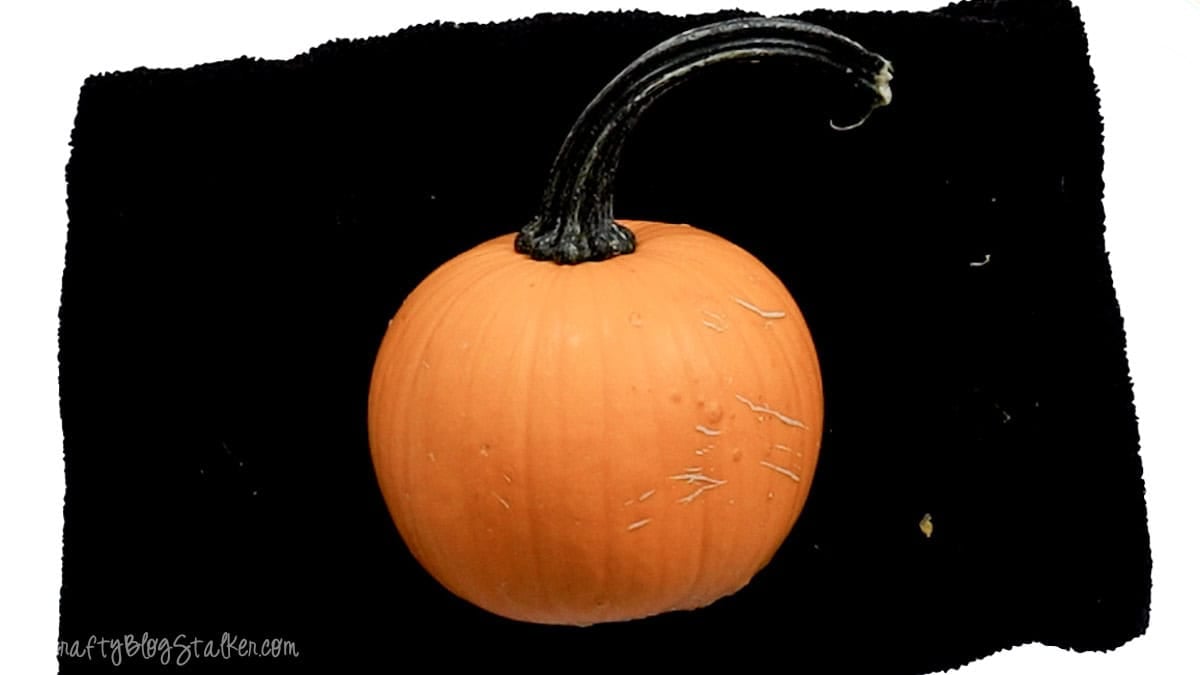
Then I rolled both ends of a hand towel toward the center and nestled the pumpkin between them.
This creates a little cradle that keeps the pumpkin from rolling around while you work, which is especially helpful when you're using sharp objects.
Carve the Vampire Mouth
Cut around the mouth template, leaving some paper around the outside of the design. You don't need to cut directly on the mouth lines.
Tape the template where you want the mouth, then use an embossing stylus to trace the shape, pressing firmly enough to leave an impression in the pumpkin.
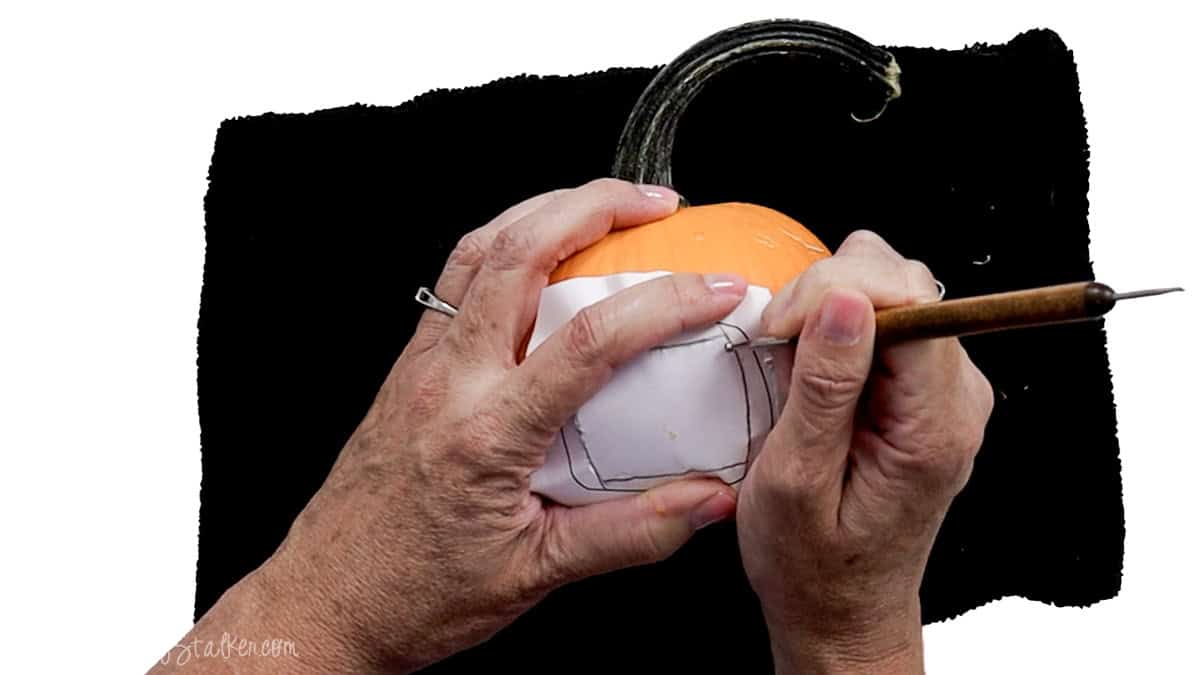
Remove the paper and trace over the impression again with the stylus if you need to make the outline easier to see.
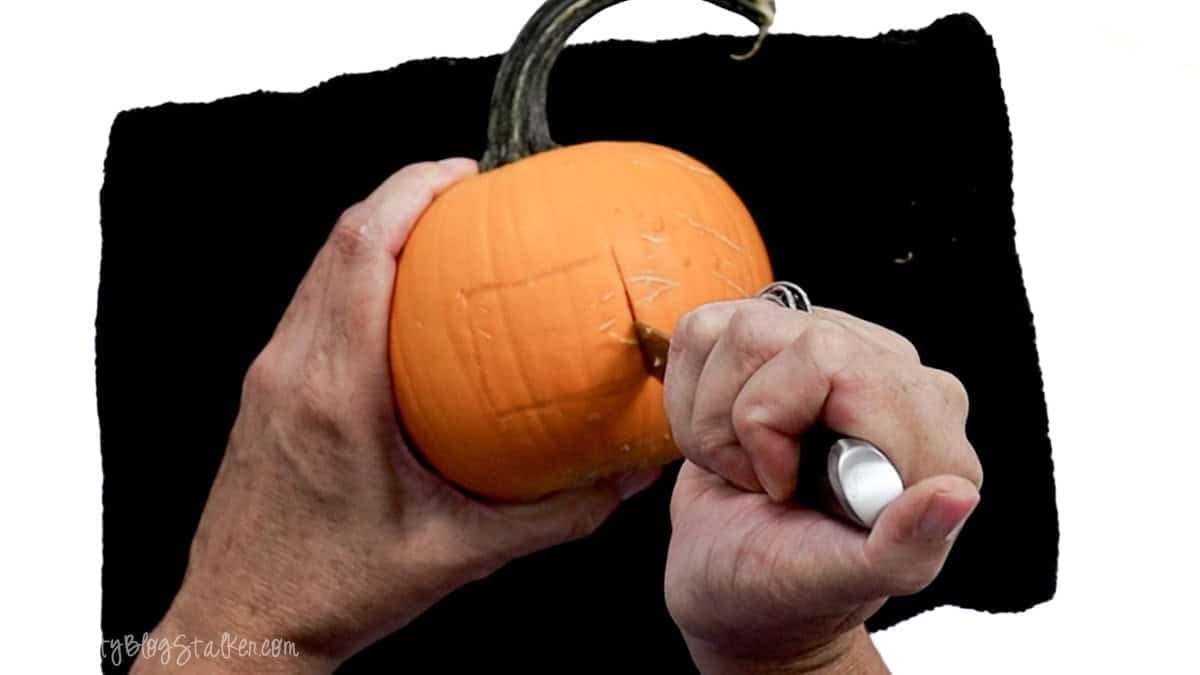
For the mouth opening, start small. You can always remove a little more pumpkin, but you can't put it back once it's gone.
Carefully use a small knife to carve out the mouth. Keep the blade straight up and down instead of cutting at an angle so the opening has straight edges for the teeth.
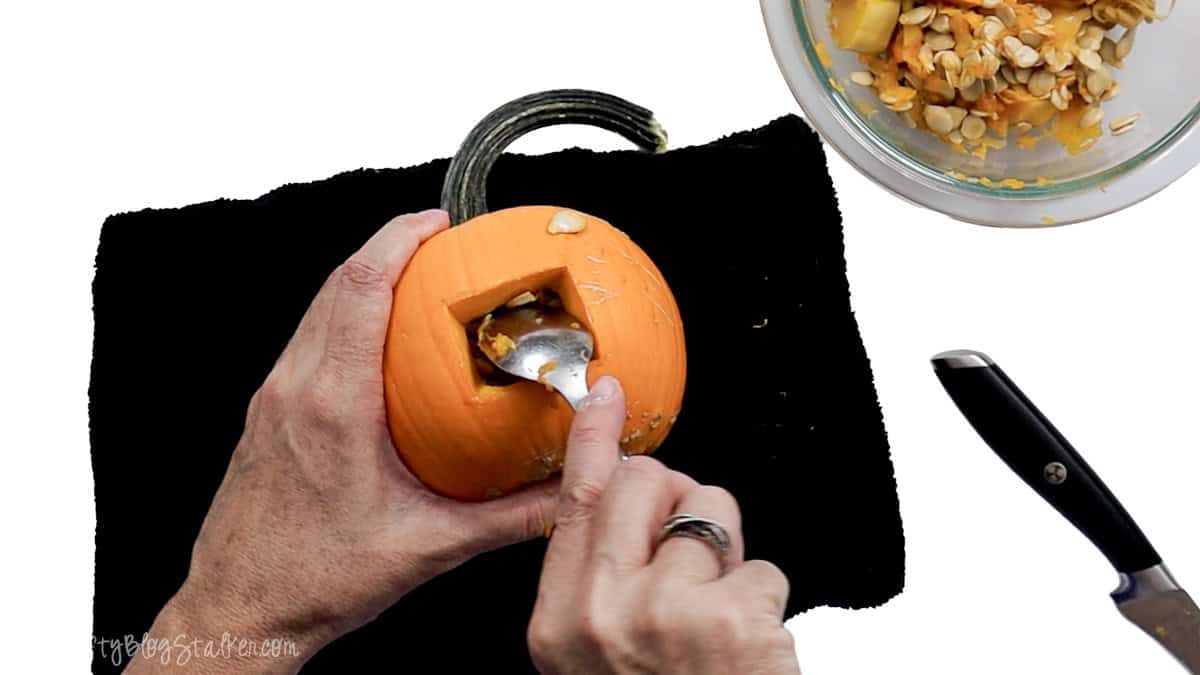
Once the mouth is open, use a spoon to scoop out as many of the seeds and stringy pumpkin guts as you can reach.
Since I'm not turning these into traditional pumpkin lanterns or putting a candle inside, the entire pumpkin doesn't need to be perfectly clean.
I just remove as much as I reasonably can through the mouth opening.
Now comes the fun part. Try inserting the vampire teeth into the opening.
If they don't fit, take note of exactly where the opening needs to be larger. Instead of making one big cut, trim away a little at a time and test the teeth again.
This is one of those times when going slowly really does make things easier.
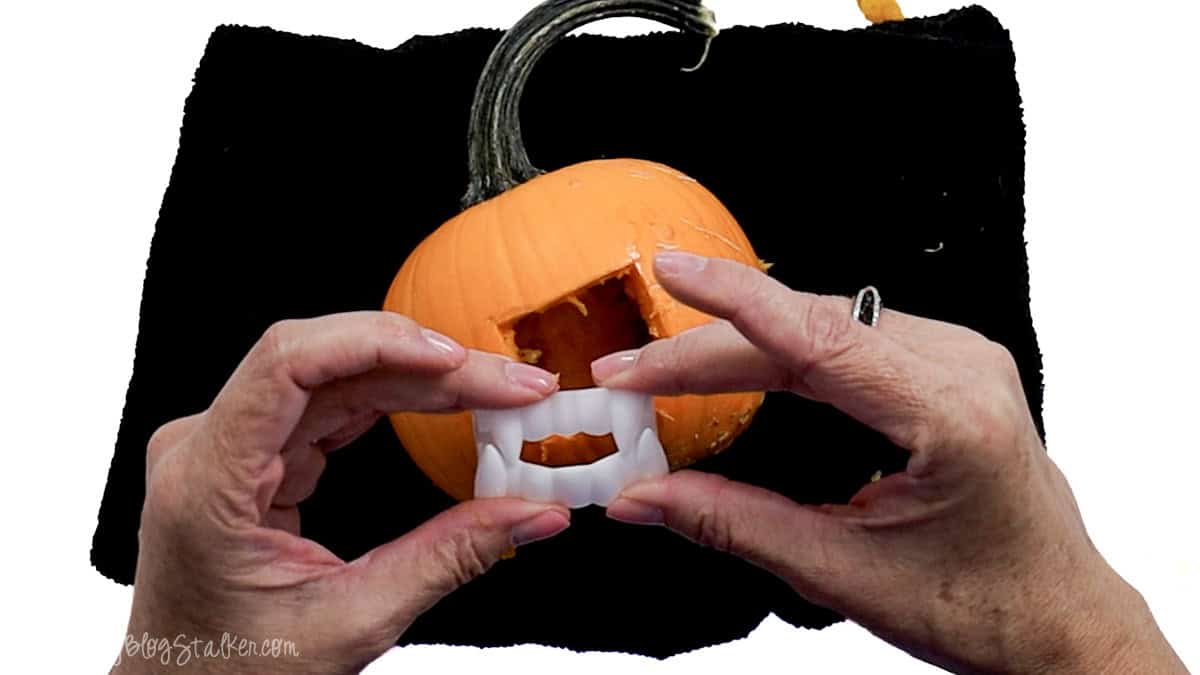
It took me about three rounds of fitting and trimming before my teeth fit perfectly.
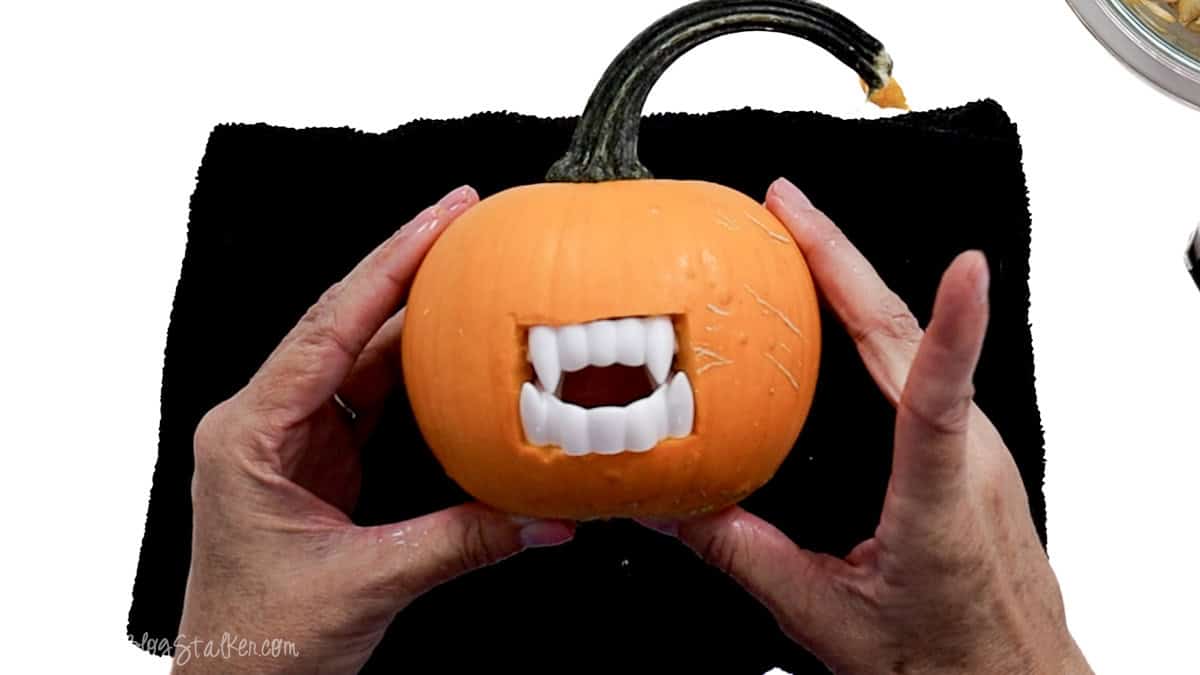
Add the Googly Eyes
I wanted my vampires to look silly instead of scary, so I used googly eyes. The different eye sizes and slightly crooked placement give each vampire its own expression.
Heat your hot glue gun, then roll a small piece of masking tape between your fingers, sticky side out.
Use the tape to pick up the googly eye so you can position it without holding the tiny edges close to the hot glue. Add a small amount of glue to the back of the eye and press it onto the pumpkin, then repeat with the second eye.
And just like that, he looks much more menacing. 😂
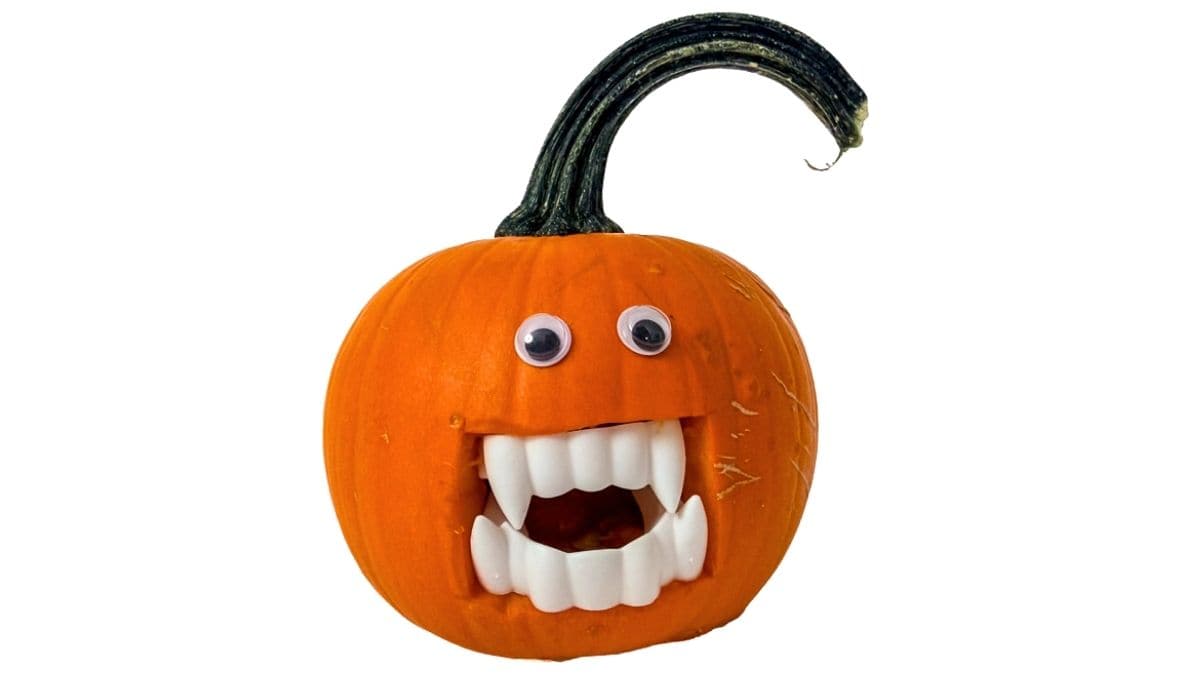
All four of my vampire pumpkins turned out a little different, which is exactly what makes them so much fun.
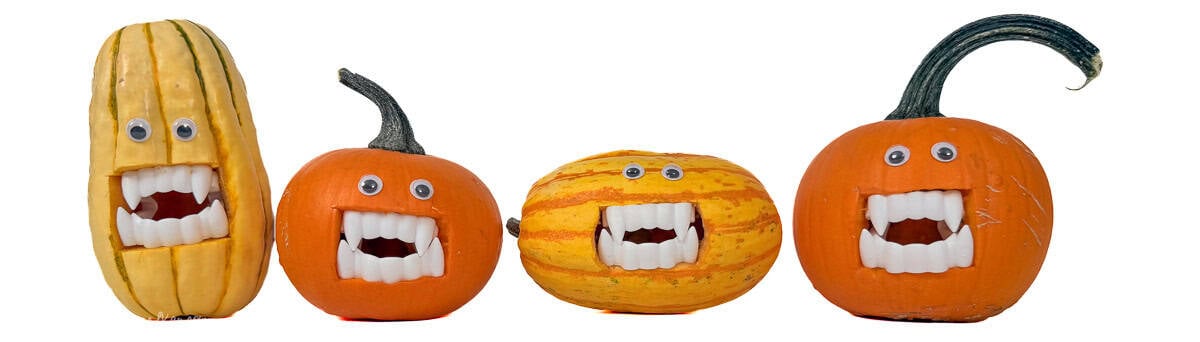
Set several together to make a funny Halloween centerpiece, or tuck individual pumpkins onto shelves and tabletops with the rest of your Halloween decor.
You can change the look by choosing different pumpkin shapes, mixing up the googly eyes, or changing the fang position. Even though these designs are simple, each little vampire ends up with a personality of its own.
Frequently Asked Questions
Small decorative pumpkins and gourds work really well for this project. Look for firm pumpkins without soft spots, and make sure they can sit securely on their bottom or side before you start carving.
No, but the template gives you an easy starting point for the mouth. You can also use a pencil to create your own outline based on the size and shape of your plastic teeth.
Start with an opening slightly smaller than you think you'll need. Test the teeth, remove a tiny bit more pumpkin where needed, and test them again. Gradually enlarging the opening gives you much more control than cutting it too large at the beginning.
If the mouth is cut to fit the teeth snugly, they should stay in place without glue. If yours feel loose, you may need to adjust the opening slightly or secure the teeth depending on the type you're using.
Because these are real carved pumpkins and gourds, they won't last forever. How long they stay fresh depends on the pumpkin, temperature, humidity, and where you display them. Keep them somewhere cool when possible and discard them if they become soft, moldy, or start to smell.
Kids can have fun choosing the pumpkins, picking out silly eyes, and deciding where everything should go. An adult should handle the knife, hot glue gun, and other sharp objects, but that still leaves plenty of important vampire-design decisions for the kids!
Need help with this project?
Click a button below to ask AI how to decorate even more!
More Pumpkin Crafts
Here are a few more fun pumpkin crafts to add to your Halloween decorating list.

Hi, I'm Katie!
I'm so glad you're here. Want to make something fabulous? I'm here to help!
Miss Sparkles
Aww scary and cute at the same time!
I'm suffering from a bit of Pumpkin jealousy at the moment, Pinterest, My Blogs Reading list and my Facebook news feed are all full of trips to the pumpkin patch, pumpkin crafts and recipes.. making me wish I came from a country that embraced the pumpkin the way you guys do!!
shopannies
awesome what a great trick
Audra @ The Kurtz Corner
These little guys are so cute! They make me smile 🙂
Crafty Mischief
Haha! How cute! I'll have to show my kids, they'll laugh their heads off!
Heidi@OneCreativeMommy.com
Awesome! My weekly linky party--One Creative Weekend--has gone spooky this week in honor of my thirteenth party.
Holistic Homemaking
Oh now this is too fun! Might have to do this one this year. My 2-year old son would LOVE this!
Thanks for sharing at the Happy Hello this week!
Jane Craske
So very cute! Even a hopeless crafter like myself would be able to make these thanks to your great tutorial. You are a feature this week at our pin'inspiration party C:
Katie Drane
What a clever idea! I love it:)
Katie
Tessa
Hey from tessacotton! Love your creation.
Stephanie @ Haley's Hopechest
How have I not seen this before?! This is such a cute idea. Great job. =0)
haleyshopechest.blogspot.com
Danni Baird @ Silo Hill Farm
How funny! YOurs are fabulous!
Winnie
This is Super!
Soooooo cute
Natalie B.
Too Adorable, what a fun time of the year 😉
Thanks for sharing on Tutorial Thursdays, greatly appreciated.
x
Natalie
Janelle
I really liked this pumpkin craft as I do all of your work!
Katie
Thank you Janelle! It is a fun little something to make for Halloween!