This post may contain affiliate links. For more information, please see our disclosure policy.
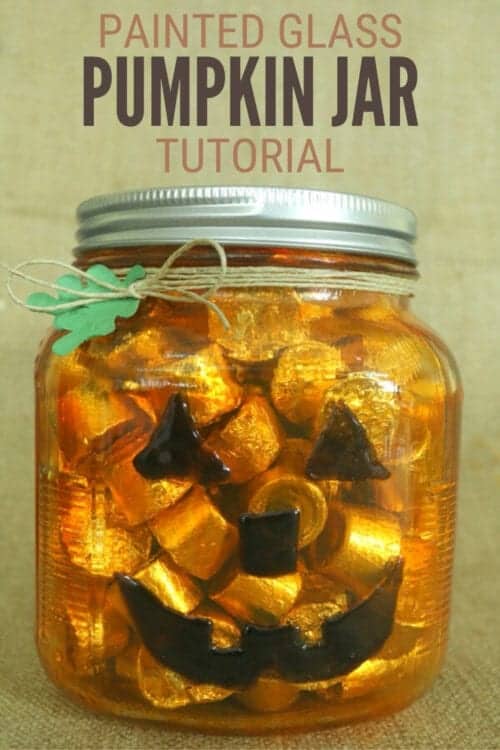
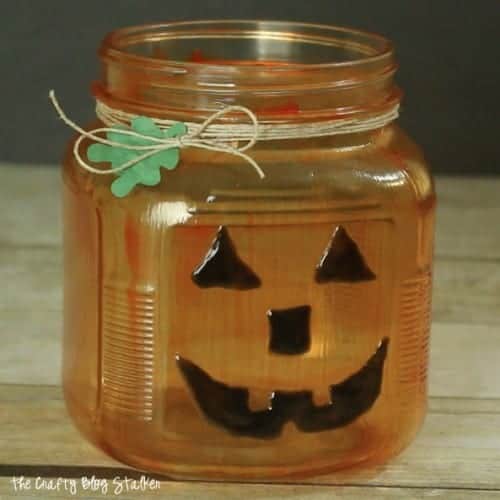
This cute painted glass jar has really got me thinking and reminiscing about Halloween's past.
Halloween really is one of my very favorite holidays, but I have never really been big on decorating for the holiday. Sure, I would do the obligatory carved Jack O'Lantern, but I never did a lot besides that.
This year, I have really gotten into the Halloween spirit and I can't stop making fun projects and Halloween decor to put in my home. In fact, I have a plan for an entire Halloween-themed mantle that I will be sharing soon.
You can get started on your Halloween decorations with this fun pumpkin jar too! He really is pretty simple to make and you don't need that many supplies.
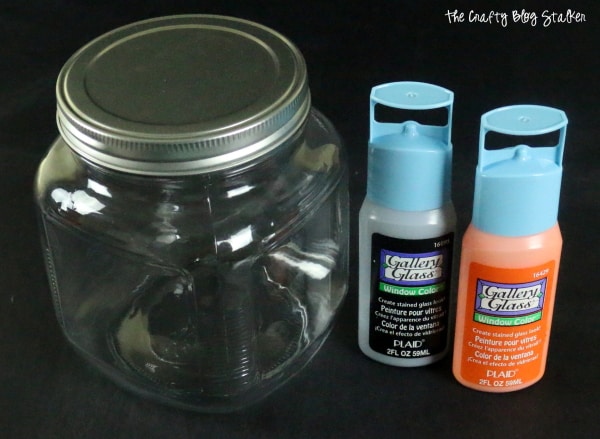
Supplies Used to Make a Painted Glass Pumpkin Jar
Items linked below may go to similar items when exact items couldn't be found online. Links are affiliate so when you purchase, I will get a small kickback to help fund the next tutorial!
- 32 oz. Glass Storage Jar
- Black Gallery Glass Window Color
- Orange Gallery Glass Window Color
- Foam Brush
Painted Glass Pumpkin Jar Tutorial Video
Like videos? I do have a video tutorial if you would prefer to watch the tutorial. Please subscribe to my YouTube Channel so you don't miss out on any future video tutorials!
How to Make a Painted Glass Pumpkin Jar
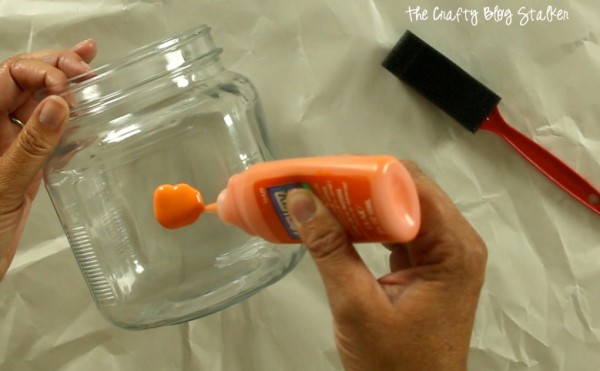
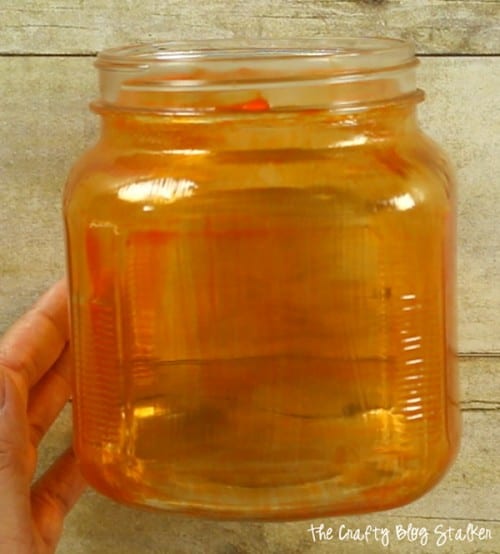
Start with a pretty big squirt of the orange Gallary Glass on the jar. Then paint it on with a foam brush. You want to keep the paint pretty thick while keeping the jar pretty evenly coated.
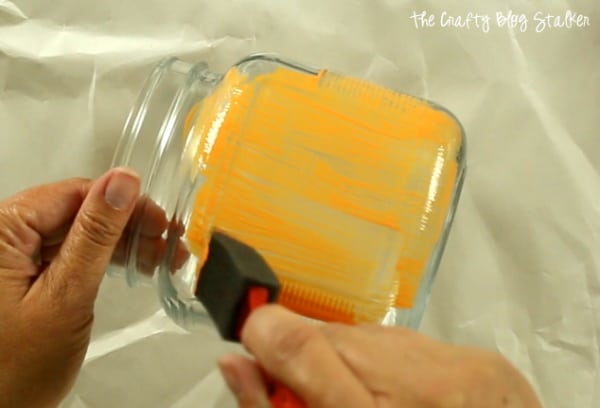
When the paint dries you will still be able to see the brush strokes and that is okay. I kind of like the streaks and think that it adds to the pumpkin look. Paint the entire jar with up and down strokes so the paint streaks are all going in the same way.
Look at how pretty the jar is when that Gallary Glass is dry. The paint becomes this gorgeous orange translucent color.
The next step is to add the Jack O'Lantern face. I drew the Jack O'Lantern face on a Post-it note.
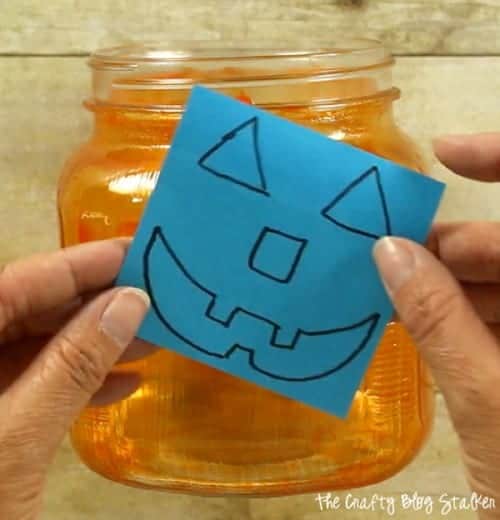
BUT, I drew it on the backside of the note so that it would stick to the inside of the jar and I could still see the face. That is now my pattern for the face.
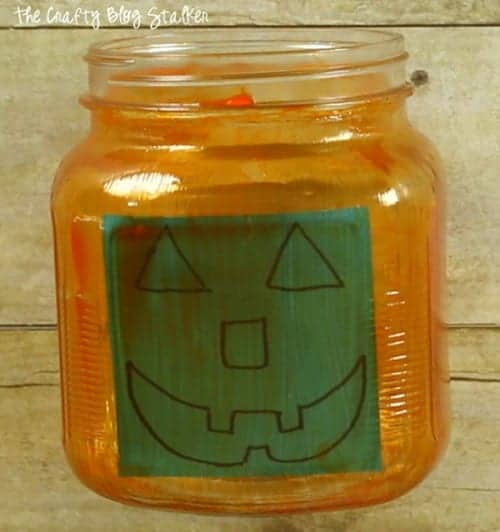
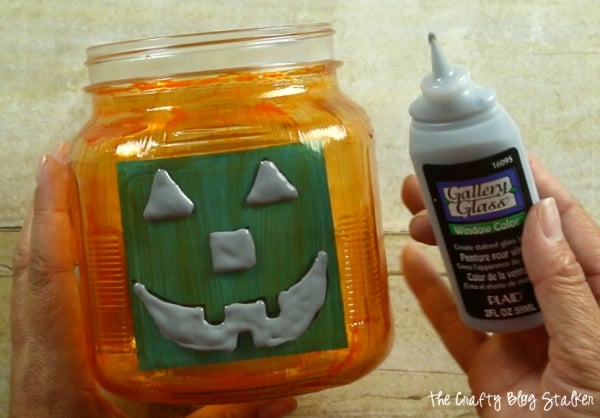
I used the Black Gallery Glass and colored in the eyes, nose, and mouth following the pattern from the sketch on the post-it note. The Black Gallery Glass goes on gray, but when it dries it is a very nice dark black. Perfect for a pumpkin face!
When he was all dry I took some twine and wrapped it around the top of the jar several times, strung on a couple small paper leaves, and tied it all into a cute bow.
I am totally in love with this cute face!!
Now that you have made him do you want so fun ideas on how to use him? I have a couple ideas in the video below. I would love for you to subscribe to my YouTube channel and then share with your friends. I am pretty sure if you do, you will get 50% more Halloween candy when you go trick or treating! It's a karma thing. 🙂
What is your favorite thing about Halloween? Share and leave a comment below.
Our Crafting Essentials:
- The Cricut Cutting Machine is easily our favorite crafting tool. We use it in so many of our tutorials!
- These MakerX Crafting Tools are perfect for keeping in the craft room and are always ready when needed!
- This Fiskars Paper Trimmer is easy to use and cuts nicely without frayed edges.
- These Scotch Precision Scissors cut like a dream, and you get multiple pairs in a pack!


Jeannette land
I love what you all do and make for Halloween, here in South Africa we do not really celebrate it which is a pity cause it seems like so much fun. Enjoy yours and God Bless, love from Jeannette land, xx
Katie
Jeannette, You should start! Be a game changer! Hugs to you!
Jackie
I love this project, it's so cute and looks so easy. I'm going to try it myself! Thank you for posting it. 🙂
Katie
Jackie, I am so glad that you like it. You are going to have so muhc fun making it! I would love tos ee what yours looks like when it is finished. Shoot me an email at [email protected].
Katie
All that's Jas
Such a cute idea! Thanks for sharing it at the Thursday Favorite Things!
Katie
You are welcome! I am glad you like it.
Linda
How clever is this? Pinned also. Love your stuff, girl. Best wishes for a wonderful weekend. Linda
Katie
Thank you Linda! So kind.
Erlene
I love the puff paint idea to make the eyes/mouth. I may do a variation of this technique for my Dia de los Muertos decortions.
Katie
Erlene, Thank you. I am glad that you like it. I would love to see your decorations when you are finished with them.
Kim~madeinaday
Very cute and simle. Thanks for linking up to Merry Monday! Sharing on ! Have a great week!
Kim
Katie
Thank you, Kim! I am so glad you liked my little painted pumpkin. Thanks for the party!