This post may contain affiliate links. For more information, please see our disclosure policy.
Learn how to paint a pumpkin for fall decor using paint markers and stencils with a tutorial video. Here's how to make a painted pumpkin. If you make a purchase using the links included, we may earn a commission.
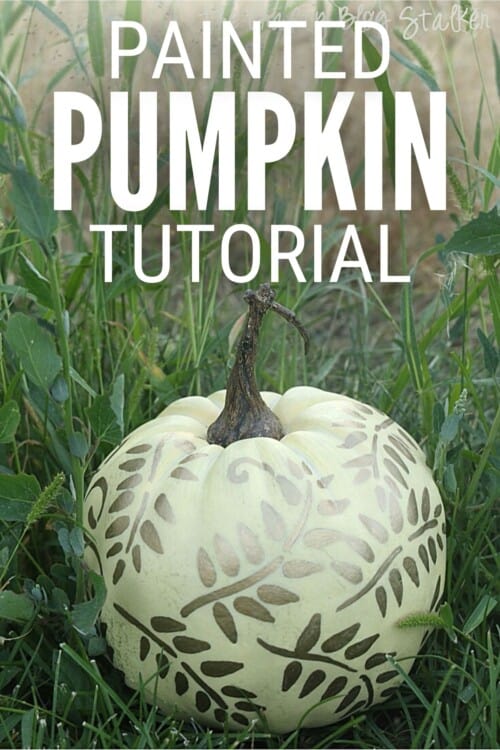
Don't you just love fall? The weather, the colors, and the pumpkins!!
Pumpkin ideas are such a fun way to decorate for fall. They are great for both indoors and outside, and there are so many fun ways to use them!
Craft Video Tutorial:
Like videos? I have a video tutorial for you! Subscribe to my YouTube Channel so you don't miss any future videos!
Frequently Asked Questions:
Can real pumpkins be painted?
Yes! You can use the same method as outlined below.
I just wouldn't recommend storing them for next year. 😂
How do you preserve a pumpkin after painting?
If you are painting a faux pumpkin like the one in this tutorial, it doesn't really need a protective spray, but you could use a Clear Sealer Spray. This will also make it shinier.
If you are painting a real pumpkin, I would recommend spraying them daily with water that is mixed with a tiny bit of bleach. Don't rub it in, just mist it and let it air dry. This will help keep the pumpkin hydrated and protect against rot.
While this method helps, it won't stop the pumpkin from aging and rotting altogether.
Are there other paints I could use to paint my pumpkin?
Absolutely! Craft paint also works great. Then you would also need a paintbrush to paint your design.
Painted Pumpkin:
This painted pumpkin is super easy to make, and don't worry you can use a stencil so you don't have to paint by hand.
Supplies You'll Need to Create this Project:
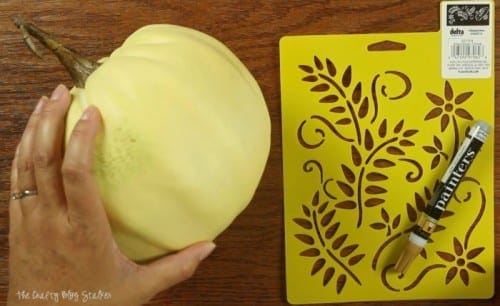
Of course, you can use any color of pumpkin, and any stencil to fit your style.
Tracing the Stencil:
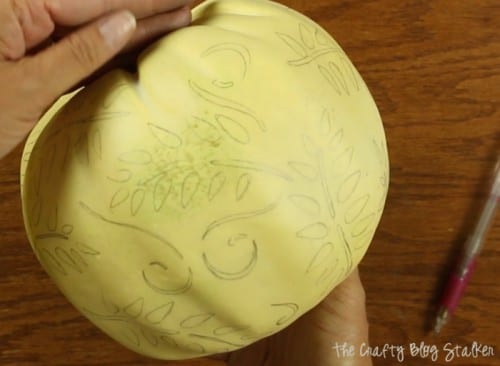
Start with the stencil and a pencil. Trace the vines around the pumpkin. You can trace as many vines as you want. Close together or far apart, the design of the pumpkin is completely up to you.
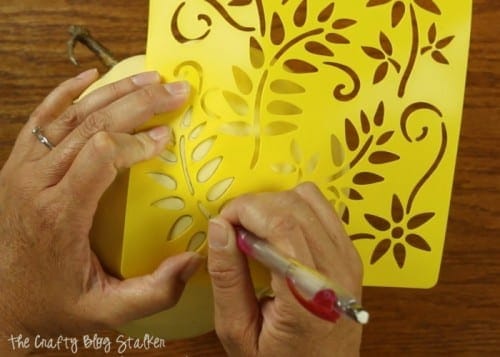
I wanted my pumpkin mostly full of vines with only a little space between the vines.
Paint with Paint Marker:
The next step is painting, but don't worry you don't need paint and a paintbrush. All you need is a gold paint pen.
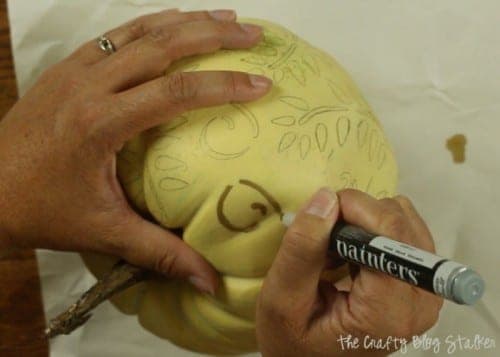
Simply go over the top of your traced lines and fill in.
Start on one side of the pumpkin and move your way around until you have colored the entire pumpkin.
Be careful that you let each section dry properly before you move on. The back might smudge while you're working on the front.
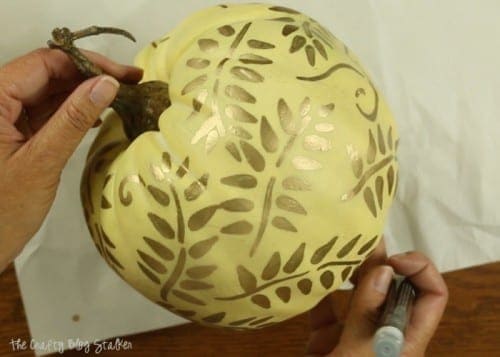
The finished pumpkin is so pretty!
This is home decor I will bring out and put on display year after year, and it was so easy to customize!
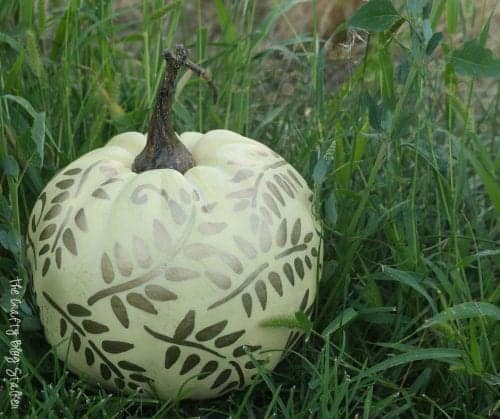
These painted pumpkins are so simple that you could easily make several to add to your pumpkin decor.
Our Crafting Essentials:
- The Cricut Cutting Machine is easily our favorite crafting tool. We use it in so many of our tutorials!
- These MakerX Crafting Tools are perfect for keeping in the craft room and are always ready when needed!
- This Fiskars Paper Trimmer is easy to use and cuts nicely without frayed edges.
- These Scotch Precision Scissors cut like a dream, and you get multiple pairs in a pack!




Kate
Great tutorial and video. Looks so great but a really simple project! In the UK we don't make as much fuss about decorating for the different seasons but I love the way in the US you do. I really should start taking on this tradition. Fall is actually my favourite season too, well apart from the rain. Over from Funtastic Friday
Kelley
That pumpkin is gorgeous. Great work, and I am sure it will accent your fall decor well.
angie
love it so pretty and stylish surely to be best-dressed pumpkins
Heidi
These are adorable!
Katherines Corner
Thank you for sharing your craftiness at the Thursday Favorite Things blog hop. xo
Sherry
Beautiful pumpkins and a great tutorial. Thanks for sharing with us at Funtastic Friday. Hope to see you again at this week's party:-)
Paula@SweetPea
I love this craft for fall! I'm a new hostess at the "Best of the Weekend" party and will be featuring your adorable pumpkin this evening. I'm also happy to discover your blog through the party and look forward to browsing through it this evening after work.
Ann
Your pumpkin came out beautiful! Fall will be here before we know it - time to get started on some new projects!
Katie
Thanks Ann! I love the summer but fall is just around the corner.
Leanna
Really cute little pumpkin. It would be fun to put together, no stress just colour.
Katie
Thank you, Leanna! I am so glad that you like my handpainted pumpkin. It was a fairly easy project and I love how it turned out!
Michelle - Happy Heart Made
Love the elegant touch of this pumpkin project!!!
Katie
Thank you so much Michelle!
Tana Mason
This is the cutest thing I have ever seen in my life!!!!!
Katie
Thanks Tana!
Lauren
This is such a pretty craft! Thanks for sharing it at Craft Frenzy Friday on Mom Home Guide.
Katie
Thank you Lauren! I am so glad that you like it!
Beth
A fabulous way to decorate a faux pumpkin, Katie, love the use of the stencil! Thanks for joining in the Creative Crafts Fall Edition.
Have a great week!
Creatively, Beth
Katie
Thank you Beth!
Laura Walters
Absolutely beautiful!! Thank you so much for sharing!
Katie
Thank you so much Laura!