Make an Easy Banana Cream Pie for a dessert everyone will love! Perfect for Thanksgiving or any time you crave a slice of creamy, banana dessert.
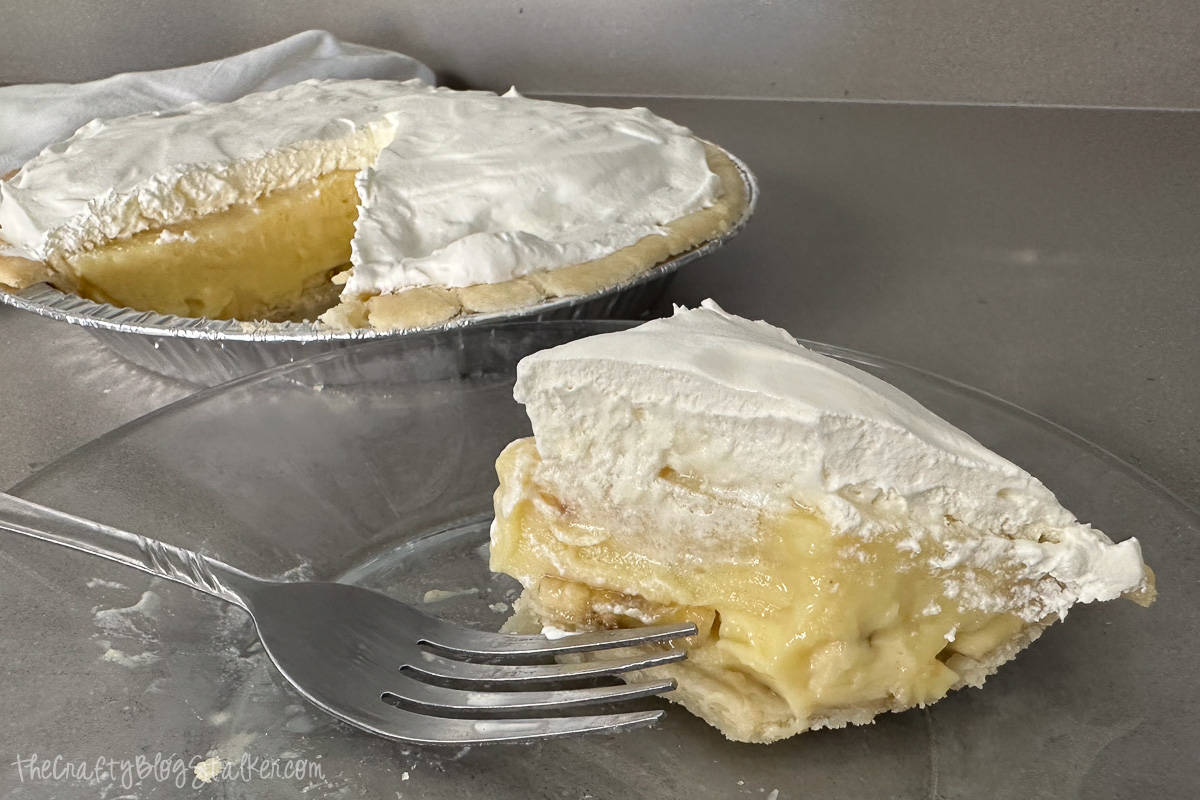
Today, I'm sharing a recipe that's as easy as it is delicious—Banana Cream Pie!
This classic treat is perfect for any occasion, but it's especially wonderful for Thanksgiving gatherings.
Imagine sitting around the table, sharing laughs and stories, and then bringing out this delicious pie for everyone to enjoy.
So, let's get baking and make some sweet memories together!
Recipe Video Tutorial:
Like videos? I have a video tutorial for you! Subscribe to my YouTube Channel so you don't miss any future video tutorials.
Recipe Ingredients:
- 9-inch Pie Crust
- ⅓ cup Flour
- 2 cups Milk
- 2 tablespoons Butter
- Bananas
- ¾ cup Sugar
- ¼ teaspoon Salt
- 3 Egg Yolks
- 1 teaspoon Vanilla Extract
- Cool Whip
Baking the Crust:
To make the crust, follow the package directions.
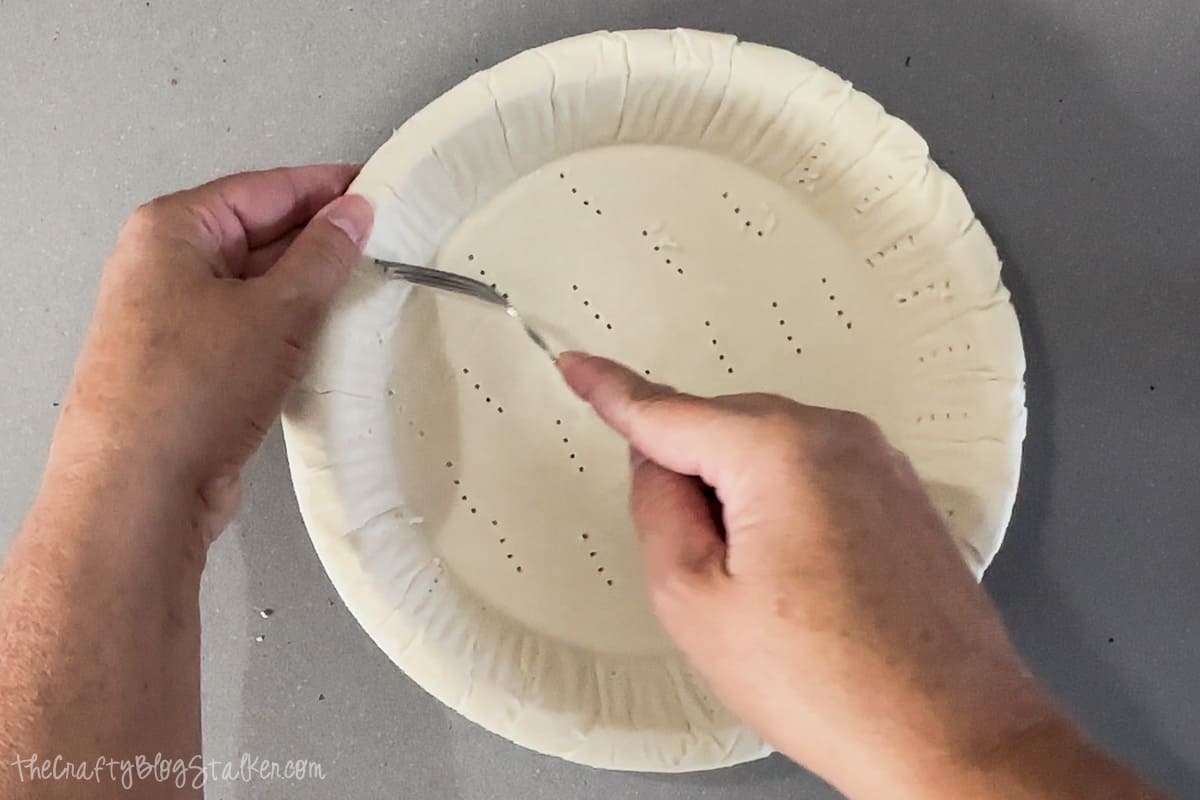
For my crust, I needed to let it thaw for about 10-15 minutes, and then use a fork a poke holes throughout.
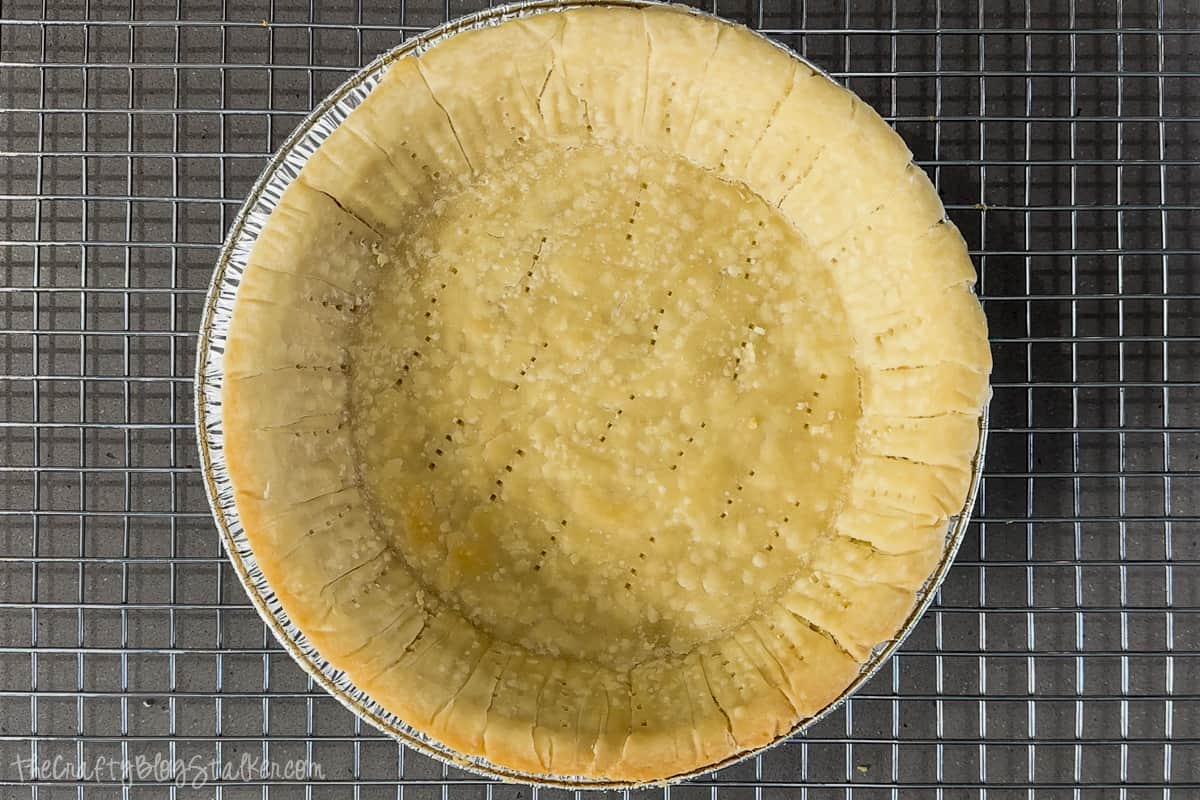
Bake the crust for 10 minutes, then set the baked pie crust on a cooling rack to cool completely before filling.
Pie Filling:
In a saucepan combine sugar, flour, and salt.
Gradually add milk stirring well.
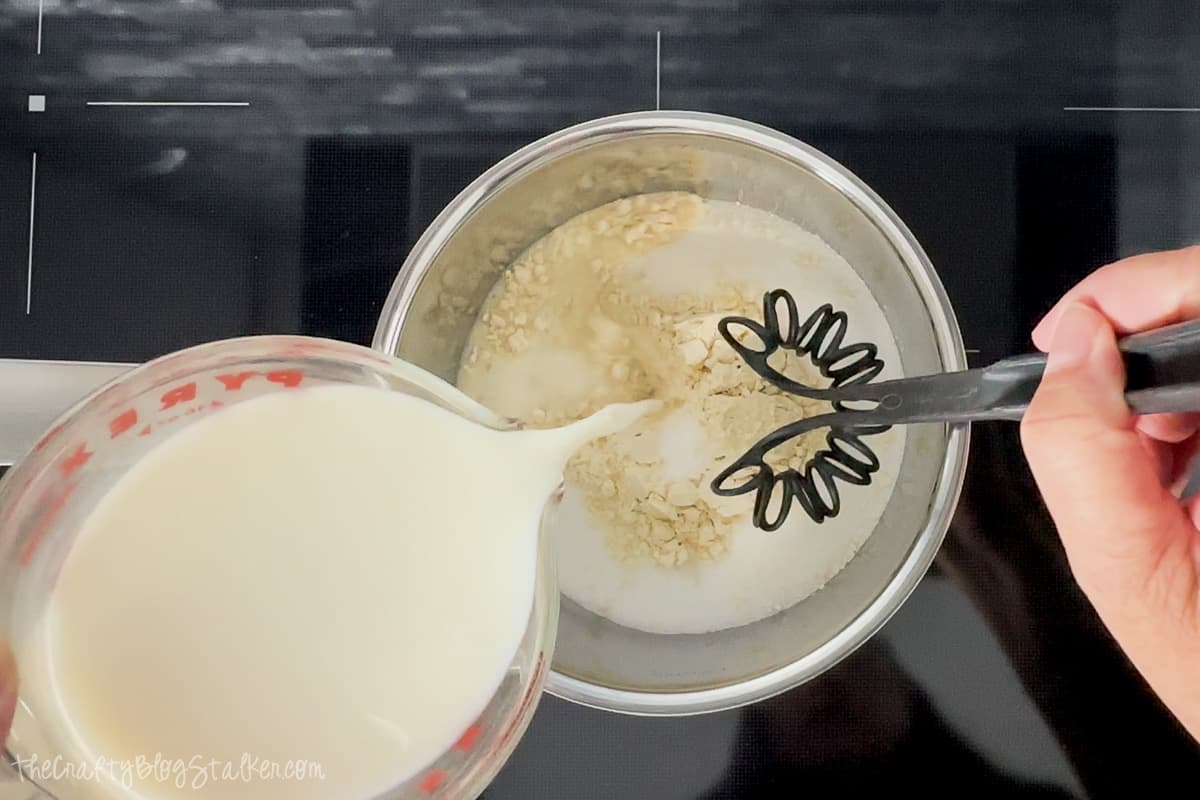
Cook and stir over medium heat until the mixture thickens and boils.
Cook 2 minutes longer stirring constantly.
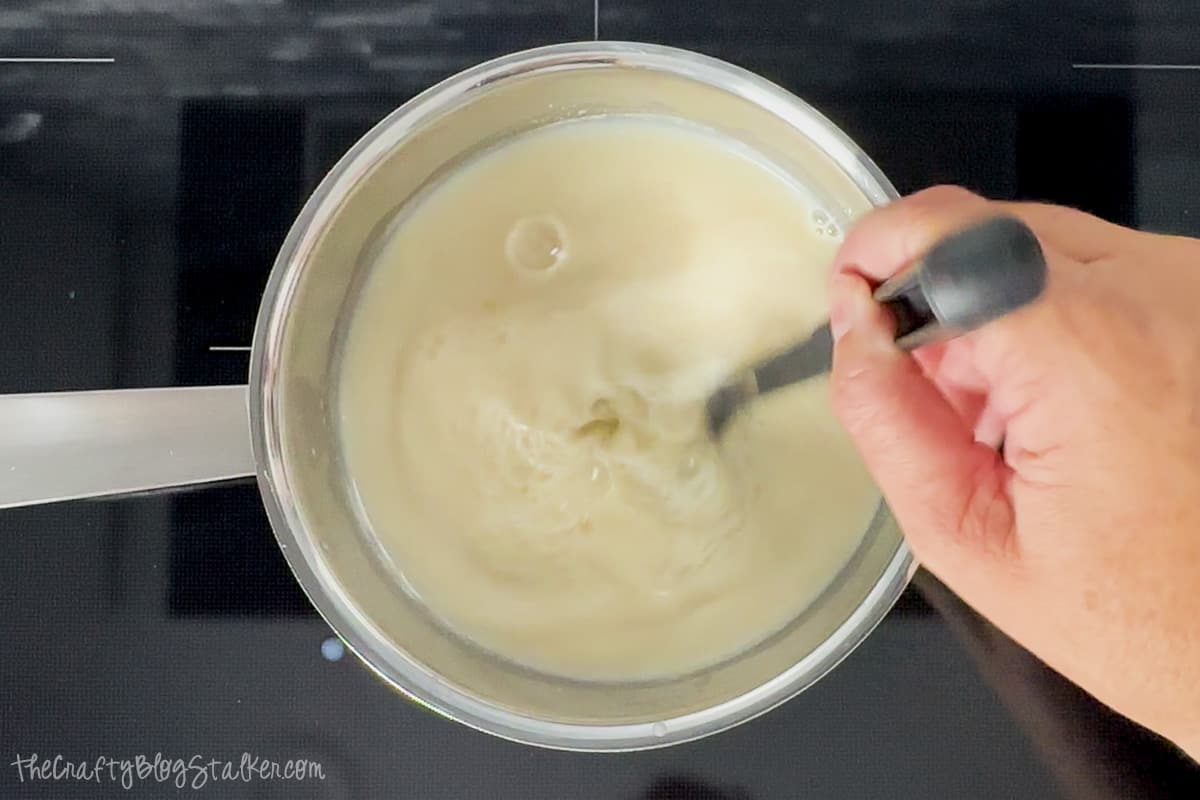
Remove from heat.
Break three eggs into a bowl keeping only the yolks, and slightly beat.
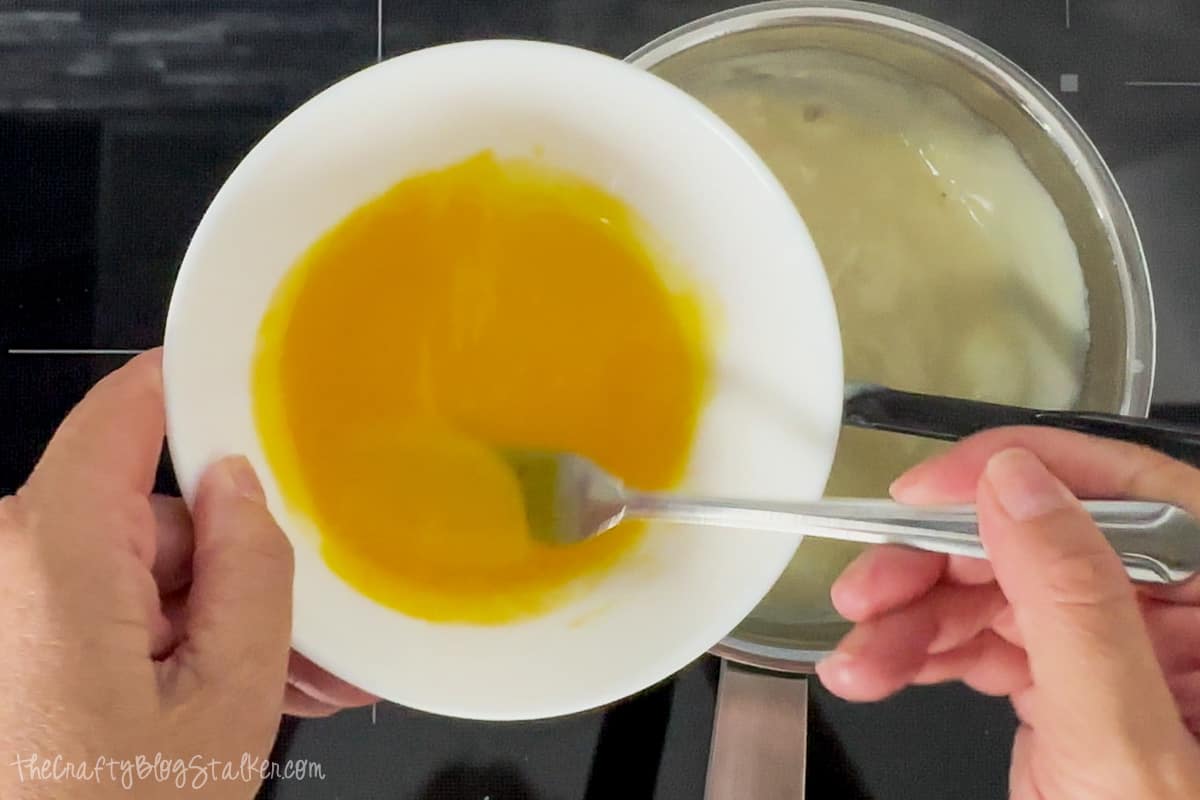
Stir a small amount, maybe half of a cup, of the mixture into the beaten egg yolks and then immediately return to the saucepan.
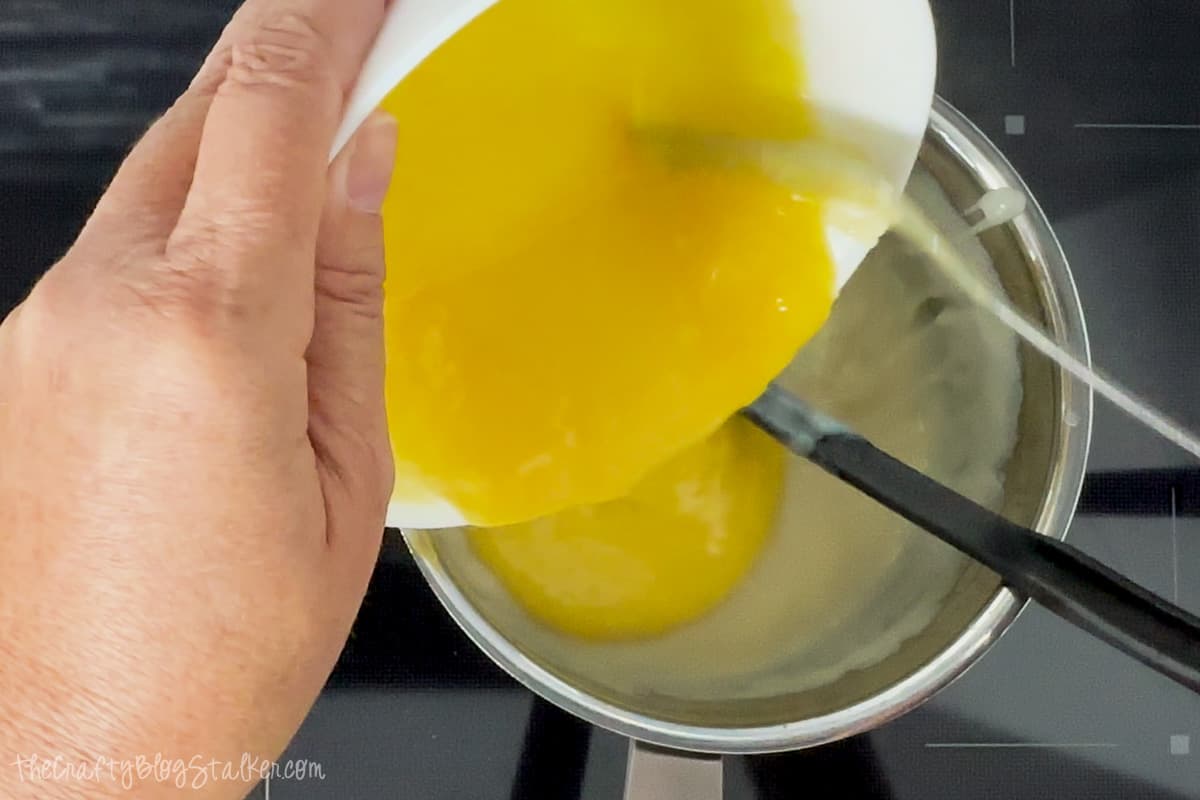
Place the pan back onto the heat and cook for 2 more minutes stirring constantly.
Remove from heat.
Add butter and vanilla, stirring until the butter is completely melted.
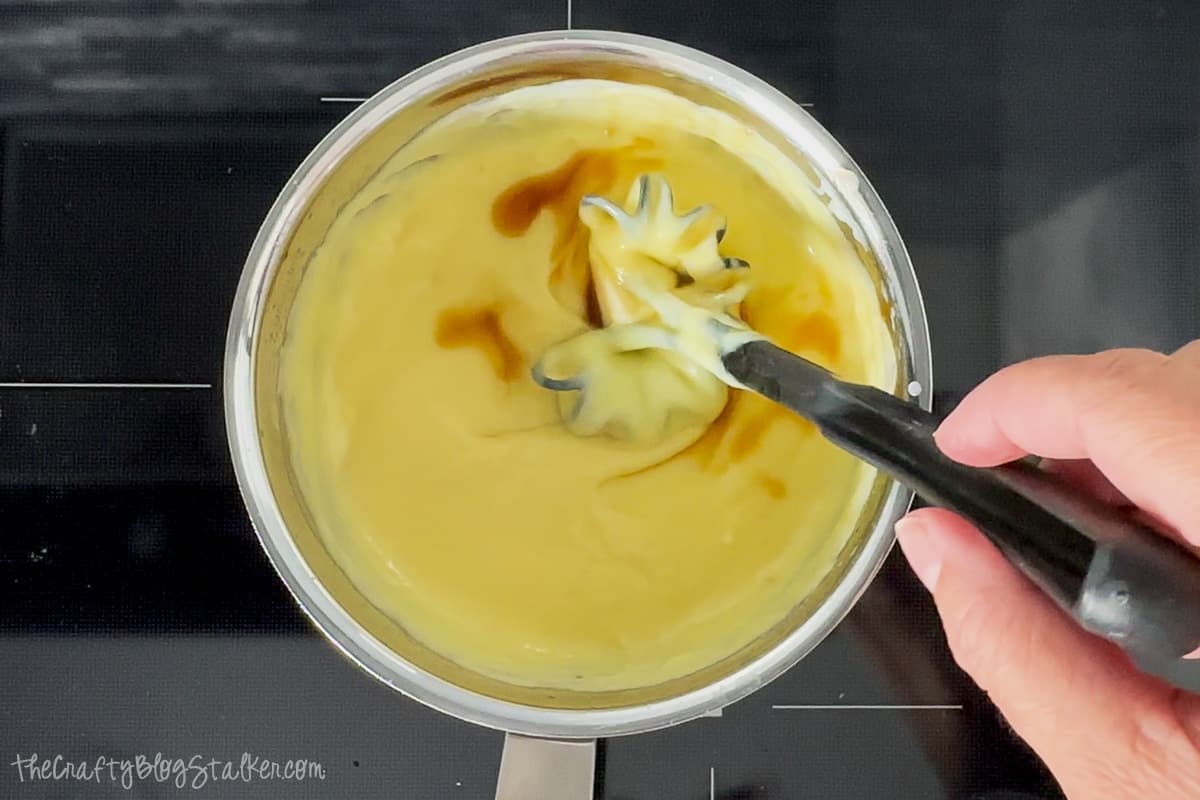
Put it all Together:
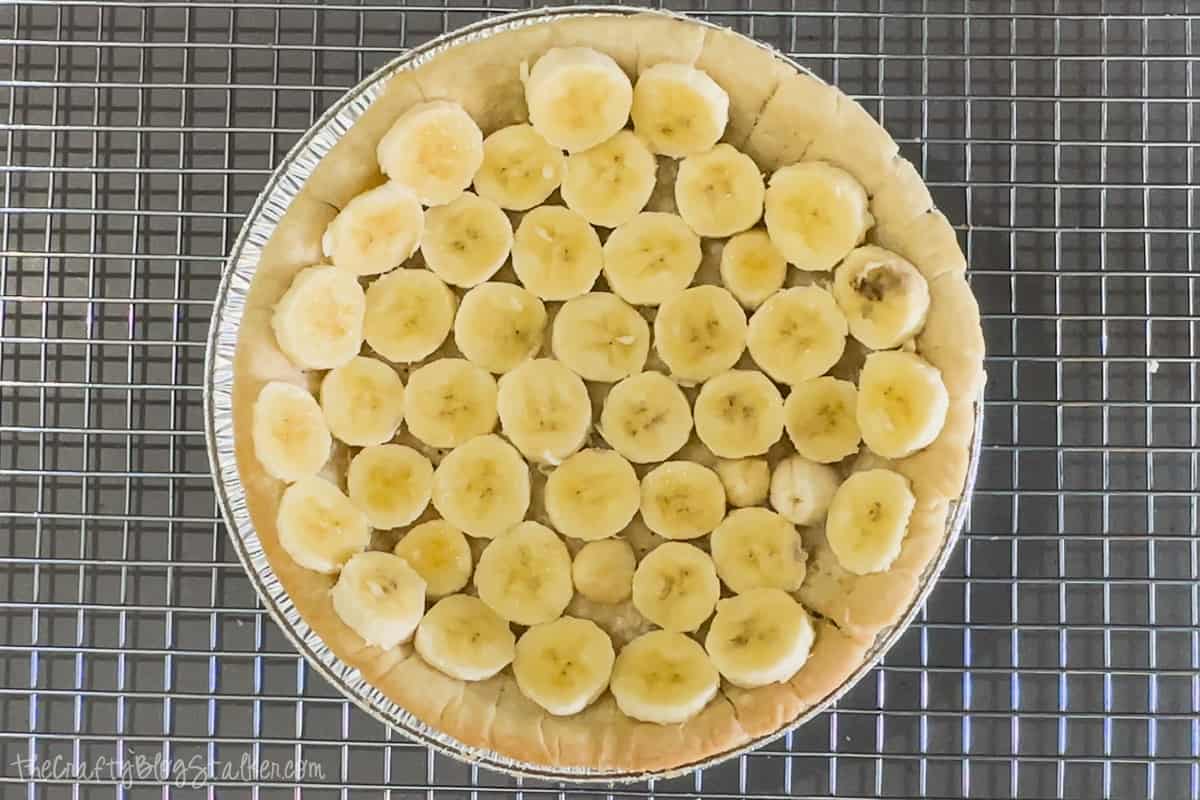
Slice bananas into a completely cooled crust, lining the bottom and sides of the pie crust.
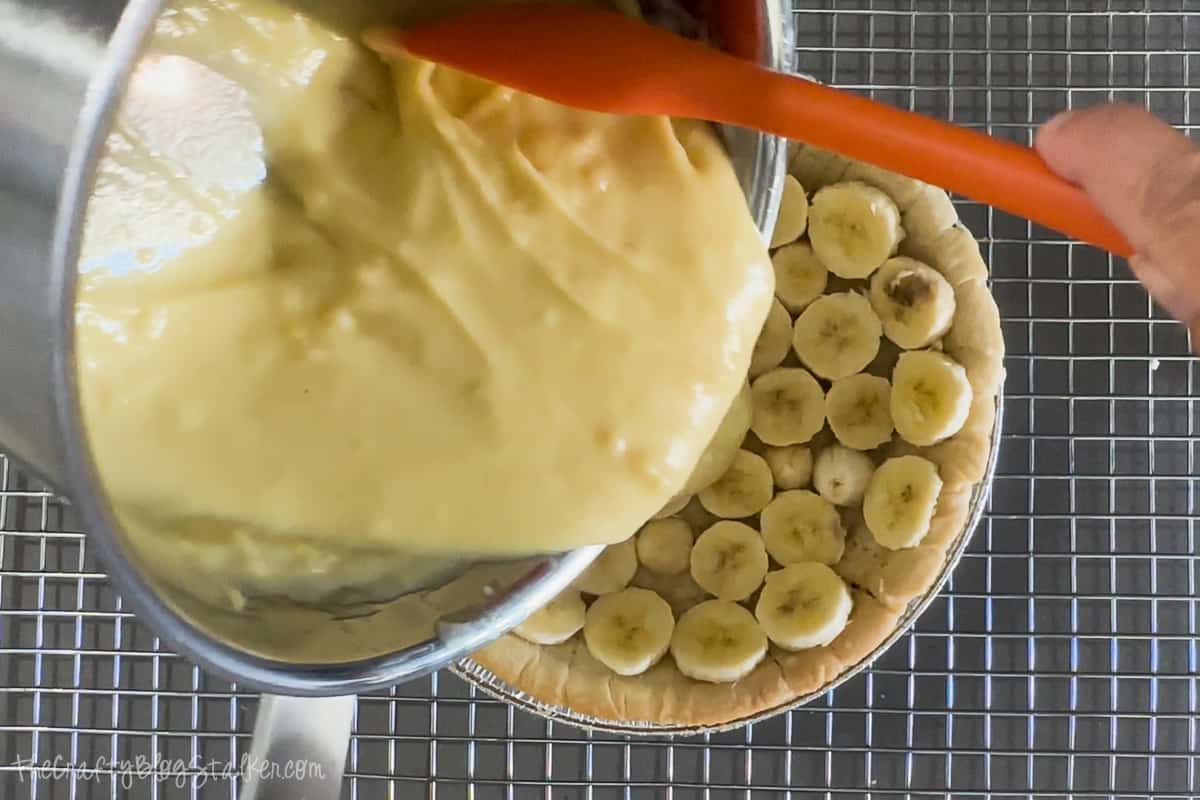
Pour the hot pudding mixture over the banana slices into the pie crust.
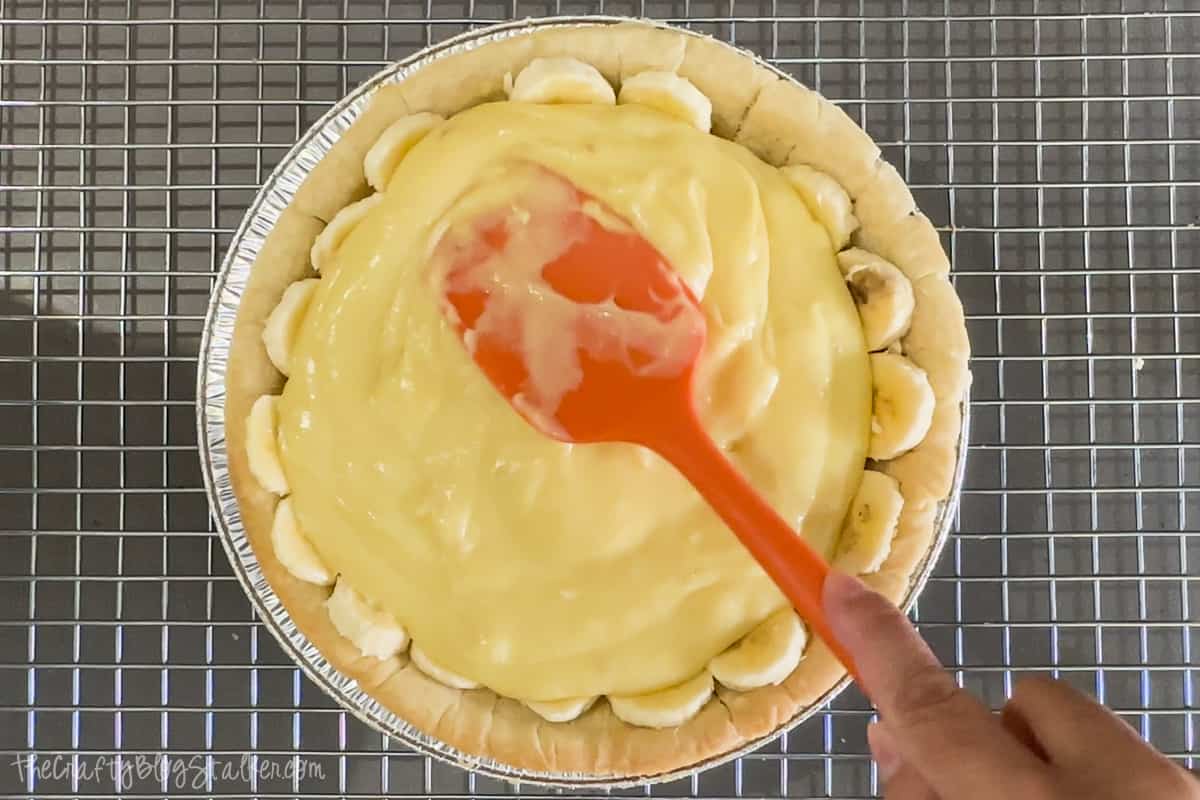
Cool completely. If you are in a hurry you can chill it in the refrigerator, otherwise cooling it on the counter is just fine.
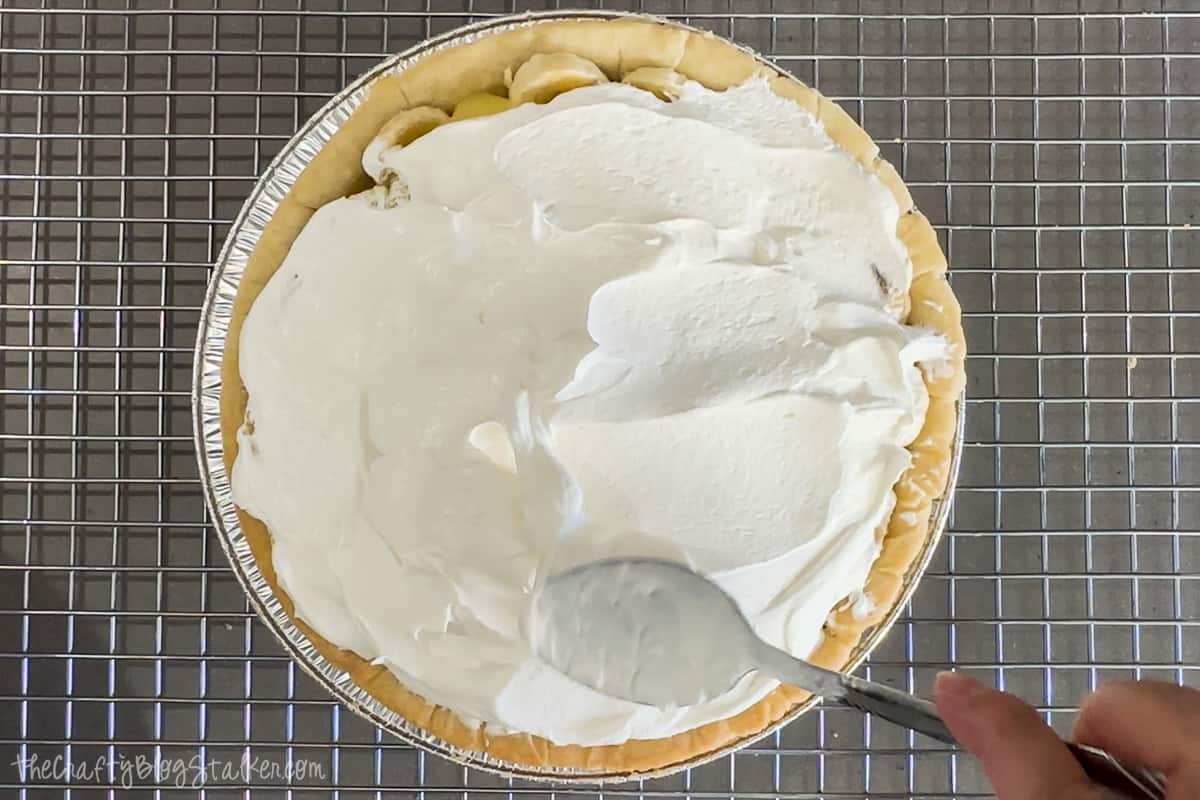
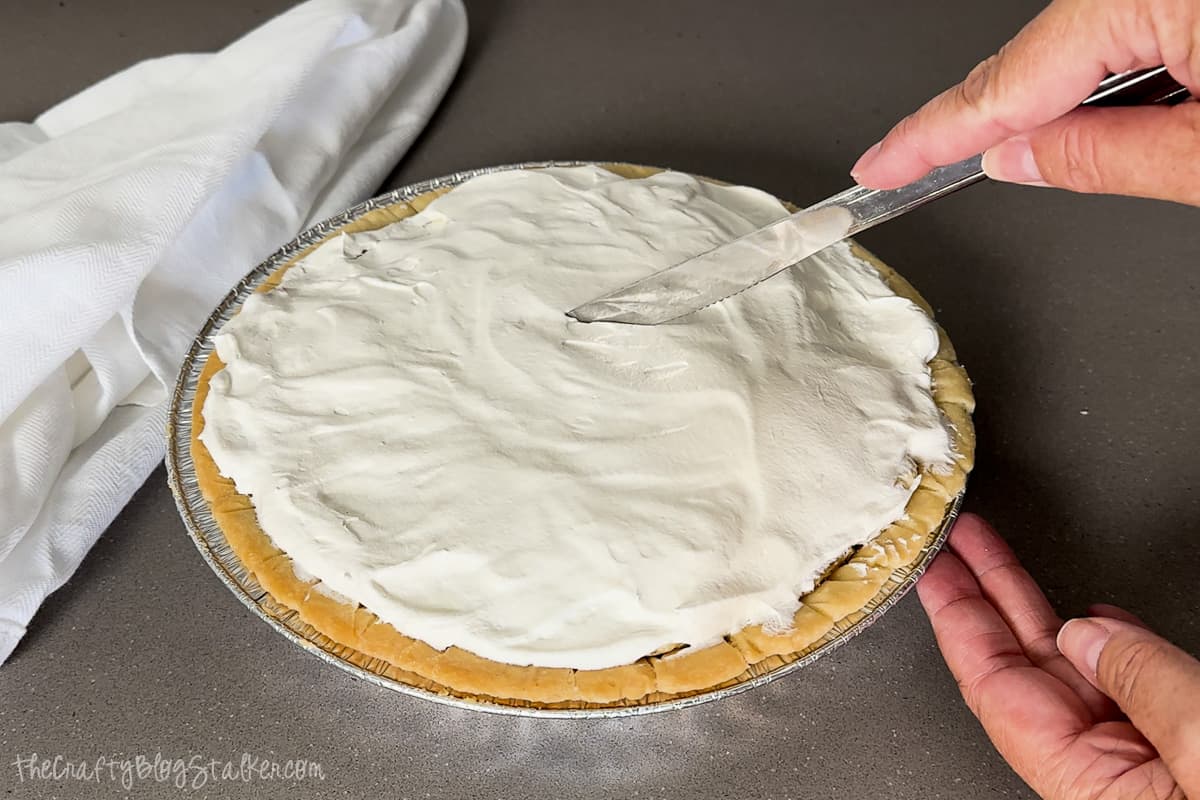
Once cooled, cover with as much whipped cream as you like. You can go heavy or light.
Serve and enjoy!
Variations:
- Crust: If you have a favorite pie crust recipe you can definitely use it instead of a frozen pie crust. A graham cracker crust also works well with this recipe.
- Gluten: Looking for a gluten-free option? Simply substitute gluten-free flour, and a gluten-free pie crust and your pie is now gluten-free! You won't even be able to taste the difference.
How to Store:
Store leftovers in the fridge for up to 3 days.
How to Make an Easy Banana Cream Pie
Ingredients
- 1 9-inch Frozen Pie Crust
- ⅓ cup Flour
- 2 cups Milk
- 2 tablespoons Butter
- 2-3 Bananas
- ¾ cup sugar
- ¼ teaspoon Salt
- 3 Egg Yolks slightly beaten
- 1 teaspoon Vanilla Extract
- Cool Whip
Instructions
- Bake and cool crust before making the pie filling.
- In a saucepan combine sugar, flour, and salt. Gradually add milk stirring well.
- Cook and stir over medium het until mixture thickens an boils. Cook 2 minutes longer stirring constantly.
- Remove from heat.
- Stir about ½ cup of mixture into slightly beaten egg yolks. Then immediately return egg mixture to saucaepan.
- Return to heat. Cook 2 more minutes stirring constantly.
- Remove from heat. Add butter andvanilla, stirring until the butter is completely melted.
- Slice bananas into the cooled crust.
- Poor hot mixture over the sliced bananas.
- Cool.
- Cover with desited amount of cool whip.
Our Baking Essential List:
- For baking casseroles, we use Glass Baking Dishes. I especially like the dishes with lids so leftovers can be transferred straight to the fridge.
- Silicone Kitchenware is my favorite because they don't scratch my cookware and is easy to clean!
- A Glass Cutting Board is a must to prepare all of those ingredients. We even keep ours on our counter at all times.
- This Knife Set will also become your favorite! They cut beautifully, and with the hollow design of the knife, food doesn't stick to the blade.







Leave a Reply