

This post is sponsored by Ball® Brand Fresh Preserving Products by Newell Brands All opinions expressed are my own.
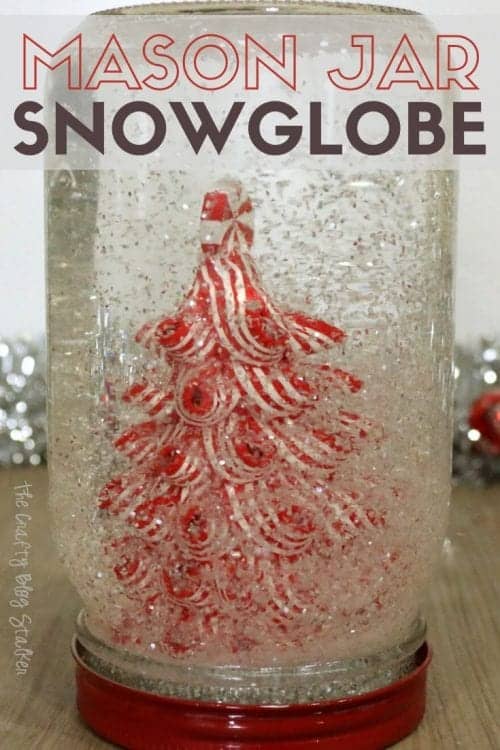
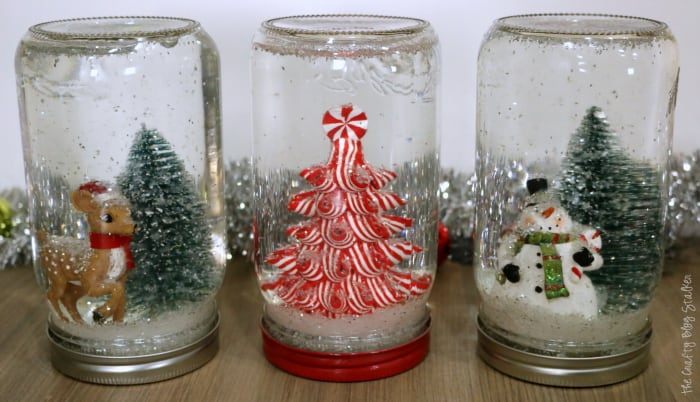
Make the perfect handmade gift, a Mason Jar Snow Globe using Ball® Brand Jars. Easy DIY craft tutorial idea for Christmas, or any gift-giving reason.
Do you love to make handmade gifts too? I believe, when you make a gift with your own two hands that gift is more special than anything you could buy in a store!
This year I am participating in a fun Secret Santa Exchange with other bloggers, sponsored by Ball® Brand Fresh Preserving Products by Newell Brands. I have been challenged with creating an amazing handmade gift, that I will send to another blogger, and in return, I will receive a gift as well! I am so excited about this challenge. This is going to be so much fun! I have decided to gift a Handmade Christmas Snow Globe, and I'm going to teach you how to make one too!
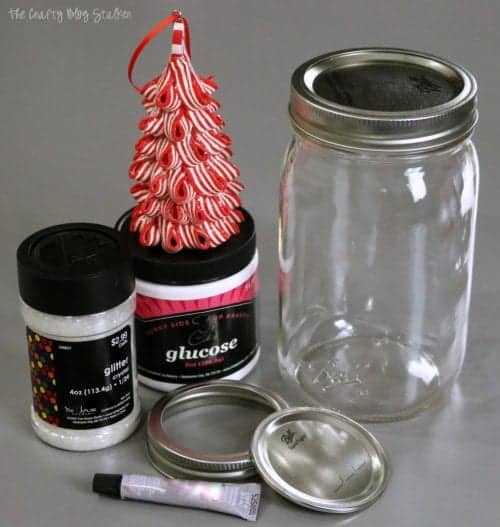
Supplies Used to Make a Mason Jar Snow Globe
Some links may be on similar items when exact items couldn't be found online.
- 1 Ball® Smooth Sided Wide Mouth Quart Jar
- 1 Ball® Regular Mouth Lids and Bands
- Industrial Strength Glue
- Glitter
- Glucose
- Ornament
- Spray Paint (optional)
- Polyurethane Gloss (Optional)
How to Make a Mason Jar Snow Globe
Let's begin with the jar. I chose the Smooth Sided Wide Mouth Jar because it is perfect for crafting. The smooth outside makes it easy to add labels, glue glitter or decorate in many different ways.
As for what goes into the jar, you want to make sure it is something that won't get ruined in the water. Plastic and resin are great but if you have any concerns, you can place the item in water overnight and see how it fairs.
You also want to make sure that you are using a glue that won't break down in the water. A good industrial strength glue will do the trick.
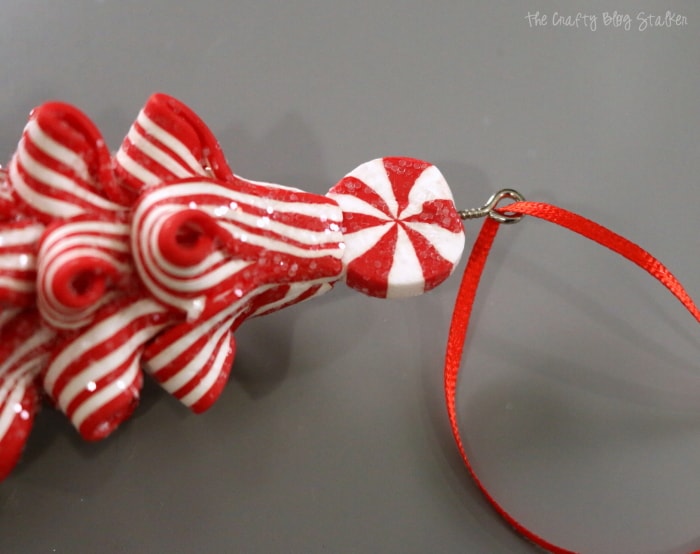
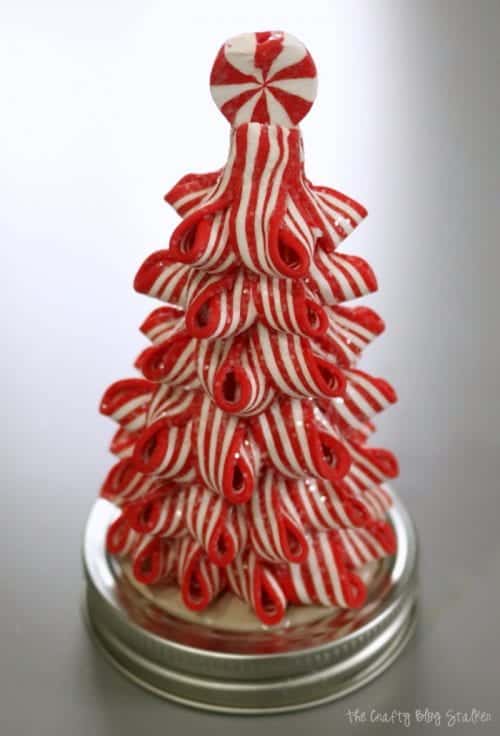
I choose an inexpensive plastic ornament for my snow scene, and I know the plastic will do just fine being immersed in water.
If needed, remove the hook. My ornament has a small eye screw that can easily be twisted out of place.
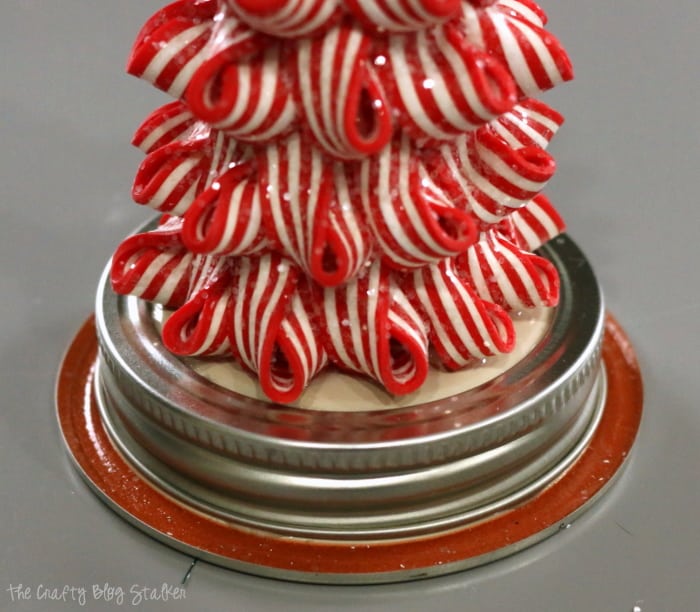
Next, is the platform. You want the item to be raised up from the bottom of the jar just a bit. The Regular Mouth Canning Jar Lid works great because it fits perfectly inside the Wide Mouth of the jar. Glue the lid to the ring by applying E600 around the rubber edge of the flat lid and inserting it upside down in the ring.

I glued the flat lid upside down so the white side would show not the silver.
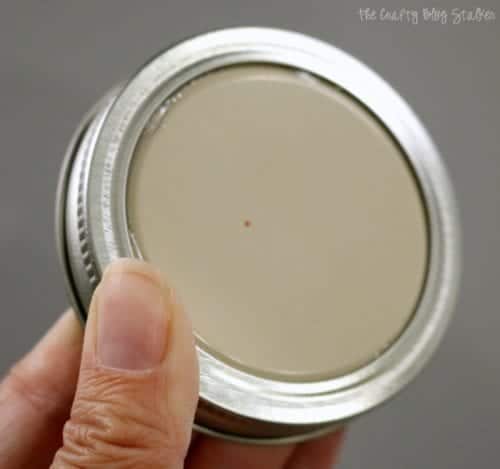
Apply glue around the base of the ornament and adhere to the top of the regular mouth lid.

Apply the glue to the lip of the regular mouth Canning lid and center onto the underside of the flat wide mouth lid. It fits perfectly inside and covers the white part completely.
Let dry overnight. This is a very important step. The glue needs to be completely dry before immersing in water. I know it's hard to be patient, but your snow globe will come apart in the water if you don't wait. Trust me, I know this from experience.
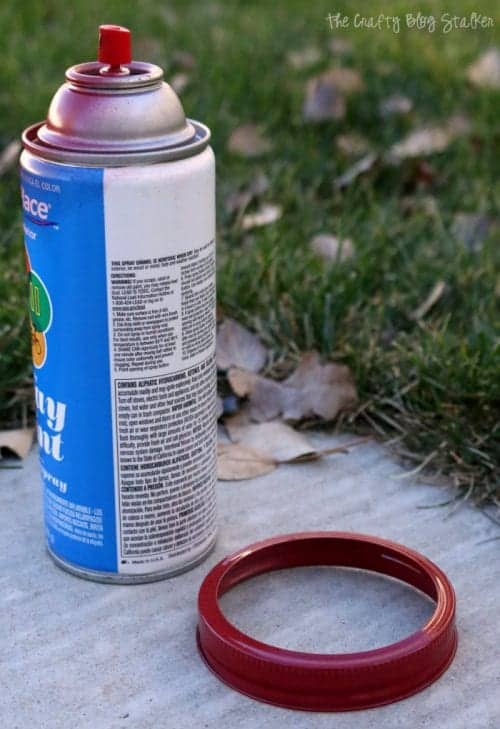
The outer ring of the wide mouth lid, paint with a coat of spray paint. Once dry, apply a layer of Polyurethane Gloss to protect the paint from chipping and scratching off. This is an optional step but does look really nice on the finished Snow Globe.
The next day when all of the glue is dry, it is time to add the liquid.
Adding Liquid and Glitter
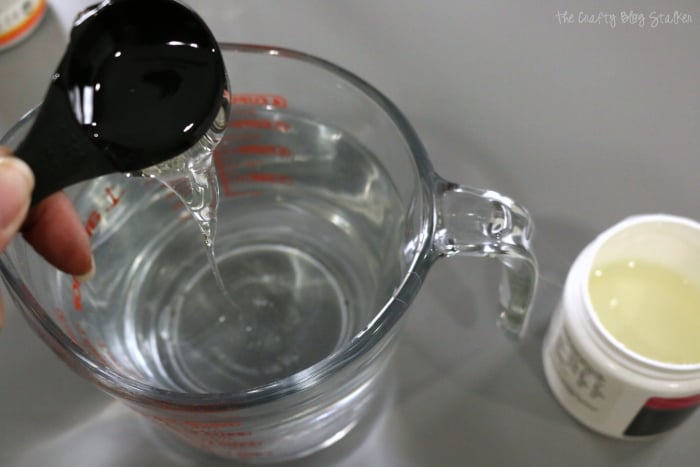
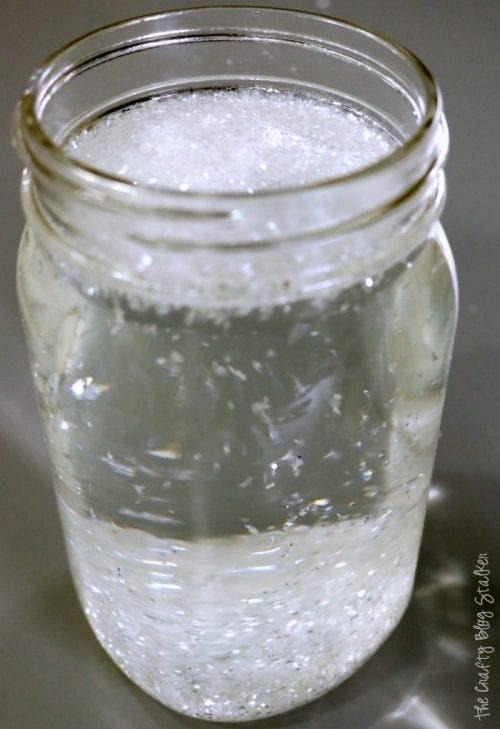
A quart jar holds 4 cups of water. In a liquid measuring cup combine 4 cups of tap water and a heaping Tablespoon of Glucose. Stir until the glucose is completely mixed in and can no longer be seen in the water.
The glucose is what thickens the water and slows the glitter when swirling and falling in the snow globe.
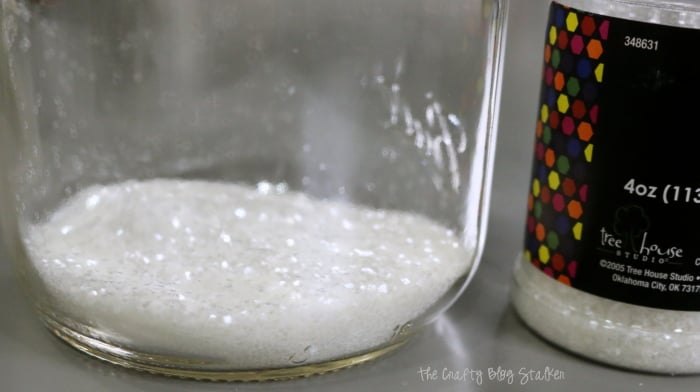
Put a good amount of glitter at the bottom of the quart jar. I did not measure because this amount might differ depending on the look you want and what the theme of your snowglobe. The biggest tip I can give is to use more than you think you will need. You can see below, I used quite a bit and filled the bottom of my jar, but I wanted a blizzardy snow scene.
Slowly pour the glucose and water mixture into the quart jar. Fill to the base of the opening. Give the glitter a good stir and wait for most of the glitter to fall to the bottom of the jar. There will be a layer of glitter that stays at the top and that is okay.
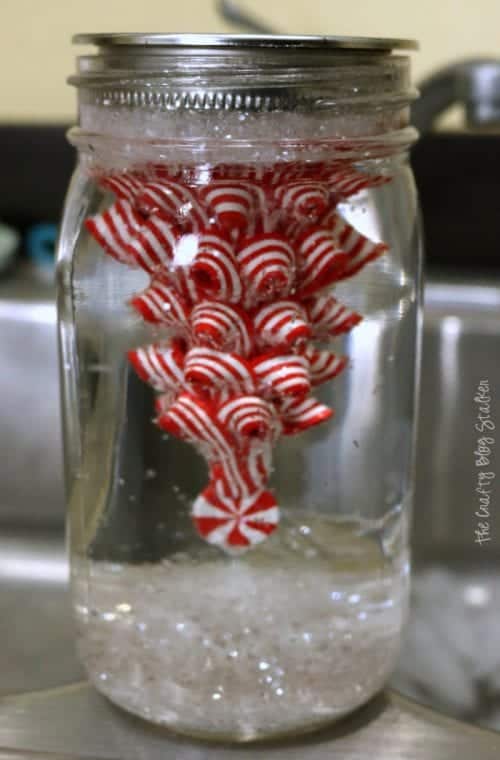
Place the jar in a sink and slowly drop the snow globe scene into the jar. Water will escape over the edges, and that is okay, that is how you keep the jar as full of water as possible to have minimal air bubbles.
Screw the ring onto the jar and secure it in place. Let the snow globe sit for a day or two to make sure that all of the pieces stay glued in place. Then remove the ring and apply glue to the lip of the lid twist ring back on. This will secure the lid in place.
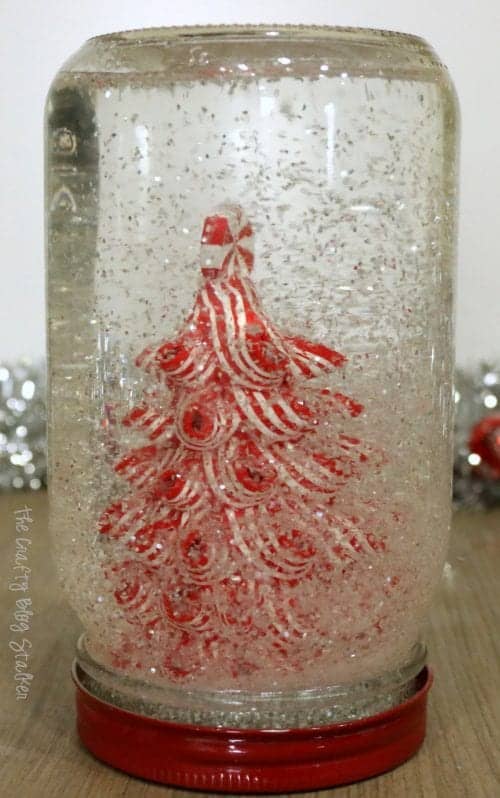
There really are so many options for what you can put inside your Snow Globe. Here are a couple more that I made for gifts for a few of my favorite people!
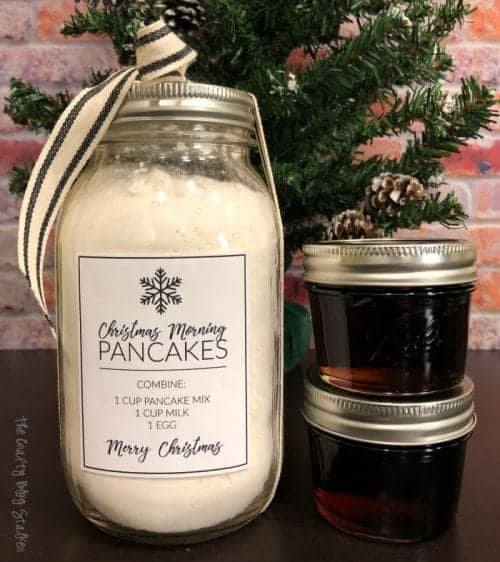
My Secret Santa Gift
Would you like to see what I got as my Secret Santa Gift?
My gift came from Rebecca at The Crafted Sparrow. She sent Christmas Morning Pancakes and yummy maple syrup!
I love it! This is such a fun gift idea! There really are so many fun ways to use and gift Ball® Brand products.
How have you used mason jars in your gift-giving?
Crafting Essentials
- The Cricut Cutting Machine is easily my favorite crafting tool. We use it in so many of our tutorials!
- These MakerX Crafting Tools are perfect for keeping in the craft room and are always ready when needed!
- This Fiskars Paper Trimmer is easy to use and cuts nicely without frayed edges.
- These Scotch Precision Scissors cut like a dream, and you get multiple pairs in a pack!
Haeley @ Design improvised
A belated thank you for the snow globe! The red and white striped tree is so sweet!
Bonnie
I have used ball jars as gifts before I think this is so cool I will try but could you please tell where you get the supplies
Katie
You can get the supplies at most department stores or on Amazon.com. Thanks, Bonnie. I am so glad you like this idea.