This post may contain affiliate links. For more information, please see our disclosure policy.
Make a shirt for your favorite reader with heat transfer vinyl, a heat press, and Cricut! Below is the complete Reading Shirt Tutorial. This is a sponsored post on behalf of Cricut. All opinions are my own because I love giving you helpful tutorials!

My oldest daughter is a HUGE reader. She easily goes through several books a week and can even be reading multiple books at once! I'm not sure how she does it.
Recently I was asked by Cricut to do a review of a competitor Heat Press and I already had this project in mind so I knew it would be perfect!
Craft Tutorial Video:
Like videos? I have a video tutorial for you! Please subscribe to my YouTube Channel so you don't miss out on any future video tutorials!
Supplies You'll Need to Create this Project:
This post contains affiliate links.
- I Just Want to Read - Cricut Design Space
- Cricut Cutting Machine
- LightGrip Mat
- Navy Iron-on
- Comfy T-Shirt
- BrightPad
- Heat Press
Cut the File in Cricut Design Space:
The file to make this shirt is completely ready to go on Cricut Design Space.
I have the file sized with a width of 10.5 inches. If this size works for you then you can select Make It. If you need to adjust the sizing, select customize.
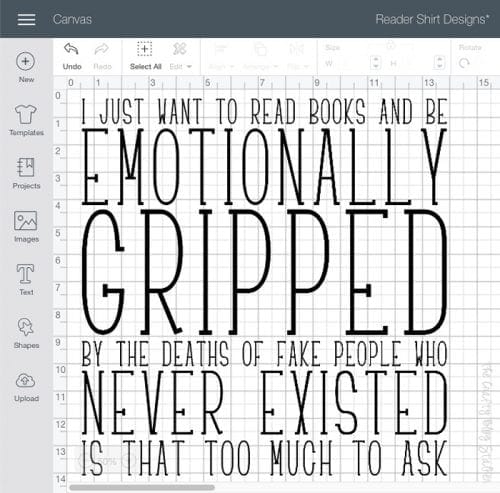
Place the iron-on shiny side down on the light-grip mat, and make sure you select Mirror Image before you begin the cut. Follow the prompts in Cricut Design Space to cut the image out.
I cut this out on a Cricut Maker but you could also cut this out on the Cricut Explore.
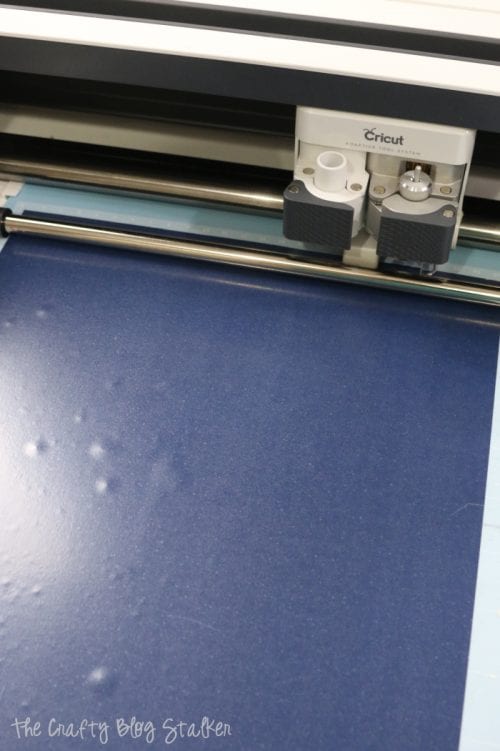
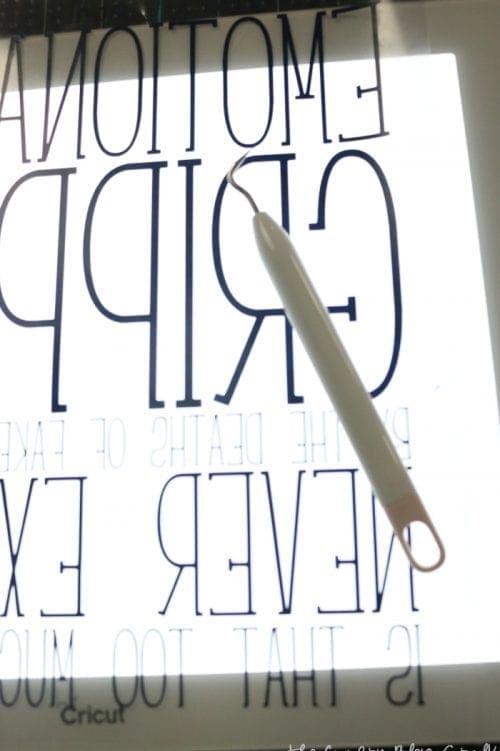
Once the image is cut, weed the excess iron-on vinyl from the backing sheet.
The BrightPad is super helpful during this step because it shines light through the lines so you can easily see the areas you need to weed. Don't forget to remove the center of the letters!
Center the cut-out on the front of your shirt. If you would like, you can use a ruler or t-square to get it perfectly centered. I go easy, and just eye-ball it.
If your shirt has a v-neck you can use the v as a center point and that helps center the design.
We are using an industrial heat press to apply the iron-on. We set the temperature to 315 and 30 seconds.
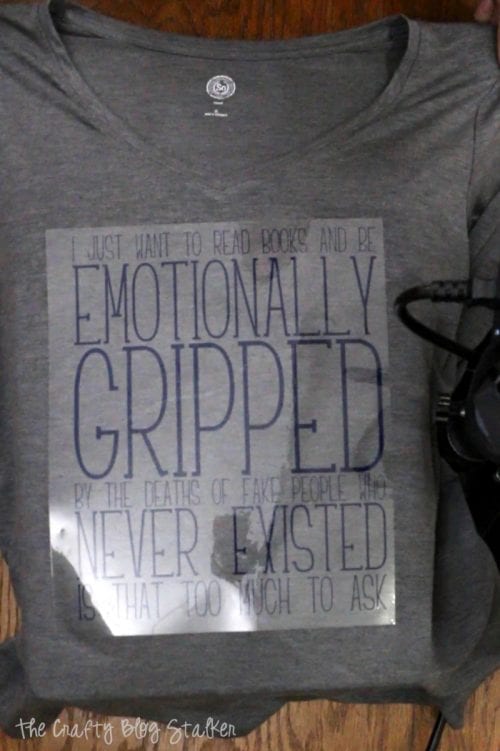
Center the t-shirt and image on the bottom heating plate of the heat press. Clamp the top of the press down and begin the timer.
After the timer beeps, release the clamp and lift the top.
Shake the shirt lightly to cool the shirt so you can touch it. It gets really hot!!
Slowly peel back the iron-on backing. If the iron-on doesn't stick you can reapply the backing and put it through the heat press again.
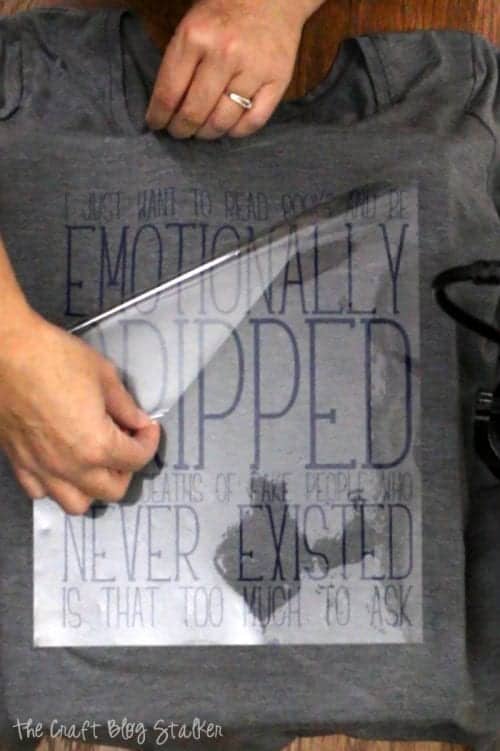
And that is all there is to it! Easy peasy! Now my daughter has a new funny shirt!

When I showed it to her she was so excited and said: "I have a new favorite shirt!"

You could also apply this design to a tote bag!


Our Crafting Essentials:
- The Cricut Cutting Machine is easily our favorite crafting tool. We use it in so many of our tutorials!
- These MakerX Crafting Tools are perfect for keeping in the craft room and are always ready when needed!
- This Fiskars Paper Trimmer is easy to use and cuts nicely without frayed edges.
- These Scotch Precision Scissors cut like a dream, and you get multiple pairs in a pack!







Leave a Reply