Make a handmade gift box using one sheet of cardstock, and that includes the lid! A fun DIY craft tutorial that aids in gift giving.
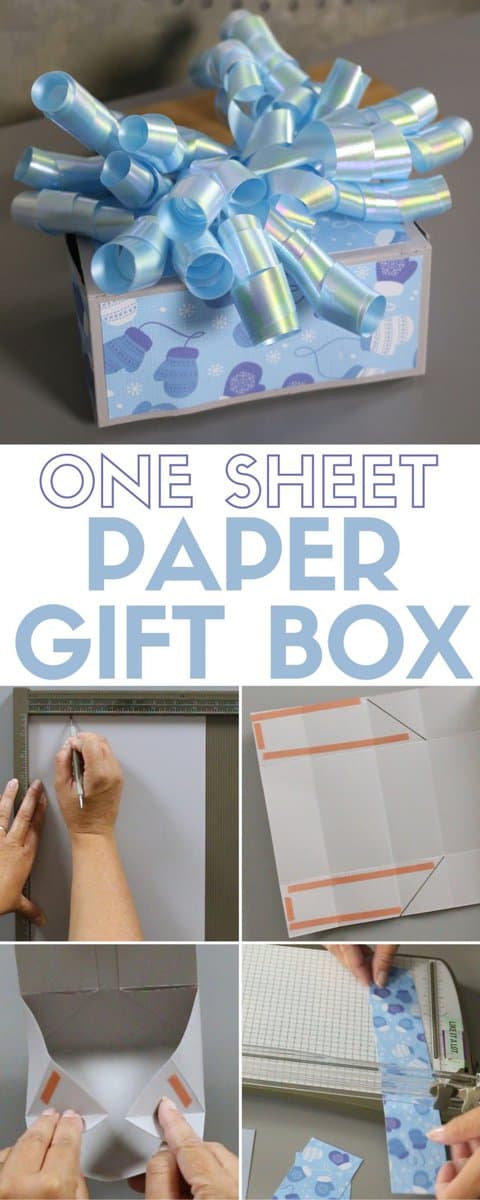
Do you like to make things with paper? Paper is one of my favorite crafting supplies because there are so many different things that you can make. Plus, if you mess up, you can just throw it away and start over. No big deal.
Today we are going to paper craft something totally awesome - A BOX! What? A box doesn't sound totally awesome? Let me break it down. First, this box can be used for so many things. A cute little gift box filled with treats, a gift card, or even better - JEWELRY! This gift box has a magnetic closure which also makes it perfect to store small items. And all of this amazingness is possible from one sheet of 8 ½ x 11-inch paper and that includes the lid! See, I told you it was awesome!
Supplies Used:Some affiliate links are to similar items when exact items couldn't be found online.
- Score Board
- Paper Trimmer
- 8.5 x 11-inch piece of Cardstock
- Ruler
- Bone Folder
- Pattern Paper
- Craft Magnets
- Double-Sided Craft Tape
- Tape Runner
- Gift Bow
Like videos? I do have a video tutorial if you would prefer to watch the tutorial. If you like my video subscribe to my YouTube Channel so you don't miss out on any future video tutorials!
One Sheet Paper Gift Box Tutorial
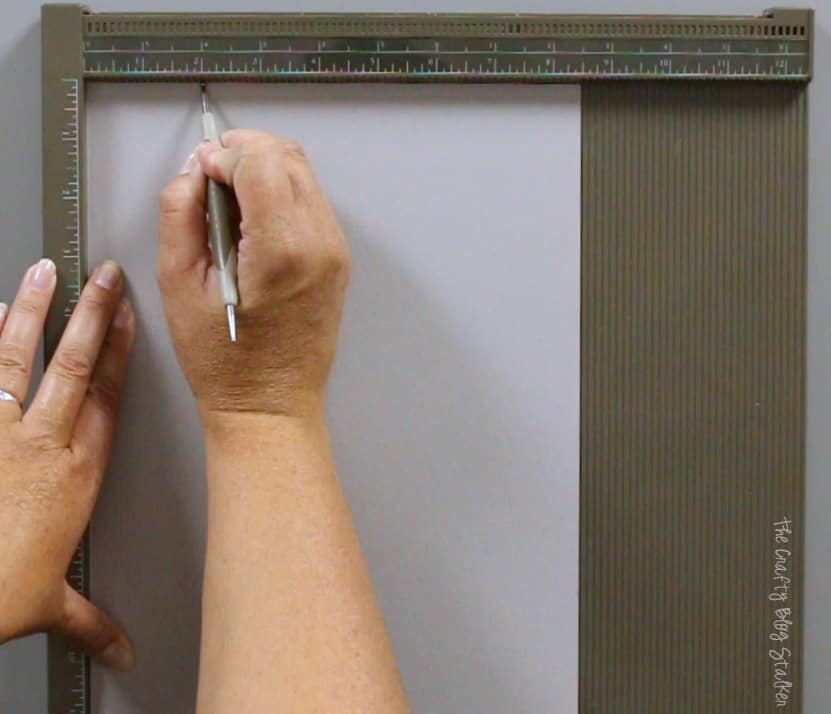
Begin by scoring your sheet of paper.
Portrait Position - Score at the 2-inch and the 6.5-inch lines.
Landscape Position - Score at the 2-inch, 4.5-inch, 6.5-inch and 9-inch lines.
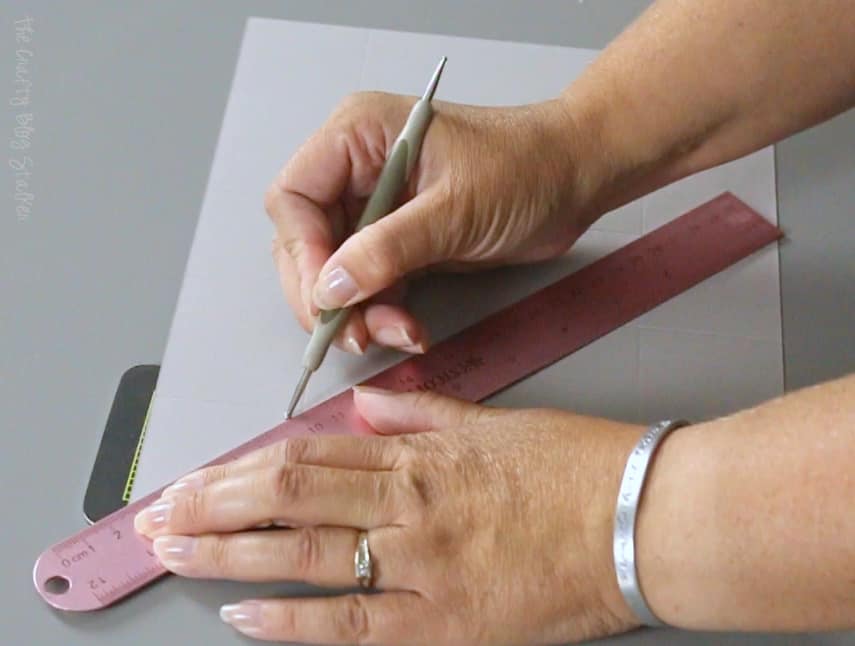
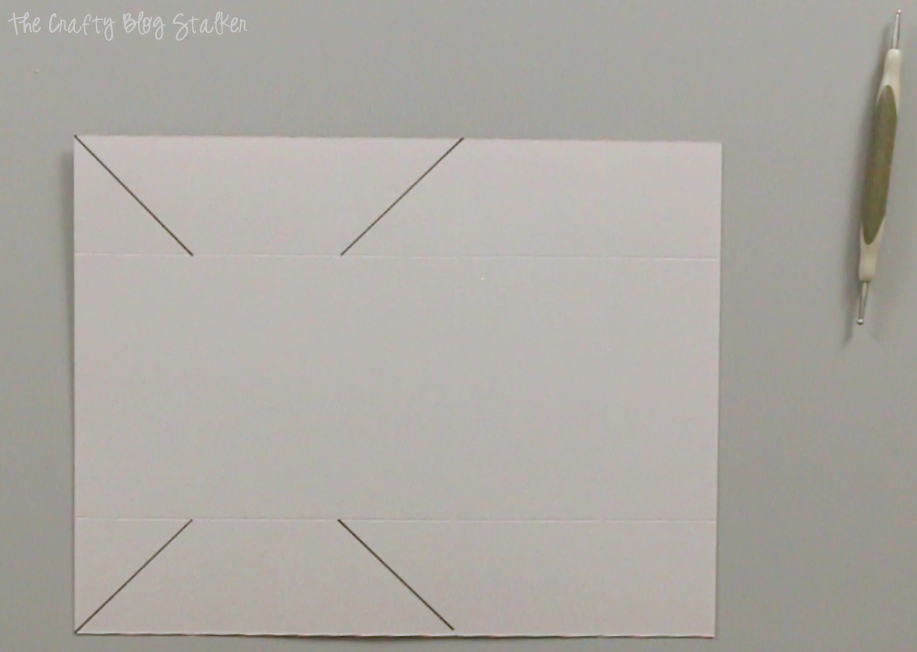
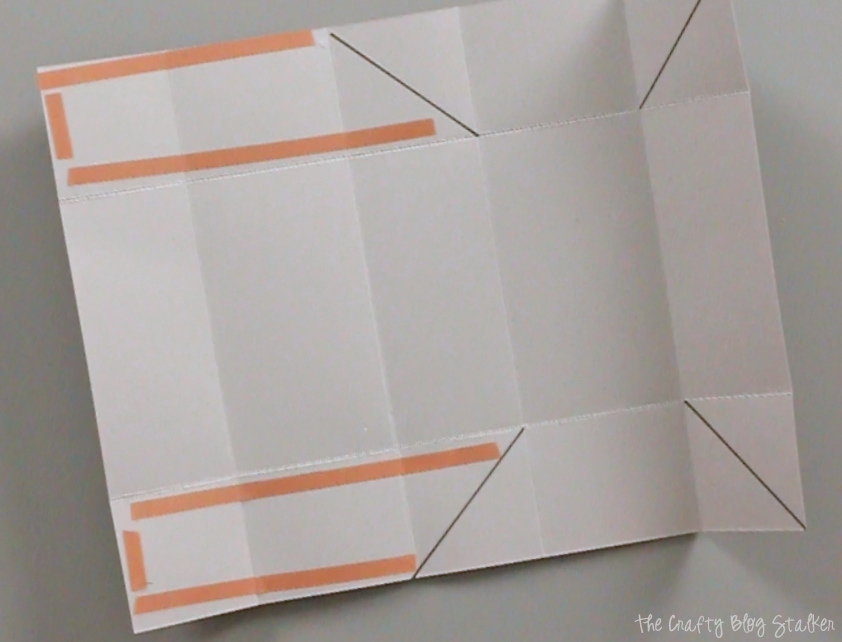
You'll notice that the piece of paper now has six smaller boxes in the corners and the center of the sheet of paper. In two of the edge boxes, use a ruler and stylus to score a diagonal out from the inner corner of the square.
Repeat on the inner squares but this time, have the diagonal go in the opposite direction. In the picture below I marked with a black marker the score lines so you could see them better.
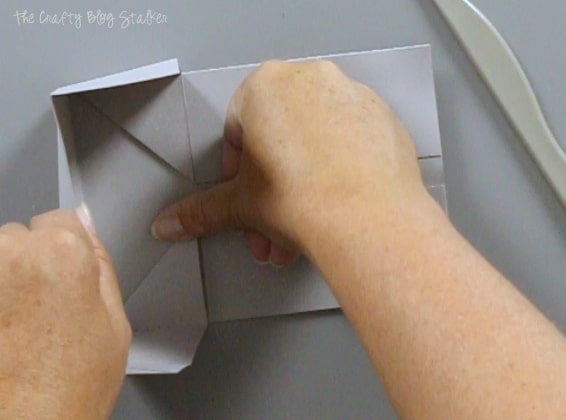
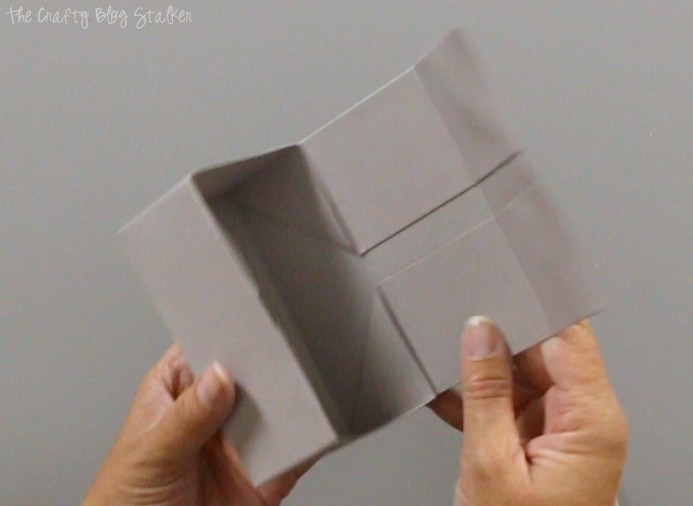
Fold in at all of the score lines.
Using the double-sided craft tape, apply strips on the opposite side as the scored corners as shown below. The strips of tape should go right up to the center diagonal score line.
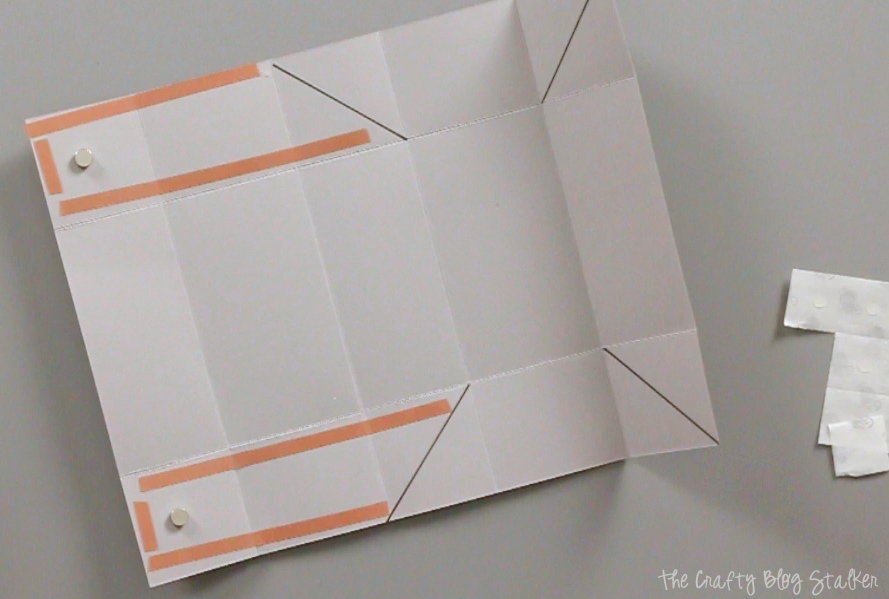
Before we tape the sides up, add a magnet to each side. Use glue dots to hold them in place.
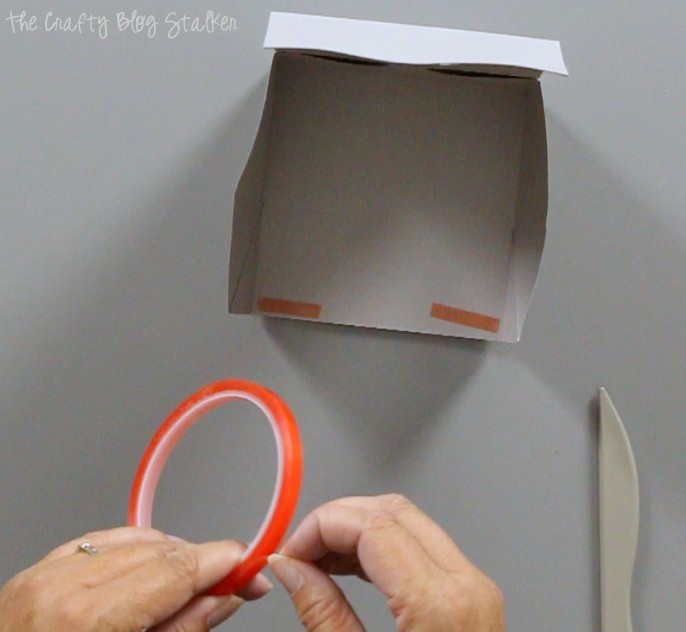
Remove the backing from the double-sided craft and fold over each side. Using a bone folder will help you get nice crisp folds.
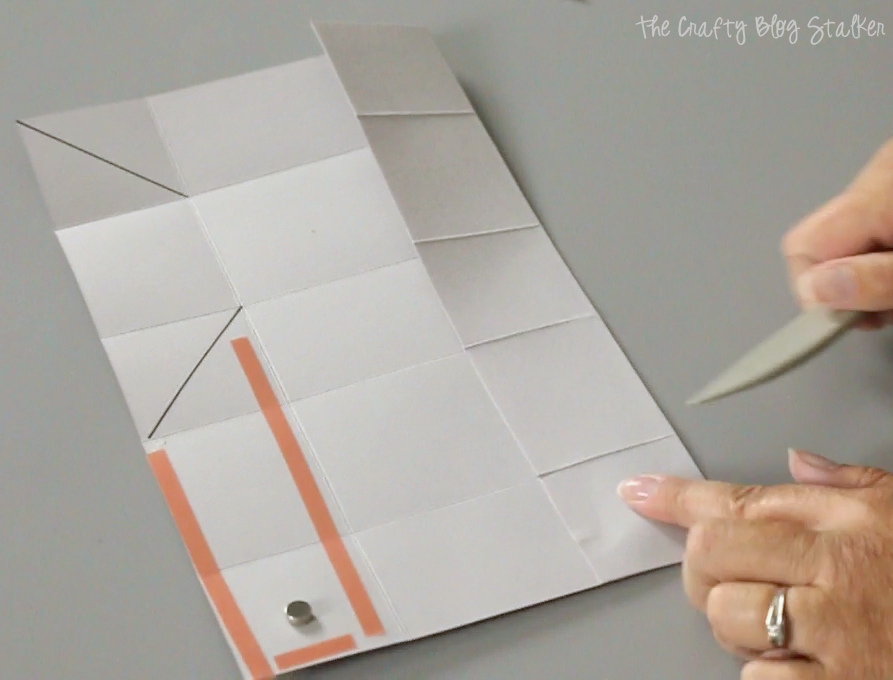
Apply two small strips of the double-sided craft tape as shown below. Making sure that the end with the magnets is at the top of the box.
Remember, these corners were scored at a diagonal, so you'll notice that as you push up with two unglued flaps, the paper will begin to fold right where those score lines are. Remove the backing from the tape and glue into place.
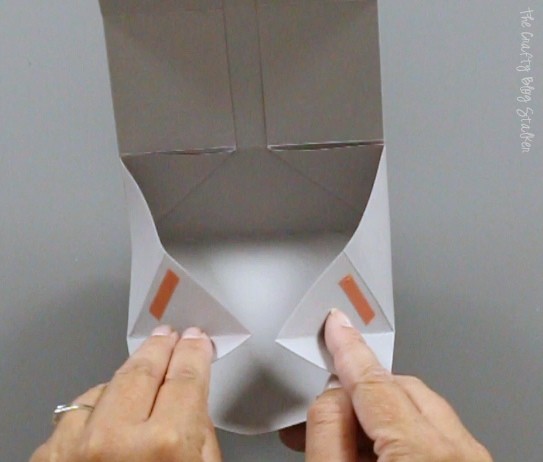
For front corners of the box, apply two strips of double-sided craft tape on the inside of each corner as shown below.
And the inside corner, as shown below.
Gently push the bottom flap up towards the inside of the box and those corners will fold naturally because of the diagonal scores in the corner. Remove the tape backing and secure into place.
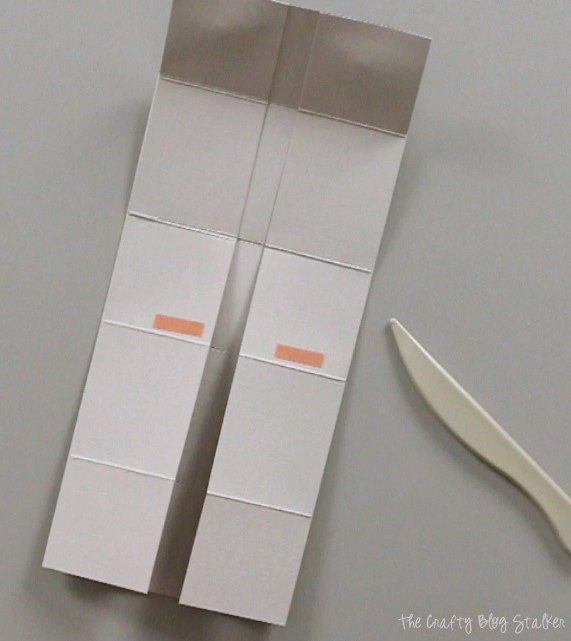
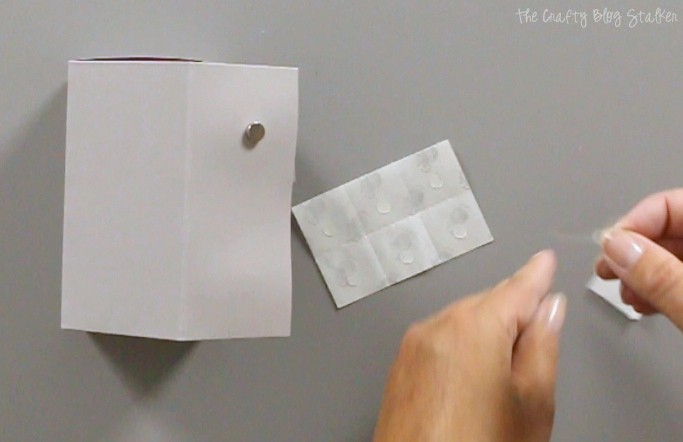
Now we need to get the magnets on the inside of the box to complete the magnetic closure. One at a time let the magnet stick to the lid of the box, aligning itself to the magnet in the flap. Attach a glue dot to the outside of the magnet.
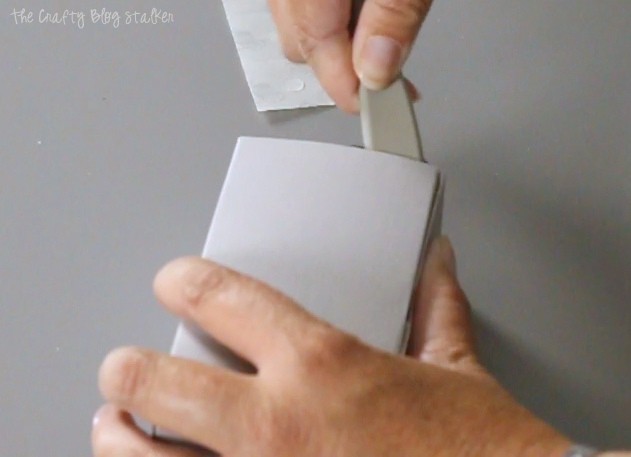
Carefully tuck the flap inside the box. Use a bone folder and slide it inside the box through the side opening from the lid. Find the magnet and rub the bone folder over the magnet so the glue dot will grab and hold onto the paper side of the box.
Open the box lid and repeat for the other magnet.
Decorate the Gift Box
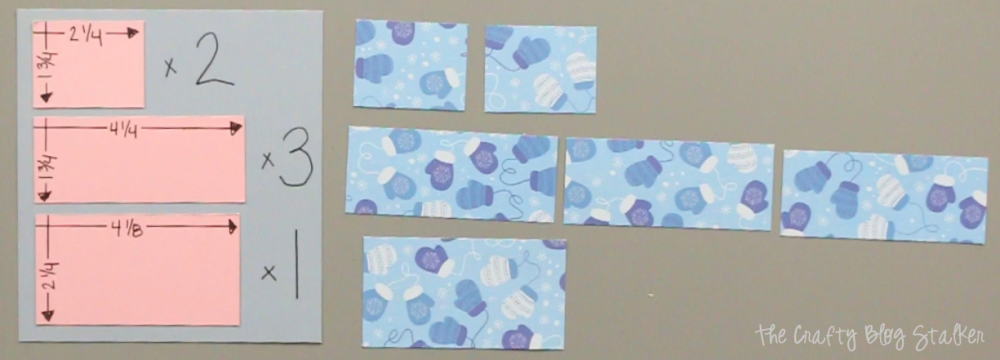
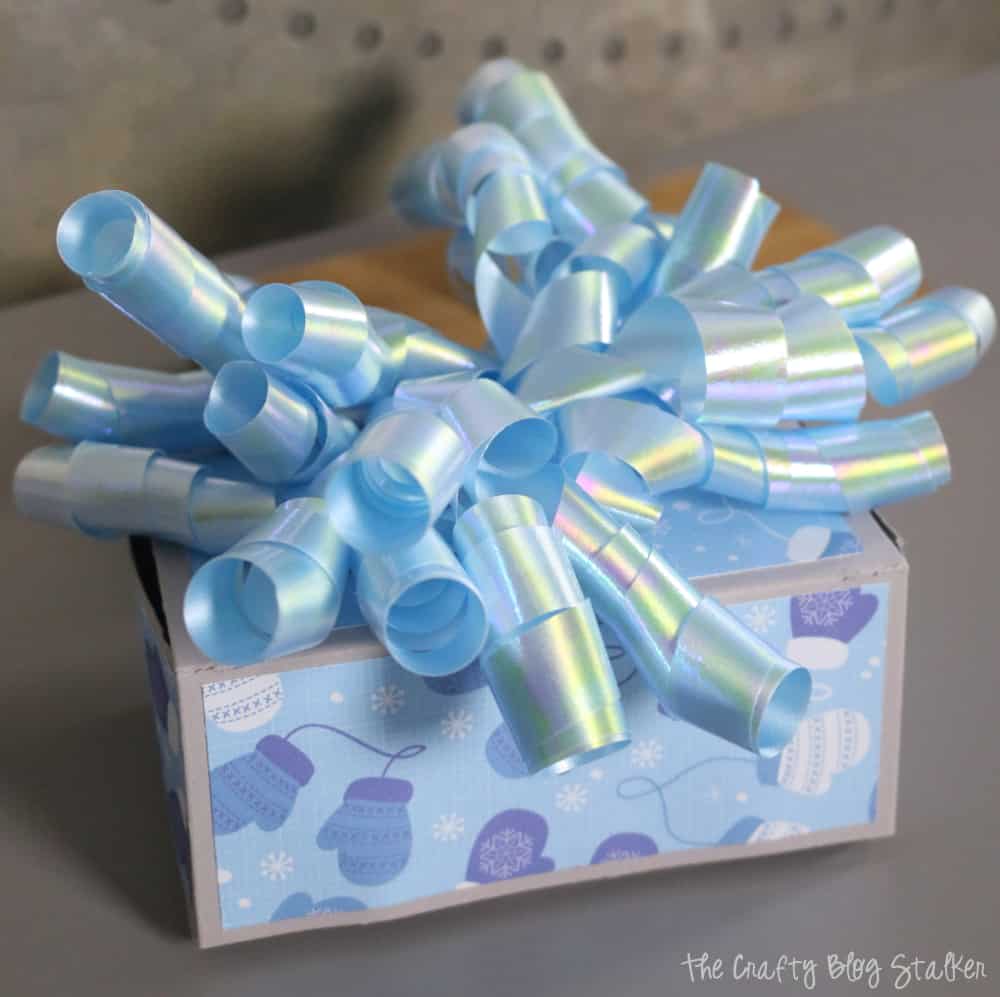
You can leave the box as is, but it's more fun to dress it up a bit. Using pattern paper cut six rectangles. Two that are 2 ¼ x 1 ¾-inches, three that are 4 ¼ x 1 ¾-inches and one that is 4 ⅛ x 2 ¼-inches.
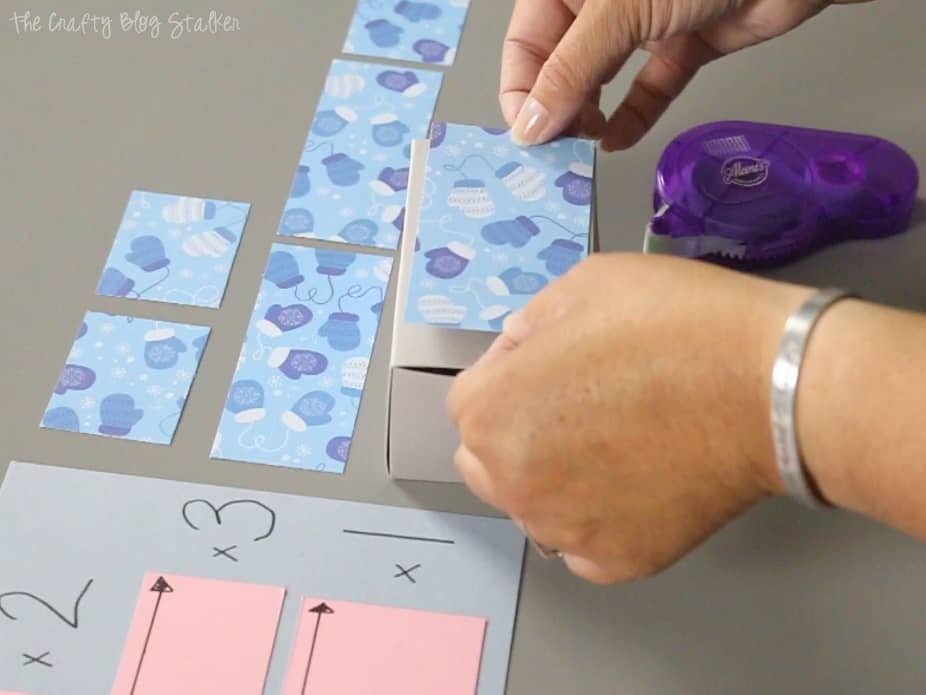
Adhere the pieces onto the outside of the box using the tape runner. (You could continue to use the double-sided craft tape here, but it is more heavy-duty. Although I do recommend the heavier duty tape to hold the gift box together.)
Top the box off with a gift bow, and your box is complete! Of course, you could get creative and make a cute handmade paper bow, but only one tutorial at a time.
Our Crafting Essentials:
- The Cricut Cutting Machine is easily our favorite crafting tool. We use it in so many of our tutorials!
- These MakerX Crafting Tools are perfect for keeping in the craft room and are always ready when needed!
- This Fiskars Paper Trimmer is easy to use and cuts nicely without frayed edges.
- These Scotch Precision Scissors cut like a dream, and you get multiple pairs in a pack!


Edye
What a pretty idea! <3
Blessings,
Edye
Katie
Thank you Edye! It's a fun little project that doesn't take much time at all!
Sherry Nappa
I love it! I usually wrap my plain boxes in newspaper, but I'm going to try your idea next time. Thanks so much for sharing at Funtastic Friday!
Katie
Thank you, Sherry! I am so glad that you like my idea! Making boxes is actually a lot of fun!