

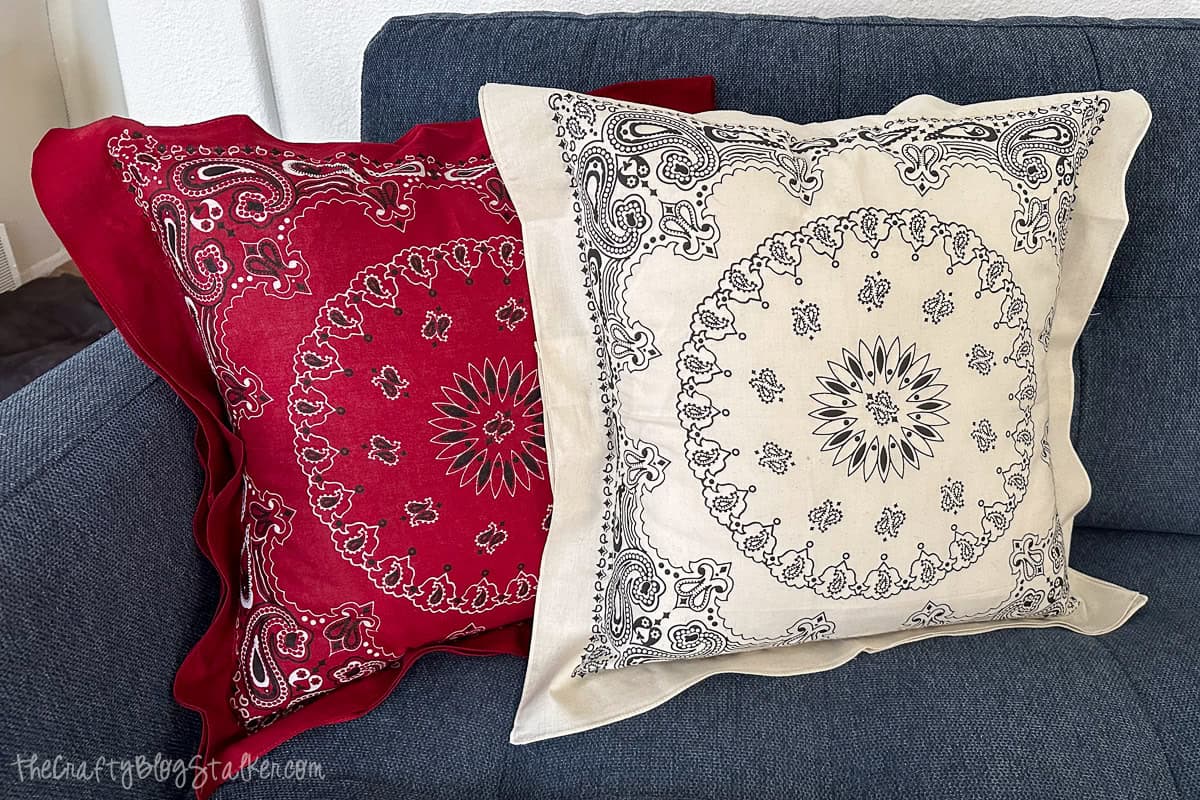
Turn basic bandanas into fun, colorful pillows-this simple sewing tutorial shows you how to make bandana pillows in no time.
If you've got a couple of colorful bandanas and a few minutes to spare, you're in for a fun and easy project.
Bandana pillows are quick, budget-friendly, and just the right amount of cottage core.
They're perfect for adding color to a couch, bed, or an outdoor chair.
Grab your sewing machine and turn those bandanas into something cozy and cute!
Jump to:
Skill Level: Beginner
Total Time: 20 minutes
Craft Tutorial Video
If videos are your thing, you're in luck-I've got a full tutorial ready for you!
Subscribe to my YouTube channel and stay inspired with every new project.


Prepare Bandanas
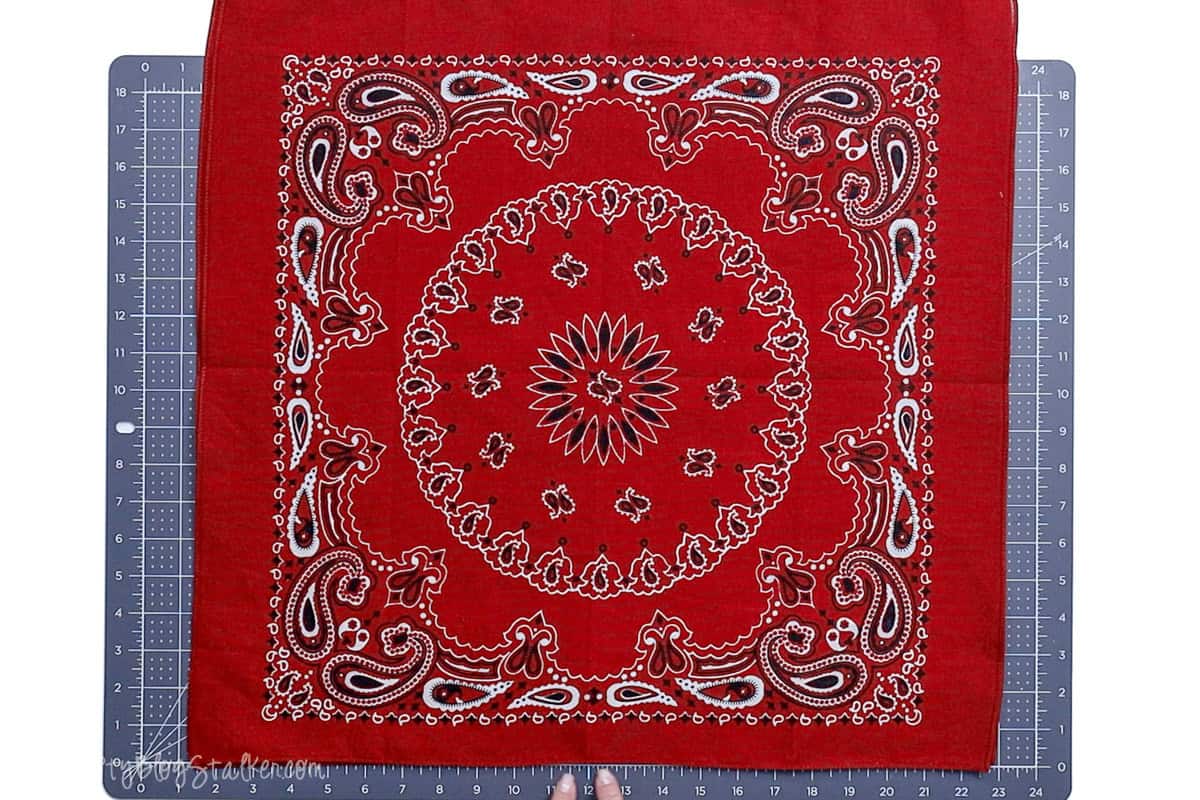
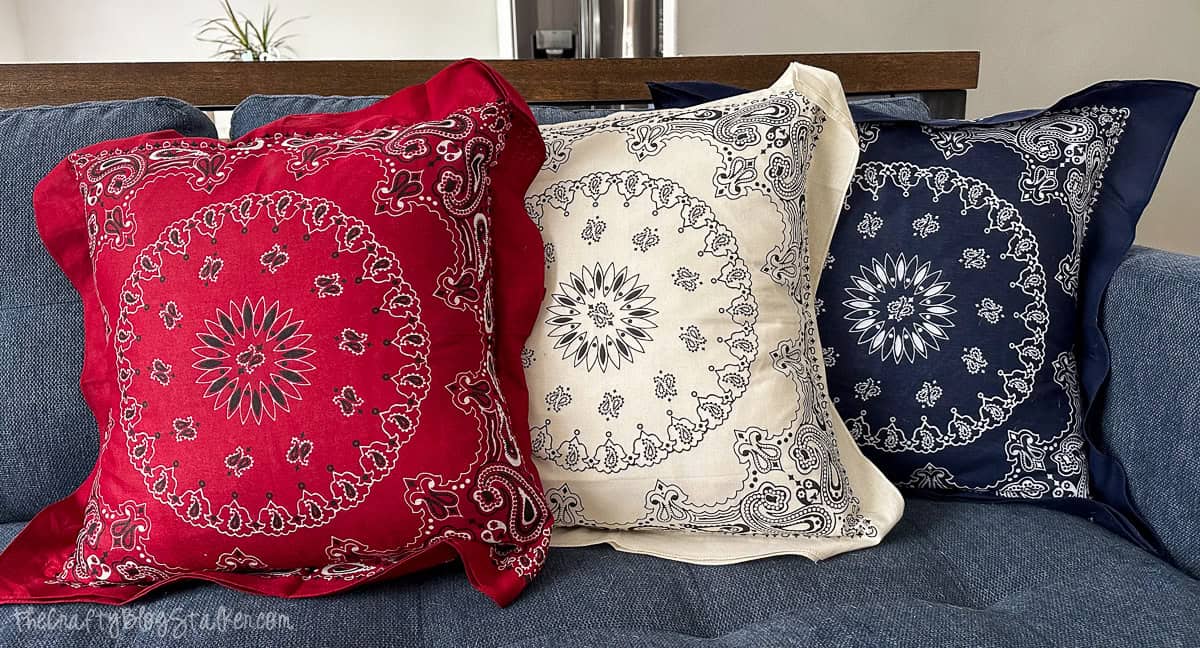
I use three 22-inch bandanas for one pillow. One for the front and two for the back.
Begin by ironing the three bandanas. They will have pretty deep creases from their packaging.
Pay attention to the hem of the bandanas. This is how you will identify the right and wrong sides.
The tiny hem is folded under and sewn to prevent the fabric from fraying.
The folded hem is visible on the back side, and only the stitch from the hem can be seen on the front.
Layer two bandanas together, squaring them up as much as possible, and lining them up on a self-healing cutting mat.
Note: Bandanas are not meticulously made and are not perfectly square, so lining them up won't be perfect. Just do the best that you can.
Align a quilting ruler at 13 inches and cut with a rotary cutter.
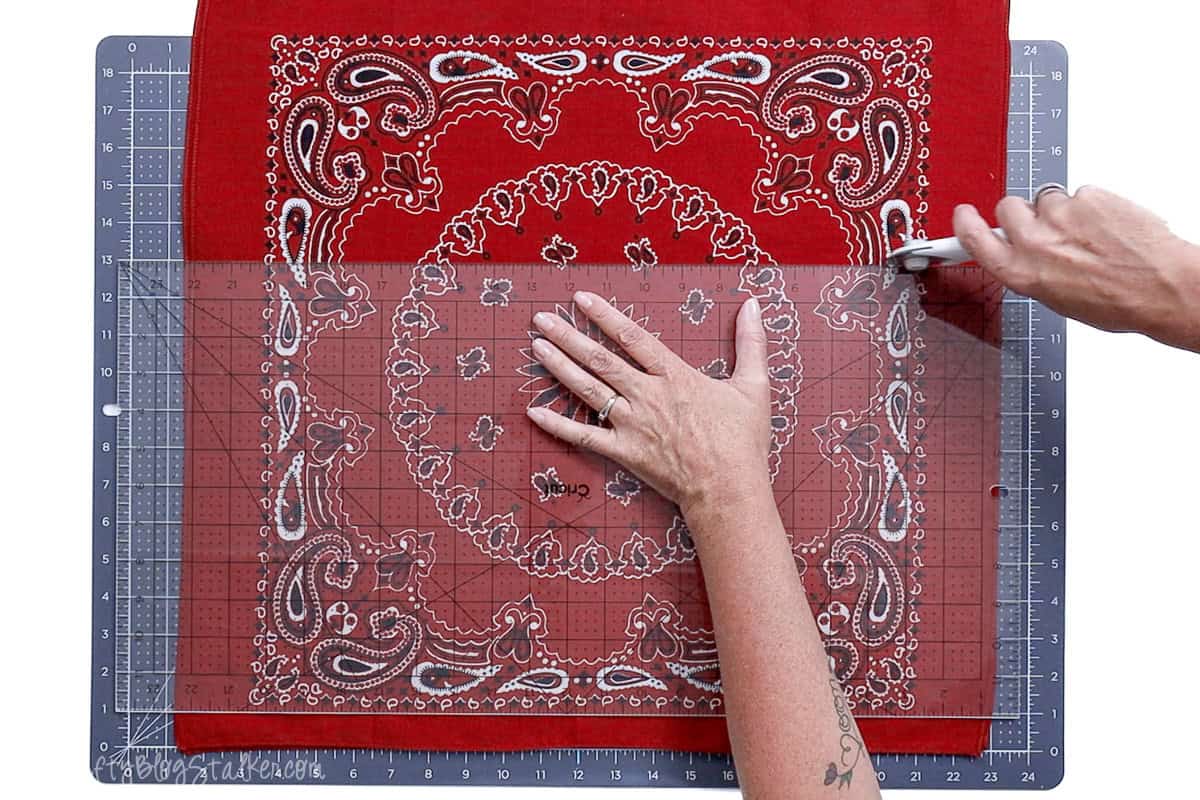
The top pieces are unnecessary, so you can keep them for scrap or throw them away.
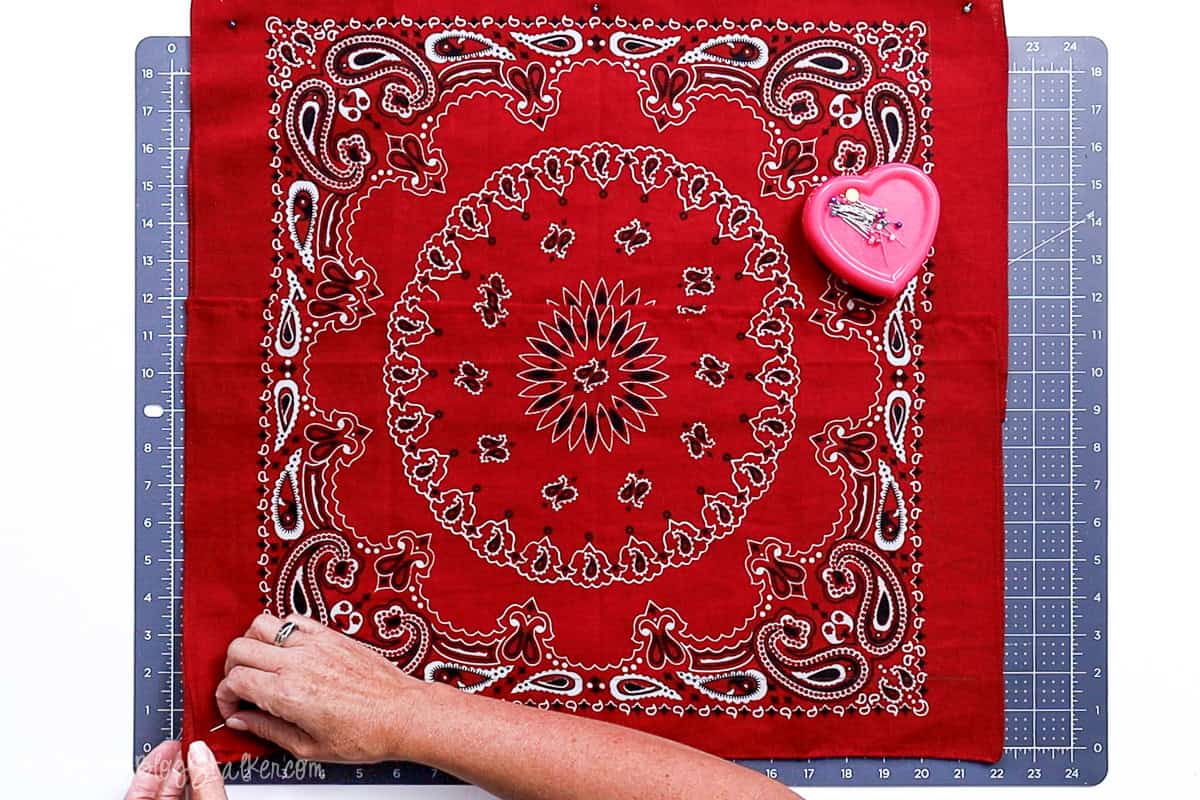
Hem Raw Bandana Edge
The raw edge of each bandana piece needs to be hemmed so the edge doesn't fray.
I like to pin and iron my edges before I sew.
Turn in the raw edge ⅜ inch and pin in place. I started on the left side, then the center, then the right side, and did one more pin between each center section.

After the edge is pinned, I applied an iron to secure the fold and keep it nice and straight.
Then I folded the edge again, this time at ½ inch, pinned it the same way as before, and ironed it flat.

Repeat pinning on the second bandana that was cut.

Guide the edge of the fabric along the edge of the sewing foot and create a long straight stitch along the length of the fabric.
Repeat this with the second bandana hem and remove the pins.

Sew the Pillow Cover
Place the whole bandana, right-side down, on the cutting mat, aligning it on the mat's baseline.
Layer one of the half bandanas on top, with the correct side facing you. Insert pins at the corners to keep the pieces aligned.

Carefully lift the bandanas and turn so the pinned piece is at the top.
Layer the second half on top, with the correct side facing up. Line up the edges and corners, and pin them together.
I also added pins to the center edges to keep everything correctly aligned.
Line the pillow case up as best as you can on the baseline of the cutting mat.
Lay the quilting ruler at the two-inch line, and create a line. This will be the sewing line.

You can use an ink-dispensing pen made just for sewing, but I don't have one, so I used a regular pencil.
Carefully pick up the pillow cover and rotate it 90 degrees to create the line on the next edge. Repeat until you have made the marked line on all four sides of the pillow cover.

Carefully lift the pillow cover, take it to your sewing machine, and sew along those marked lines.
After sewing all the way around the pillow case, you are done!
All that is left is to open the flap in the back and stuff the pillow insert into the new pillow case.

Make sure to push the pillow corners into the corners of the pillowcase, and you are done!
Final Thoughts
This bandana pillow cover came together so quickly!

I loved it so much that I made two more. Now, I have red, white, and blue pillows, perfect for summer.
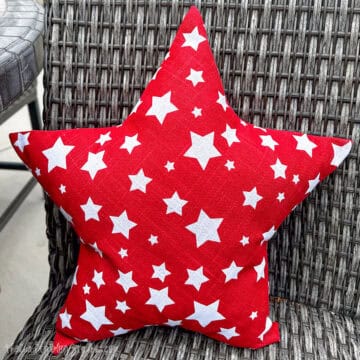
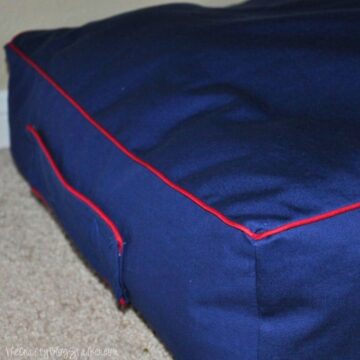
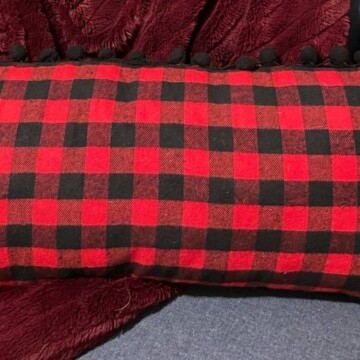
More DIY Throw Pillows
Throw pillows are one of my favorite DIY projects because they come together quickly and can completely change the look of a room!
Here are a few more fun ideas.

Hi, I'm Katie!
I'm so glad you're here. Want to make something fabulous? I'm here to help!
Kathy Ann Johnson
Dear Katie,
I love these! Our church is doing Bible School on a Western theme this week.
If I had known about this earlier, I would have made these as cushions for the class that wiggles out of their space naturally. I have all the stuff (pun intended,)
Thanks so Much,
Kathy
Katie Adams
Hi Kathy, I am so glad you like the project!
Brandi
This is so cute!!! I’m adding it to my never ending “To Make” list! lol Thanks so much for sharing.
Katie Adams
You are welcome Brandi, I am so glad you like the project!