



This shirt SVG makes it easy to create an I'd Rather Be Camping shirt with your Cricut. A fun project for campers, hikers, and RV lovers.
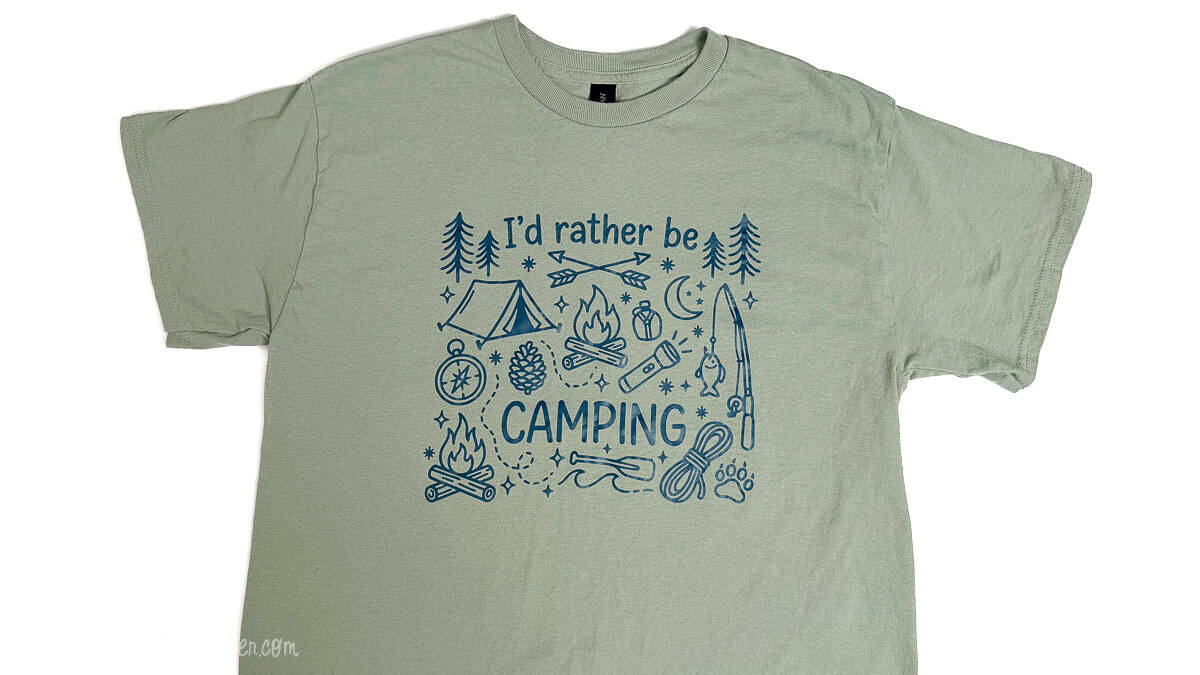
If you'd rather be sitting around a campfire than stuck inside, this shirt SVG is made for you.
Creating custom t-shirts is one of my favorite ways to make camping trips feel a little more special and memorable.
This easy Cricut project comes together quickly and makes a fun shirt for campgrounds, RV trips, hiking adventures, or family vacations.
Be sure to scroll to the bottom of the post, where you'll also find 10 more free SVG files perfect for camping-themed crafts.
Jump to:
Skill Level: Beginner
Estimated Cost: $8-$15
Total Time: 30-45 minutes
Craft Tutorial Video
If videos are your thing, you're in luck-I've got a full tutorial ready for you!
Subscribe to my YouTube channel and stay inspired with every new project.
Supply List
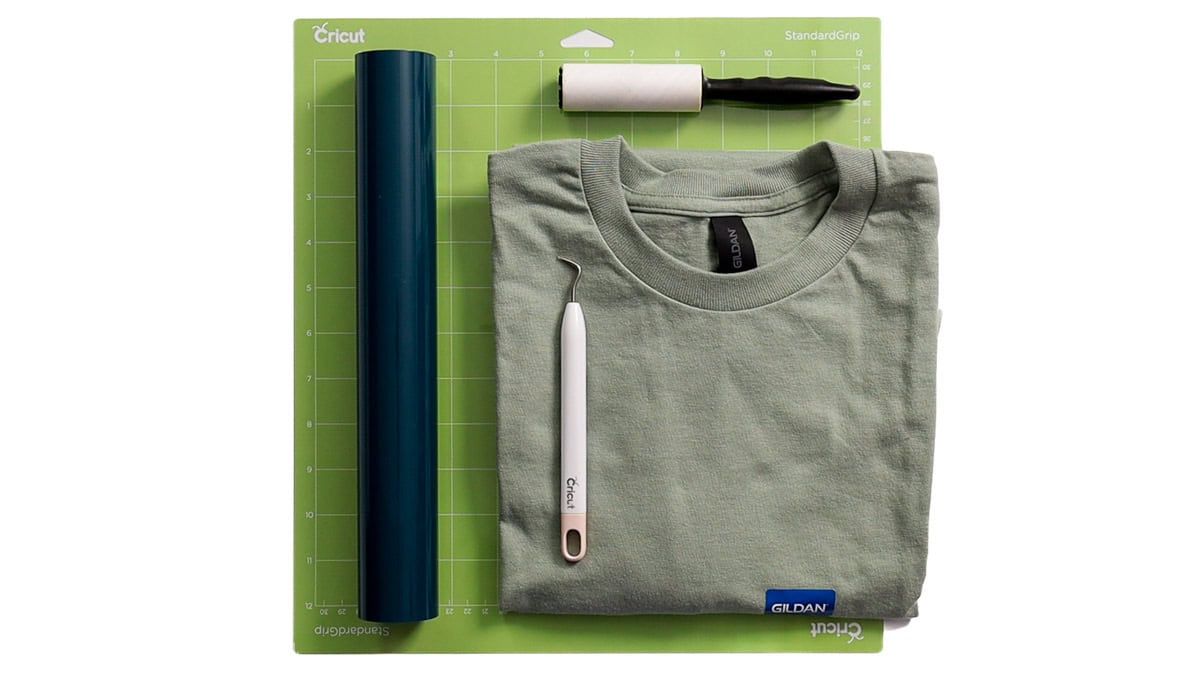
- Cricut Cutting Machine
- I'd Rather Be Camping SVG
- StandardGrip Mat
- Iron-on Vinyl
- Weeding Tool
- T-Shirt
- Lint Roller
- Heat Press
- Heat Press Mat
- T-shirt Ruler (optional)
Grab the SVG
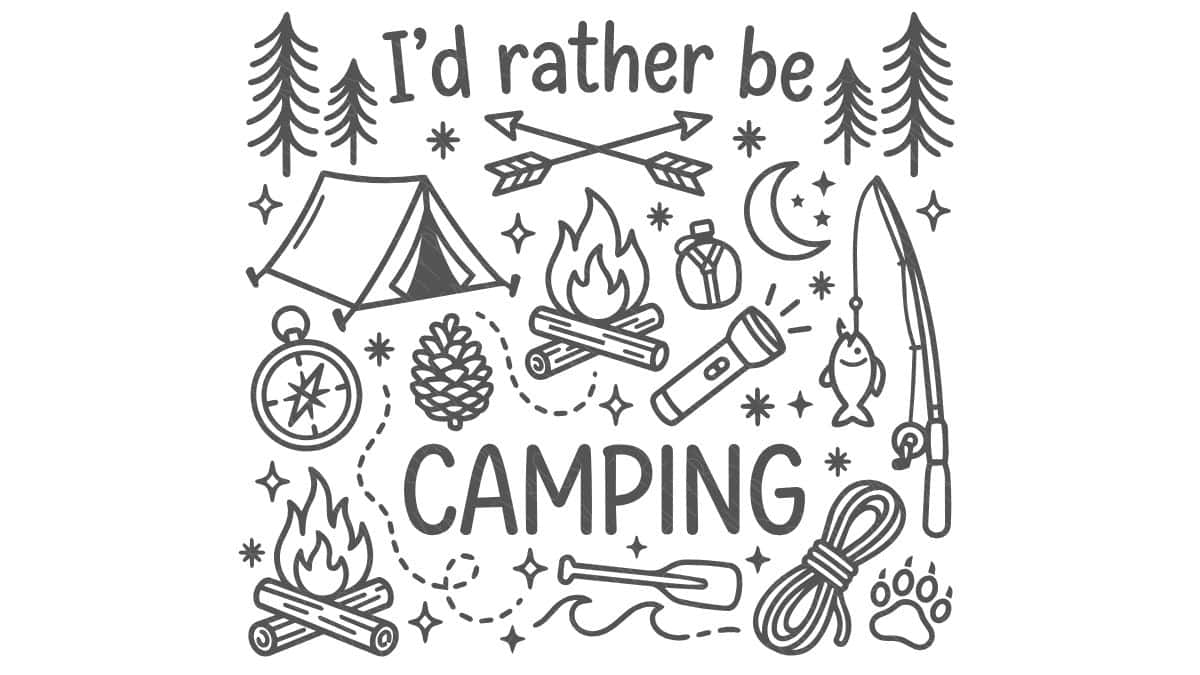
Download the I'd Rather Be Camping SVG file to get started with this project.
Before You Cut Your Design
Before sending the design to your Cricut machine, take a moment to measure the front of your shirt. Shirt sizes and styles vary widely, so sizing the design to the actual shirt rather than relying solely on a template usually yields the best results.
If you are using a Silhouette machine instead of a Cricut, the SVG file can also be imported into Silhouette Studio Designer Edition for cutting.
Prepare the Design in Cricut Design Space
In Cricut Design Space, open a new project.
I went with a premade template for an Iron-On T-Shirt, size medium. This gives me a canvas already sized to 10 x 10 inches that will mirror the design.
Click Upload Image, upload the SVG, and resize it to fit within the canvas.
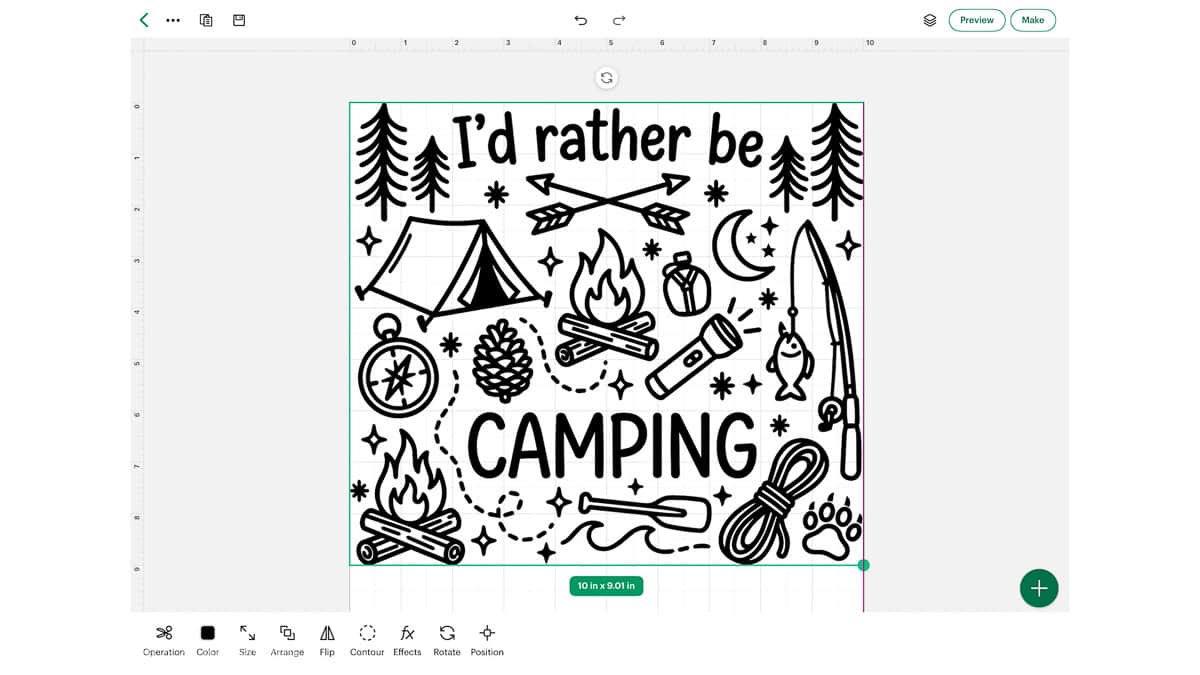
Before cutting, double-check the sizing by measuring the front of your shirt to make sure the design will fit as you want.
When happy with the sizing, click on Make.
On Mat Preview, you can see that your design was automatically mirrored.
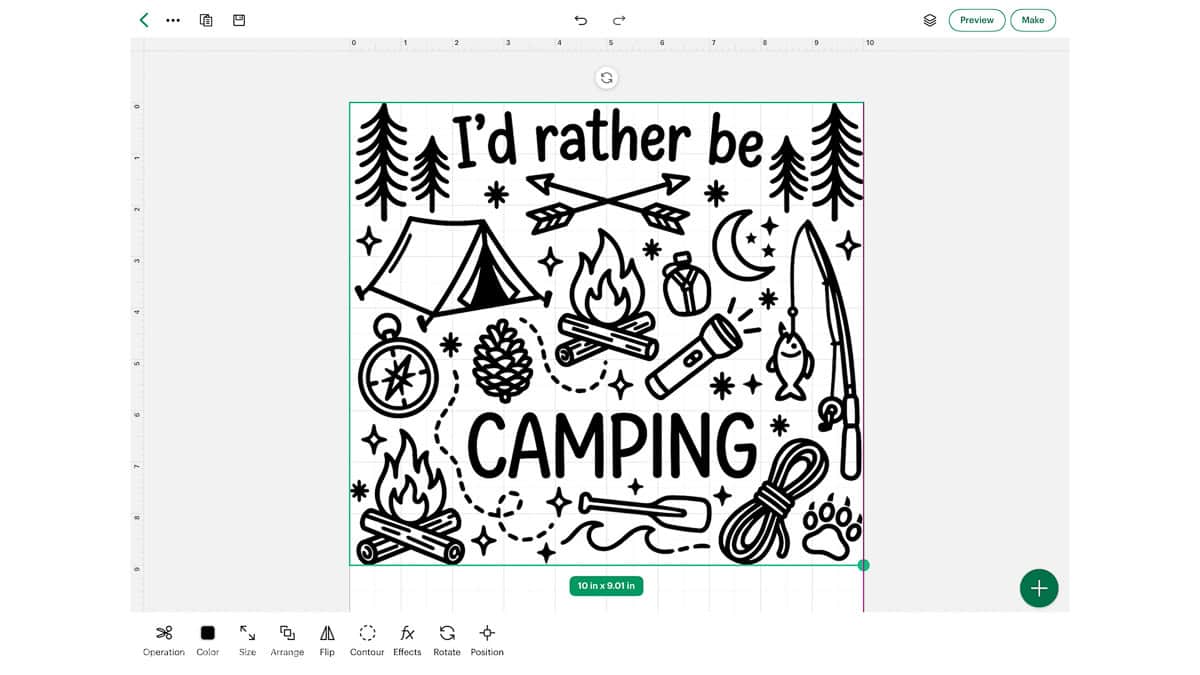
Click Next, and select your cutting material. Used the setting for Everyday Iron-on. I am not using Cricut-branded material, but I have found that this setting works for most non-specialty iron-on or heat-transfer vinyl.
I like to precut my vinyl sheets to save material, so I just pulled out my paper trimmer and cut a shorter length.
You can see how much material you'll need on the Mat Preview screen.
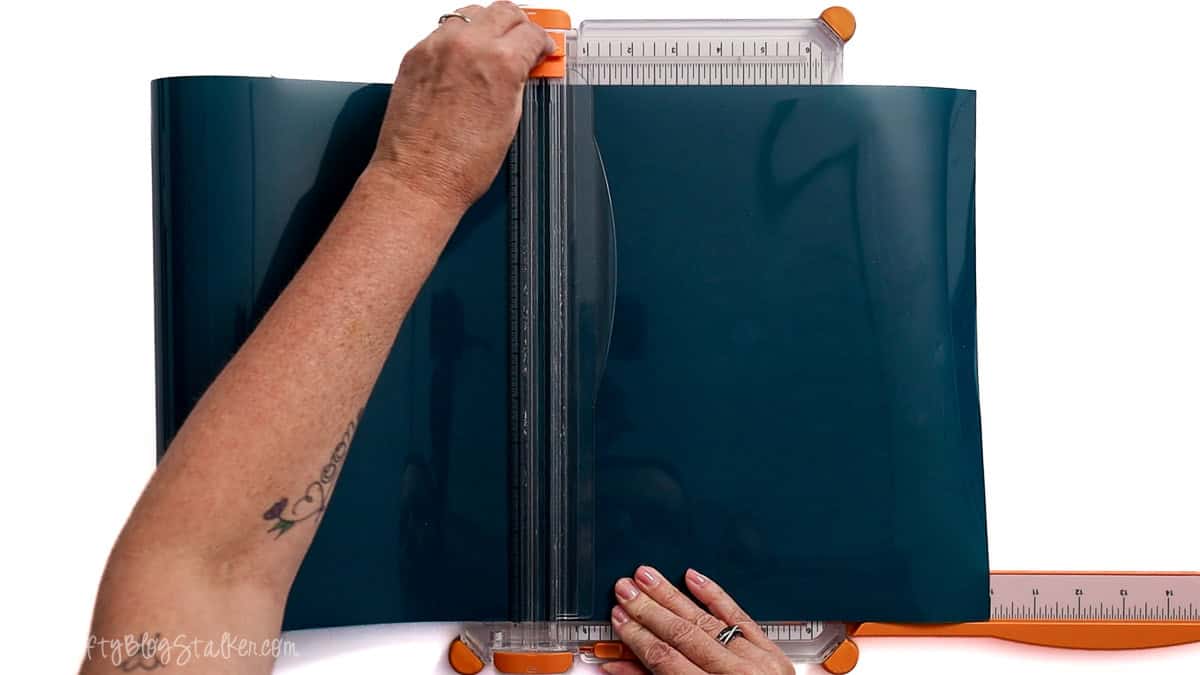
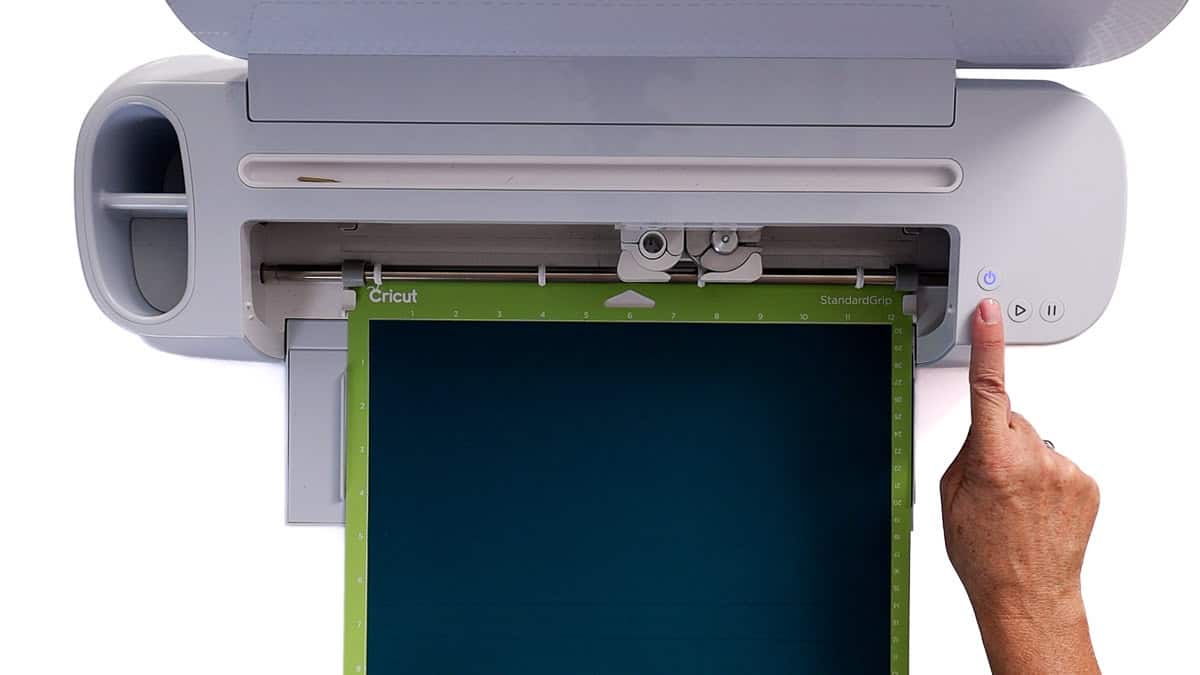
Apply the vinyl to a StandardGrip Mat with the shiny side down.
Load the mat into your Cricut, then press play to start the cut when the light starts blinking.
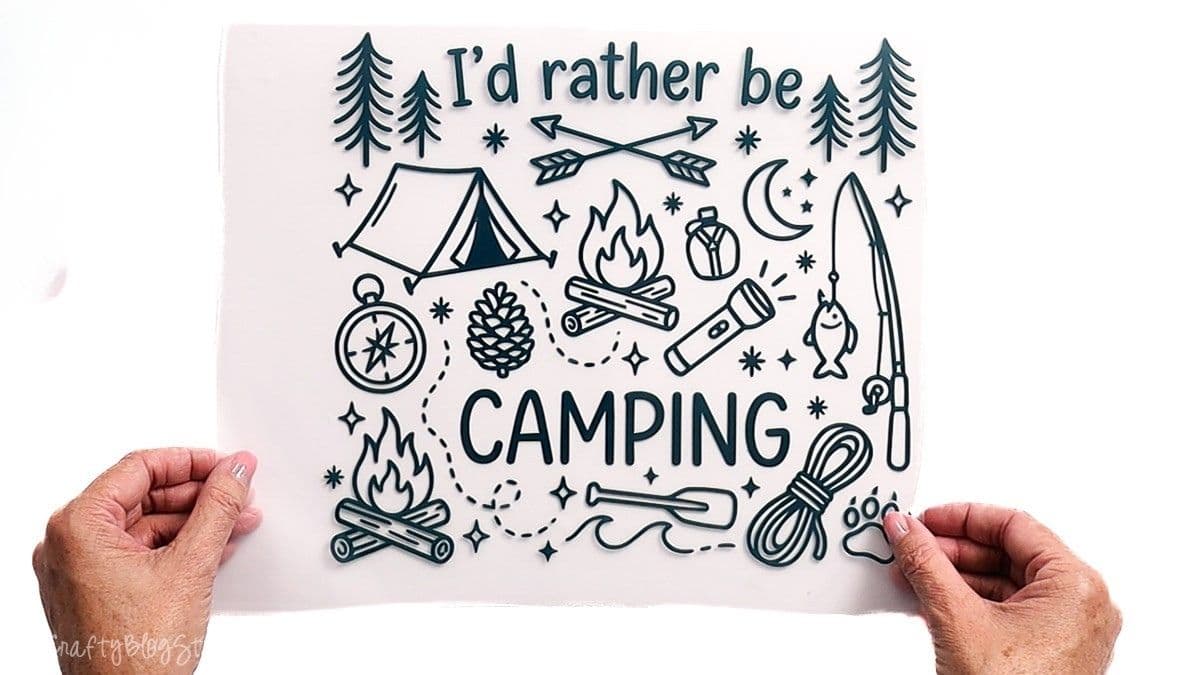
Weed the Vinyl Design
After the Cricut machine finishes cutting, carefully remove the vinyl from the mat.
Use a weeding tool to remove all excess iron-on around the design, then remove the inner pieces.
I always like to turn the iron-on over to look at it to see if I have missed any spots during weeding.
Apply the Iron-On
I used a Cricut EasyPress, but any heat press will work.
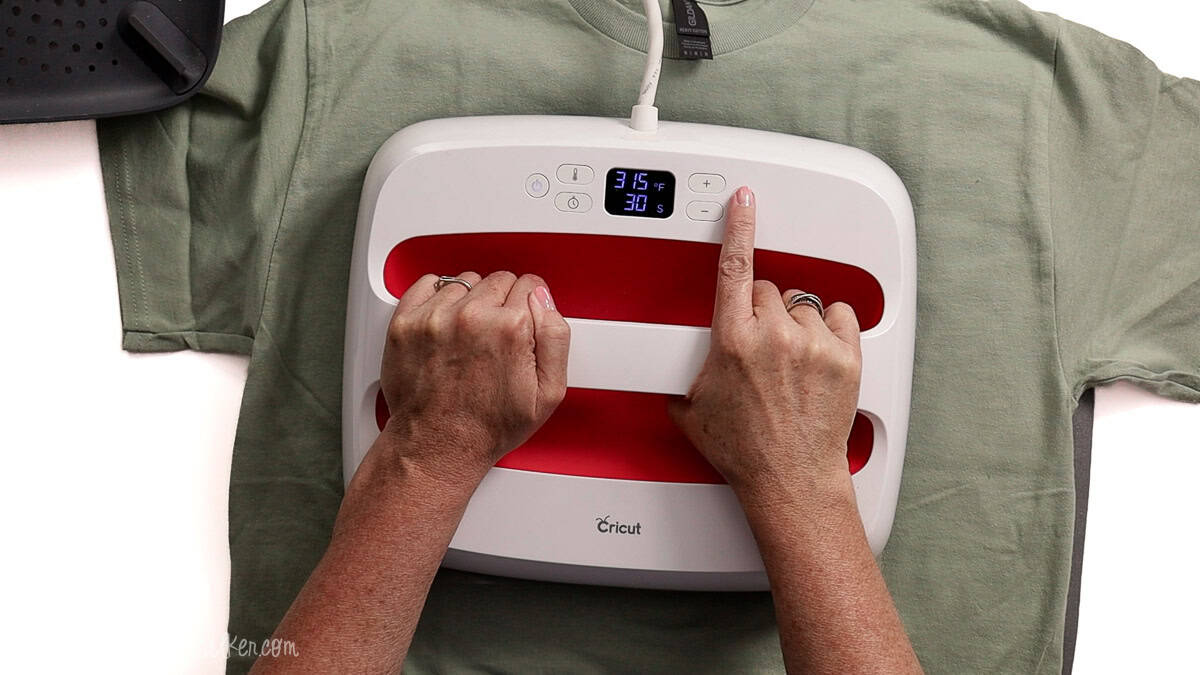
Check the package instructions for the best heat settings, and preheat the heat press.
I preheated my press to 315°F and set the timer for 30 seconds.
While the heat press warms up, iron the shirt to remove any wrinkles. It's okay if it isn't to the temperature, since we're just removing the wrinkles.
Then go over the shirt with a lint roller to remove any dust or hair.
I like to use a t-shirt ruler, but that is completely optional. It just helps center-align the design on the front shirt.
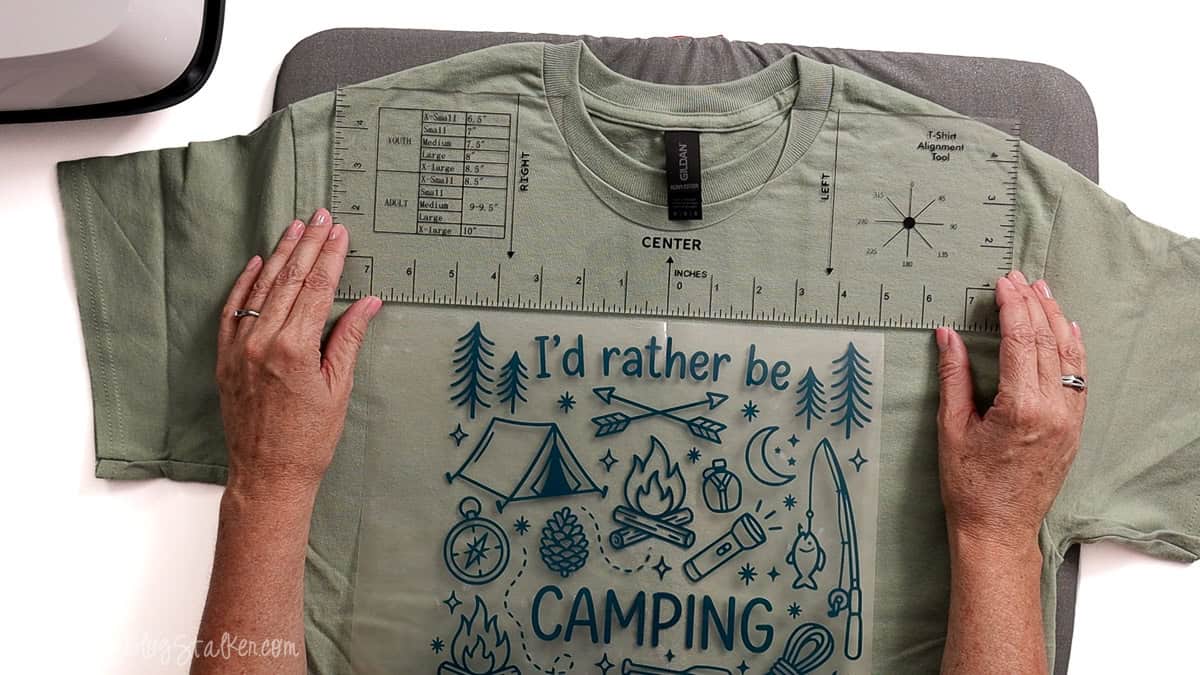
Follow the package instructions and press the iron-on onto the shirt.
My instructions called for heavy pressure, so I leaned on the press as I pressed. 😆
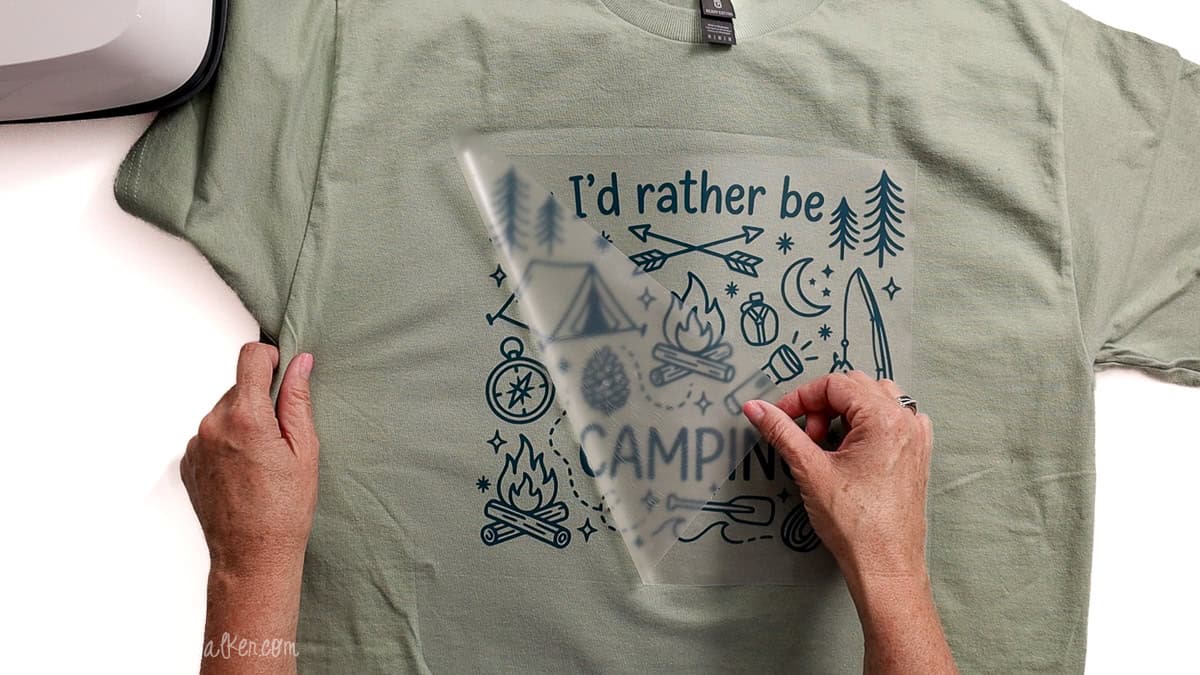
The instructions also called for a cool peel, so when the carrier sheet was cool to the touch, I slowly pulled it back. If any area doesn't stick to the shirt and comes up with the liner, lay it back down and repress.
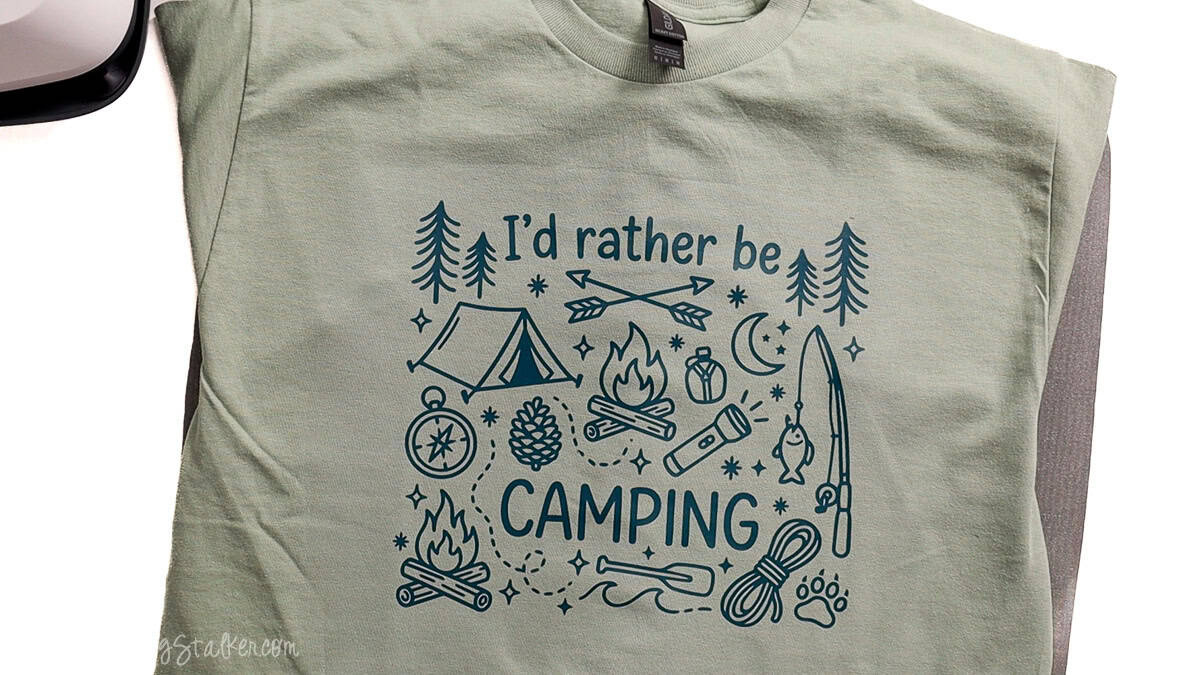
The finished shirt is so cute, and now everyone knows where I'd rather be! 😂
Frequently Asked Questions
All Cricut machines can cut iron-on vinyl, but different machines can cut different sizes. For a t-shirt design, an Explore or Maker works great.
No. Regular adhesive vinyl is designed for hard surfaces. For t-shirts, always use iron-on vinyl or heat-transfer vinyl.
A heat press provides the most consistent results, but many iron-on vinyl brands can also be applied with a household iron. Always check the manufacturer's instructions.
Yes! You cannot resell the file, but you can sell finished products.
Need help with this project?
Click a button below to ask AI what other projects you can make with camping SVG files.
More Free Camping SVGs
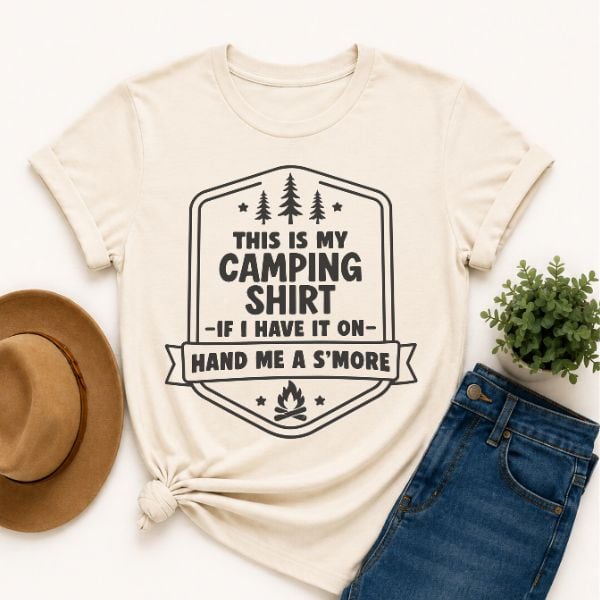
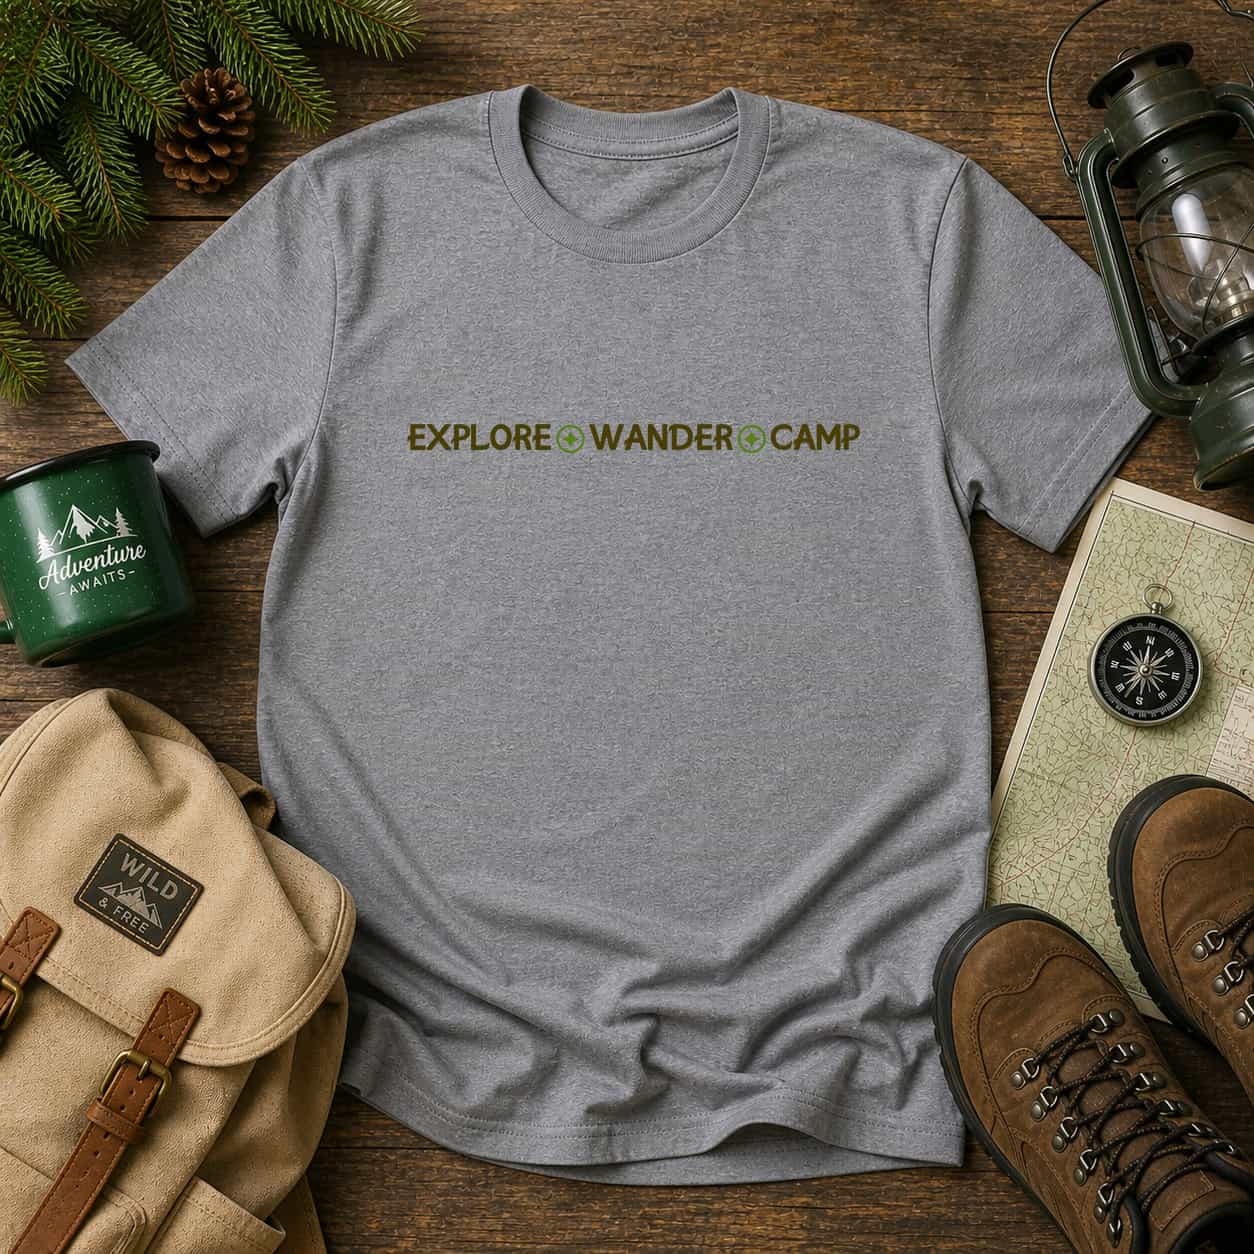
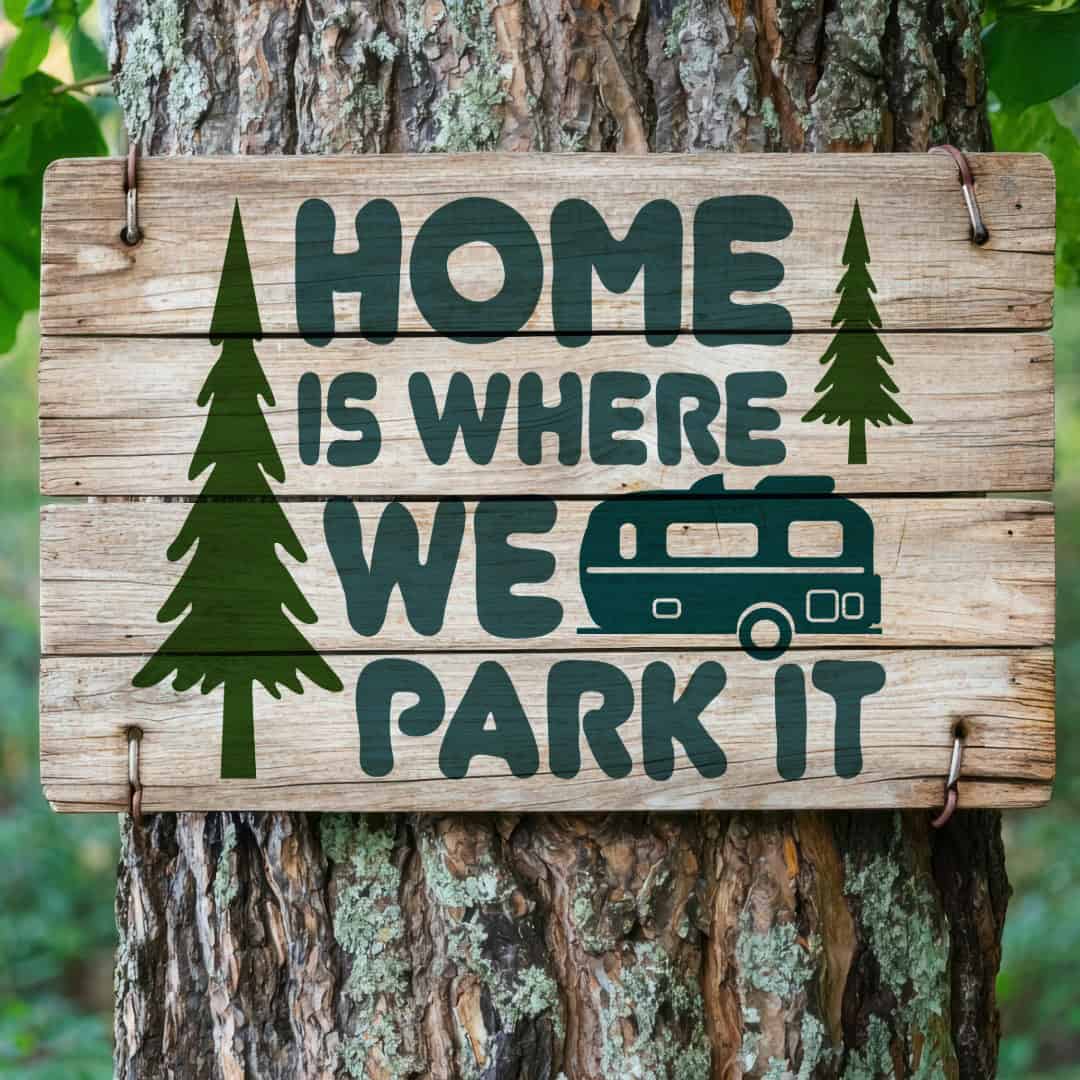
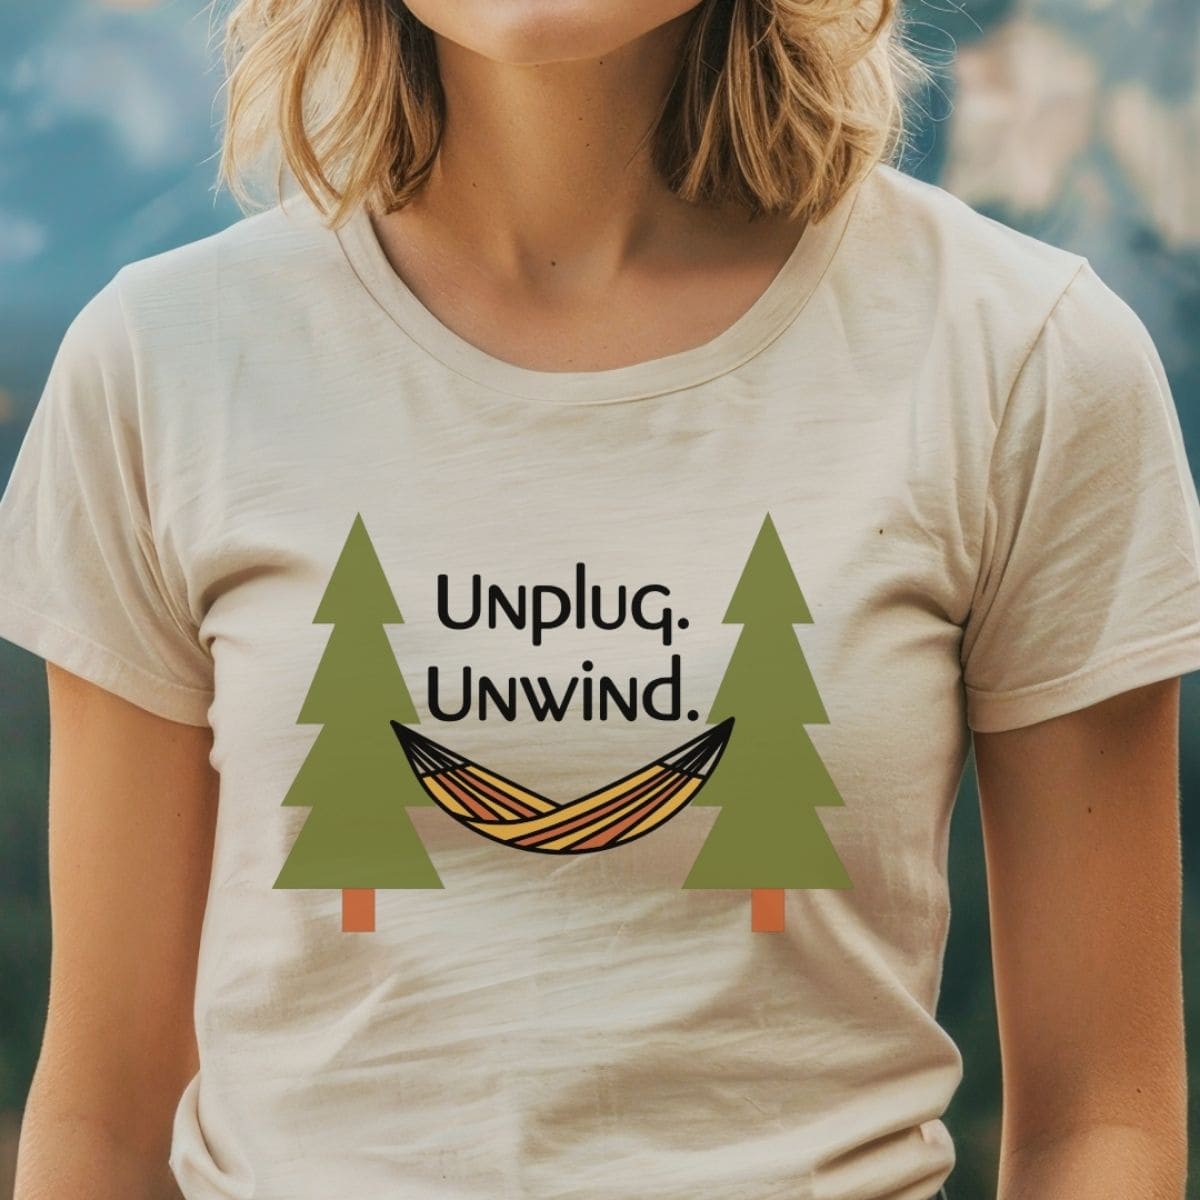
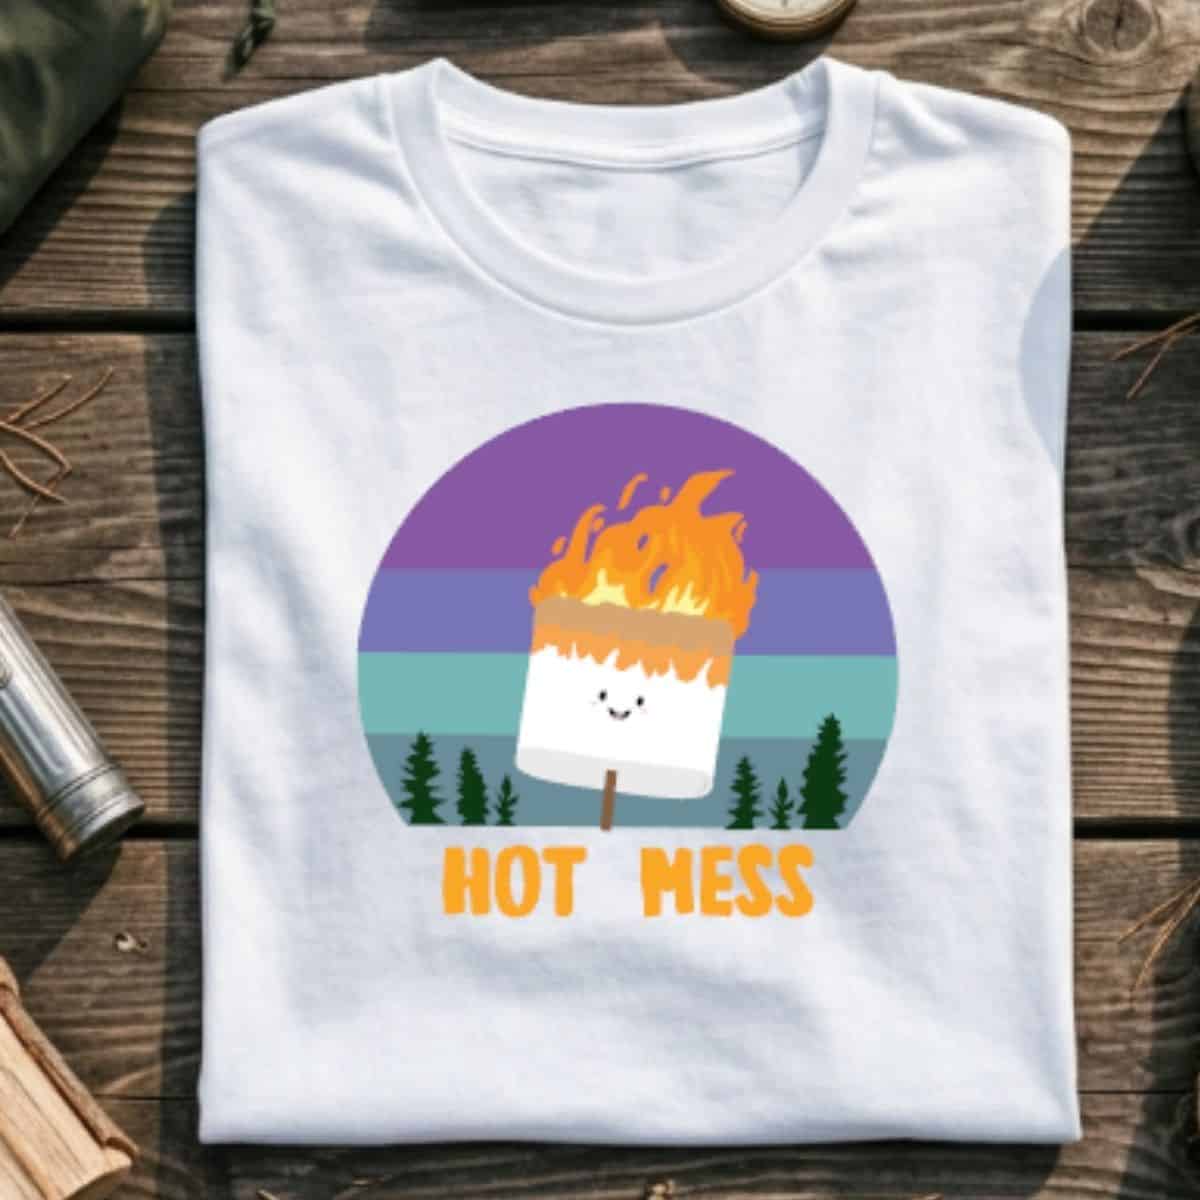
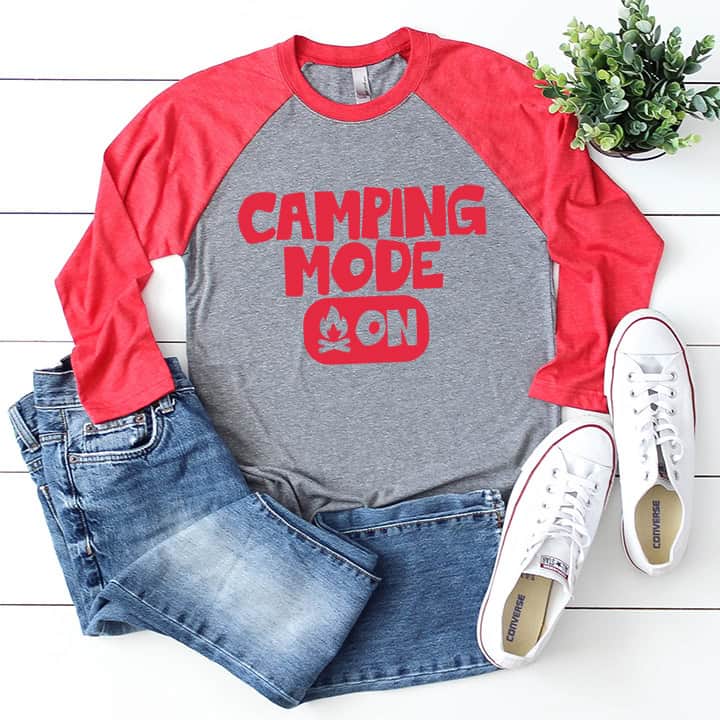
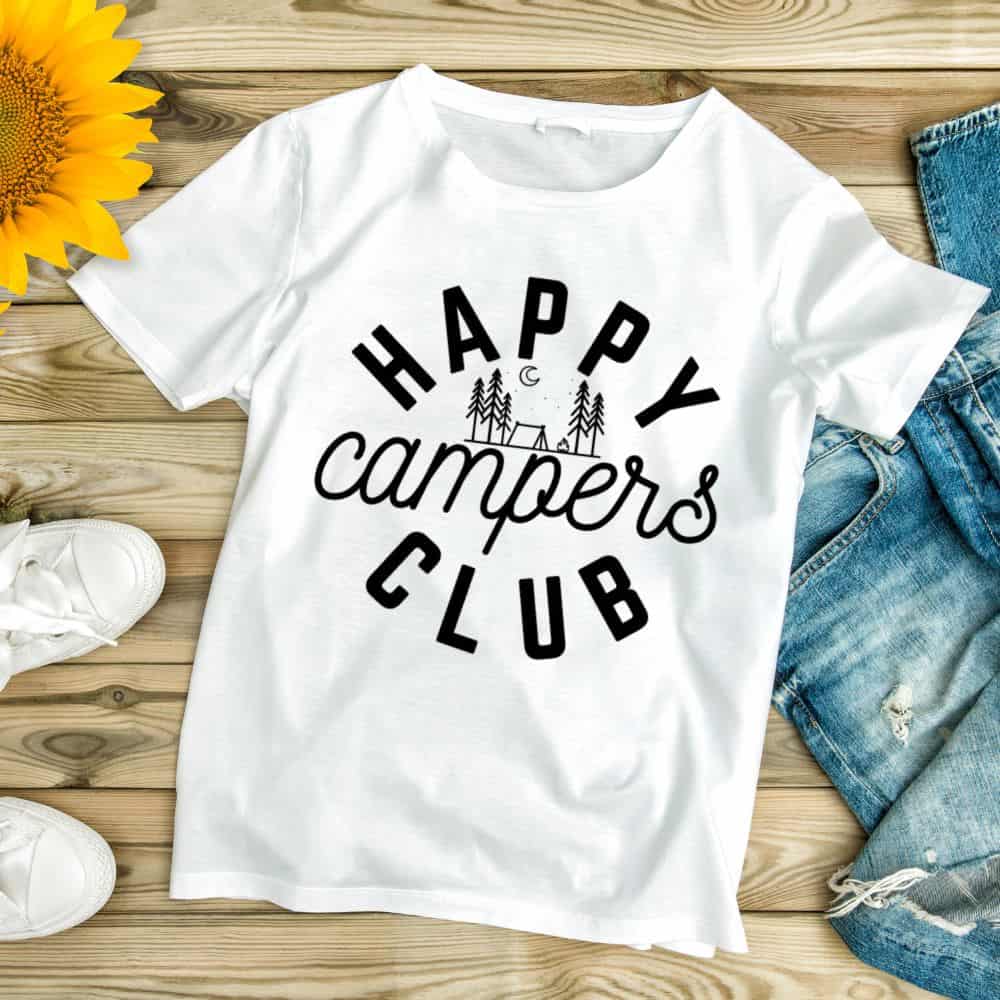
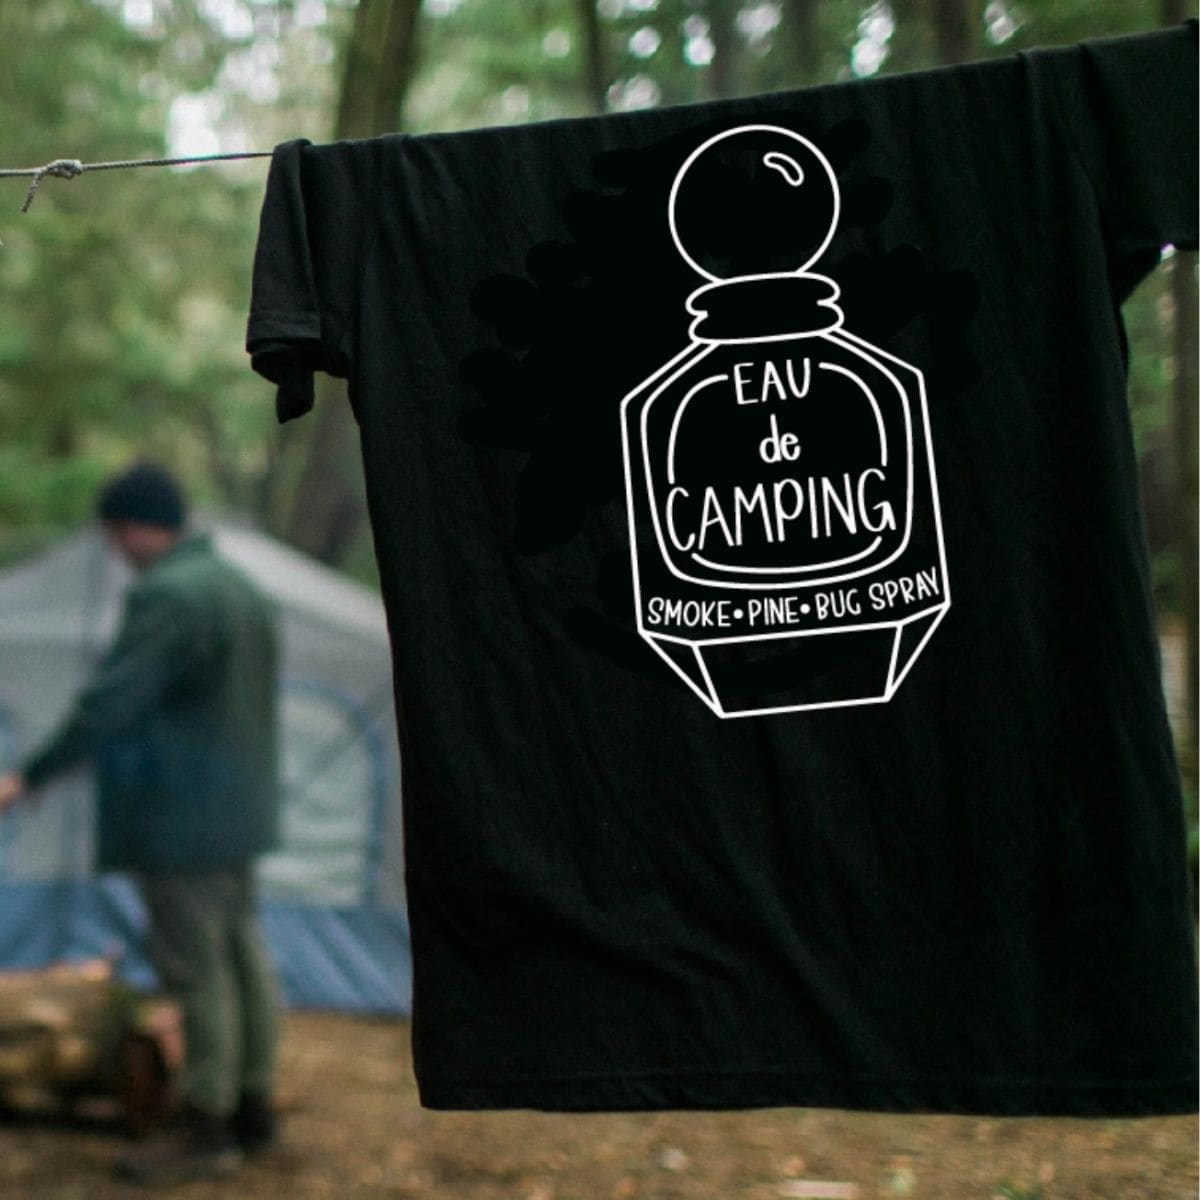
Looking for even more camping inspiration? These free SVG files are perfect for creating t-shirts, mugs, signs, tote bags, and other outdoor-themed projects.



Hi, I'm Katie!
I'm so glad you're here. Want to make something fabulous? I'm here to help!