This post may contain affiliate links. For more information, please see our disclosure policy.
Grab the free SVG design to create a school bus treat cup perfect for Back to School. Give to teachers, students, or bus drivers! Get the tutorial here. If you make a purchase using the links included, we may earn a commission.
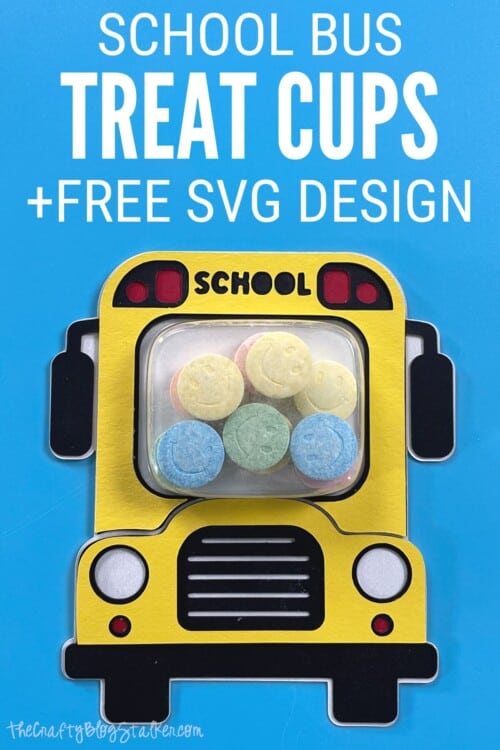
It is time to go back to school! This time of year can be exciting as well as a little scary.
Send your little one to school with these cute school bus treat cups. They are a perfect way to break the ice and say hello!
Craft Video Tutorial:
Like videos? I have a video tutorial for you! Subscribe to my YouTube Channel so you don't miss any future videos!
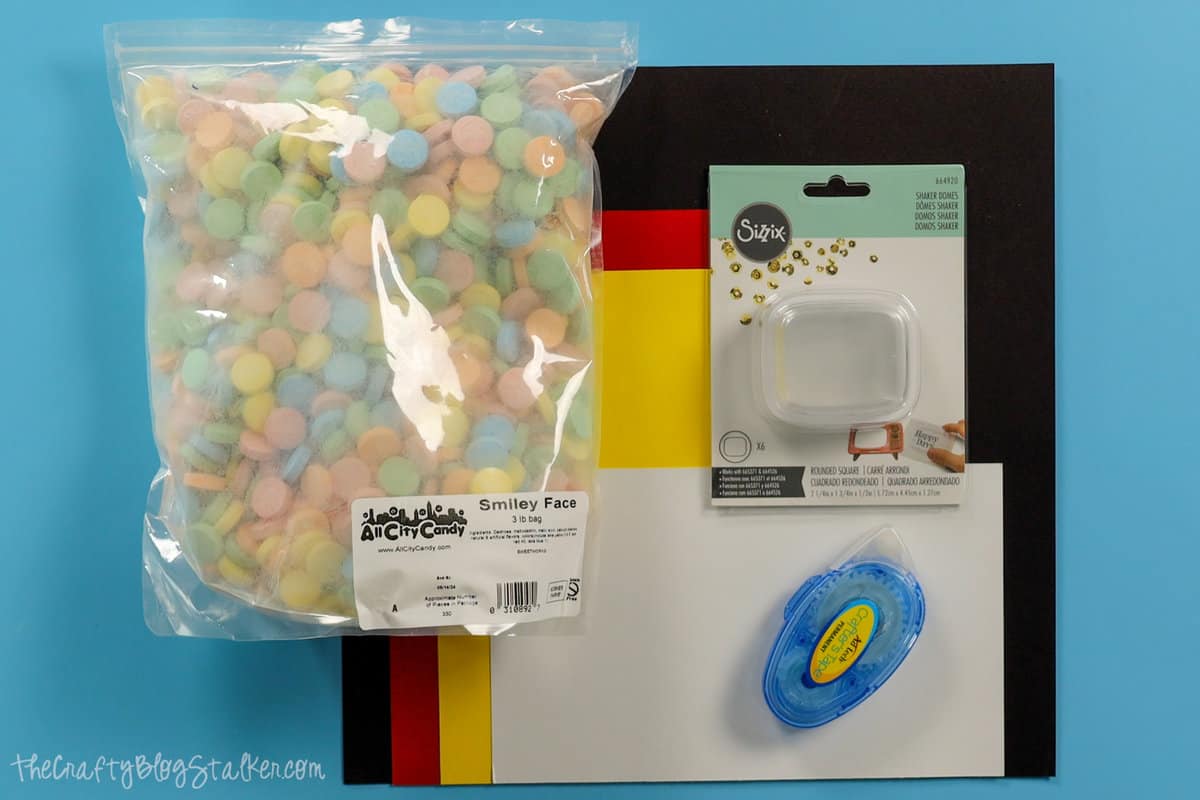
Supplies You'll Need to Create this Project:
- Cricut Cutting Machine
- School Bus SVG Design
- Black, White, Red, and Blue Cardstock
- Rounded Square Shaker Domes
- Tape Runner
- Smiley Face Candies
School Bus SVG Design:
To begin, you'll want to grab the School Bus SVG Design.
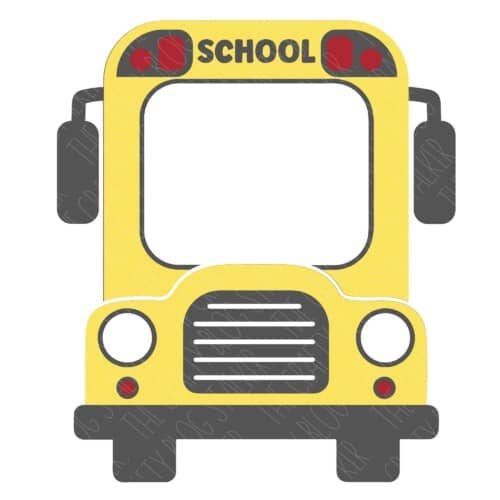
Upload the SVG file into your cutting software, I use Cricut Design Space.
The cutting file is sized to fit the Sizzix Shaker Domes perfectly, so there is no need to resize it.
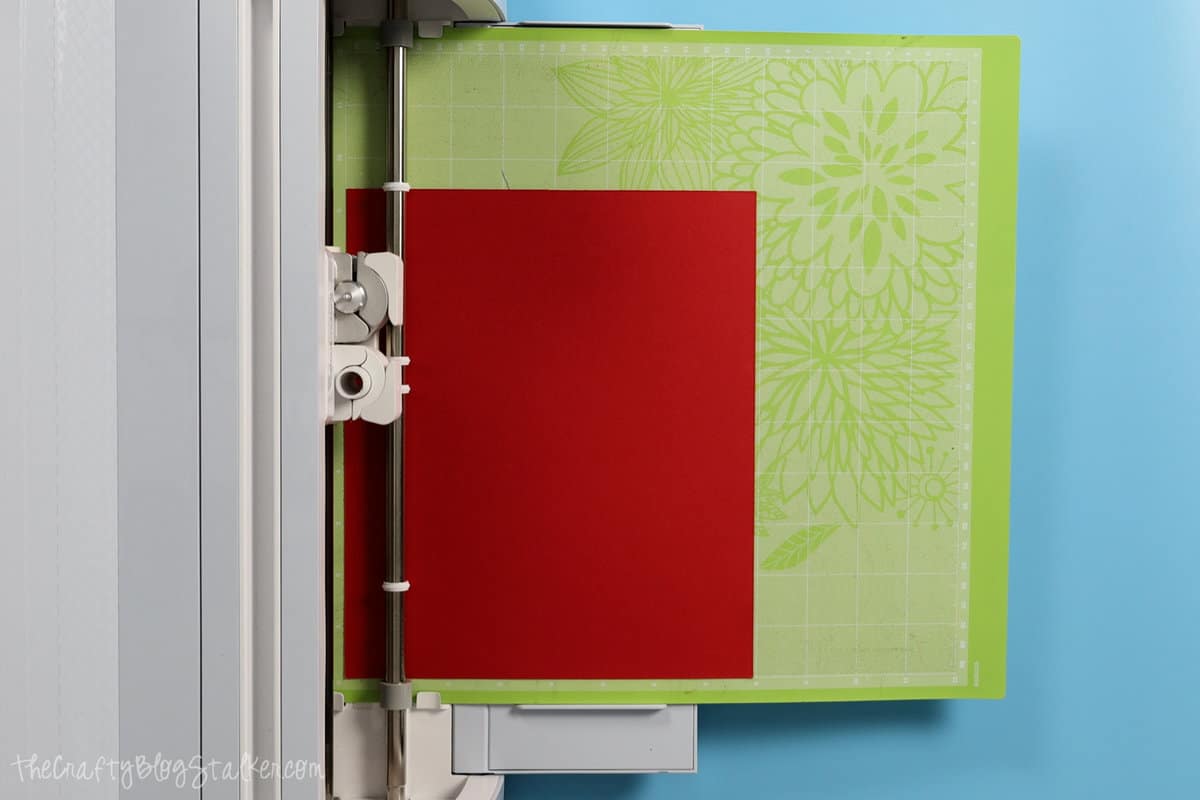
Select "Make It" and follow the prompts to cut the design out of the 4 different colors of cardstock.
There are a total of 8 pieces to be cut for each school bus treat cup.
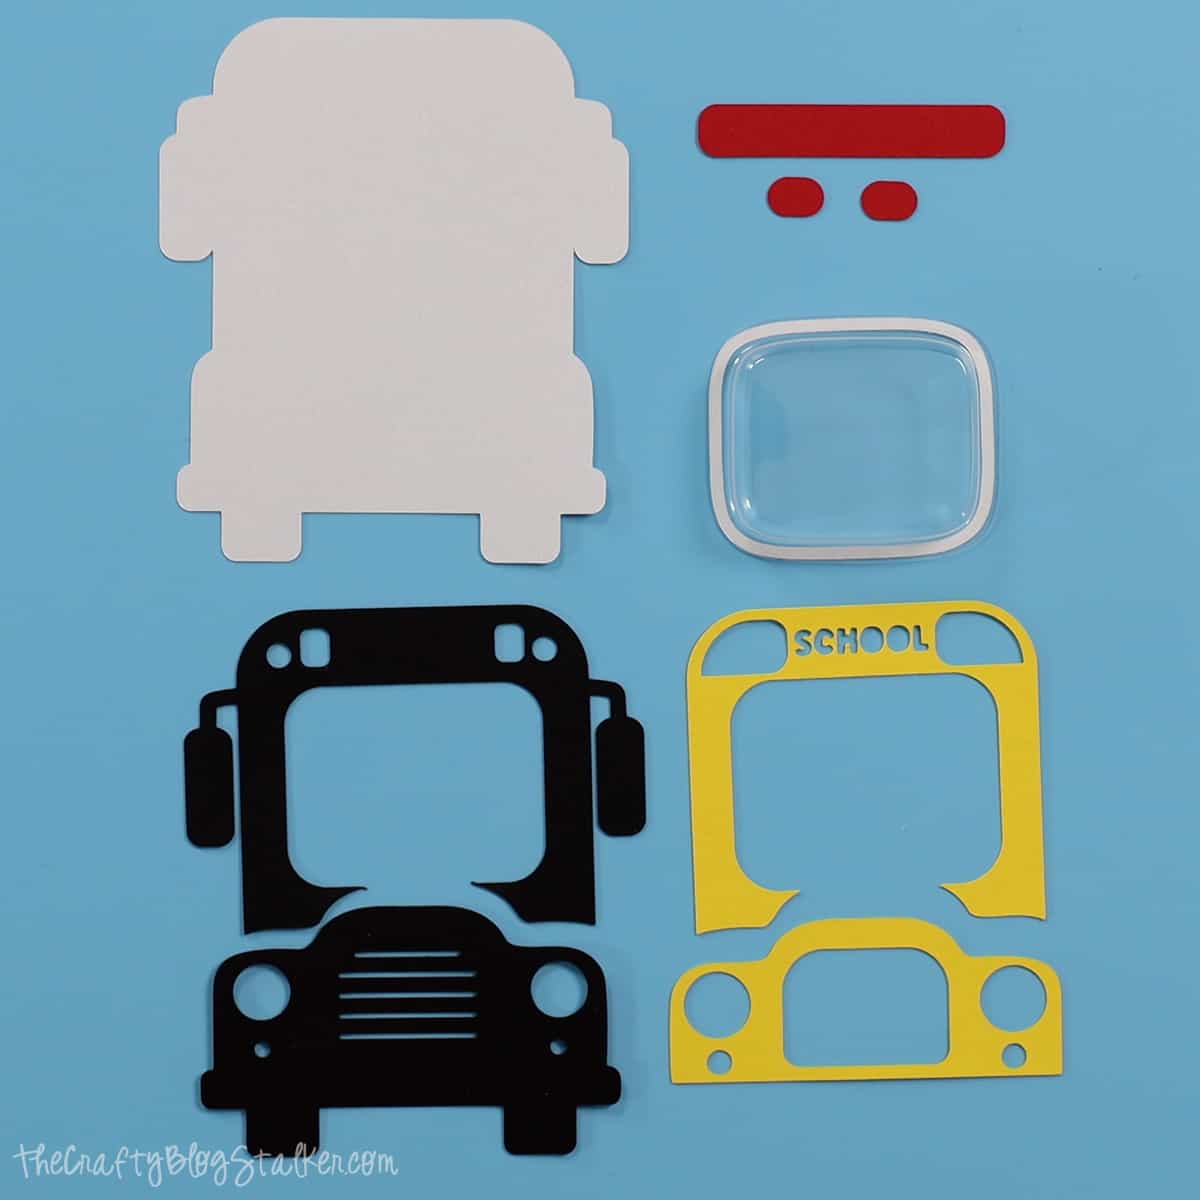
Layering the School Bus Pieces:
The first pieces we will glue in place are the red lights.
The red strip goes on the top bus pieces and the two smaller pieces go on the bottom hood piece.
The black pieces can really face either direction, so don't worry about what side is the front and back.
Choose a backside to the black pieces and apply a strip of tape runner and adhere the red pieces covering the light holes.
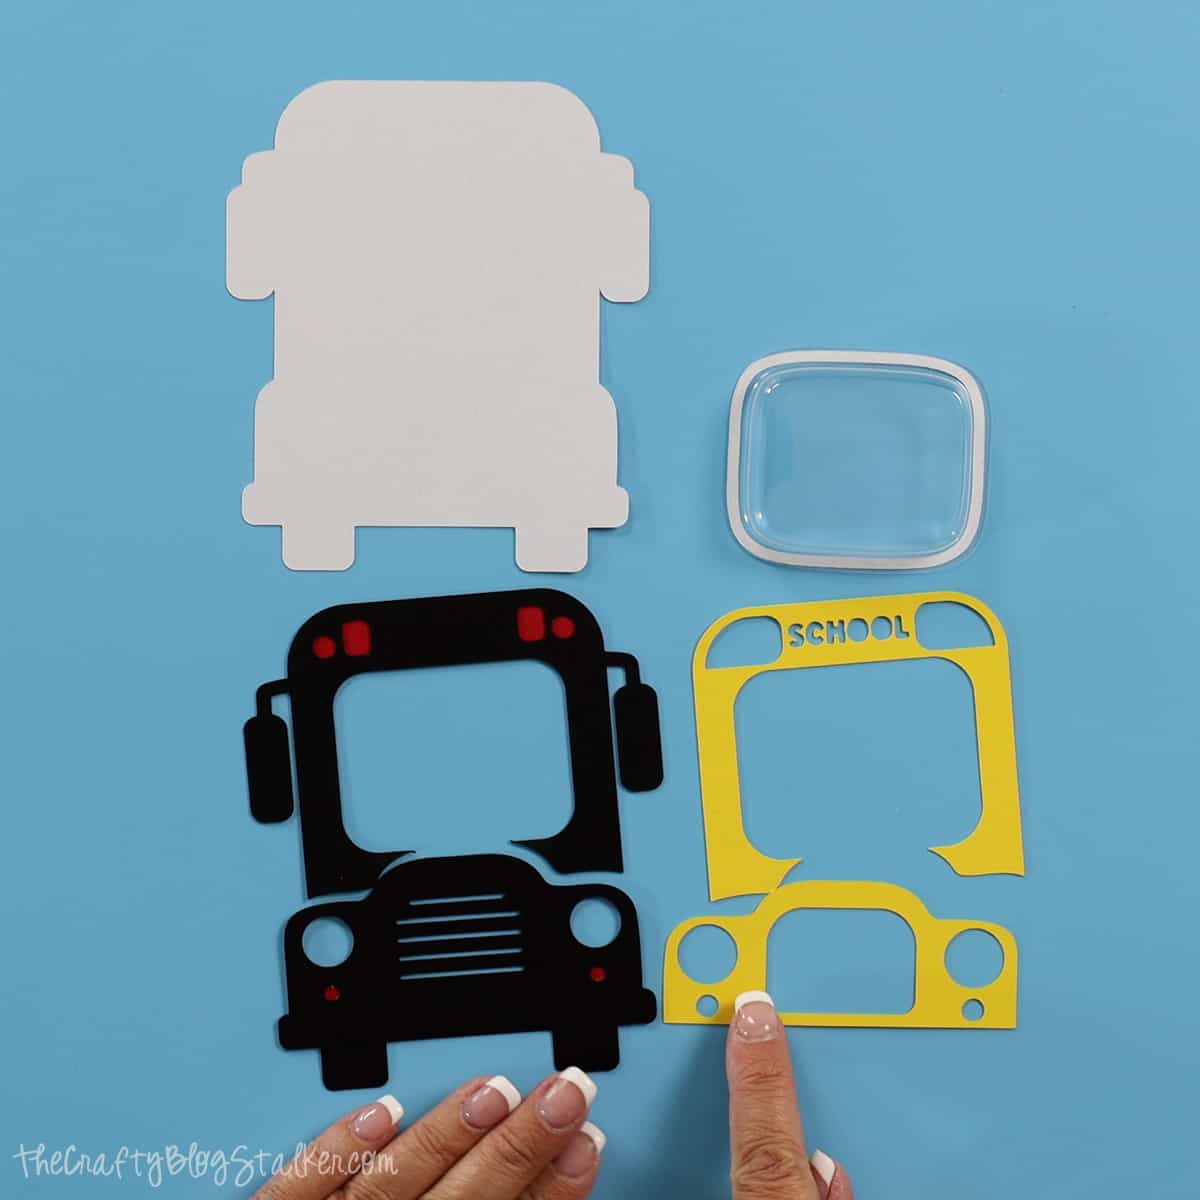
On the back of the yellow pieces, apply the tape runner.
Align the yellow pieces at the top and center of the black pieces. Press to adhere.
You should see a little black border around the inside pieces, but the outside of the yellow pieces should align with the black pieces.
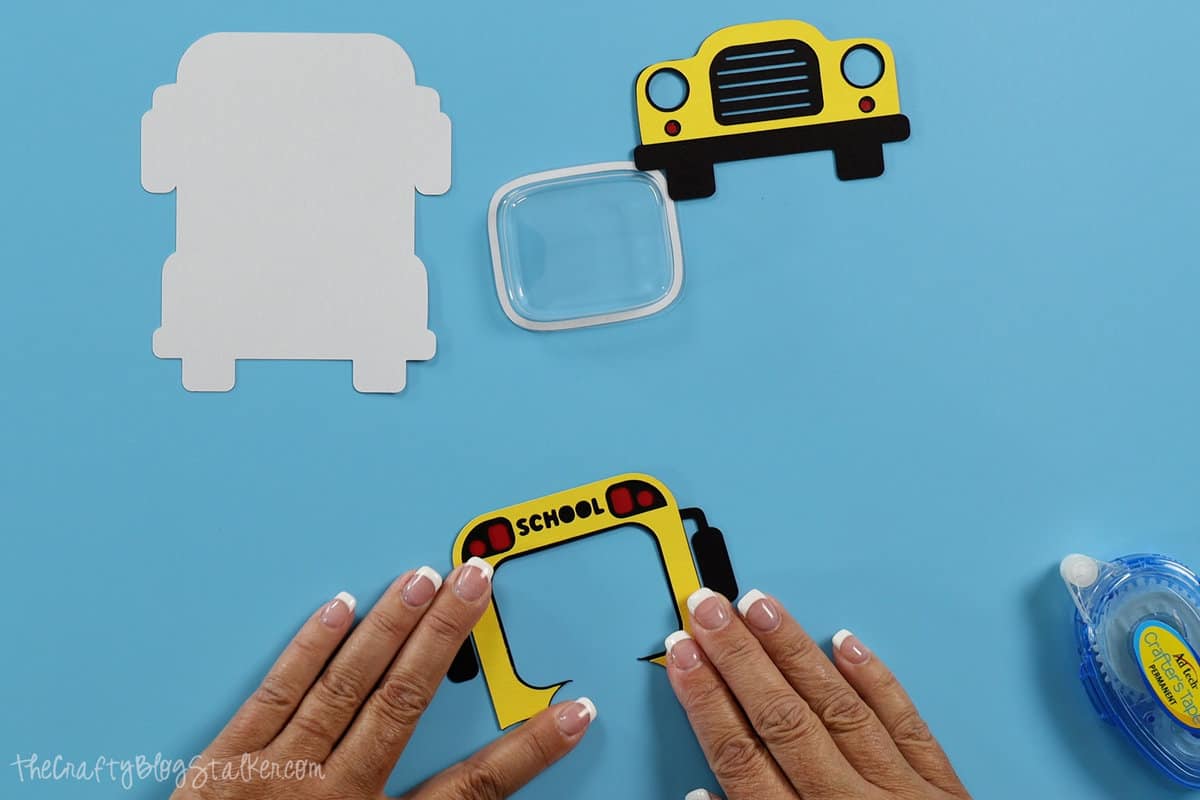
Assembling the School Bus Treat Cup:
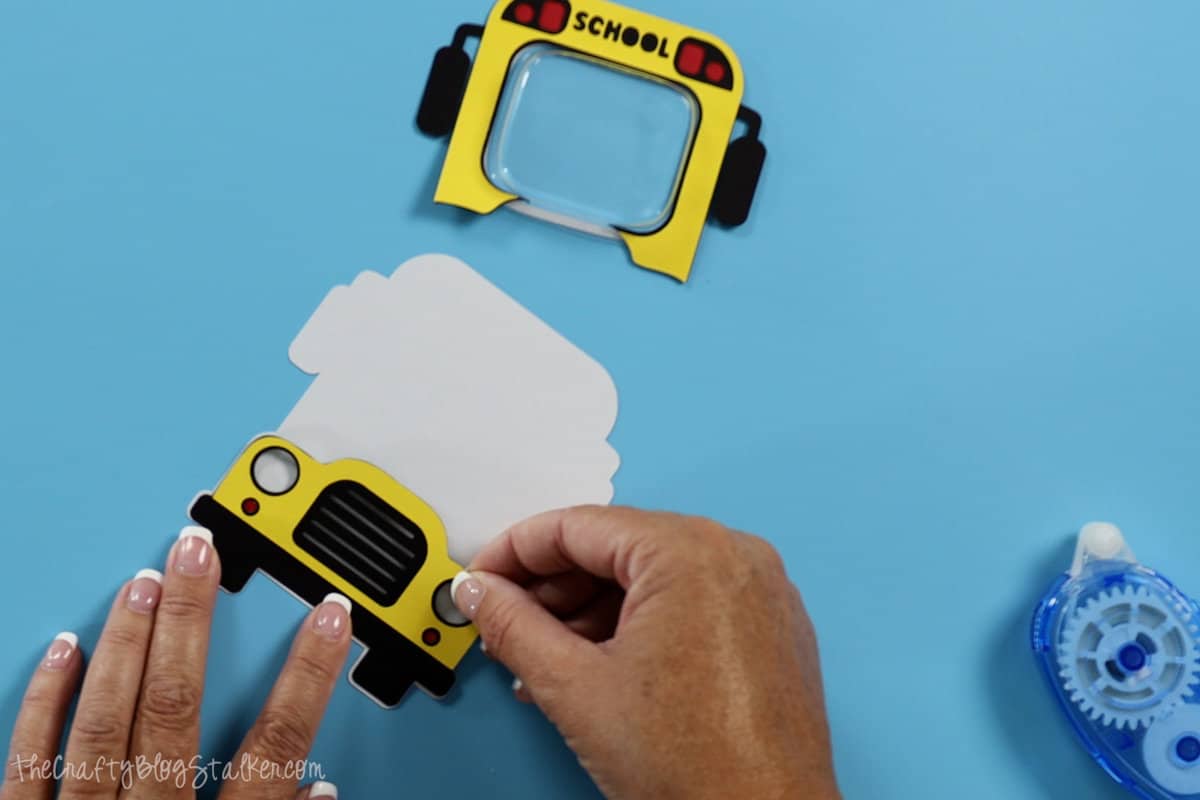
Apply a tape runner to the back of the hood piece, but not at the very top of the hood. The treat cup will slide in there. Center the piece onto the white piece.
The largest white piece is the backing for the entire project. It is cut slightly larger so you should have a bit of white border showing around all of the pieces.
Fill the shaker dome with the smiley face candies. Do not overfill, you want the backing pieces to lay flat against it.
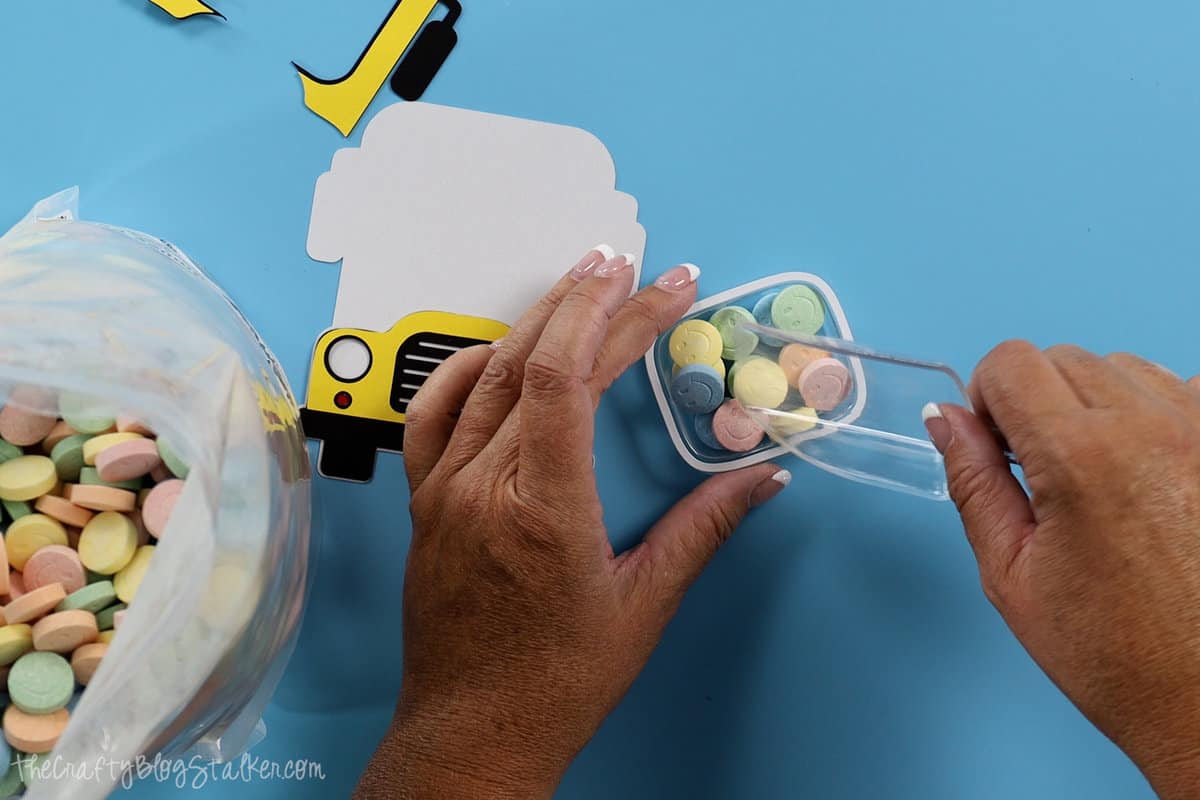
Peel back the adhesive strip around the shaker dome.
You have to do this part upside down so the candies don't fall out.
With the white part of the bus facing up, and the yellow hood facing down, carefully slide the shaker dome lip under the yellow hood piece.
Even though the sticky part is exposed, you can still move the cup around a little to center it.
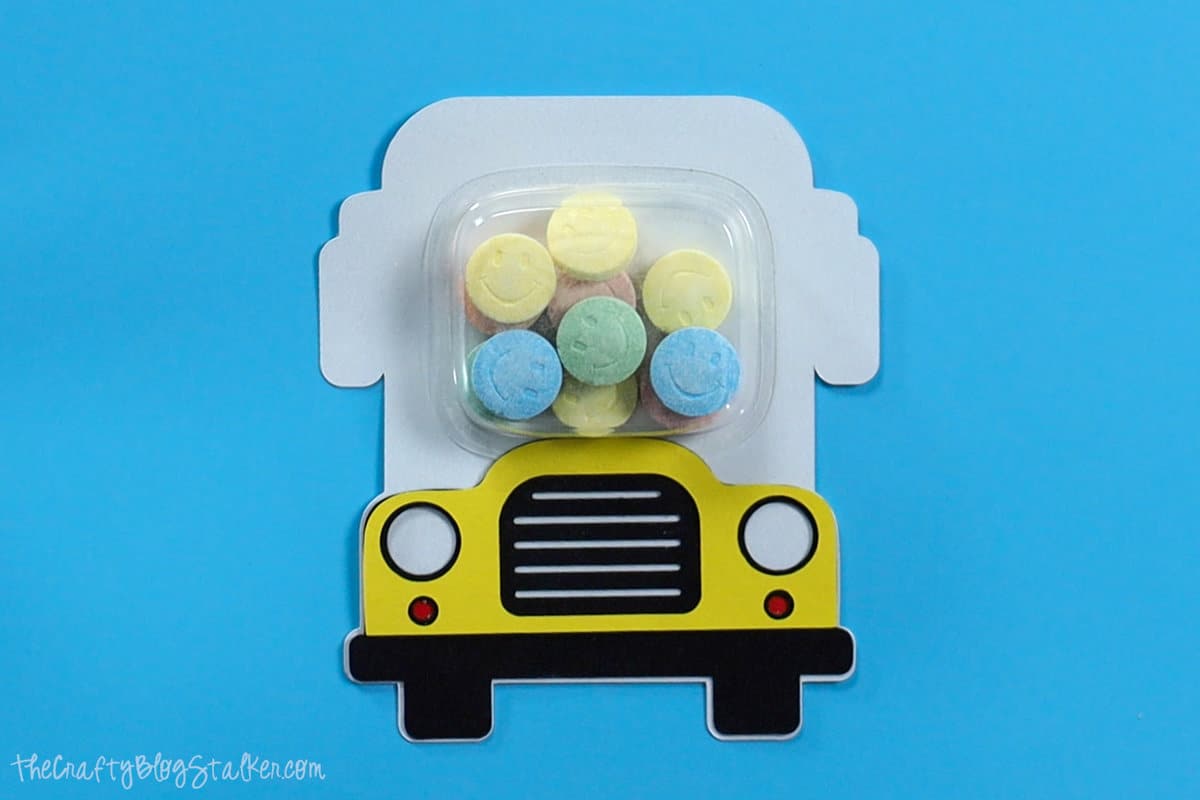
Place the top yellow part of the bus on top of the shaker dome and make sure it is centered correctly. Once it is placed properly, press down around the edges to make sure it is good and stuck to the white backing piece.
Apply a tape runner to the back of the top bus piece, and press it into place.
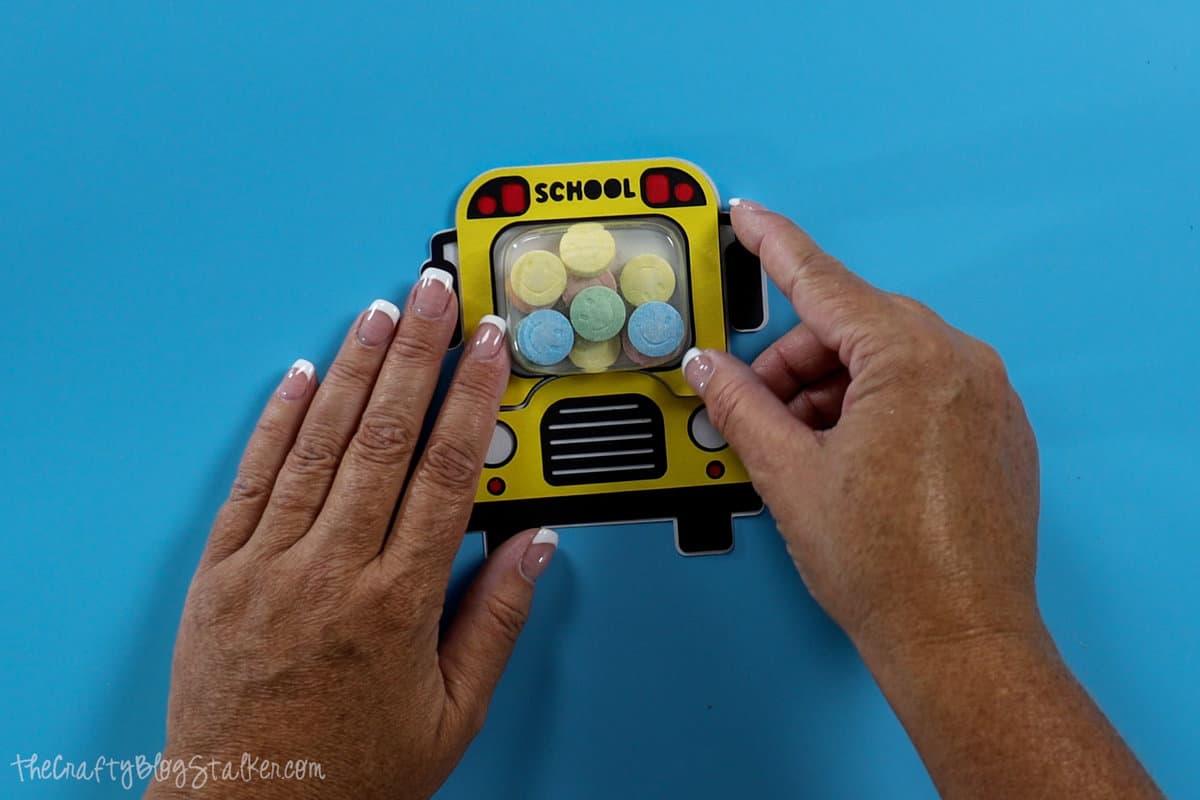
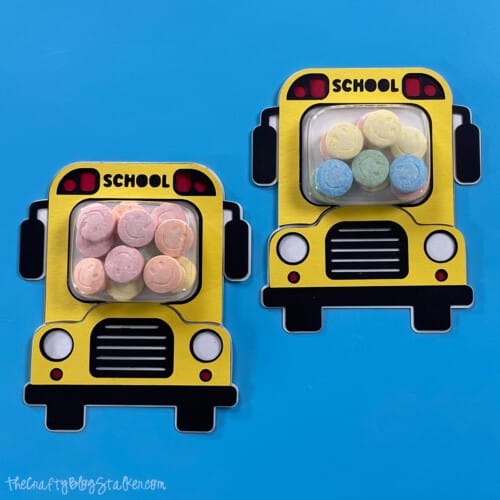
I absolutely love how these turned out! It makes me sad that my kids have all graduated and I have no one to send them to the first day of school with.
Our Crafting Essentials:
- The Cricut Cutting Machine is easily our favorite crafting tool. We use it in so many of our tutorials!
- These MakerX Crafting Tools are perfect for keeping in the craft room and are always ready when needed!
- This Fiskars Paper Trimmer is easy to use and cuts nicely without frayed edges.
- These Scotch Precision Scissors cut like a dream, and you get multiple pairs in a pack!







Bali
I was not able to upload it to design space.
Katie Adams
When you download it, does it end in.svg?