

This glass etching snowflake tutorial will transform a plain candle plate into a frosty masterpiece. It's easy, fun, and perfect for winter decor!

Add a touch of frosty magic to your winter decor with an etched snowflake candle plate!
Pair with candles, and this easy DIY project will add the perfect handmade touch to your holiday decorations.
If you are new to glass etching, this step-by-step tutorial will help you create a beautiful winter centerpiece that's sure to impress.
Jump to:
Cut the Stencil
Begin in Cricut Design Space and create your design.
I did not save my snowflake design, so you must create your own.
Start with a circle the same size as the candle plate and fill it with different-sized snowflakes.

Attach all of the snowflakes, excluding the circle.
Ensure that the snowflakes are above the circle in the layers panel, highlight both, and select slice.
Highlight and delete each snowflake until you are left with the circle and the snowflake-shaped holes. This will be the stencil.
The color of the vinyl you use isn't important because it will be a stencil and be thrown away when the project is finished.
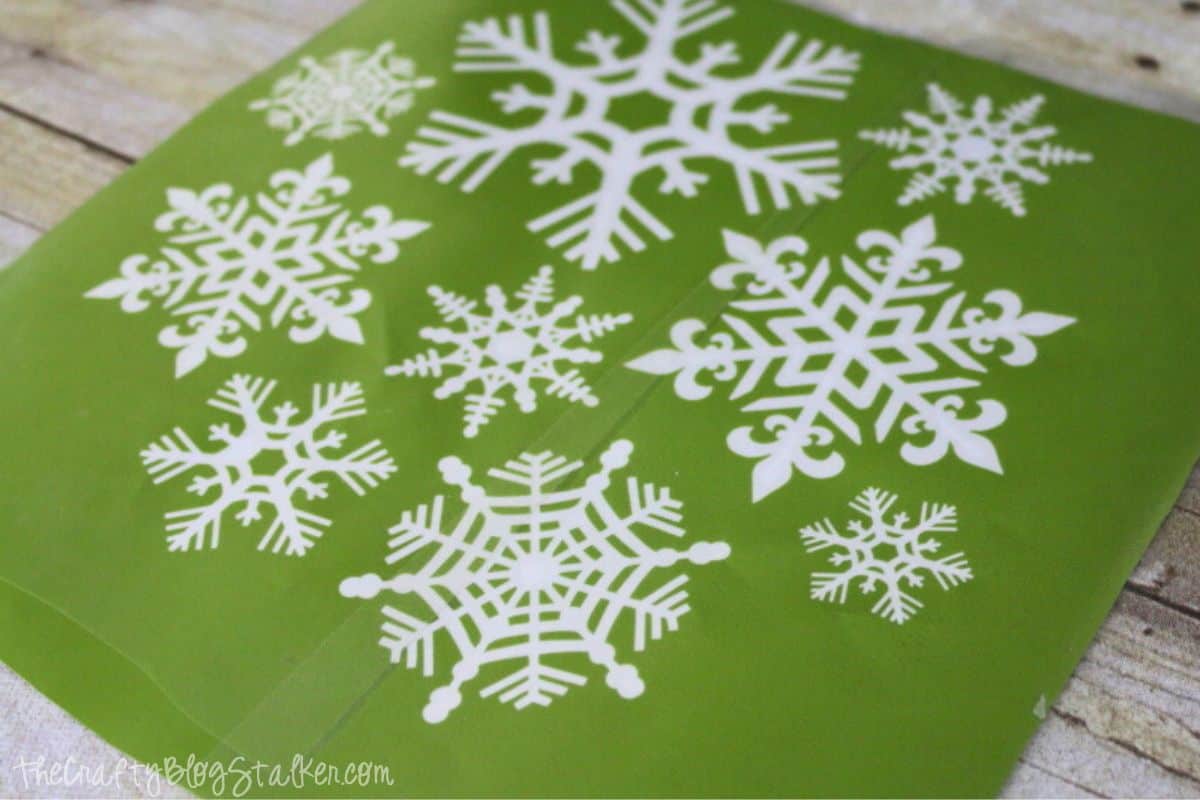
Once cut, weed the design.
Since this will be a stencil, weed or remove the snowflakes from the vinyl.
Apply the Stencil
Lay a transfer tape sheet over the vinyl design's top and carefully peel.
Press the transfer tape onto the vinyl, then remove the backing sheet.
Lay the design on the mirror plate, press it onto the glass, and push any air bubbles out around the snowflakes.
Press all the areas around the vinyl stencil so the Etchall can't seep underneath.
Peel back the transfer sheet, leaving the vinyl snowflake design on the mirror plate.
The mirror surface should only be seen through the snowflake openings. Cover any remaining areas with painter's tape.

Glass Etch
Apply a thick layer of glass etching cream to the top of the mirror and let it sit for 15 minutes.
Etching cream will only affect the open areas of the template.

After 15 minutes, scrape off the excess cream and put it back into the bottle to use again next time.
Rinse the candle plate with water to remove all traces of the cream.

Then, remove the vinyl stencil.
This is how the candle plate looks when it is complete! Isn't that awesome! Now, all it needs is some beautiful candles to hold.

My Favorite LED Candles
This is my favorite set of 3 LED Candles!
The bundles include 3 candles of different heights. The outsides of the candles are wax, so they even look real!

Plus, there is a remote, so the colors can be changed or set to a multi-color setting.
They look beautiful on the new snowflake candle plate.
The candle's color glow is picked up in the snowflake etchings on the mirror.
Crafting Essentials
- The Cricut Cutting Machine is easily my favorite crafting tool. We use it in so many of our tutorials!
- These MakerX Crafting Tools are perfect for keeping in the craft room and are always ready when needed!
- This Fiskars Paper Trimmer is easy to use and cuts nicely without frayed edges.
- These Scotch Precision Scissors cut like a dream, and you get multiple pairs in a pack!
Chris
The candle plate is so pretty!!! LED candles are the best- no worries about the kids or dogs knocking over a candle & starting a fire.
Thanks for sharing at Funtastic Friday!
Katie
Thank you Chris! I agree. I love LED candles!
Shana
Love the candle plate looks fantastic. Have a great week ahead!
Sherry
Wow! I love it...it looks so professional. Thanks for sharing your tutorial with us at Funtastic Friday.
Sarah bell
Such a beautiful decoration! I love it!!!
Sarah Bell
Katie
Thank you Sarah! It is a fun project to make. I am so glad that you like it!