This post may contain affiliate links. For more information, please see our disclosure policy.
Have you ever made your own soap? It is surprisingly easy!
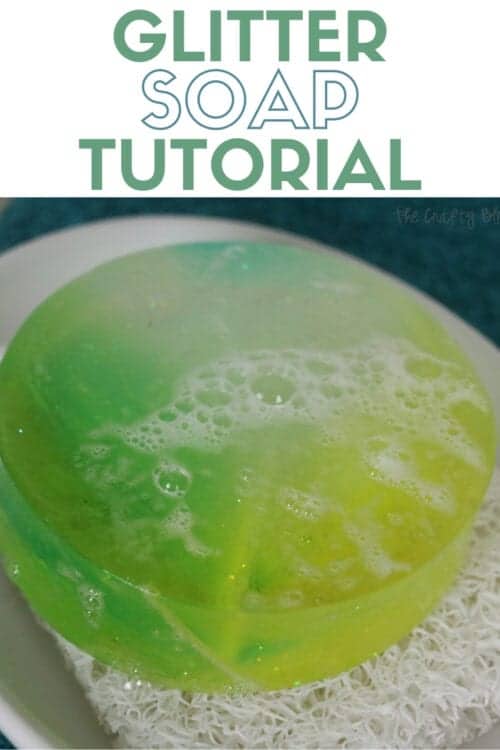
Recently, I learned how to make soap and now I can't get enough. All of the different colors, shapes, and scent possibilities is what makes this new craft so much fun!
Supplies Used to Make Handmade Soap
Items linked below may go to similar items when exact items couldn't be found online. Links are affiliate so when you purchase, I will get a small kickback to help fund the next tutorial!
- Melt and Pour Soap
- Cutting Board
- Food Scale
- Coloring
- Scent
- Super Fine Glitter
- Soap Knife
- Microwave Safe Dishes
- Wood Craft Sticks
- Rubbing Alcohol in a Spritzer
- Pringles Can
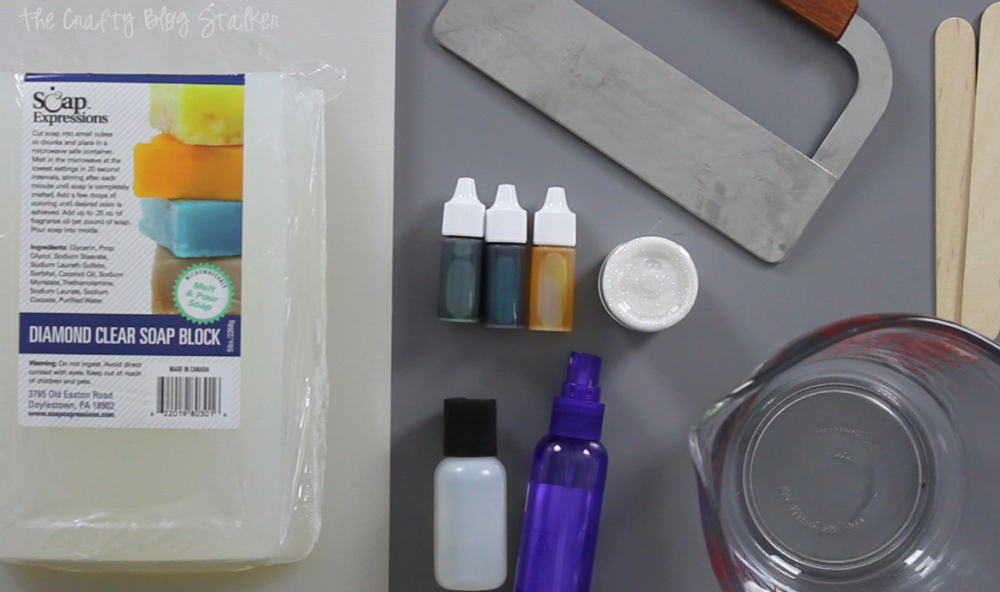
Handmade Glitter Soap Tutorial Video
Like videos? I do have a video tutorial if you would prefer to watch the tutorial. Please subscribe to my YouTube Channel so you don't miss out on any future video tutorials!
How to Make Handmade Glitter Soap
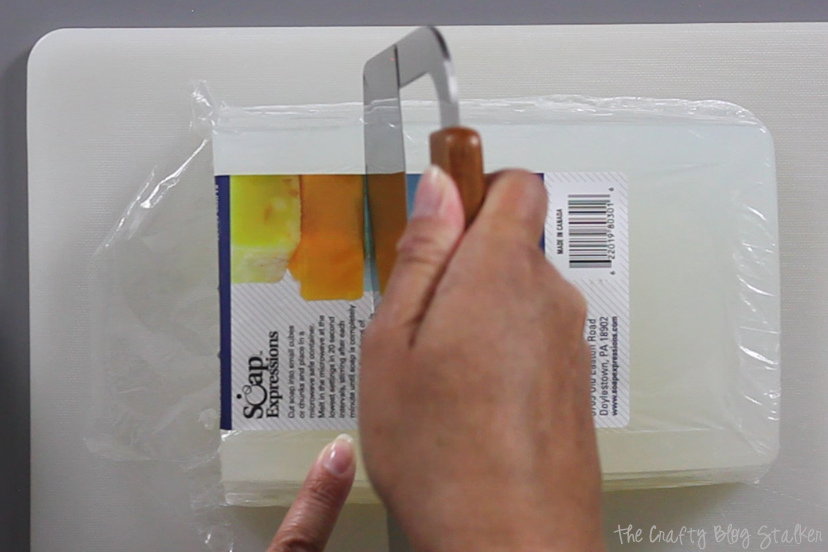
Cut off 20 ounces of soap base from the soap block. I used a simple kitchen scale to weigh and measure the soap. When you have the correct amount, cut down into smaller chunks so that it will melt faster in the microwave.
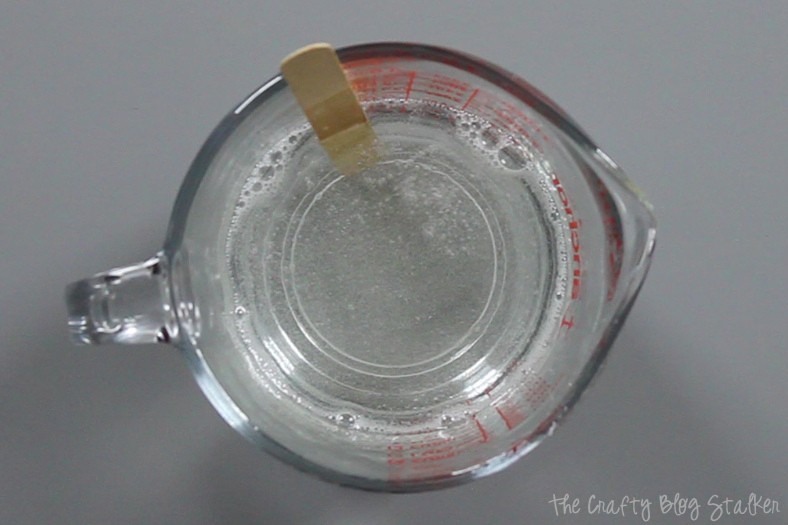
Microwave for 20 seconds, stir and repeat until the soap is completely melted. My soap took about 8 rounds.
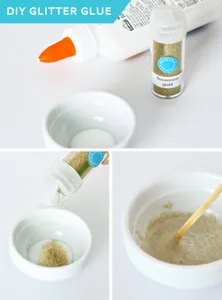
For 20-ounces of soap, add 1 teaspoon of scent (I used a yummy melon scent), about another teaspoon of fine glitter and then stir to combine.
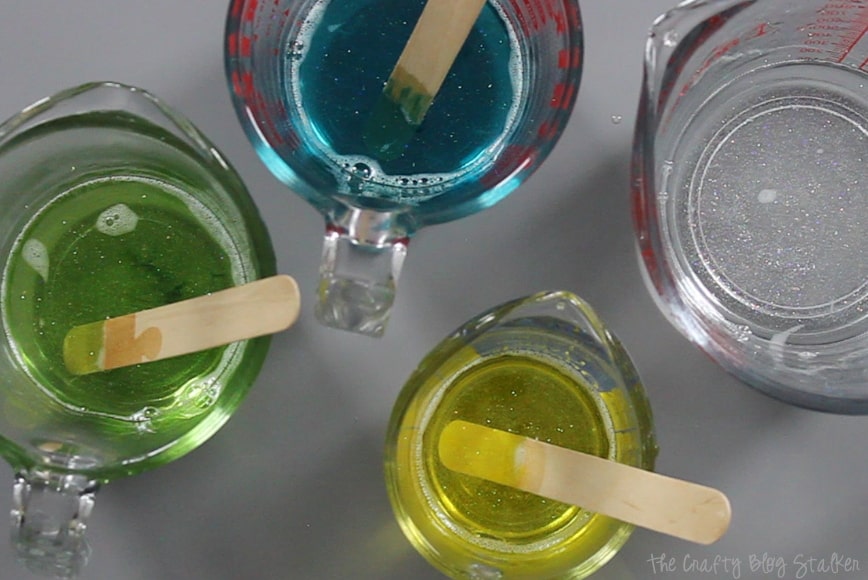
I wanted to have lots of different colors in my soap so I then divided the melted soap into 4 pourable containers. Can you see all of those fun glitter specks? It's so pretty already!
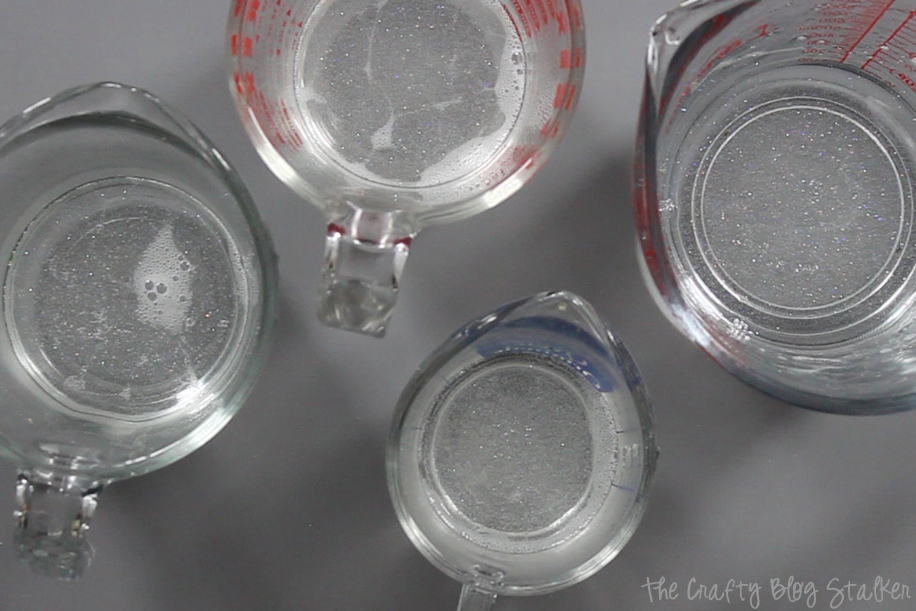
Add 5 drops of the color to each container. If the color isn't dark enough then you can add a couple more drops. The colors I made are blue, green, yellow and the original clear.
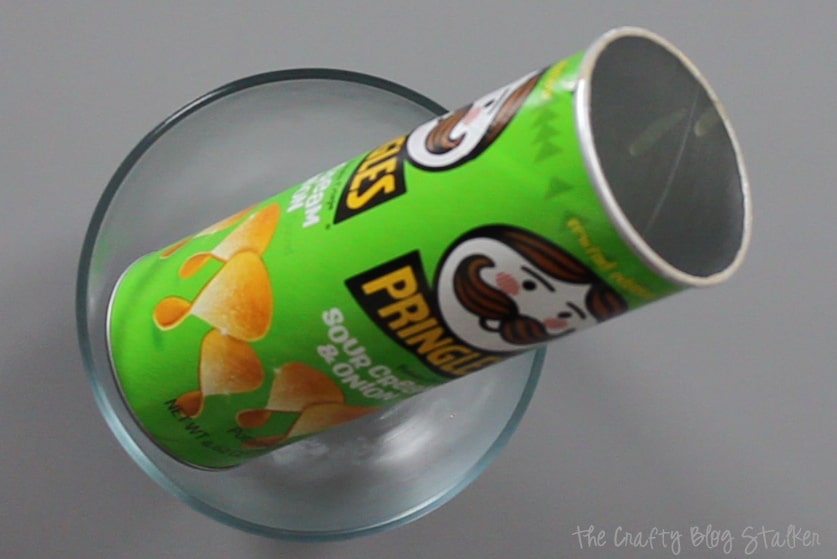
Clean out a Pringles can, making sure there are no crumbs or oily residue left over. This is what we are going to sue for our soap mold.
Pour the different colors of soap in layers. I used a bowl to hold the canister at an angle so I would have lots of different layers with different lines. Let each layer harden a bit before you add the next layer. Depending on how hot the soap is this can be 15-20 minutes per layer. You can speed up the process by putting in the fridge or freezer.
TIP: To get rid of the bubbles from pouring, spray the surface with the rubbing alcohol and it will make all of those little bubbles go away without affecting the soap.
The soap should sit in its mold for a minimum of 6 hours before it is removed, I like to let it set overnight.
Once the soap is set, cut the rim of the Pringles canister off with a pair of scissors and then tear the packaging away.
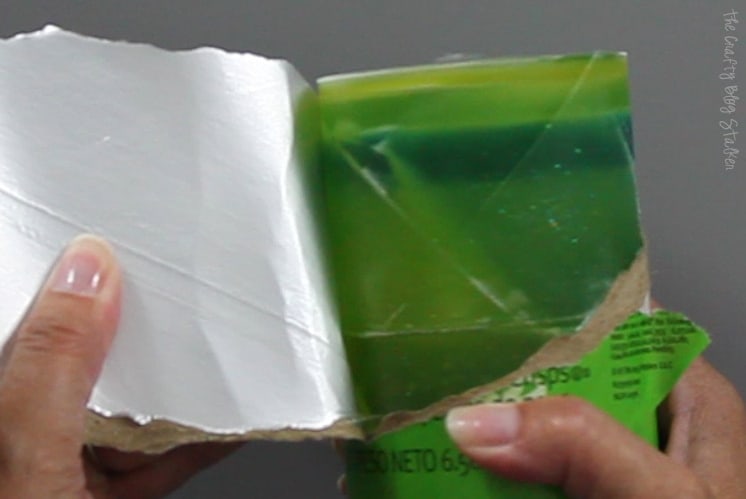
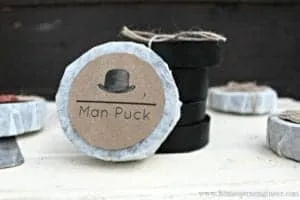
Using the soap knife, cut straight down into the bar creating 5-6 soap bars of soap. Each bar about 1-inch thick. I love how different they each are even though they came from the same block.
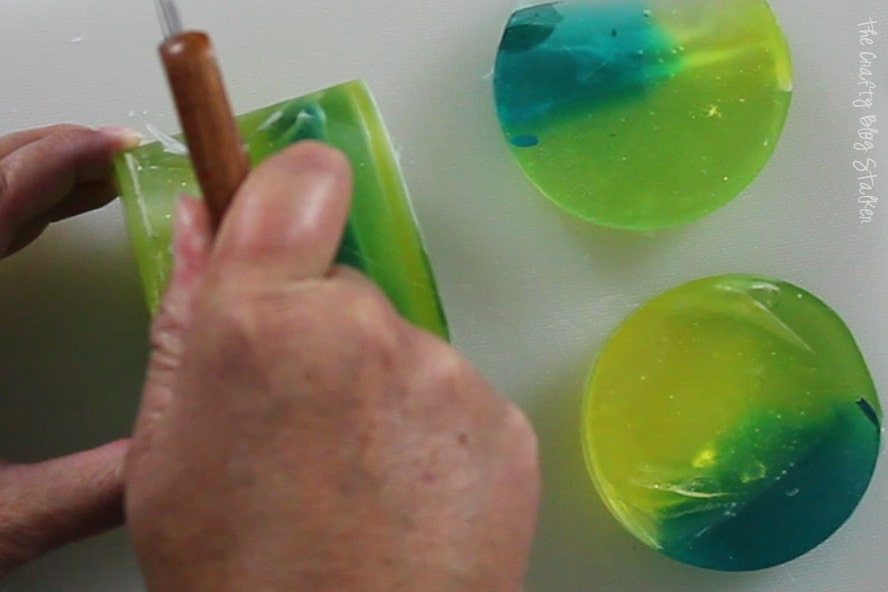
Handmade soap makes a beautiful gift that is so much fun to give because you can tell them that you made it yourself, and they are sure to be impressed!
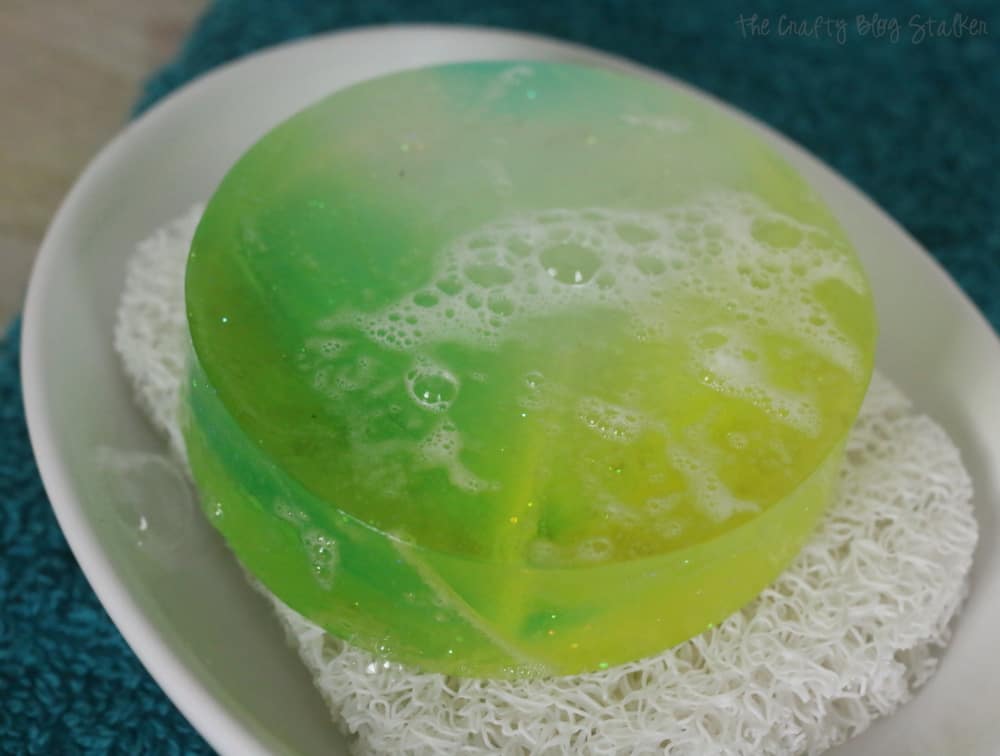
Have you ever made soap before? Did you make it for yourself or give it as a gift? Share and comment below!


lorraine Williamson
love it very unique thanks for sharing pinning and sharing
Edye
I've never made soap before, but it looks like fun 🙂 Thanks for sharing!
Blessings,
Edye
Emma
So pretty! I just love the idea of adding glitter to the soap!
Katie
Thank you Emma. Everything is better with glitter!
Ashleigh
Soap is the next logical step in my crafting. Thanks for making it look easy!
Thanks for sharing this on Peace, Love, Linkup! Stop by tomorrow at 6 and bring more links!
Hope to see you there : )
Katie
Thanks for stopping by Ashleigh. I am so glad that you like the soap!
Amanda @ The Kolb Corner
Thank you for sharing at Merry Monday!
Smith
nice soap
Katie
Thank you Smith!