Melt and Pour Soap is great for beginner soapmakers! Use silicone molds and create fun designs to give as handmade gifts.
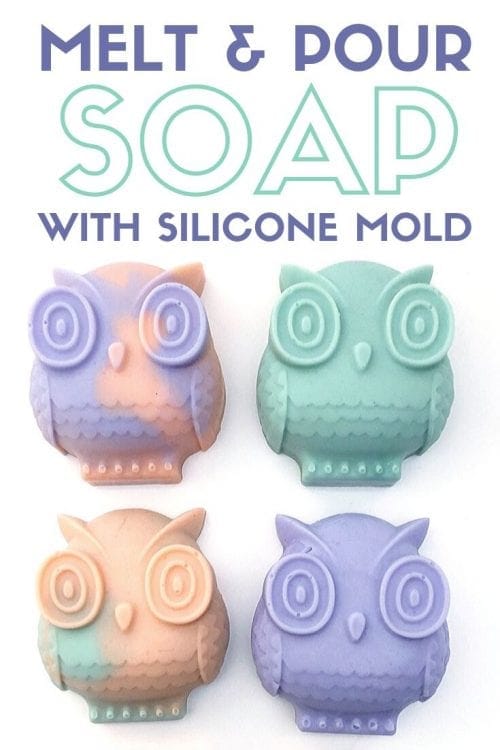
Don't you love a yummy-smelling bar of homemade soap? MMMM, Now you can easily make your own AND in fun shapes using silicone molds!
Supplies Used to Make Melt and Pour Soap
Some links may be too similar items when exact items couldn't be found online.
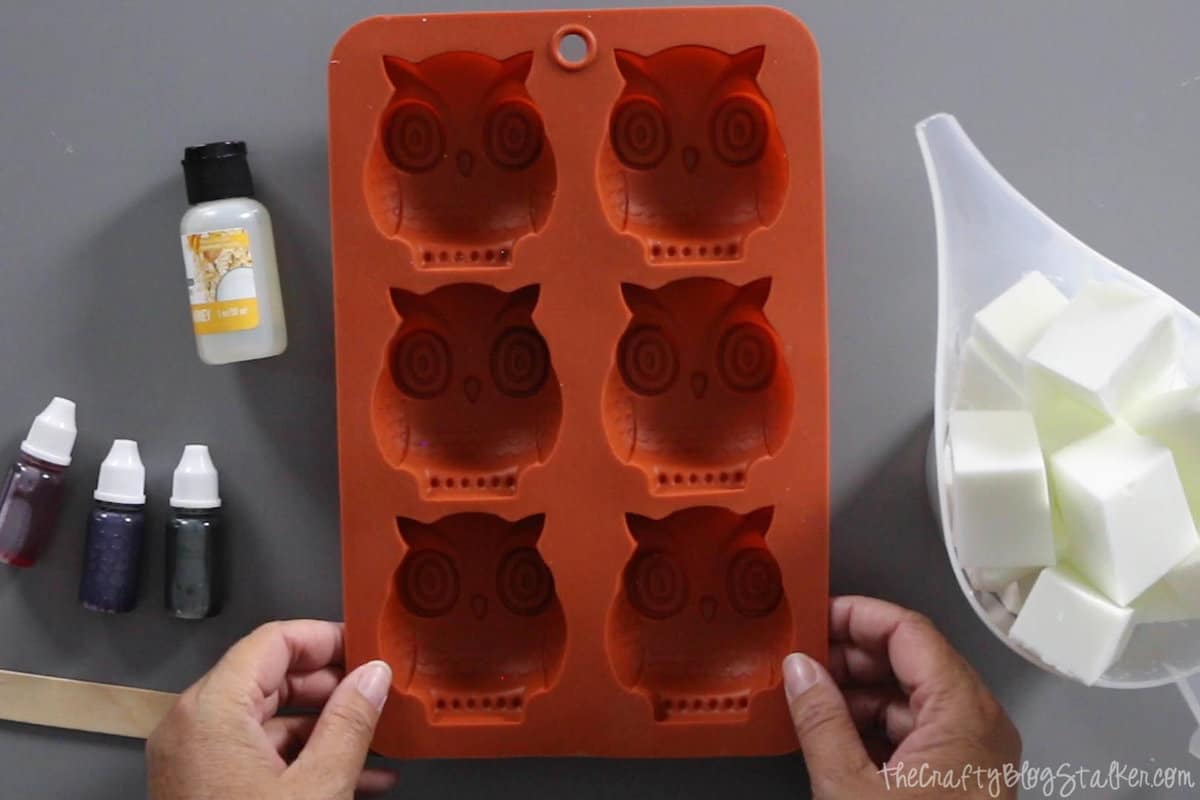
- Shea Butter Melt and Pour Soap Base
- Measuring Pitcher
- Silicone Mold
- Soap Scent
- Soap Dye
- 99% Isopropyl Alcohol
- Spray Bottle
Make Melt and Pour Soap Tutorial Video
Like videos? I have a video tutorial for you! Please subscribe to my YouTube Channel so you don't miss out on any future video tutorials!
How to Make Melt and Pour Soap with a Mold
To start, we need to know how much soap base to melt. The easiest way to do this is to fill one of the molds with water and then pour the water into a measuring cup. This will show you how many ounces the mold can hold.
For my owl mold, each owl holds 3.5 ounces of water so for all 6 cavities, I need about 21 ounces total. Using a kitchen scale, I can cut off 21 ounces from the shea butter melt and pour soap block.
Melting the Soap
Cut the block into smaller squares. This helps the soap melt a bit quicker and more evenly in the microwave.
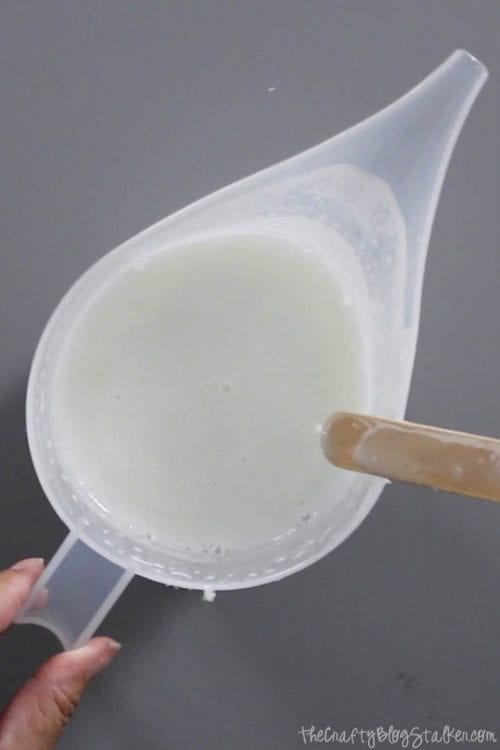
Put the soap cubes in the measuring pitcher and microwave on high in 30-second increments. After each cycle, remove the soap and give it a stir with a popsicle stick. Repeat heating for 30-seconds and stir until the soap is completely melted with no chunks remaining.
Adding Scent
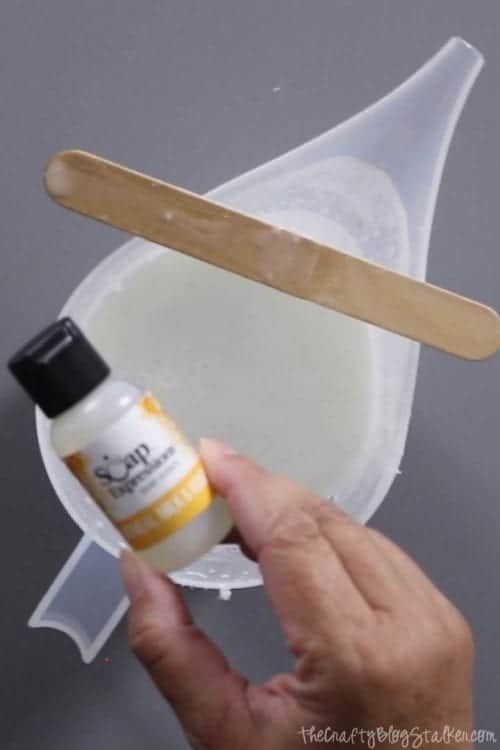
You can add up to two drops of scented oil for every ounce. Add the drops gradually, stir, and smell. You can always add more but you can't take it away.
For my mixture of 21 ounces, I used about 20 drops of soap scent.
Adding Color to Your Soap
If you want to use more than one color, divide the base into a couple different pitchers.
The amount of soap dye to use really depends on how you want the color to look. Add a few drops at a time and stir, if it's not dark enough repeat. Same as the scent, if you add too much you can't take it back.
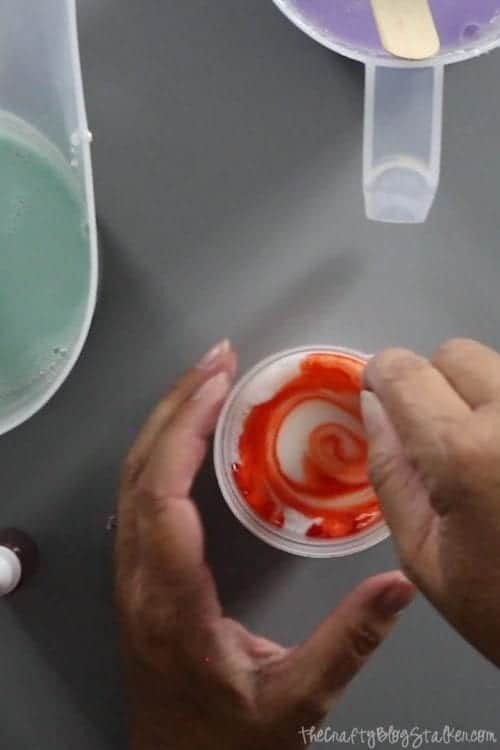
Pouring the Soap
Now comes the fun part of pouring the soap into the silicone mold. You can create all sorts of designs and layers just in the different ways that you pour the soap into the mold.
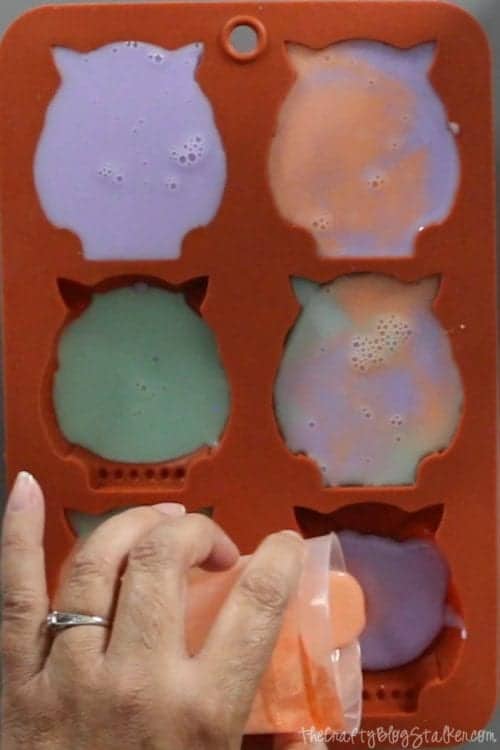
After the mold has been filled, spray the top of the soap with the alcohol in the spritz bottle. This removes the bubbles from the soap and gives you a nice smooth back to the soap.
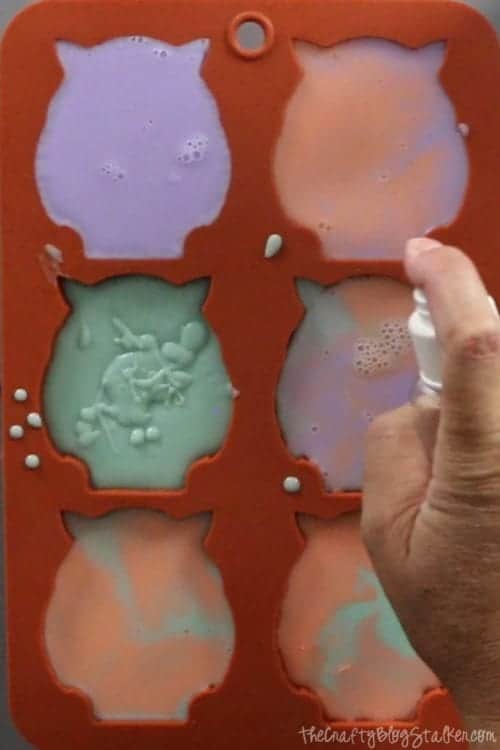
Let the soap set up nice and hard. You can let it sit out overnight, or stick the mold in the refrigerator for a couple of hours.
I like the fridge since it is much faster. My soap was ready to go in about 2 hours.
Removing the Soap from the Silicone Mold
To remove the soap blocks, carefully peel back the silicone mold until the shape pops out on it's own.
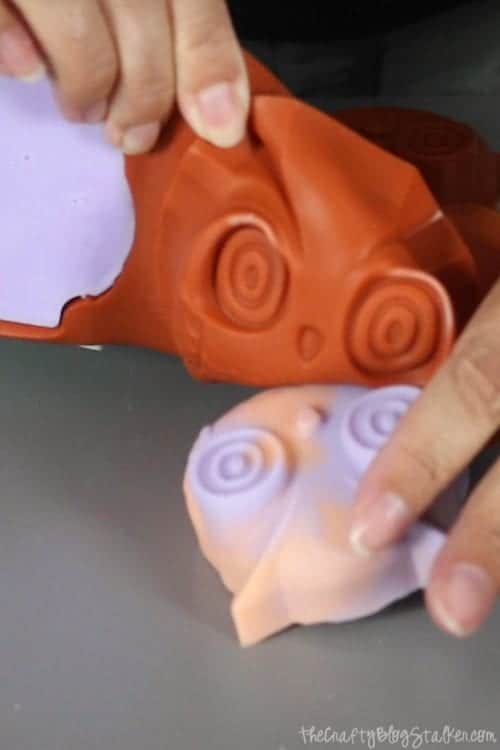
Silicone molds are my favorite because the soap comes out so easily!
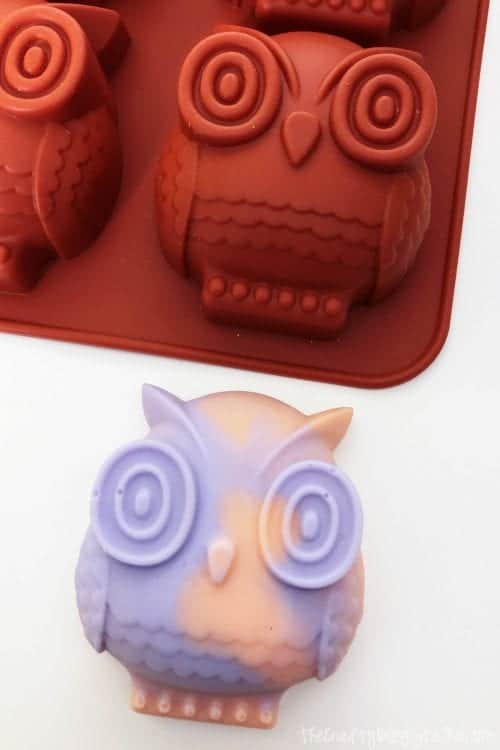
Each one looks so different and cute!
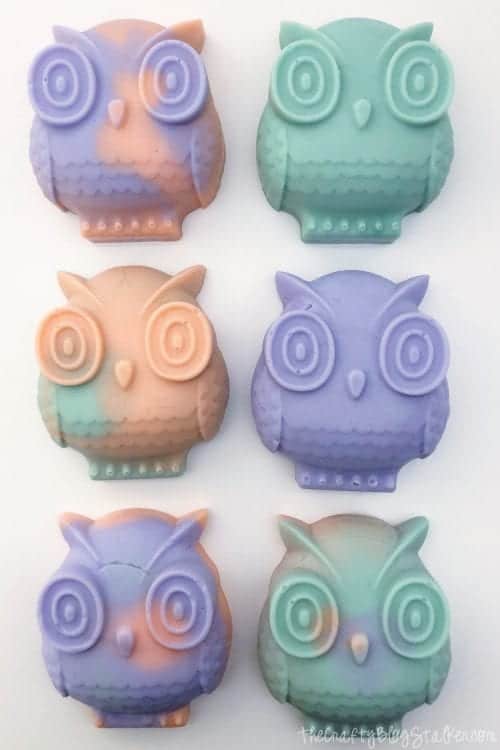
Now I have a few handmade gifts and I'm going to keep one in my guest bathroom for friends!
Our Crafting Essentials:
- The Cricut Cutting Machine is easily our favorite crafting tool. We use it in so many of our tutorials!
- These MakerX Crafting Tools are perfect for keeping in the craft room and are always ready when needed!
- This Fiskars Paper Trimmer is easy to use and cuts nicely without frayed edges.
- These Scotch Precision Scissors cut like a dream, and you get multiple pairs in a pack!


Leave a Reply