Discover how to create a luxurious exfoliating whipped soap with a fluffy texture. Follow our soap-making tutorial for a rejuvenating skin care experience!
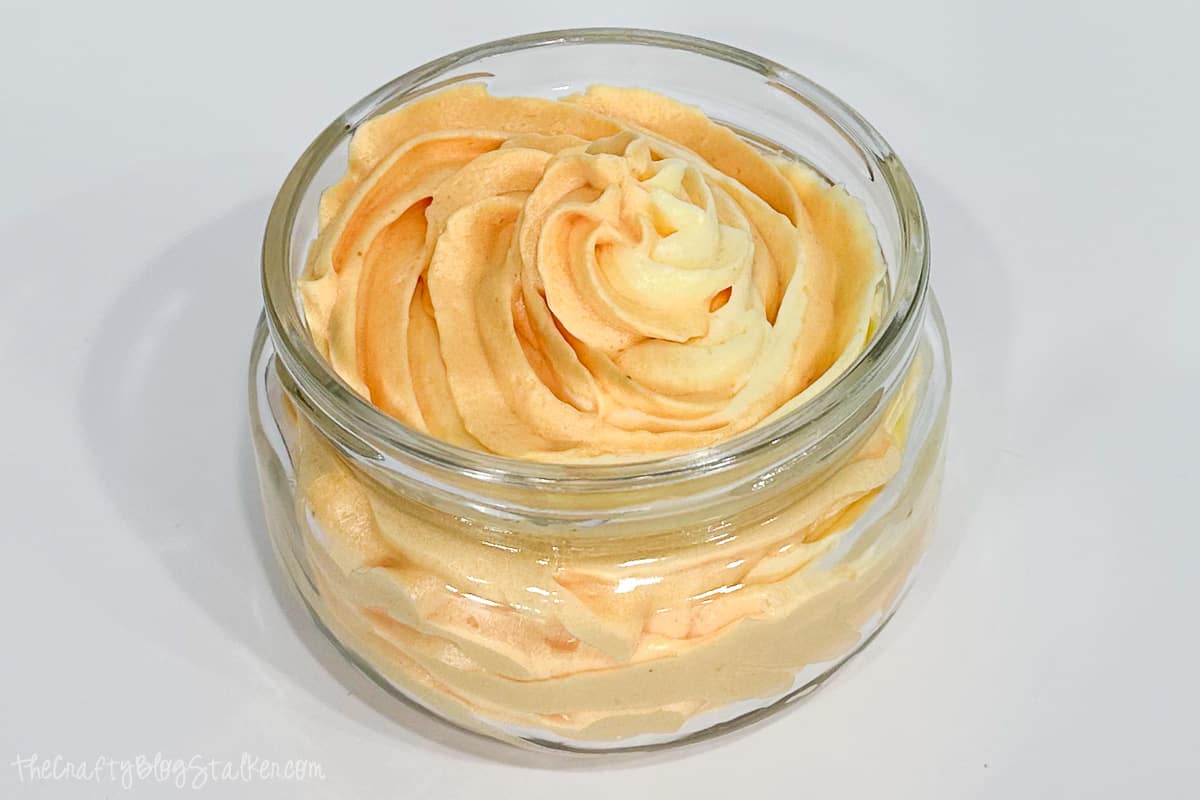
Whipped soap, with its airy and fluffy texture, feels like a touch of luxury on your skin.
But you don't have to visit a high-end spa to enjoy this indulgent experience.
In this tutorial, we'll guide you through the process of DIY exfoliating whipped soap.
Perfect for rejuvenating your skin, this homemade treat adds a touch of elegance to your daily routine.
Make it for yourself, or give it to friends and family as a thoughtful handmade gift.
Craft Video Tutorial:
Like videos? I have a video tutorial for you! Subscribe to my YouTube Channel so you don't miss any future videos!
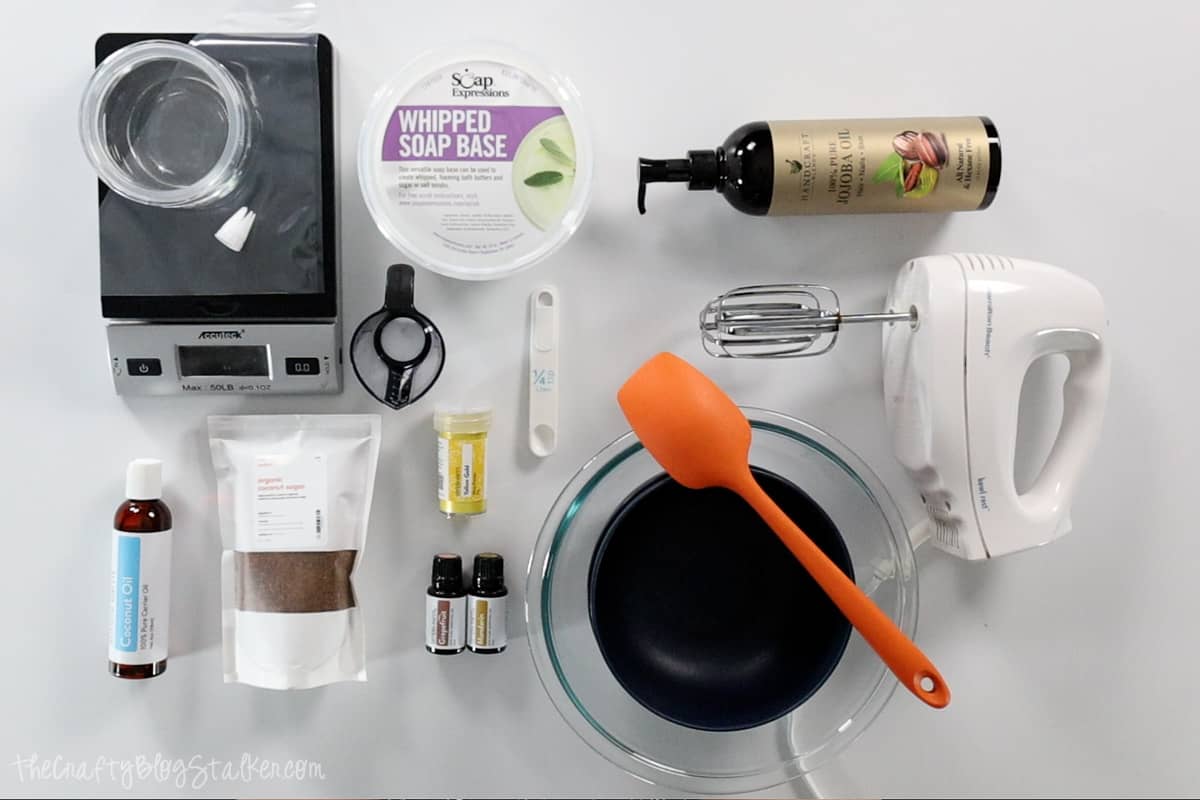
Recipe Ingredients:
Links may go to similar items when exact items can't be found online. Help me continue to provide free tutorials by shopping my affiliate links. Please review our Privacy Policy.
Whipped Soap Base can also be called Foaming Bath Butter. So if you are having a hard time finding it, try searching with that name instead.
If needed, the amount of essential oil or fragrance oil used can easily be adjusted so your soap has more or less scent, depending on your preferences.
The amount of exfoliant can also be adjusted. When finished with this batch, I wished the soap had more "scrub" to it, and could have easily added up to 2 teaspoons of the organic sugar.
Whip Soap:
Begin by measuring out 8 ounces of the whipped soap base.
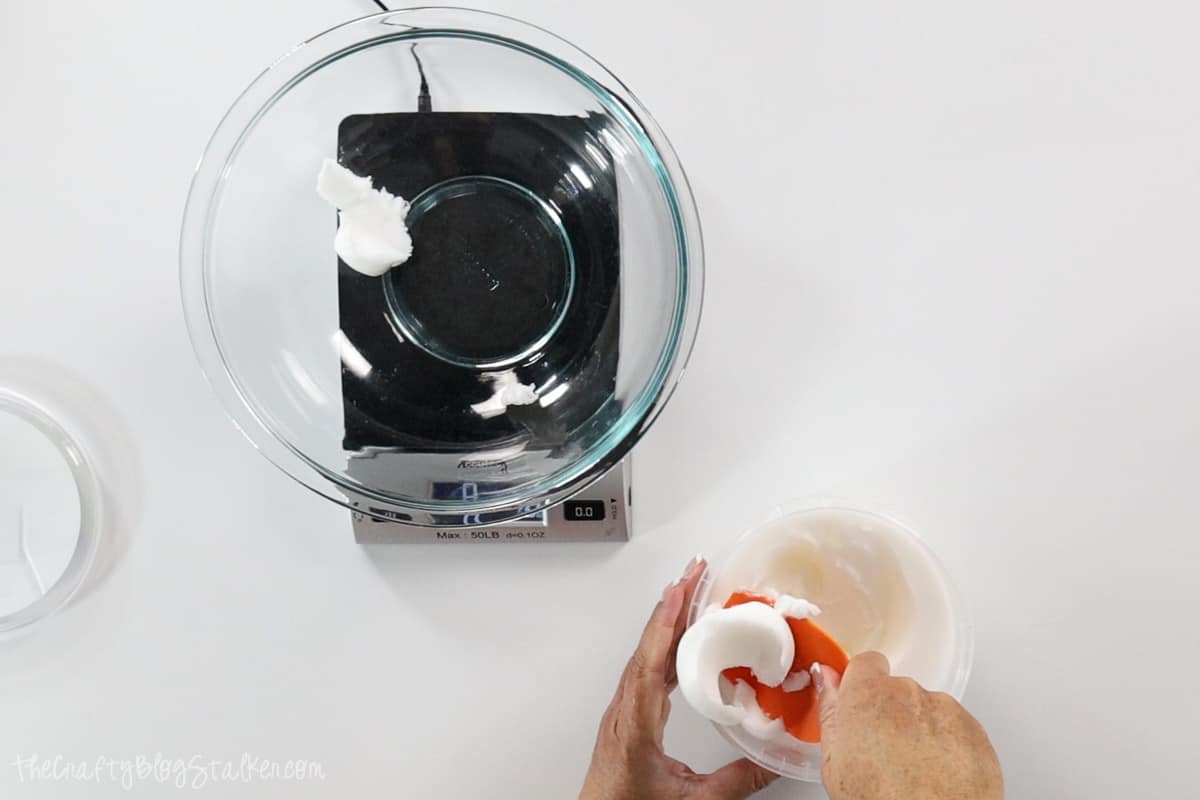
The consistency right out of the tub is similar to shortening.
You may be wondering how this is going to become fluffy goodness but trust me.
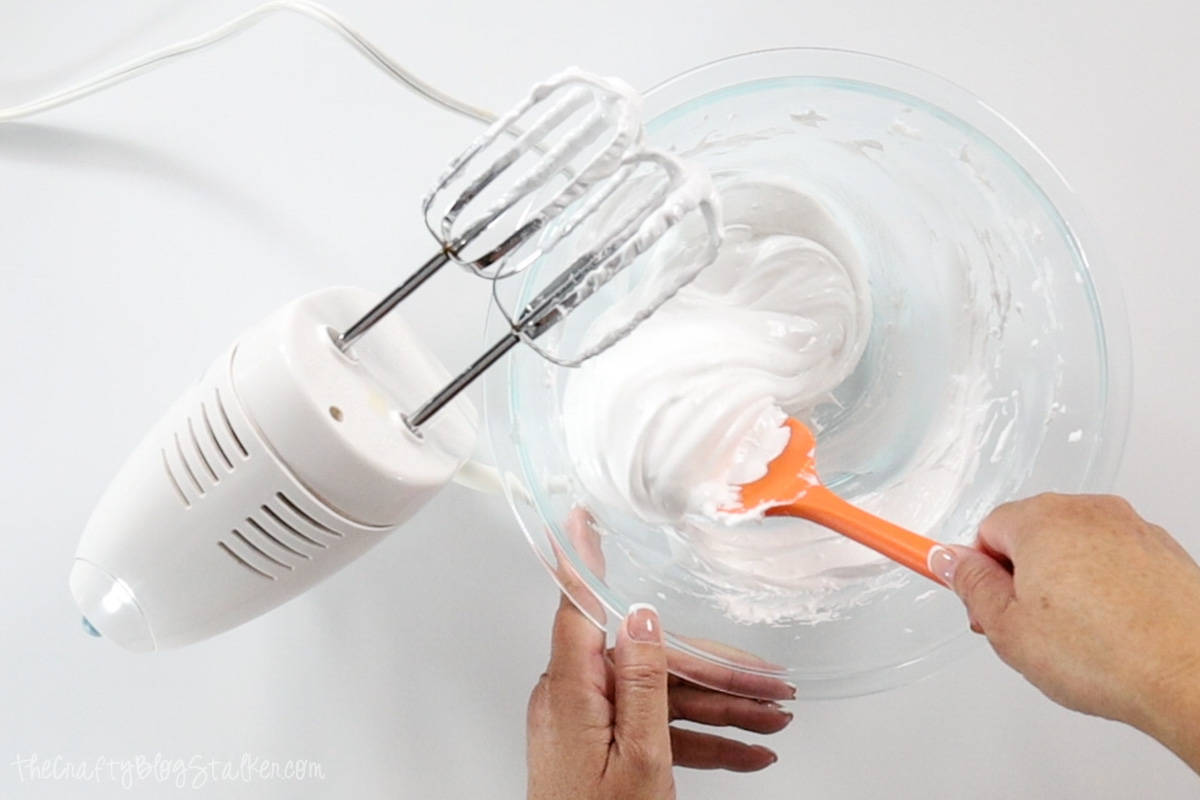
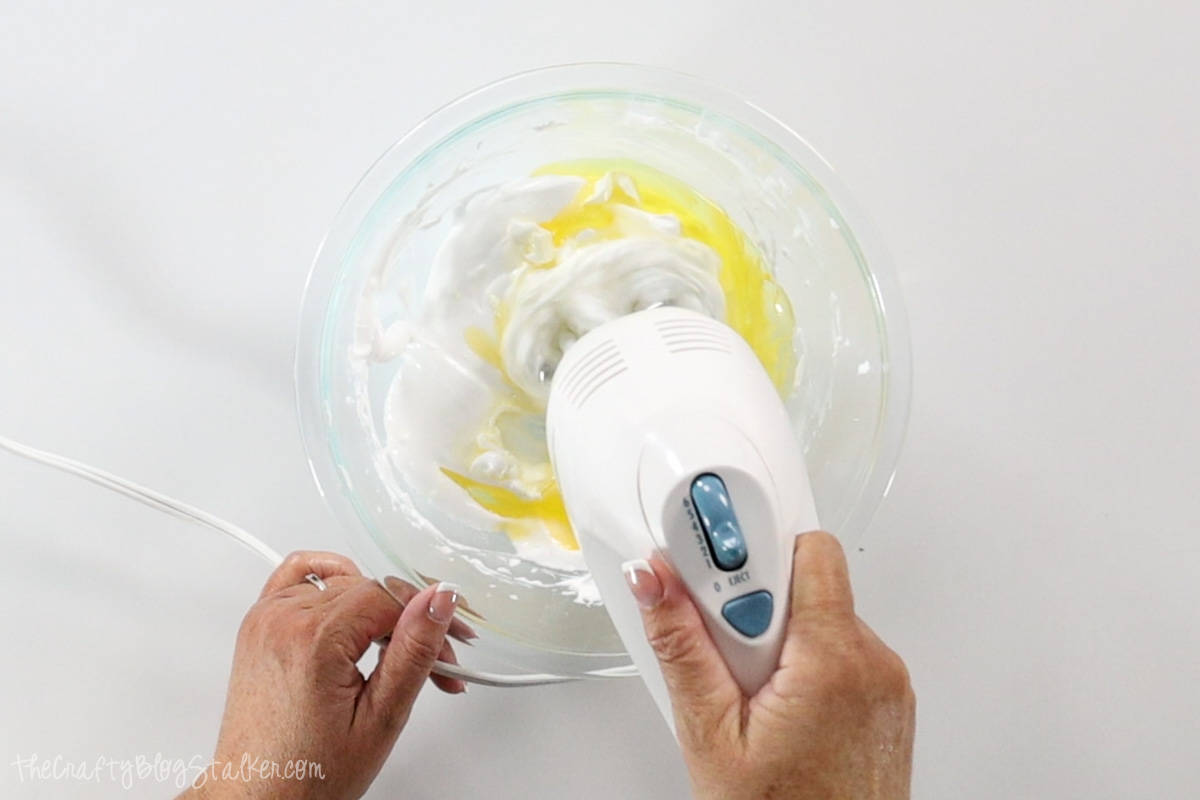
Using a stand mixer or hand mixer, whip the soap base for 2 to 3 minutes.
Can you see how fluffy that is compared to how it started? Now it looks more like marshmallow cream.
Add Ingredients:
Now that the soap base is light and fluffy we can begin adding to the soap to make it our own.
You can add the ingredients directly to the soap, I just found it easier to keep adding to my measuring cup and then add all of the ingredients at once.
Add 1 ounce of both Jojoba Oil and Coconut Oil.
Then 20 drops of Grapefruit Essential Oil, and 10 drops of Mandarin Essential Oil.
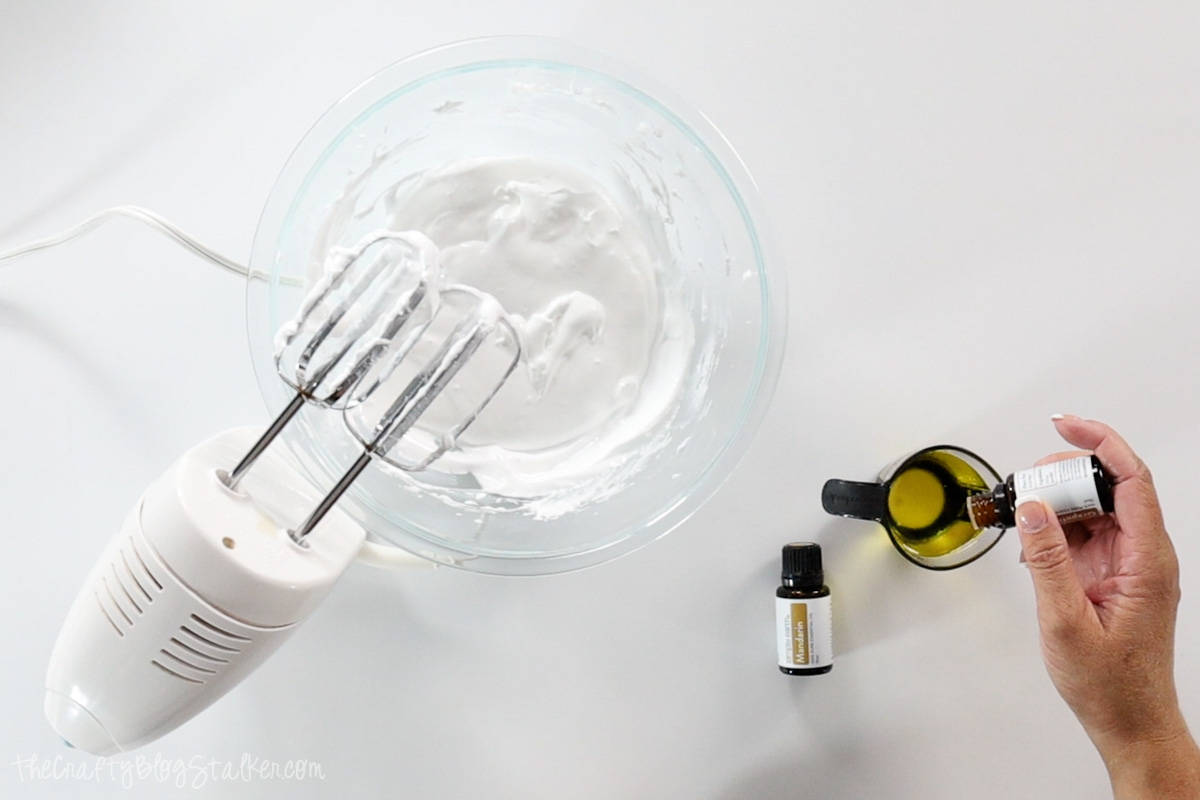
Whip for another 2 to 3 minutes.
Divide:
Spoon half of the mixture out into a separate bowl.
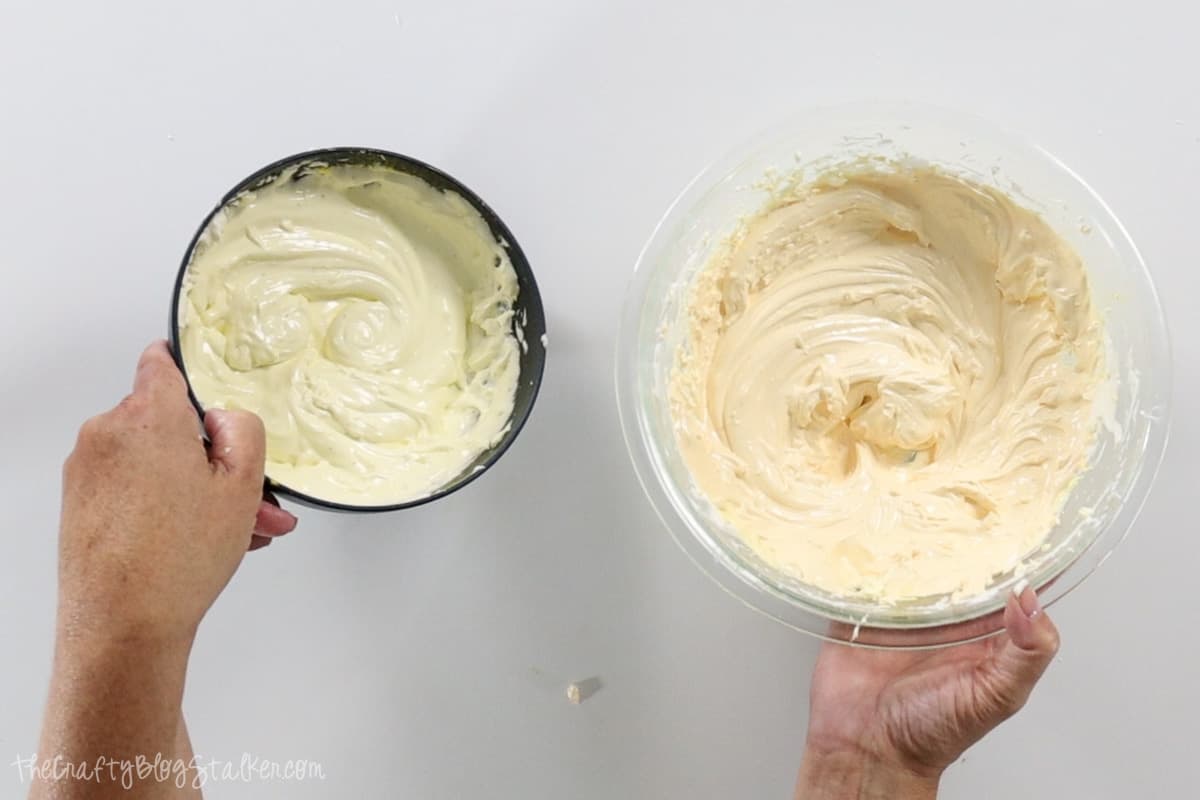
For the color, I was going for a two-toned look. My plan was to have a light yellow and a dark yellow.
I put a little yellow mica powder in one bowl, and much more in the other.
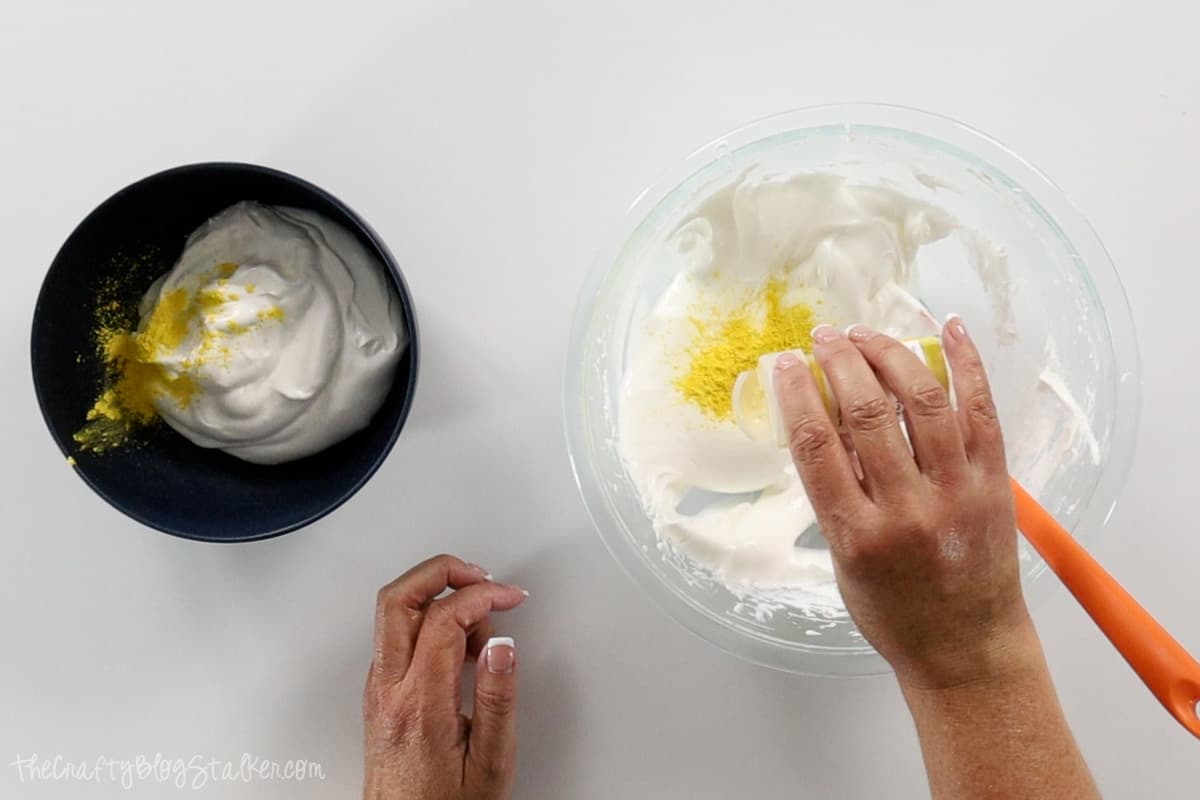
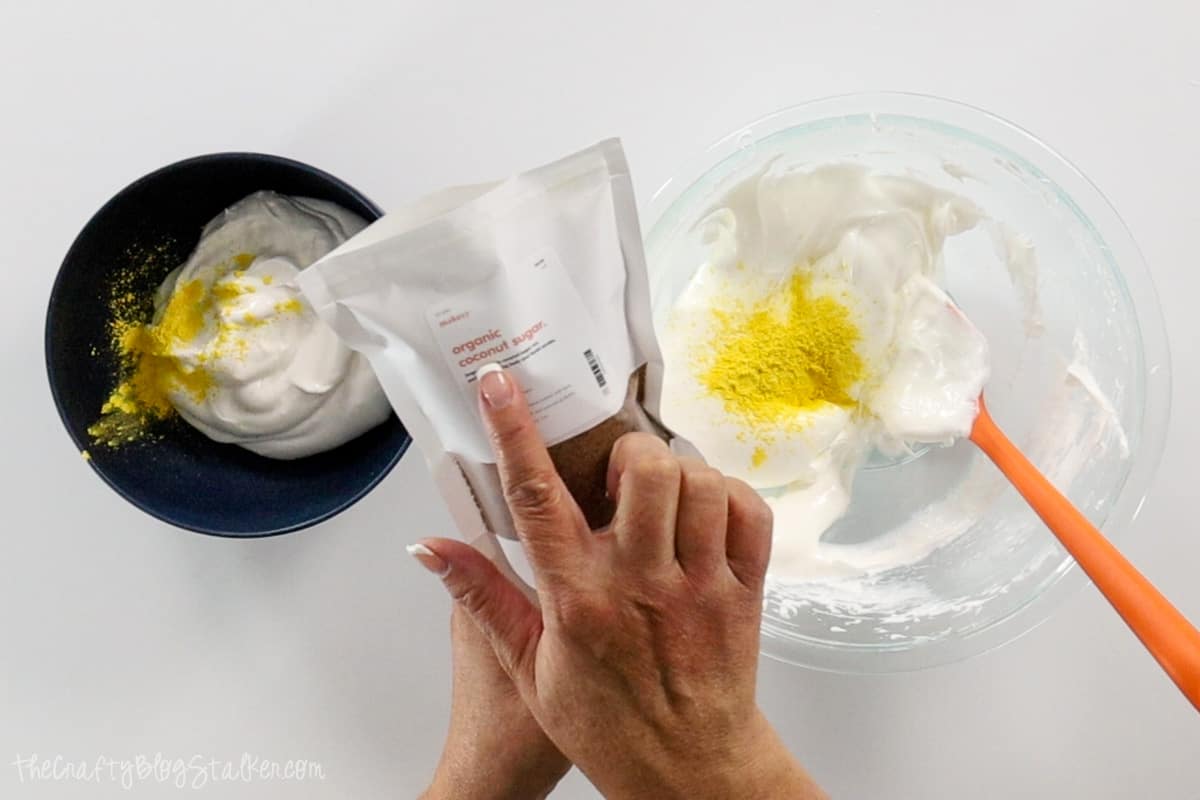
I also added ¼ teaspoon of the Coconut Sugar into each bowl. (As mentioned above, I think I could have added much more.)
Starting with the lighter yellow mixture, whip for 1 to minutes until well combined.
Then I moved to the darker yellow mixture and whipped for 1 to 2 minutes more.
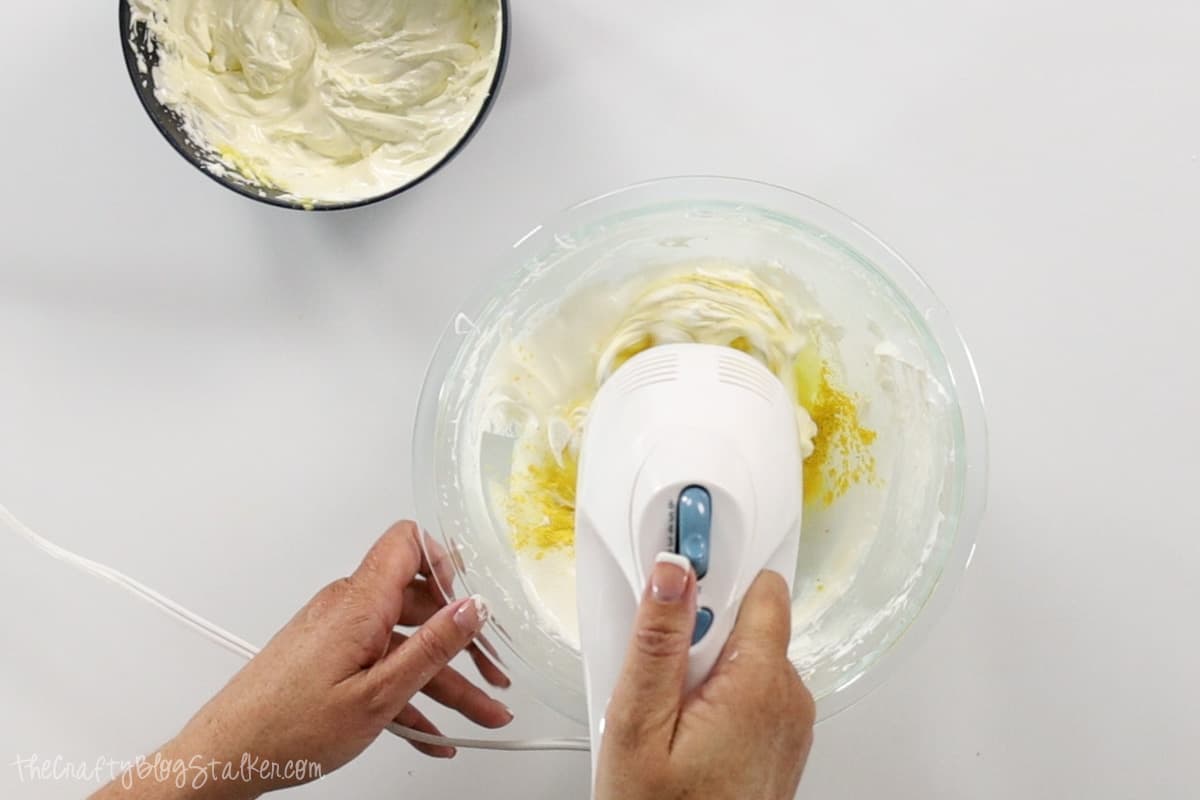
But there was a problem, I couldn't really get the second mixture much darker than the first even though I had added more mica powder.
So I also added a small dash of red mica powder, to hopefully get it closer to orange so there would be a difference between the two colors.
It worked!
Piping:
If you prefer, you can spoon the soap mixture into your storage container.
Although it is fun to showcase how light and fluffy the soap is by piping the soap into a container.
To do this, we are going to treat the soap like frosting and place it in a piping bag that a cake decorator would use to decorate a cake.
Place the tip in the bag and lightly push it to the end of the piping bag.
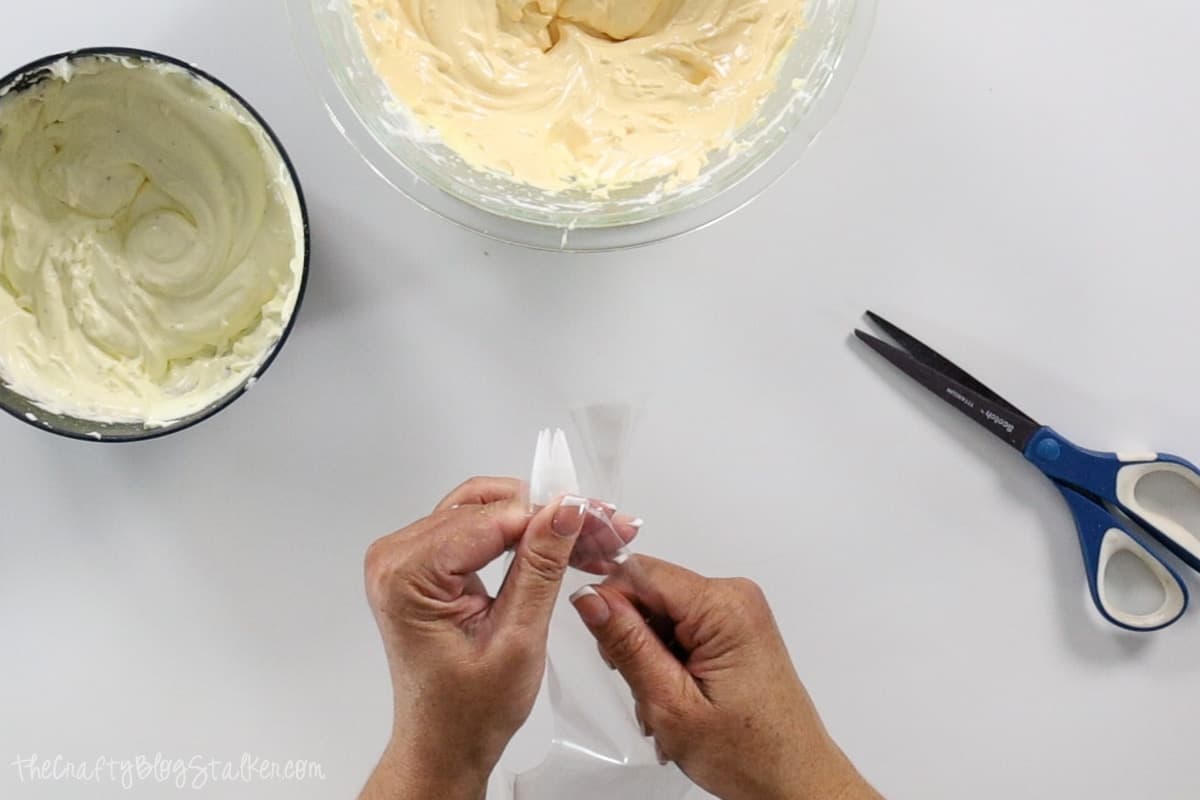
Note the opening on the piping tip and cut the bag at the same spot.
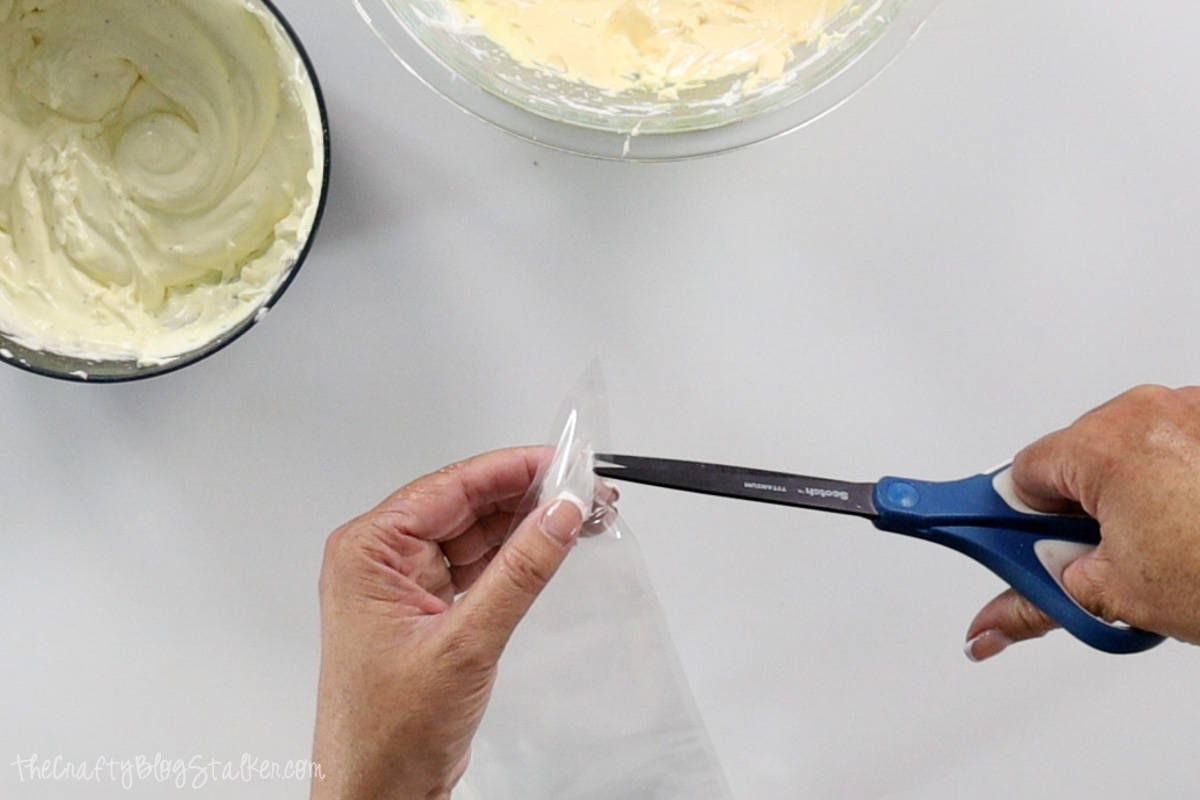
If you cut too high, the tip will push out with the soap so be careful where you are cutting.
Then push the tip through that cut hole.
Cut off a length of plastic wrap and lay it flat on the table.
Scoop the two colors onto the plastic wrap next to each other.
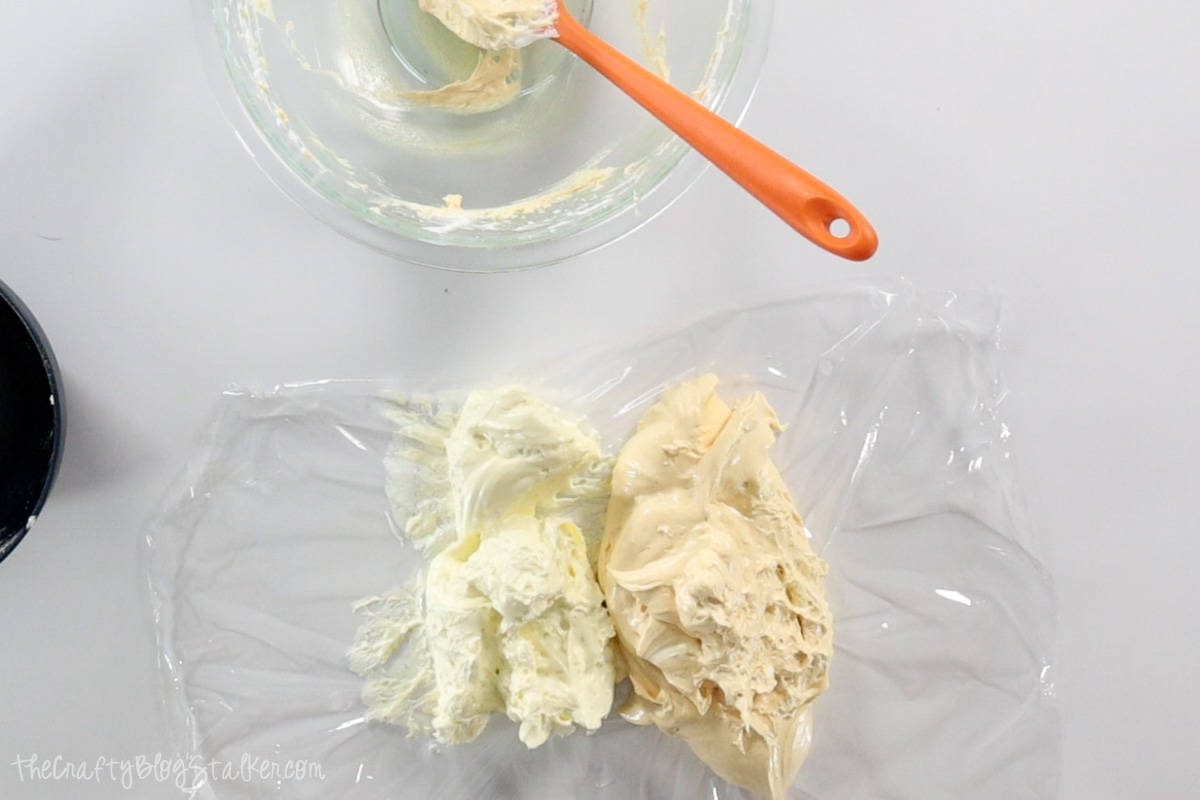
Bring one end of the plastic wrap over, and roll till you have a tube of whipped soap wrapped in plastic wrap.
Place that wrapped tube in the pippin bag.
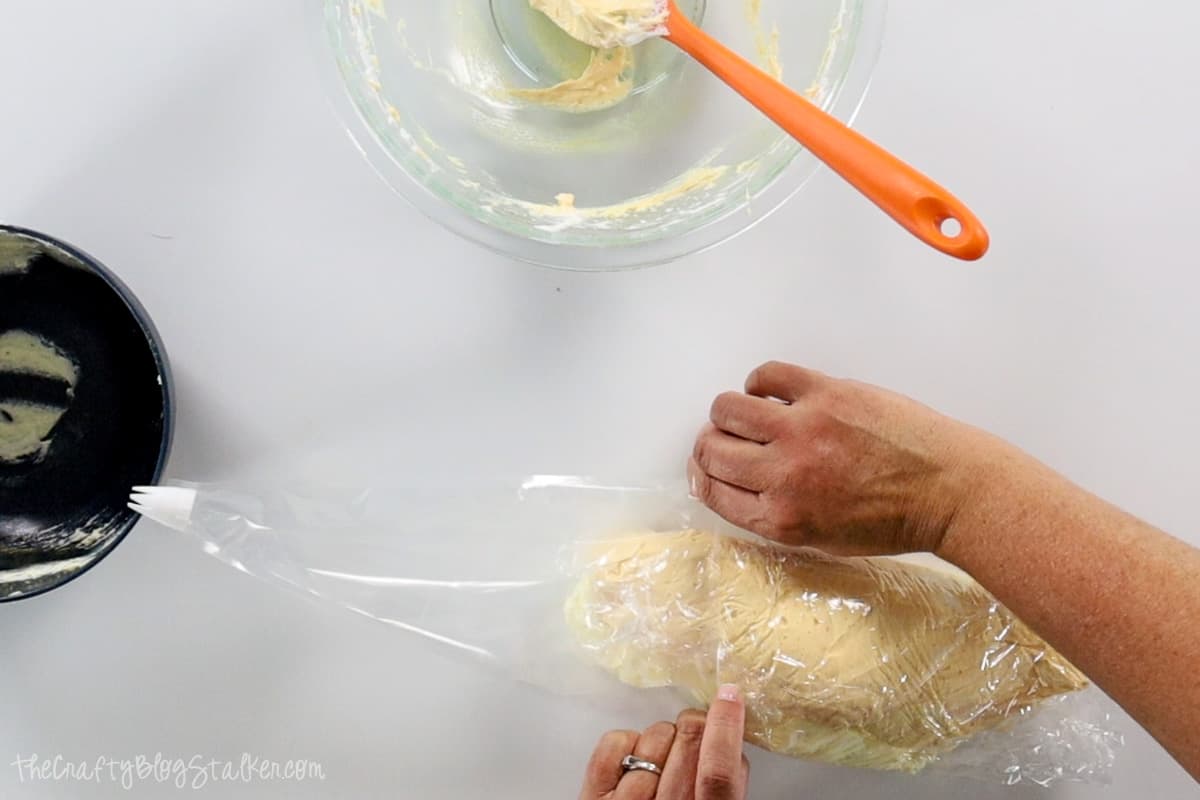
Twist the end of the piping bag and squeeze the soap mixture out of the tip. In circles, squeeze the mixture into your glass jar.
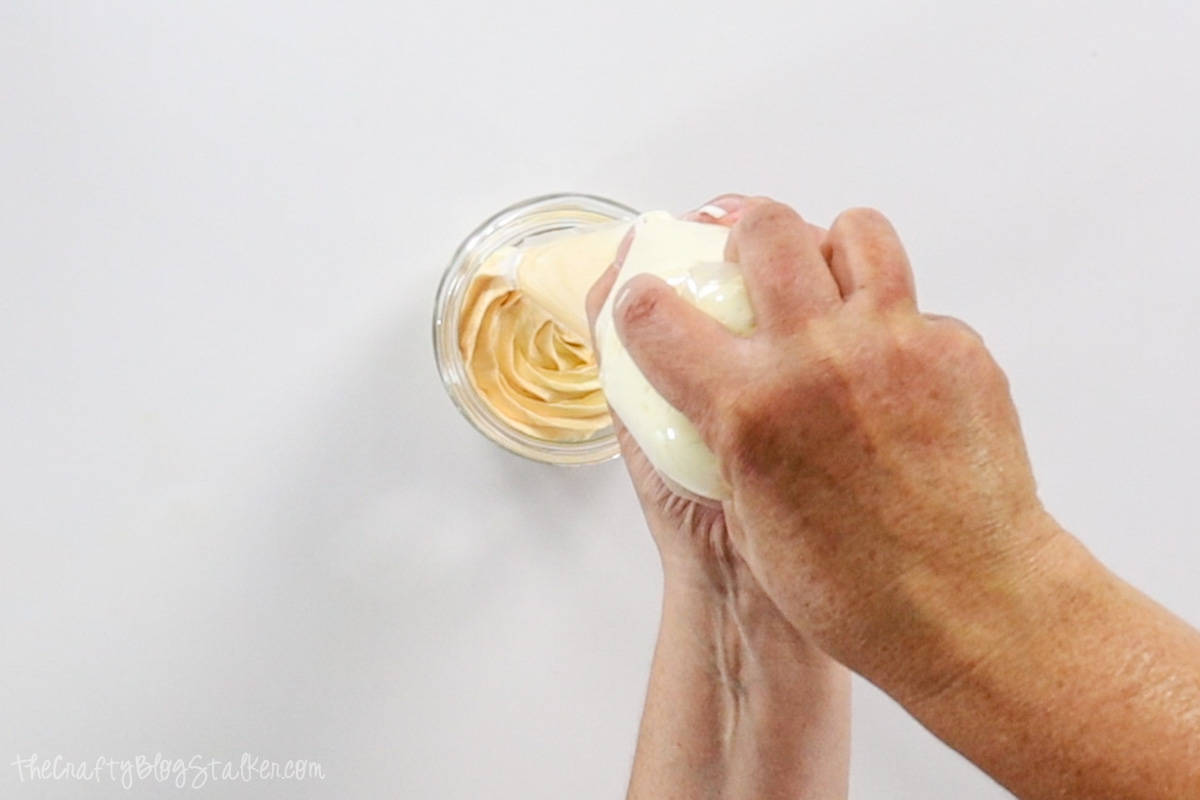
Continue piping the soap all the way to the top of the container.
I love the side view. It looks so soft and buttery.
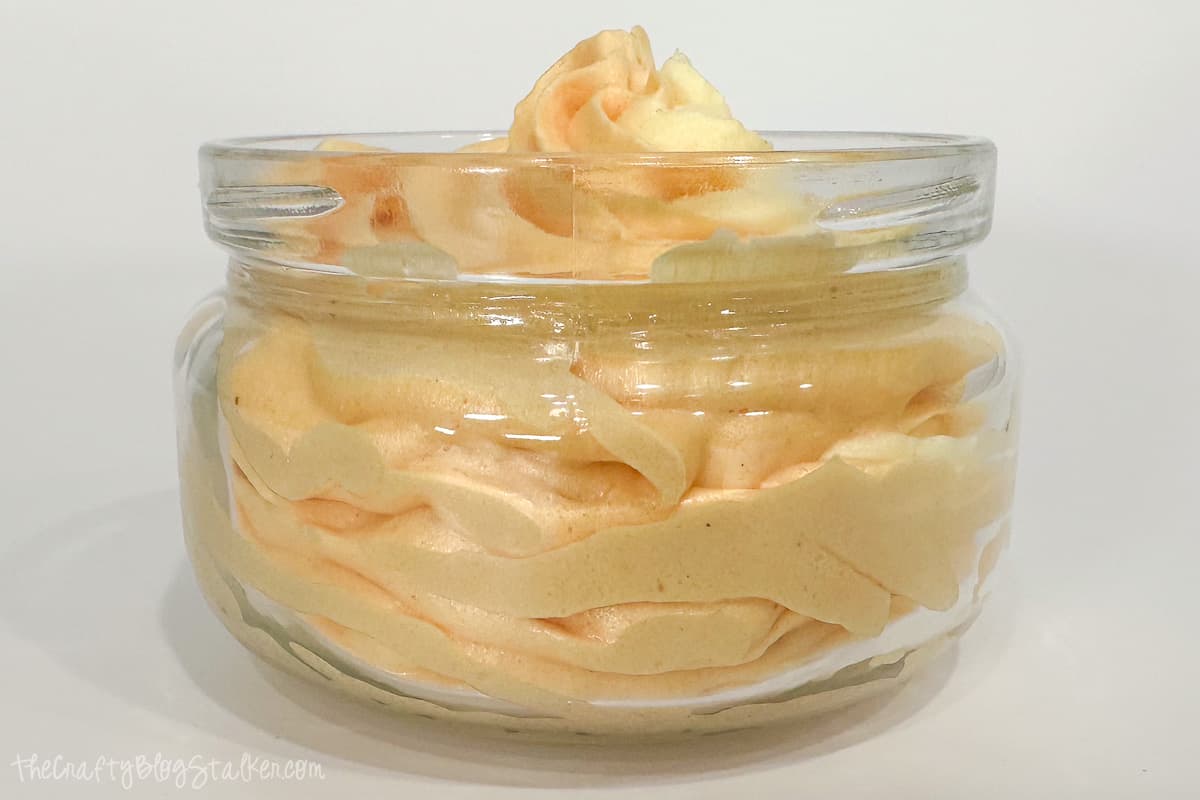
What will you do with your soap? Keep it for yourself or give it as a gift?
Our Crafting Essentials:
- The Cricut Cutting Machine is easily our favorite crafting tool. We use it in so many of our tutorials!
- These MakerX Crafting Tools are perfect for keeping in the craft room and are always ready when needed!
- This Fiskars Paper Trimmer is easy to use and cuts nicely without frayed edges.
- These Scotch Precision Scissors cut like a dream, and you get multiple pairs in a pack!


Leave a Reply