This post may contain affiliate links. For more information, please see our disclosure policy.
This Easy Tape Manicure is perfect for spring and is so simple to do. A complete tutorial for easy gel nail art with tape.
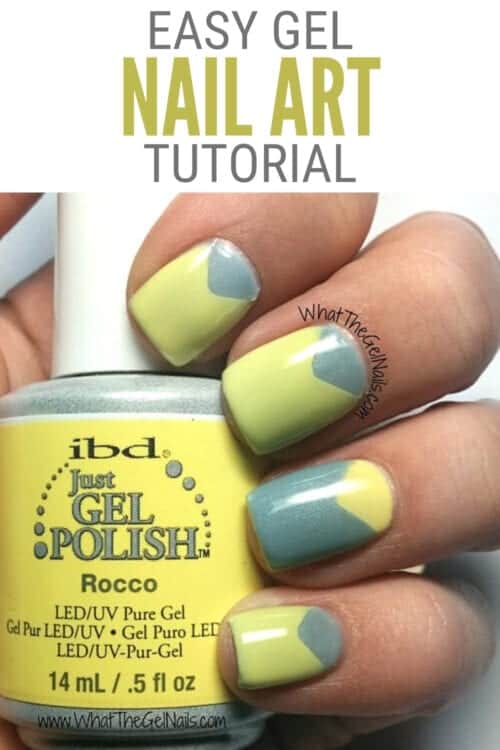
Today is a super fun tape manicure tutorial. It’s effortless but looks super fancy. Plus, it works great with gel polish and regular nail polish. Score!
My name is Kirstylee and I blog over at What The Gel Nails. I write about gel polish and I have lots of nail art ideas, pictures of colors, beauty recipes, and gel polish tips and tricks.
Supplies You'll Need:
This post contains affiliate links.
Easy Gel Nail Art with Tape:
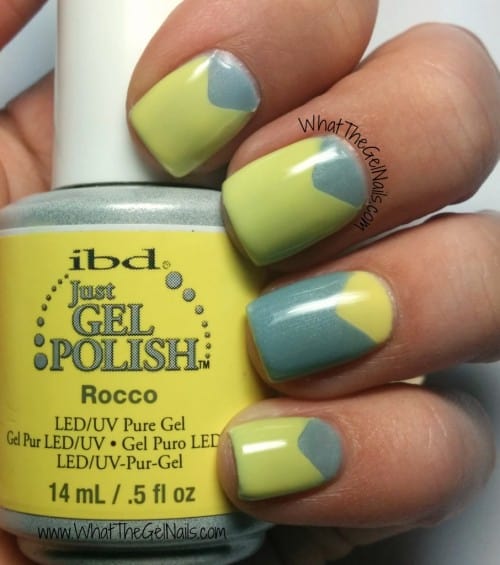
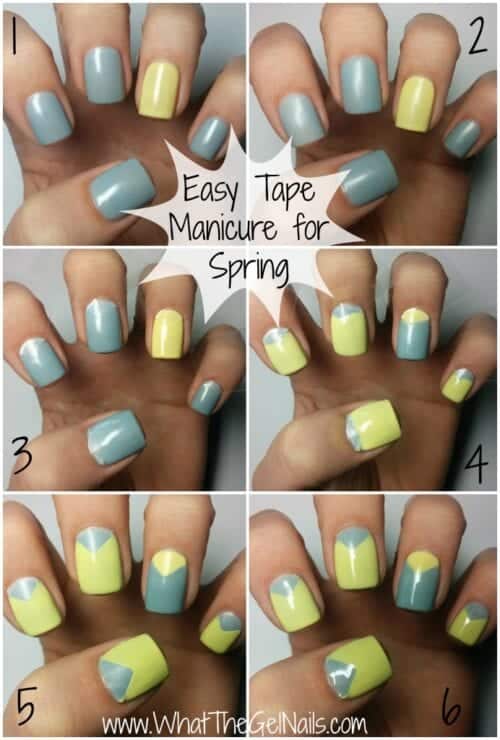
Step 1: Paint a base coat, then 2 coats of color on each nail. I did IBD Rocco on my ring finger and IBD Iceberg on my other fingers.
Step 2: If using gel polish, wipe off the tacky layer so the tape will stick to the fingernail without lifting. If you are using regular nail polish, let your polish dry completely.
Step 3: Cut small squares of tape and stick one corner of the tape onto the bottom of the nail. Repeat for each nail. Make sure the tape is completely stuck on the nail or you will have some bleeding from the nail polish.
Step 4: Paint the uncovered part of the nail with the color of your choice. It’s okay if you paint the tape a little. I painted IBD Iceberg on my ring finger and IBD Rocco on my other fingers.
Step 5: Carefully remove the tape from the nail. You should get a nice, crisp line. Don’t worry if the top color is elevated. The top coat will cover that up. 🙂
Step 6: Paint a top coat over the whole nail. Repeat with all nails and enjoy your finished manicure!
Tape is a great tool for nail art because you get crisp lines with little effort. Want to learn more about gel polish? See my most popular posts: How to Do Gel Nails at Home, How to Remove Gel Polish Without Acetone, and Gel Polish Swatch Gallery.


Summer
I really need to try this out - looks so fun!
Ashley
Hi! Stopping by from the All Things Thursday link party. This is a great guest post! Super pretty nails!
Alyse
Ooh. I like. I'm going to try this design with black and hot pink.
Liisi
I will try this out. Looks very nice 🙂
Nicole
Oh, that is very cool! I love when things are easy AND fancy! Found you on the Craftaholics Anonymous Linky Party. Great post!
T'onna @ USS Crafty
Pretty! This reminds me that I really need to paint my nails! Love the colors!
T'onna
Diana Rambles
Fun tutorial! Congratulations! This post is going to be featured over at Diana Rambles tomorrow and has been pinned in the Featured at Diana Rambles board at Pinterest and Tweeted. Please grab a featured button off my button page or via the post guidelines graphic. Thanks for sharing this awesome idea!
It's GinaB!
A great post that I think I might be able to manage it. I have also featured this tutorial as one of my favorites in this weeks Beautiful, Creative and Inspired Link Up #25. Additionally, tI will be a feature on my instagram along with the other favorites this week. Please feel free to repost if you like. Also, be sure to grab the BCI featured badge so you can show off. lol. See you at the party!
Katie
Oh my goodness GinaB Thank You! You have made my day!
Stacey at the soccer mom blog
What a neat idea! I never would have thought to use tap for straight lines (I always rely on a steady hand haha). Just got some new polish so will be trying this!
Katie
I am impressed! I try to do a straight line and it more crooked than if I wouldn't have tried at all! 🙂 Thanks for stopping by.
Linda
Very fun look. I can see many different possibilities. Thanks for sharing at DI&DI.
Katie
Thanks for stopping by Linda. It's crazy the everyday items we can use to make a totally cool effect!
Cara
So cute and such an easy way to switch up the look of your nails! Thanks for sharing 🙂
Katie
You are welcome Cara, thanks for stopping by!
Pam@over50feeling40
How much fun is that! Thanks for sharing with the Thursday Blog Hop!