This post may contain affiliate links. For more information, please see our disclosure policy.
Learn How to Make a Heart Music Clef Candy Jar. The perfect handmade gift for the music lovers in your life! Easy DIY Craft Tutorial Idea with the Cricut.
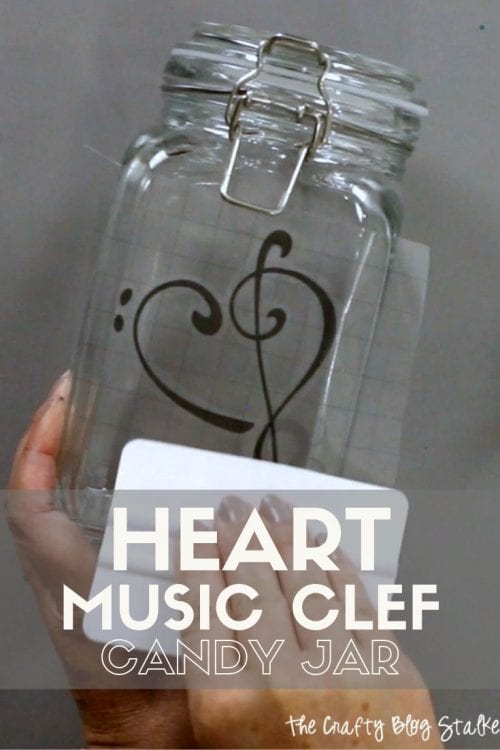
Do you have a friend that just LOVES music? I have several and even a daughter who was very mad at me for making this for someone else besides her! Music is a universal language which makes it such a great gift to give! Plus, who doesn't love candy? Making the Heart Music Clef Candy Jar the perfect combination.
Heart Music Clef Candy Jar Tutorial Video
Like videos? I do have a video tutorial if you would prefer to watch the tutorial. Please subscribe to my YouTube Channel so you don't miss out on any future video tutorials!
Supplies Used to Make Heart Music Clef Candy Jar
Some links may be too similar items when exact items couldn't be found online.
- Love Music in Cricut Design Space
- Cricut Cutting Machine
- LightGrip Mat
- Black Vinyl
- Transfer Tape
- Scraper Tool
- Candy Jar
- Favorite Candy - mine is Swedish Fish!
How to Make a Heart Music Clef Candy Jar
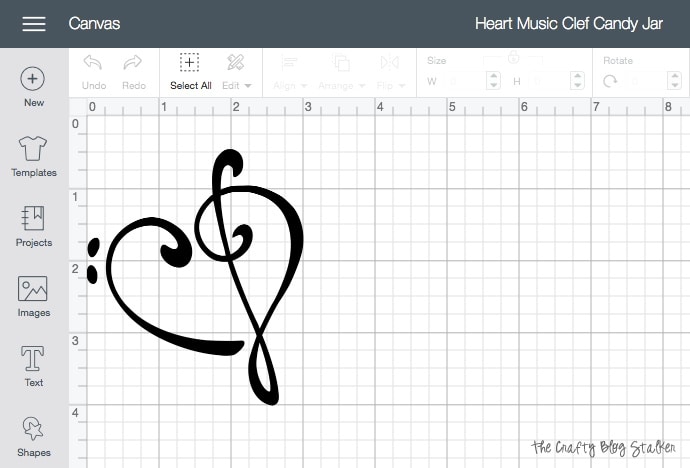
To begin, you need to upload the image into Cricut Design Space. I have a full tutorial on how to upload an image into Cricut Design Space so you can follow along.
Here is the image I used as well. Select the image and select save as. Just make sure you know where you save it so you can find it.

After you have the image in Cricut Design Space, The next step is to cut your Heart Music Clef out of Black Vinyl using a Cricut. It doesn't matter what machine you have, all Cricut machines can cut vinyl. For this project, I used my Cricut Explore Air 2.
Depending on the size of your candy jar, you may want to adjust the size of the file in Cricut Design Space before you cut. My finished size was about 3 by 3.5 inches.
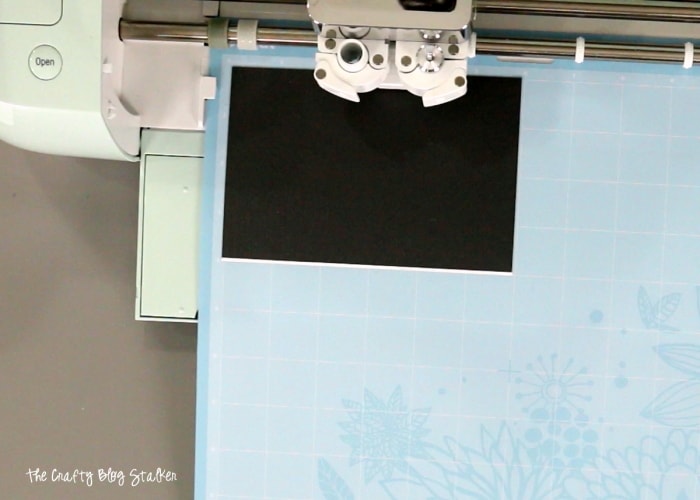
When you are ready to cut, lay your black vinyl paper side down onto the blue, light grip mat. Select green "Make it" button in Cricut Design Space and follow the prompts to cut your heart music clef.
After the shape is cut, weed or remove the excess vinyl that you don't need. You will be left with a perfect vinyl sticker heart music clef!
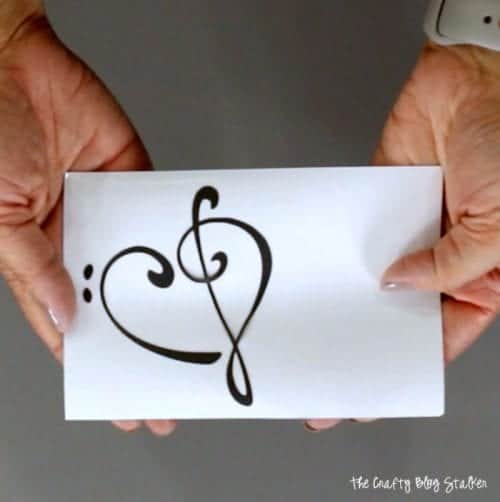
The best way to apply the new sticker is with transfer tape. If you were to pull the shape off the paper and try to apply, the vinyl will probably stretch making it so the shape doesn't lay flat on the candy jar.
Cut a piece of transfer tape slightly larger than the heart. Peel the transfer tape from the backing sheet and carefully lay it down over the top of the heart. Using a scraper push the transfer tape into the vinyl sticker.
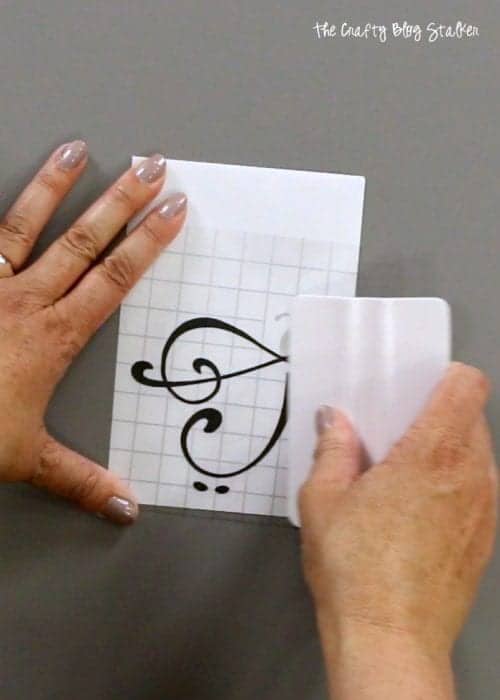
Slowly peel the transfer tape and vinyl away from the paper backing. The vinyl should easily peel back with the transfer tape. If it doesn't, lay back down and rub over again with the scraper tool.
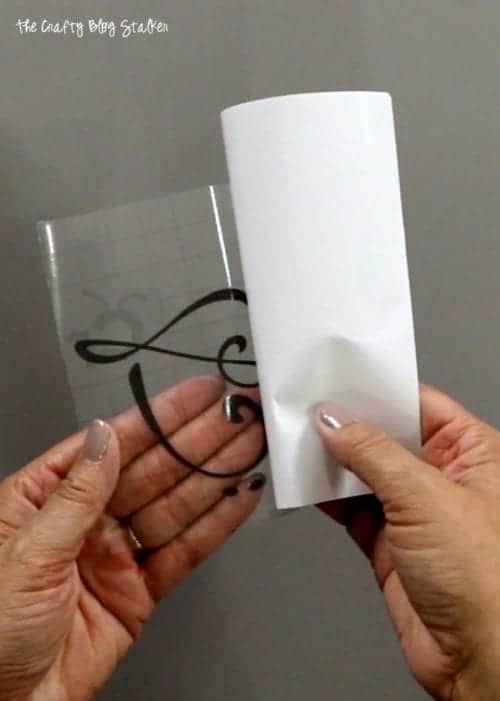
Make sure that the outside of the candy jar is nice and clean so the vinyl will stick its best. Lay the sticker heart and transfer tape down where you want the image to be.
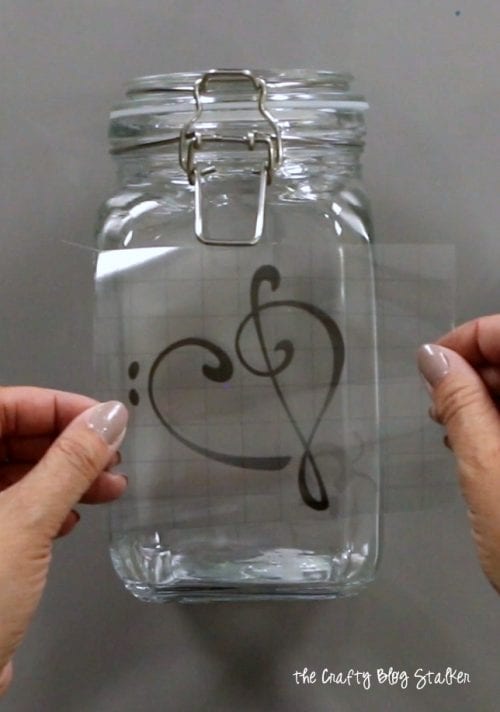
Again, rub and press down over the transfer tape to now push the vinyl onto the new surface.
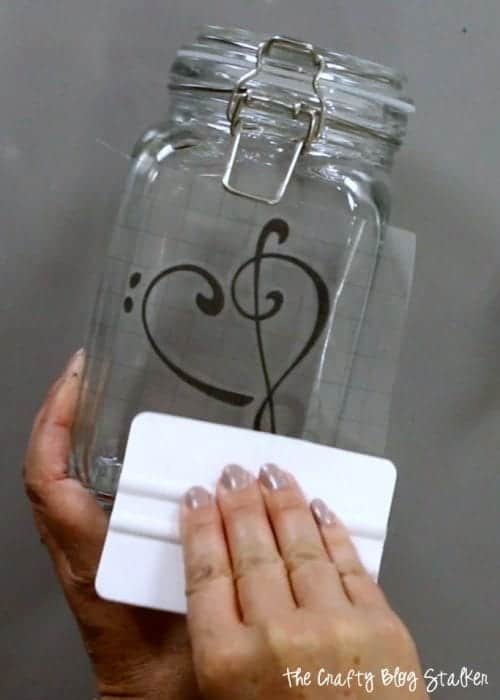
Then slowly peel back the transfer tape. Now you want the vinyl heart to stick to the jar. If it tries to come up with the transfer tape lay it back down and rub some more.
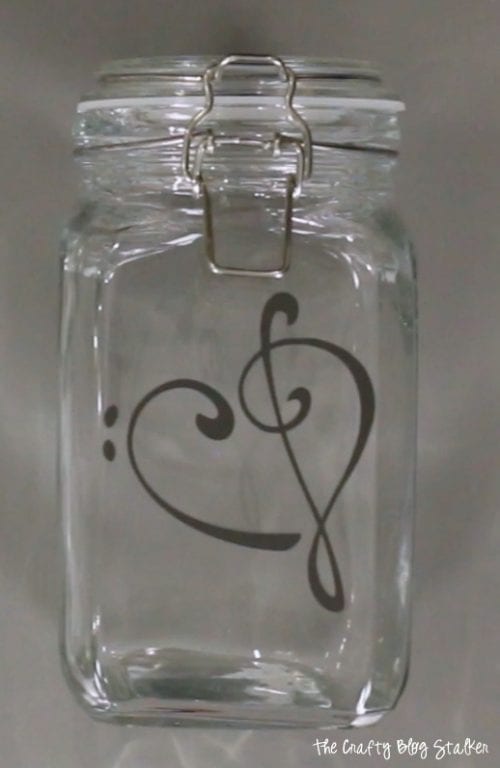
Now that your candy jar is finished, all that is left is to fill it with your favorite candy. YUM!
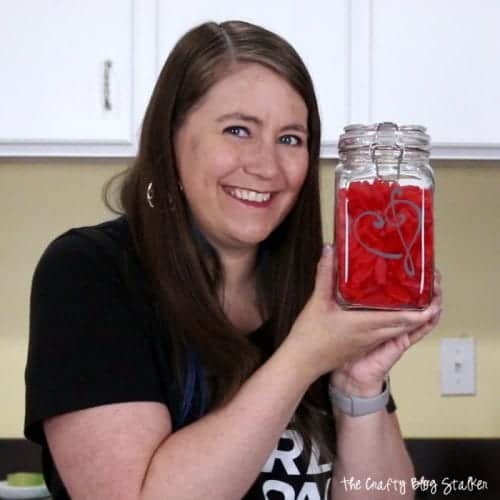
What candy would you put in it? I did Swedish Fish!
Our Crafting Essentials:
- The Cricut Cutting Machine is easily our favorite crafting tool. We use it in so many of our tutorials!
- These MakerX Crafting Tools are perfect for keeping in the craft room and are always ready when needed!
- This Fiskars Paper Trimmer is easy to use and cuts nicely without frayed edges.
- These Scotch Precision Scissors cut like a dream, and you get multiple pairs in a pack!



Leave a Reply