This post may contain affiliate links. For more information, please see our disclosure policy.
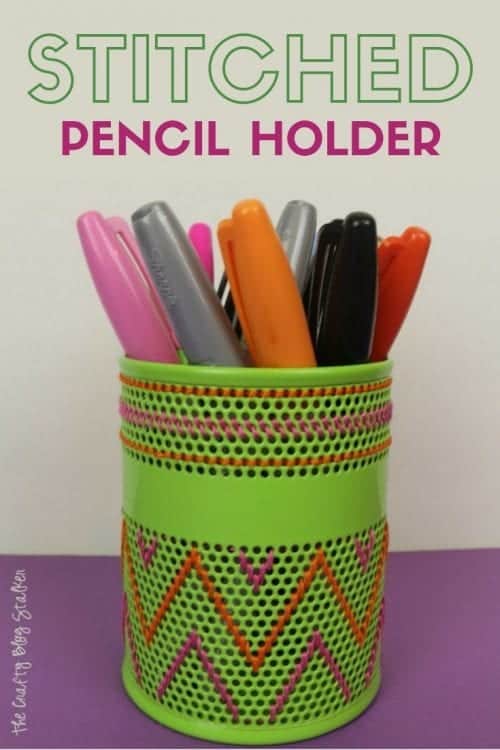
Learn how to make a personalized stitched Pencil Holder for your desk. A simple DIY craft tutorial idea to get you back to school.
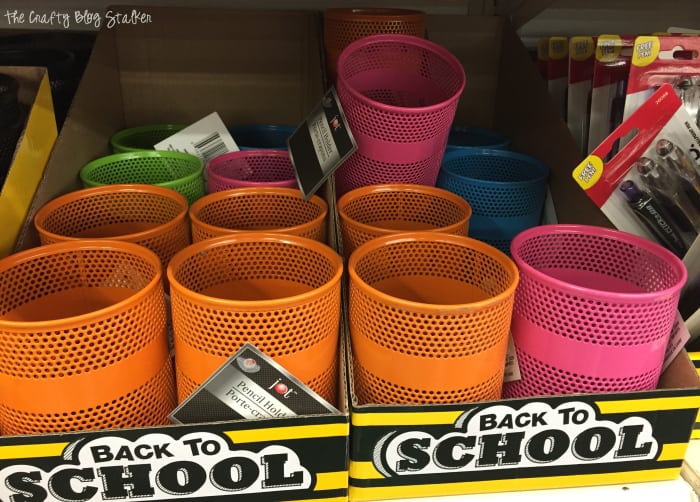
In July, I was shopping with my daughter at the Dollar Store. She wanted to pick up some makeup. Seriously, I love the Dollar Store for makeup, but that's a different story.
While my daughter was off in the makeup aisle I was browsing the office section and I found these neon pencil holders. I was drawn to them because of all the fun colors, then when I picked them up and got a closer look, I started getting fun ideas of how I could make them even cuter!
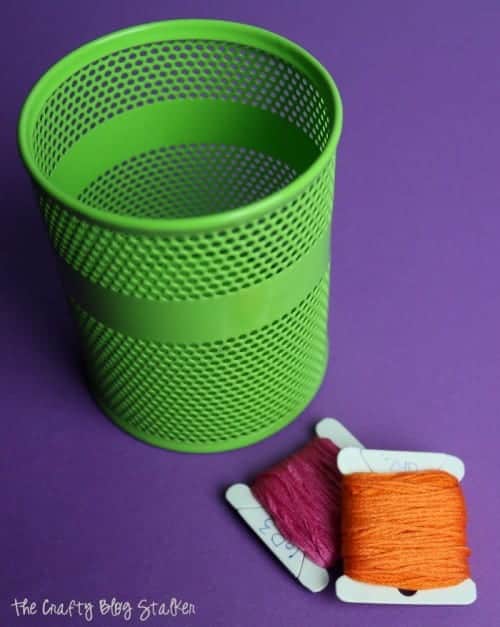
Supplies Used to Make a Stitched Pencil Holder
Some links may be too similar items when exact items couldn't be found online.
Stitched Pencil Holder Tutorial
One of my very favorite patterns is chevron. I figured that pattern would be pretty simple to create so I just jumped in. I did a little bit of math counting the holes in one row around the holder to figure out how many stitches I should go up and down for the points of the chevron. DMC Floss includes three strands, so I cut a length of floss about as long as my arm and then separated the strand into 2 pieces. So there were 3 strands in each length. Then I started stitching.
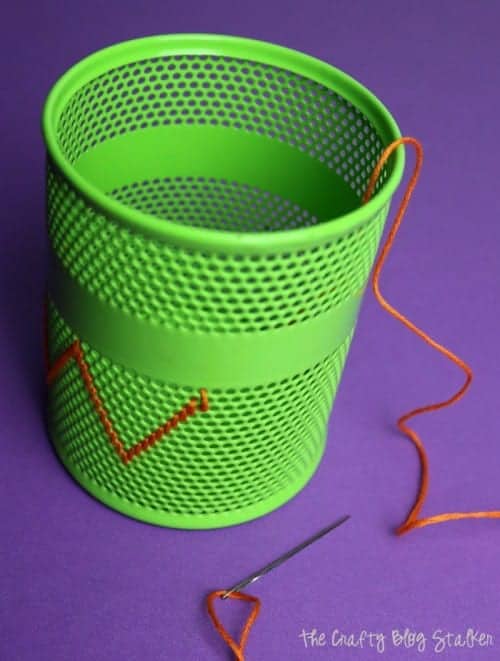
This is very similar to cross-stitching only on a metal canvas instead of Aida cloth. Out through the top hole, back in the hole directly below, moving down or up at a slant.
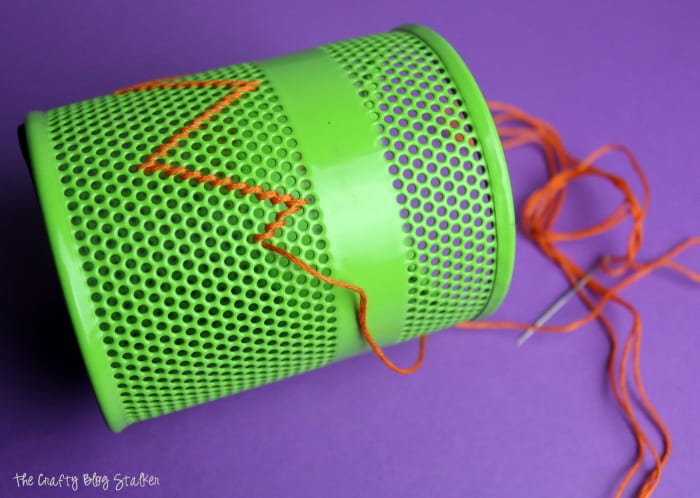
Here is what my first chevron row looked like.
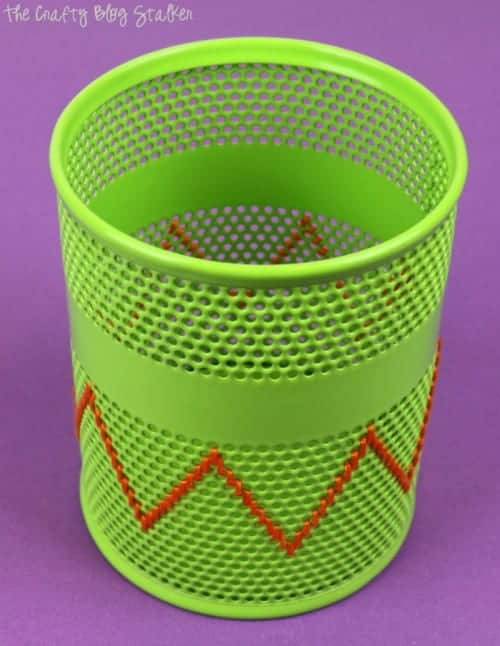
The further down the holder you go it is a little bit more difficult to get your fingers to do what you want them too. So keep that in mind when you are creating your pattern. I only did one more chevron pattern below the first and that bottom row of circles was the most difficult to make.
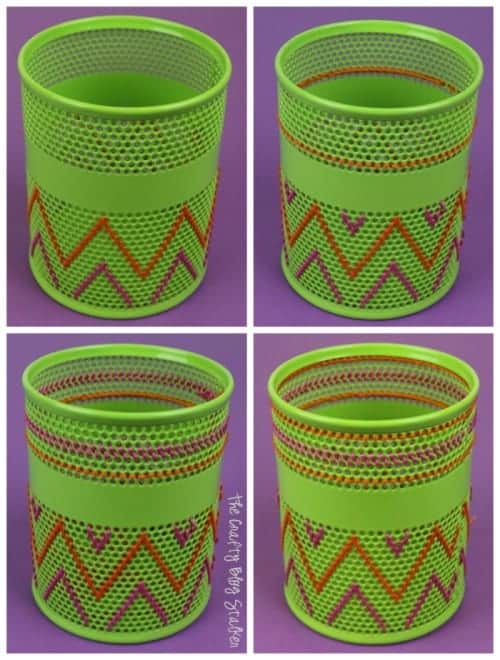
Here are what the rest of the pieces of the pattern looked like as I stitched around the pencil holder. I really wanted to keep with that chevron pattern on the top too but that band around the middle with no holes really messed with me and made me realize that I am really not as good at math.
After about three hours of trying to figure it out, and then pulling it out because it didn't work - I decided to go with the stripes on the top. My brain hurt and my ego needed something I could actually figure out. I can figure out straight lines!
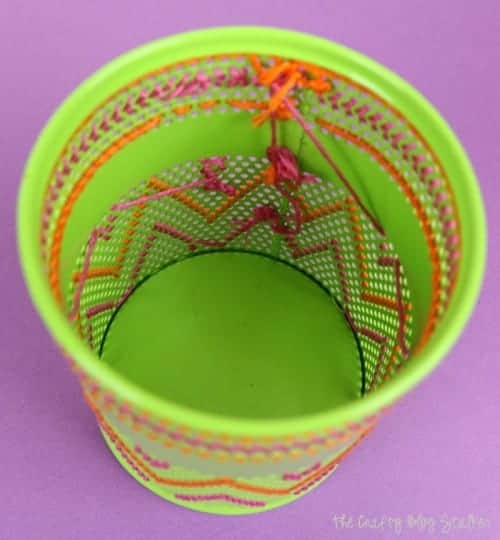
Want to see what the inside looks like? Here you can see that I tied knots at the end of my strands when starting a new piece as well as how I moved around the Pencil Holder. I always started at the back seam and moved around the holder. I will always point the seam towards the wall or back of the room so it doesn't matter if it is perfect.
What colors will you stitch your pencil holder? Share and leave a comment below!
SAVE HOW TO MAKE A STITCHED PENCIL HOLDER TO YOUR FAVORITE PINTEREST BOARD!
Follow me on Pinterest and you can see all the DIY projects I'm pinning!
You Might Also Like:


Tracy Elsom
Hi Katie. What a great idea. If you're worried about catching the threads on the inside as you use the pot, you could cut a piece of card the same height as the pot but 11" long. Bring the card round into a cylinder, put it inside the pot and then let go. The card will try to straighten out and will automatically follow the inside curve of the pot without the need for any adhesive.
Katie
You are a genius! Such a great idea Tracy, thank you!
Maria
Hi Katie. This is such a fabulous idea!!! I have a whole set of these on my desk and they are about to get a face-lift 🙂 Have a wonderful weekend
Katie
Maria, I am so glad that you found the tutorial useful. I would love to see what you come up with!
creativejewishmom/sara
Love it, bought a memo holder like this to embroider on too.....thanks for sharing on craft schooling Sunday!
Ginny
What a great idea. I thought the holder was crochetted at first. I could imagine that would be a great project for school kids.
Vasudha s
Oh, this is super cute..
Katie
Thank you so much! I am glad that you like it!