

This post is sponsored by Cricut. All opinions expressed are my own.
Learn how to make a Snowflake Pillow Cover, using Cricut! Perfect to add to your holiday home decor. An easy DIY craft tutorial idea.
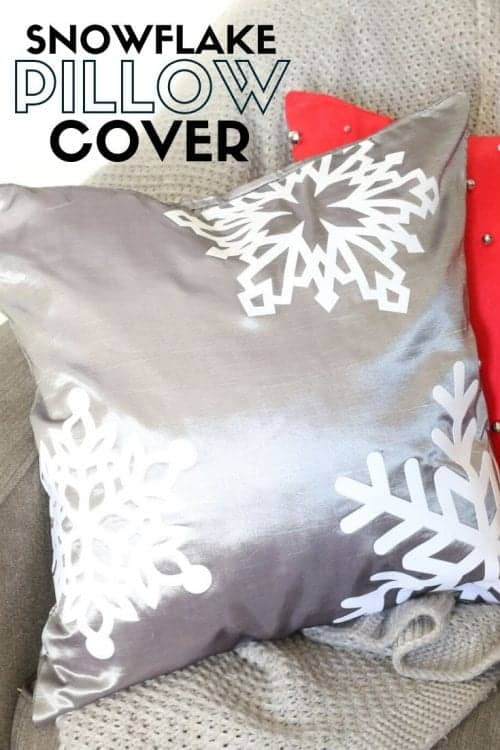
Do you like to decorate your home for the holidays? It is definitely my favorite! This year I am adding some new throw pillows to my holiday decor. In this tutorial, I am going to be showing how to make this Snowflake Pillow!
Snowflake Pillow Cover Video Tutorial
Like videos? I have a video tutorial for you! Please subscribe to my YouTube Channel so you don't miss out on any future video tutorials!
Supplies Used to Make a Snowflake Pillow Cover
Some links may be on similar items when exact items couldn't be found online.
- 18-inch Pillow Cover
- 18-inch Pillow Form
- Cricut Cutting Machine
- Snowflakes in Cricut Design Space
- Flocked Iron-On Vinyl
- BrightPad
- Heat Press
- Weeding Tools
How to Make a Snowflake Pillow Cover
We are going to begin with the design in Cricut Design Space. Just remember my project is an 18-inch pillow. If your pillow dimensions are different you will need to resize the project. Or you can create your own design using snowflakes of your choosing.
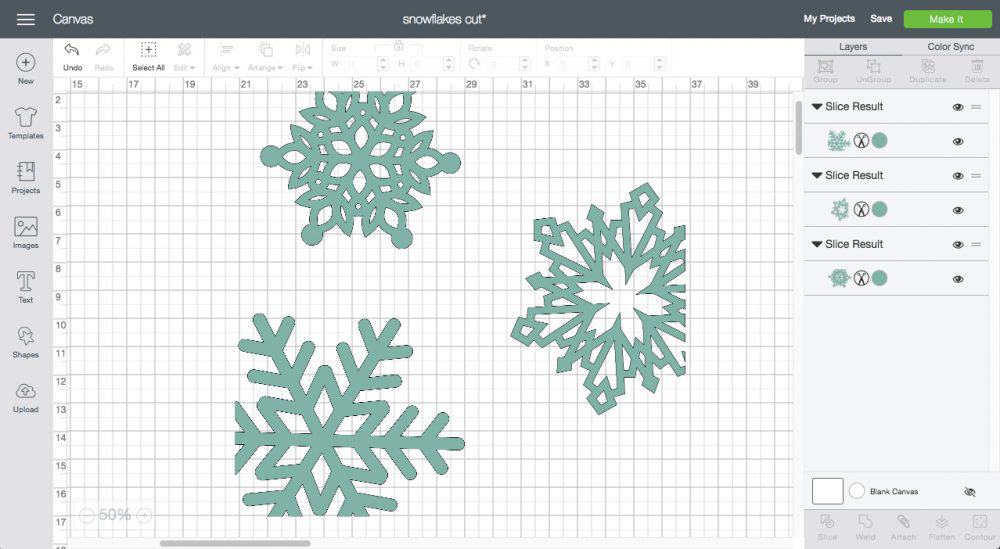
Follow the prompts of Cricut Design Space and cut the images out of Flocked Heat Transfer Vinyl. Since we are working with iron-on make sure to mirror your mat before cutting and place the heat transfer vinyl shiny side down on the cutting mat.
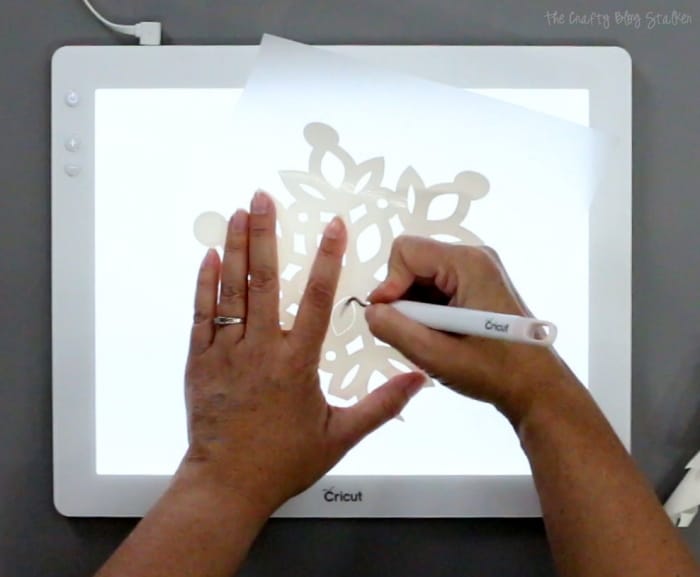
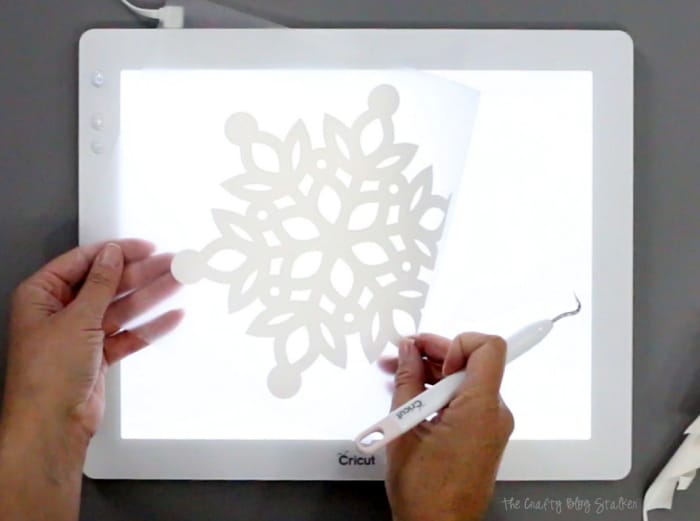
Once the snowflakes are cut it is time to weed. The Cricut BrightPad makes weeding super easy because you can see the light through the cut lines so you know right where to weed.
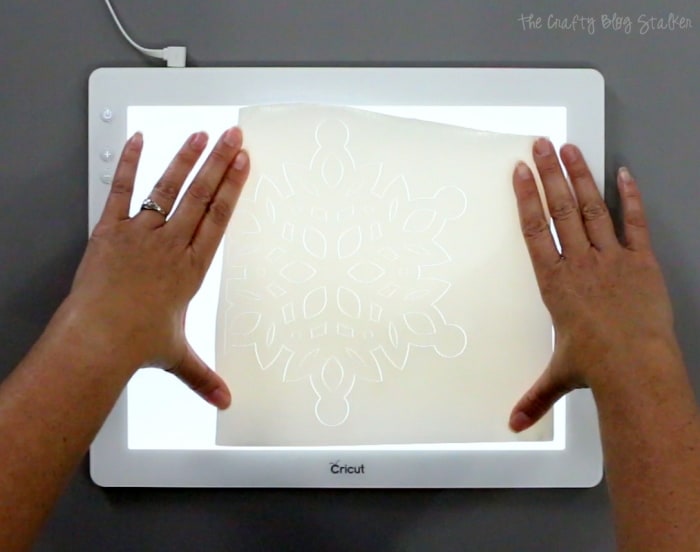
I find it easiest to start by removing the outer edge of the image first. Then take the weeding tools to the inside of the image and remove the extra pieces there.
When all of the snowflakes have been weeded it is time to pull out the Cricut EasyPress! This is my favorite new toy of all of the new Cricut products!
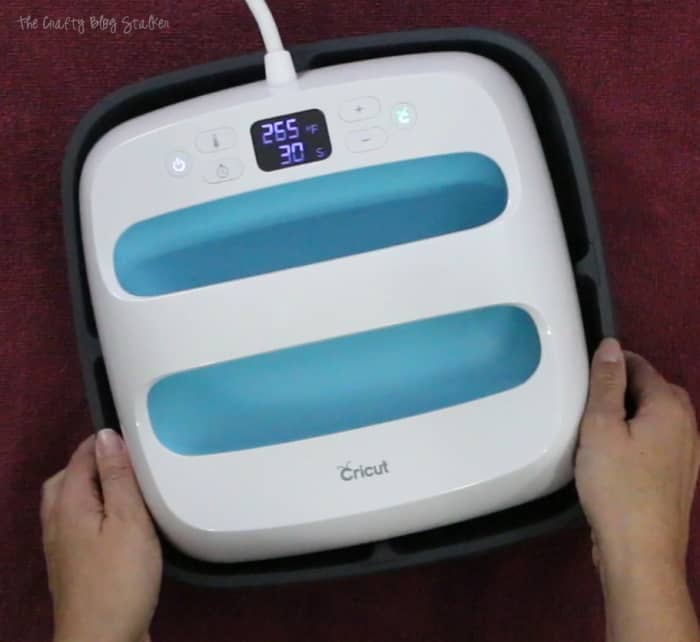
The Cricut EasyPress works like the big industrial heat presses but this one is so much smaller, lighter, less expensive and works just as well!! The EasyPress comes with a temperature chart so you know the temperature and press time that is best for the material and the type of iron-on.
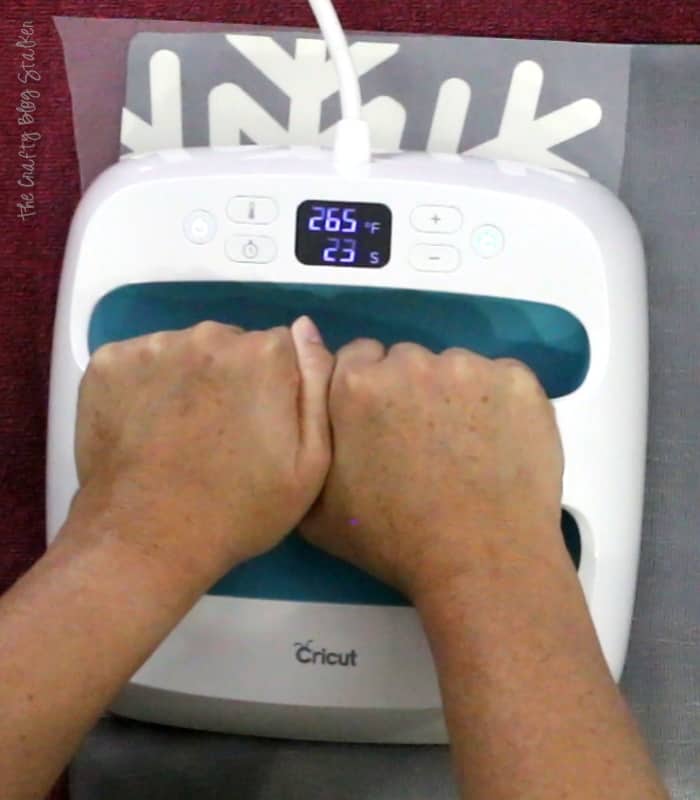
For my snowflake pillow, I set the temperature to 265 with a press time of 30 seconds.
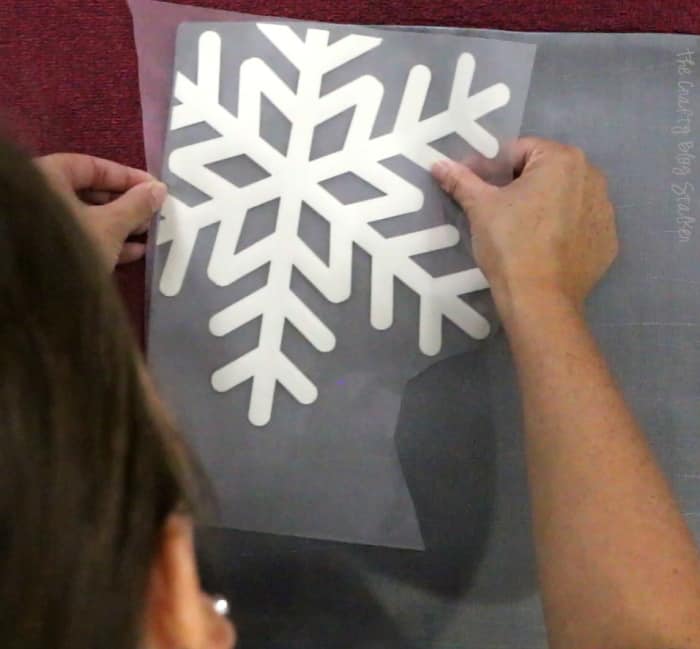
Before I can iron on my snowflakes, I use the EasyPress as an iron to get the wrinkles out of my pillow cover. Then go to the corner where I will be placing my first snowflake to heat up the fabric.
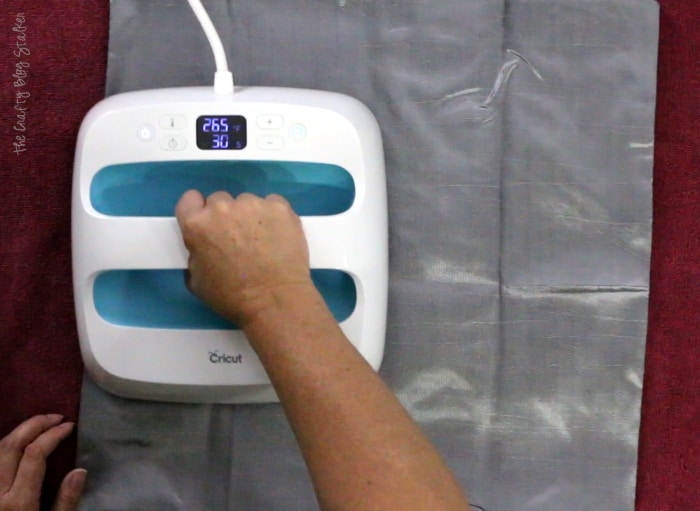
Align the snowflake against the edges.
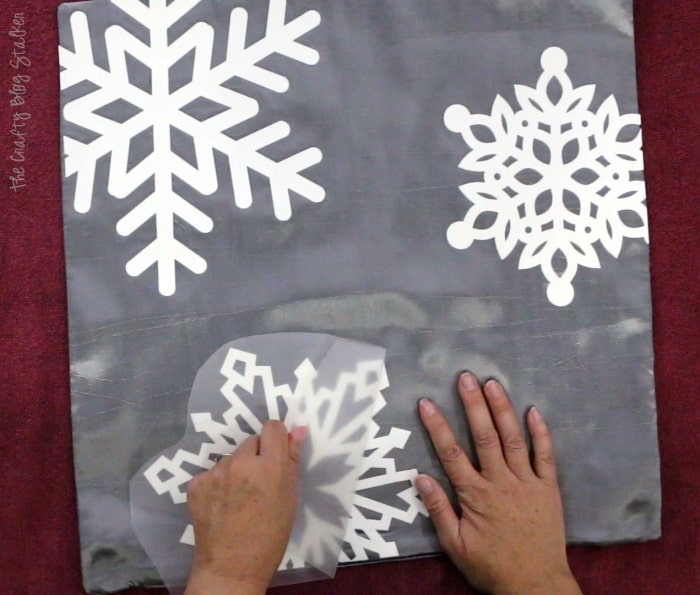
And lay the EasyPress over the iron-on, apply a little bit of pressure, and hit the Cricut Logo button to begin the timer. This first snowflake is bigger than the EasyPress so I do two applications to make sure to cover the entire area. Then turn the pillow cover over and repeat on the backside. Repeat for all snowflakes.
When you are done with the EasyPress, let the fabric cool a bit before you remove the backing sheet from the iron-on.
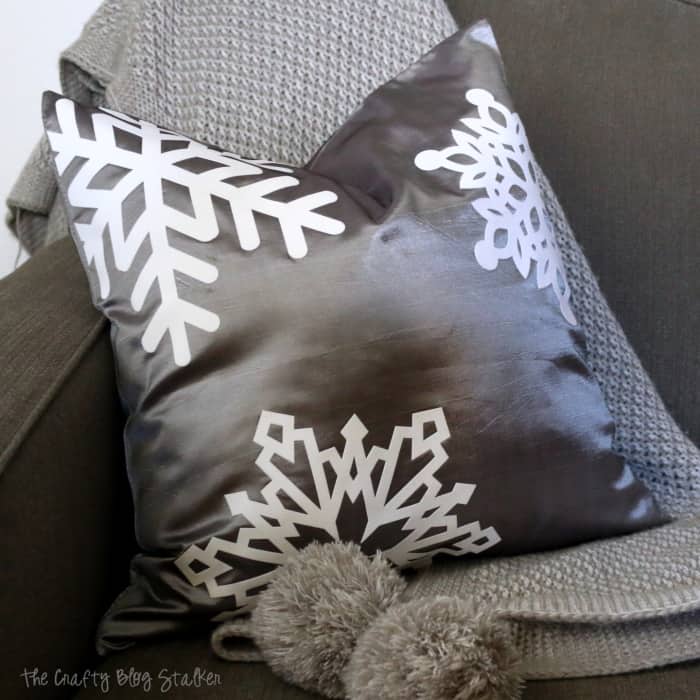
All that is left is to place your pillow form inside the cover, and your Snowflake pillow is complete!
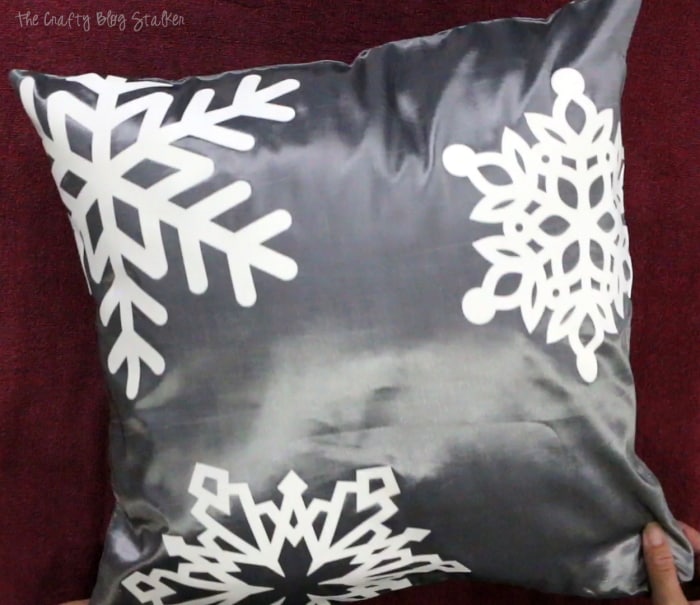
I am thrilled with how this turned out and it looks fabulous on my couch coupled with the Jingle Bell pillow I made!
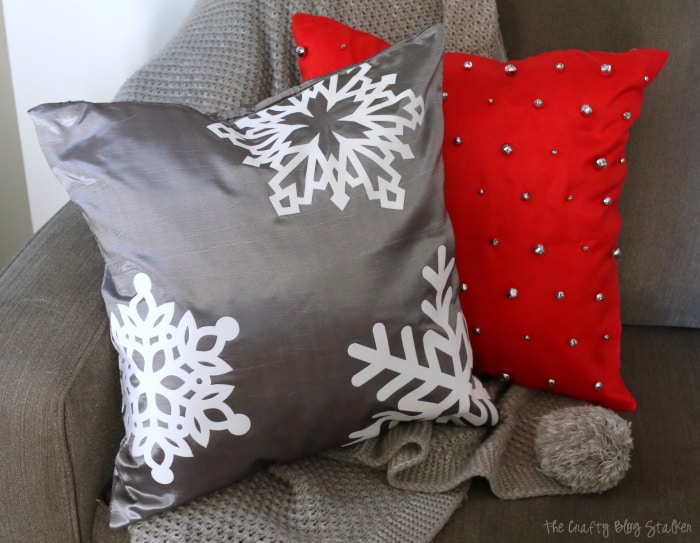
Want to make the matching Pillow Cover with Bells shown above? I have a tutorial for that too! How to Make a DIY Holiday Throw Pillow with Bells.
Crafting Essentials
- The Cricut Cutting Machine is easily my favorite crafting tool. We use it in so many of our tutorials!
- These MakerX Crafting Tools are perfect for keeping in the craft room and are always ready when needed!
- This Fiskars Paper Trimmer is easy to use and cuts nicely without frayed edges.
- These Scotch Precision Scissors cut like a dream, and you get multiple pairs in a pack!
Maggie DeComa
I am stalking you. Love your blog!!! Can't get the link to works for the file. I am using a regular computer.
Katie
Thank you for letting me know Maggie! Try this link to access the project. https://design.cricut.com/#/design/72831260
Oh and thank you for stalking me! I am honored! 🙂