

This post is sponsored by Fairfield. All opinions expressed are my own.
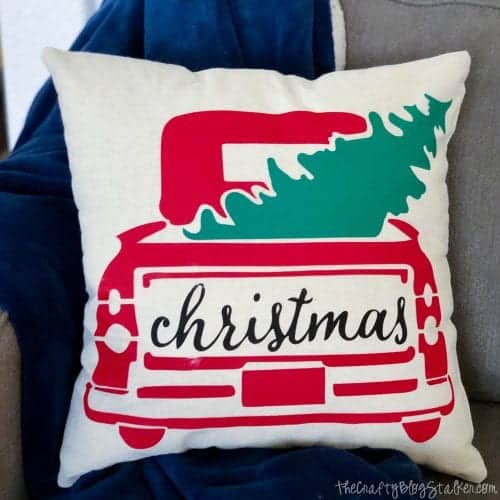
Learn how to create a farmhouse holiday throw pillow using your cutting machine, and SVG cut file. You will love these DIY Decorative Christmas Pillows!
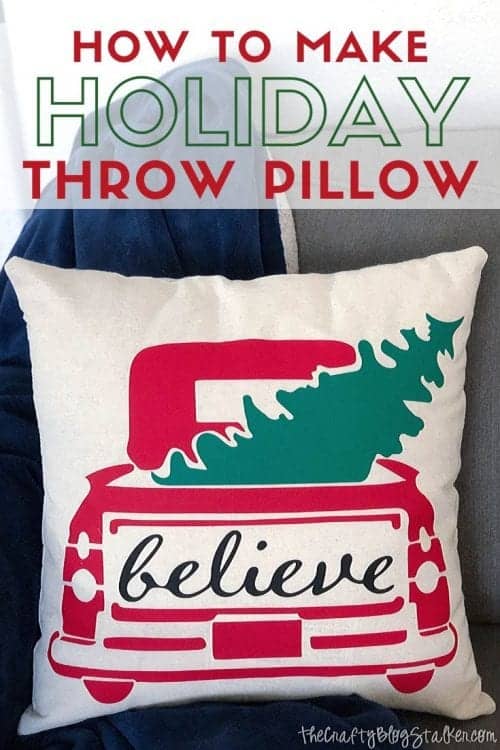
Do you love decorating your home for the holidays? Then you are going to love these farmhouse-style decorative pillows!
They come together quickly and look so cute among the other holiday decorations!
Holiday Throw Pillow Video Tutorial
Do you like videos? I have a video tutorial for you! Please subscribe to my YouTube Channel so you don't miss out on future video tutorials!
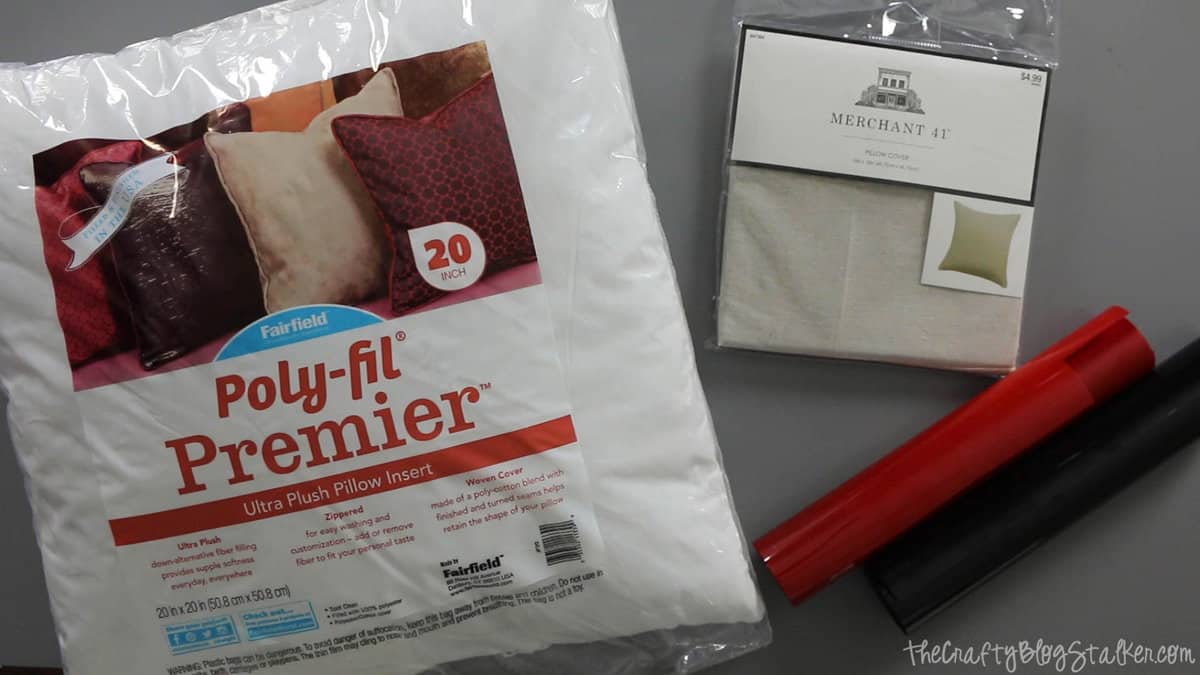
Supplies Used to Make your Holiday Throw Pillow
Some links may be on similar items when exact items couldn't be found online.
- 20" Fairfield Pillow Insert
- 18" Pillow Cover
- Cricut Cutting Machine
- Christmas Truck SVG Cut File
- StandardGrip Mat
- Red, Green, and Black Iron-on Vinyl
- Weeding Tools
- BrightPad
- EasyPress
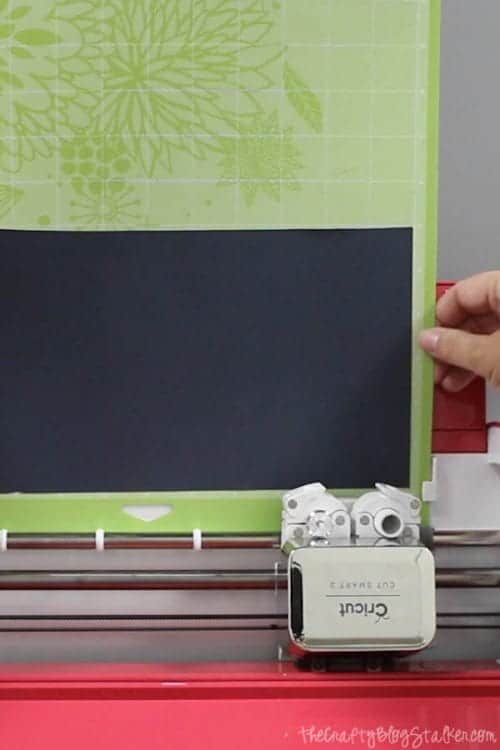
Cutting the Design of your DIY Holiday Throw Pillow
Grab the Christmas Truck SVG Cut File.

This file includes 5 different holiday words that fit onto the tailgate fo the truck. This means your pillow can say whichever festive word best fits you!
Upload the SVG file into your cutting software, I use Cricut Design Space. Size the design to fit your pillow size. Since my pillow is so large, I separated the top of the truck from the rest of the truck so I could cut the file larger than 11.5 inches.
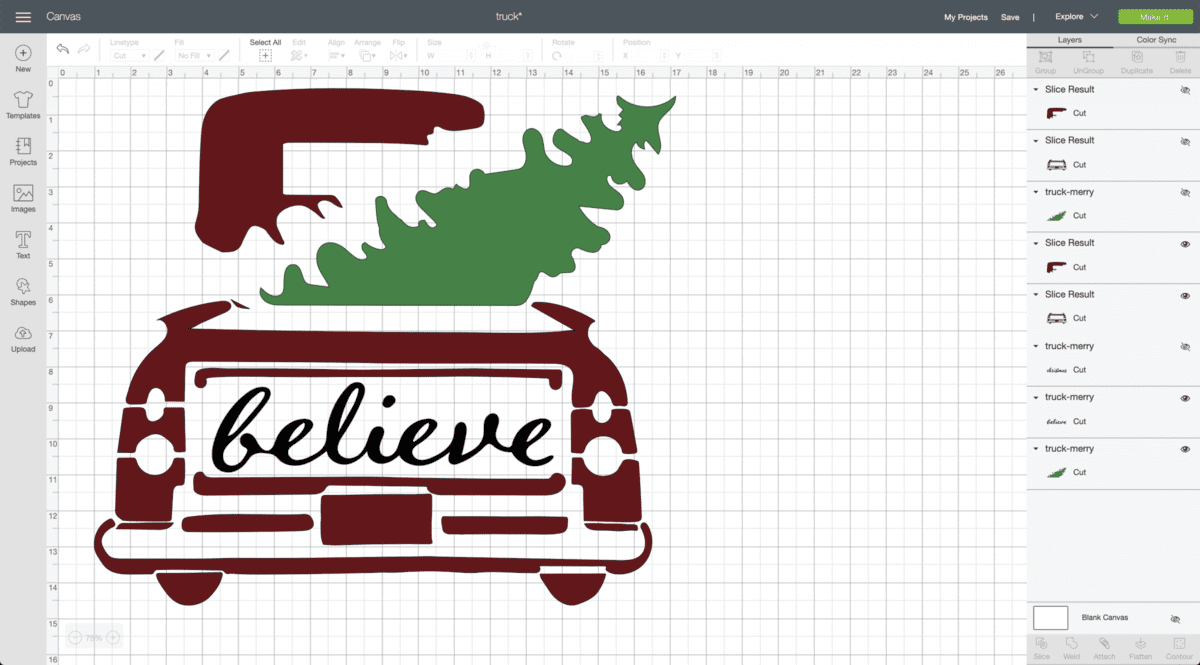
Since we are using iron-on vinyl, make sure to mirror the design and send the design to your cutting machine. You will have three different mats, one for each color of iron-on vinyl.
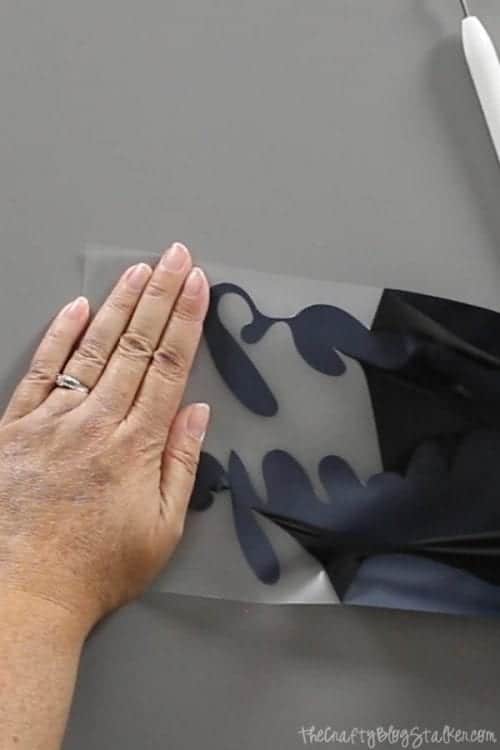
Once cut, remove the iron-on vinyl from the mat and weed or remove the negative parts of the design.
Applying the Iron-on Vinyl to the Holiday Throw Pillow Cover
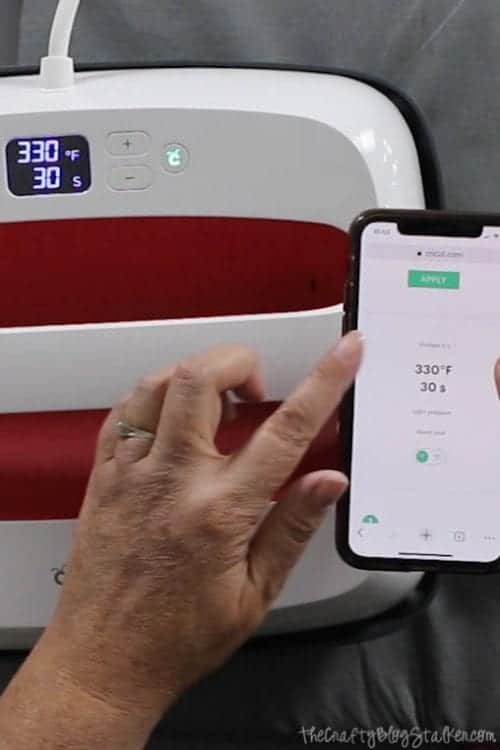
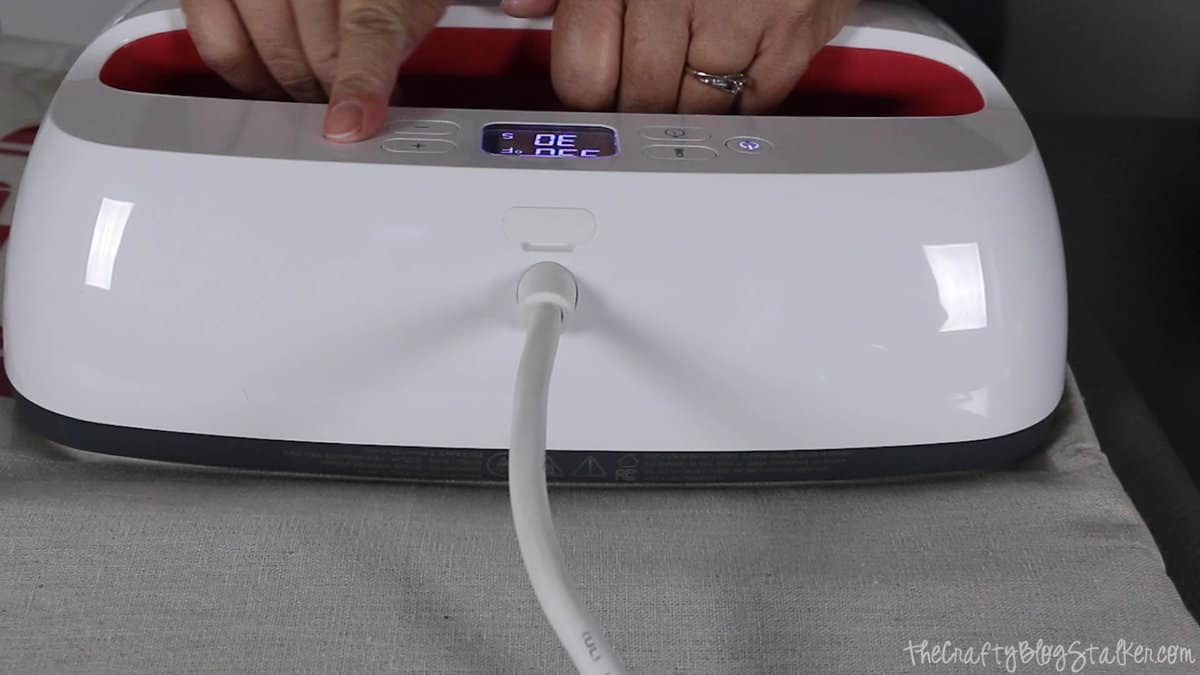
Visit the Cricut Heat Guide to see what temperature and time sequence to set the Cricut EasyPress at. You choose the heat-transfer material and base material and the calculator will show you the best settings to use for your project.
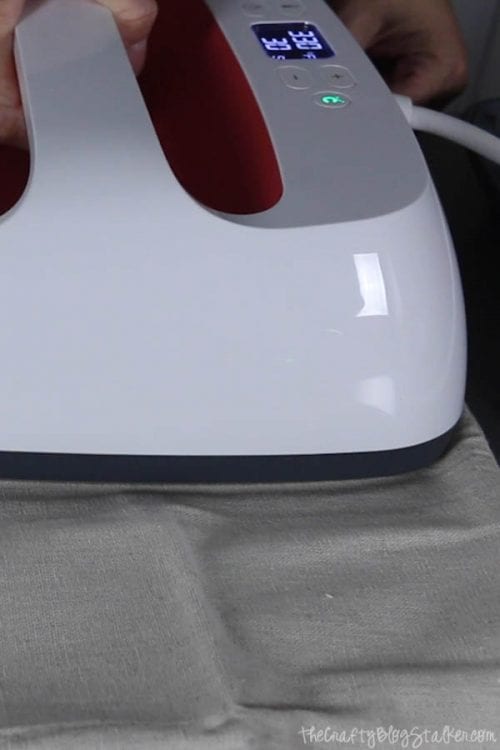
Open the pillow cover and iron to remove the wrinkles. You can use the EasyPress to iron as well.
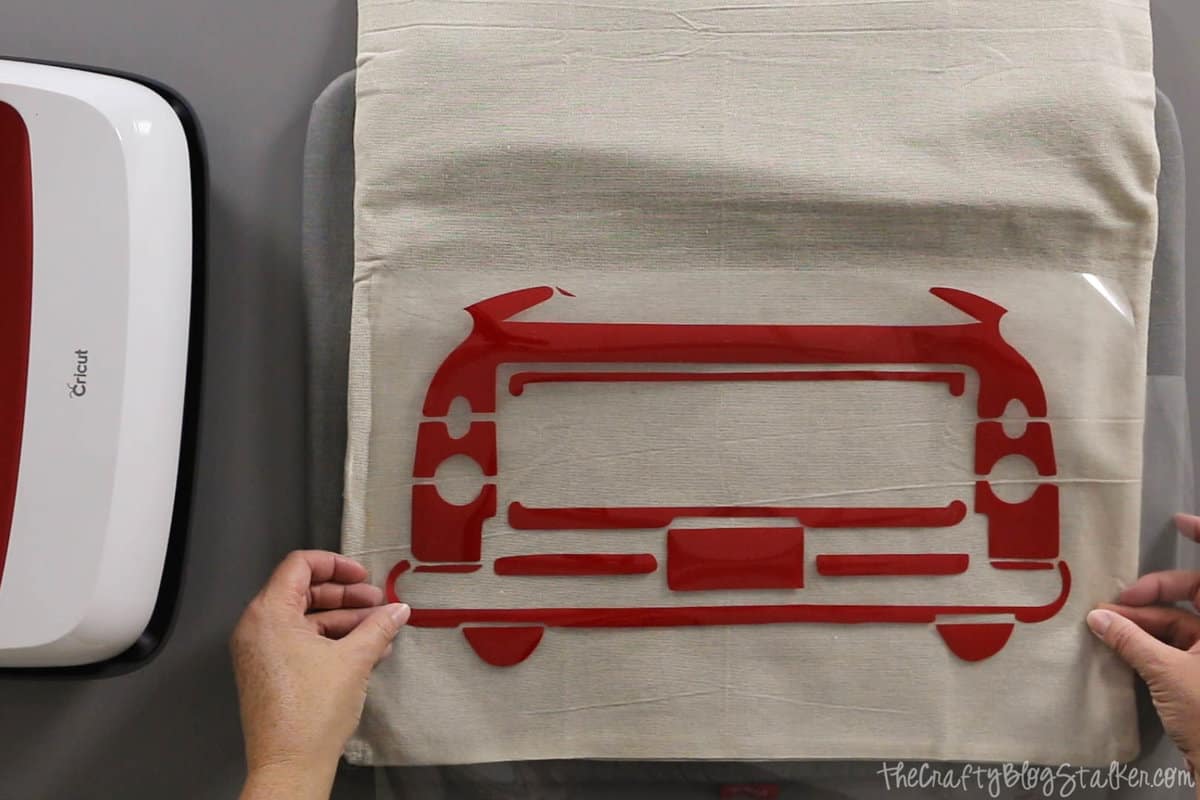
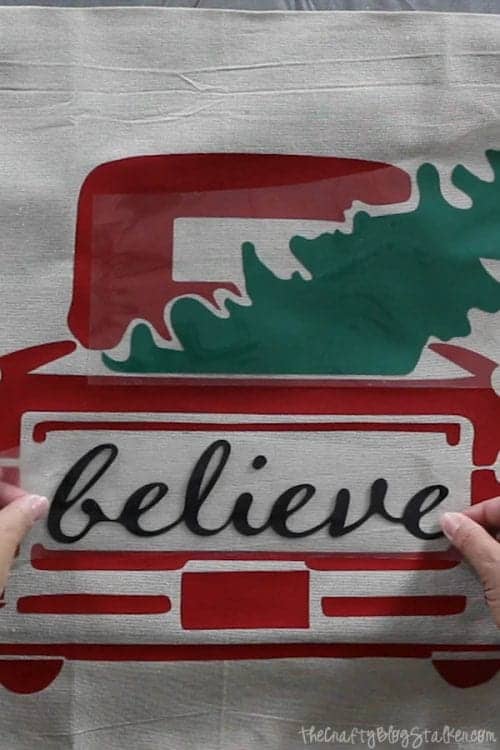
Lay the pieces onto the pillow cover to make sure everything lines up correctly and that the design is in the center of the pillow cover. Remove most of the pieces only leaving the truck.
Lay the EasyPress on top of the project and apply heat for the amount of time specified. If the EasyPress doesn't cover the entire design, once the time is up, lift and lay back down over the other areas Repeat until the entire design has had heat applied.
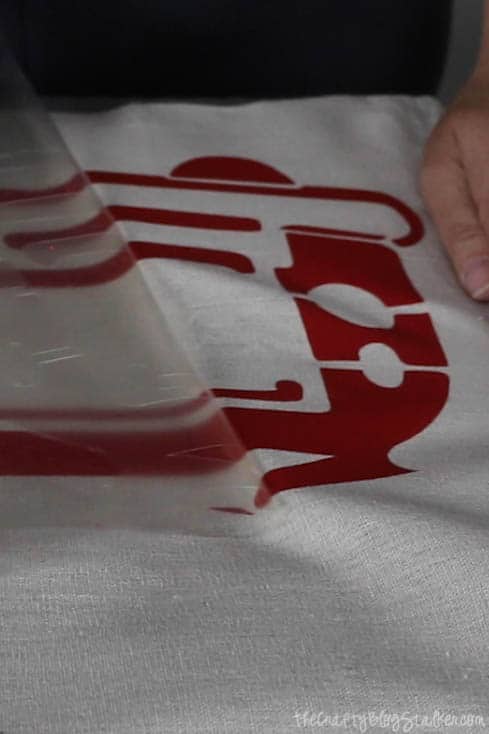
With this material, the Heat Guide suggested a warm peel. Once the project cools enough to touch without burning your fingers it is ok to peel back the iron-on protective sheet.
Slowly peel, so if there is an area that didn't stick you can lay the sheet back down and apply the heat again.
Repeat this process for all layers/colors of the design.
Once all of the pieces of the design are in place then you can stuff the Fairfield pillow insert into its cover!
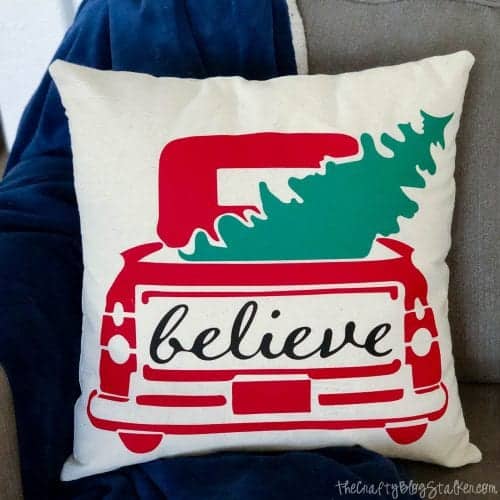
It was so cute, I had to make another with a different word!
They make such a cute pair, don't you think?
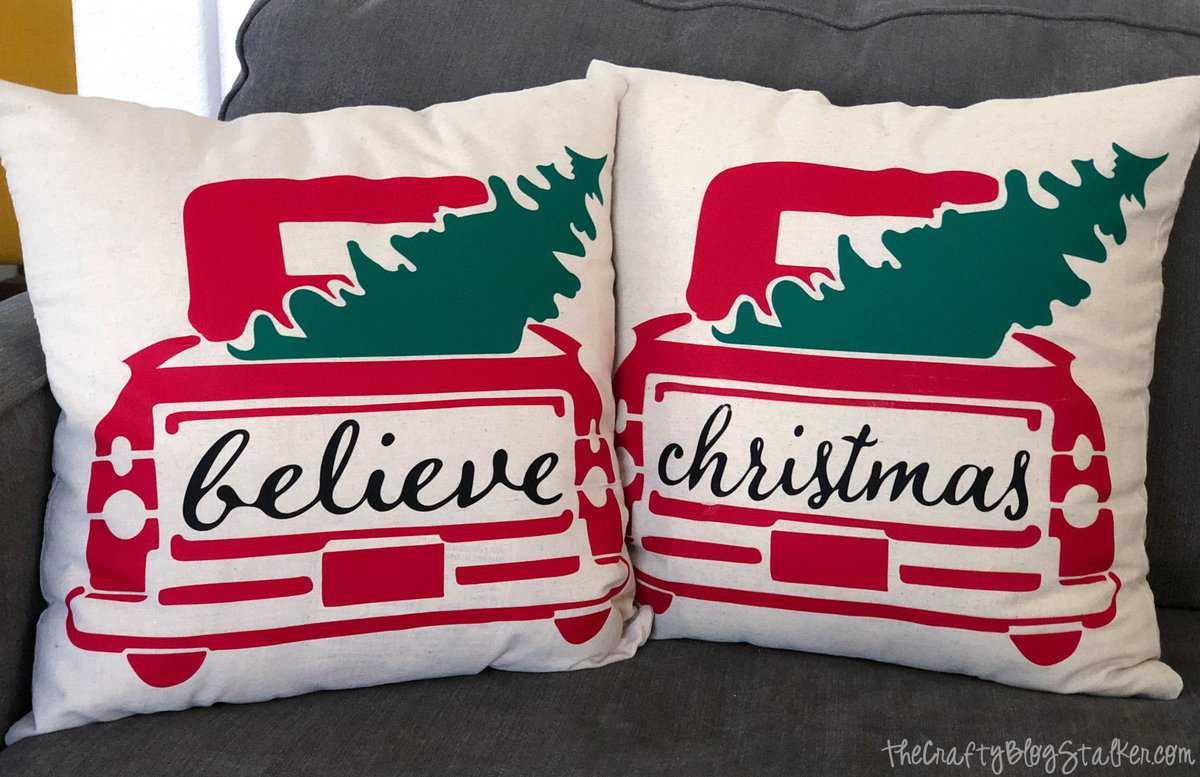
What word will you put on the tailgate of your Christmas Truck Holiday Throw Pillow?
Crafting Essentials
- The Cricut Cutting Machine is easily my favorite crafting tool. We use it in so many of our tutorials!
- These MakerX Crafting Tools are perfect for keeping in the craft room and are always ready when needed!
- This Fiskars Paper Trimmer is easy to use and cuts nicely without frayed edges.
- These Scotch Precision Scissors cut like a dream, and you get multiple pairs in a pack!
EmiLy
So cute, love that y oh used the two different words on them.
Katie
Thank you Emily! <3
Ann Strecko Koeman
I do beleive! Great job, tfs.
Katie
Thanks Ann! 🙂
Susie Bentz
Oooh! Love that you can choose your word in that tailgate! Cute design!
Katie
Thank you Susie!! I am so glad you like my design!