

This post is sponsored by Cricut. All opinions expressed are my own.
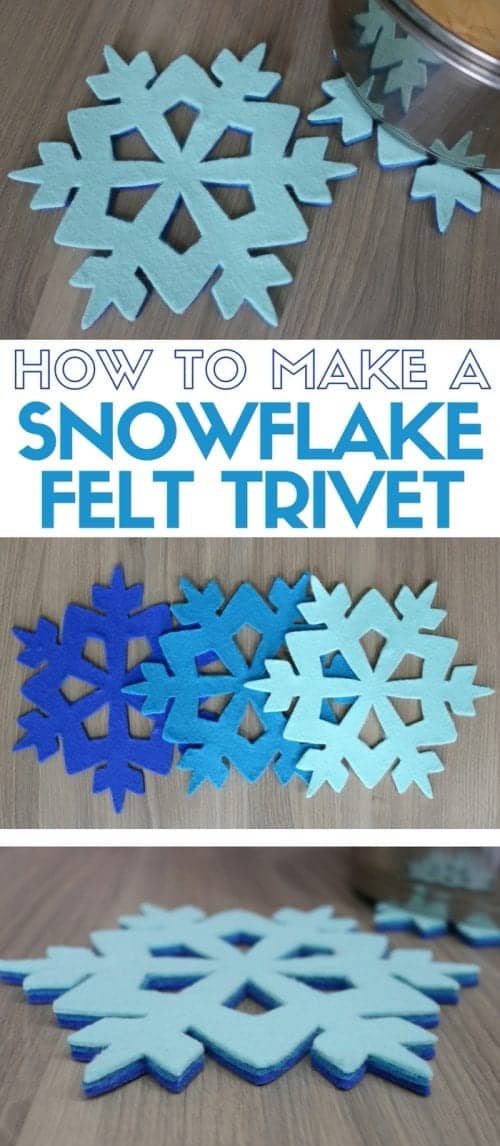
Learn how to make a felt ombre snowflake trivet using the Cricut Explore Air 2. This is an easy DIY craft tutorial for functional winter home decor.
The winter season is hard to decorate for. It seems all winter decorations are also Christmas decorations. But what do you do for the months after Christmas when there is still snow everywhere but no real holiday to decorate for? That is why I love decorations that I can use even after the holidays are over.
This snowflake felt trivet is a perfect example of a non-specific holiday decoration that works great all winter long, no matter the month!
Plus, it gives me an excuse to use one of my very favorite tools in my craft room. My Cricut Explore Air 2! This is not an average ecutter. Did you know you can cut 60+ types of materials with the Cricut? Not only paper and vinyl, but you can also cut chipboard, leather, and even wood sheets!
To see a detailed list of materials as well as settings to be used visit the Cricut Help Center.
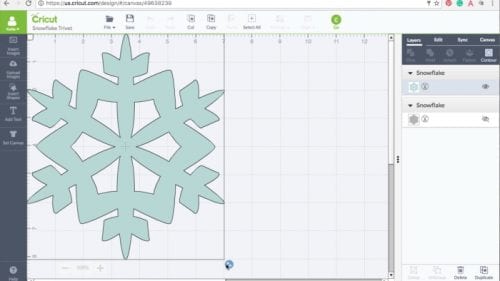
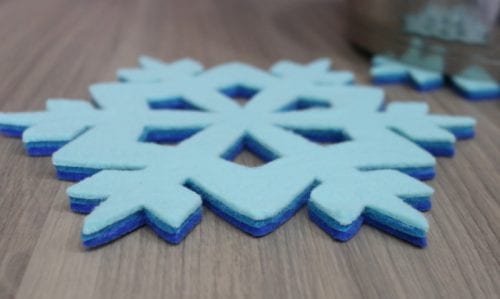
I am going to use the Cricut to cut sheets of thick felt into a beautiful snowflake shape. Since the same file is used for each layer, the felt snowflake will stack perfectly for a gorgeous ombre effect.
Ombre Snowflake Felt Trivet Tutorial
Like videos? I do have a video tutorial if you would prefer to watch the tutorial. Please subscribe to my YouTube Channel so you don't miss out on any future video tutorials!
Supplies Used: Some links may be too similar items when exact items couldn't be found online.
- Cricut Cutting Machine
- Design Space Snowflake File
- StrongGrip Mat
- Deep Cut Blade
- Wool Felt Sheets
- Mod Podge Matte
- Foam Brush
- Aleene's Tacky Glue
Prepping the Felt
Before the felt can be cut, we need to add a stiffener. This will help keep the felt in place on the mat while it is being cut by the Cricut.
In a plastic cup create a mixture of equal parts Matte Mod Podge and water. Stir well with a foam brush.
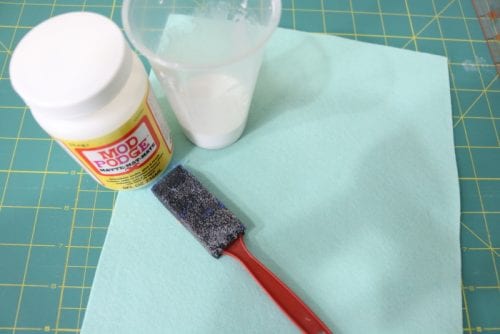
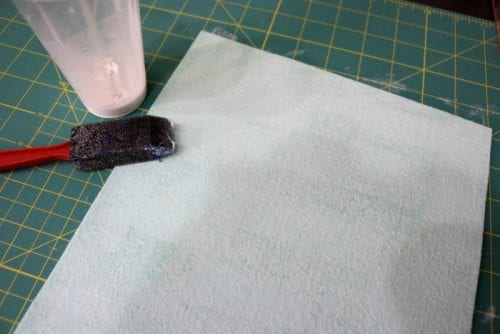
Paint the Mod Podge mixture onto one side of the felt using the foam brush. Cover the entire side with the mixture. Then let the felt sheets completely dry. This can take several hours overnight to dry completely.
Cutting the Felt
The Cricut is going to cut this felt perfect but before we hit to go and cut there are a couple things we need to make sure we are doing to get the best possible cut.
- Make sure you are using a Cricut Explore® Deep Cut Blade With Housing. This blade is longer and allows for a deeper cut which we need for this thicker material.
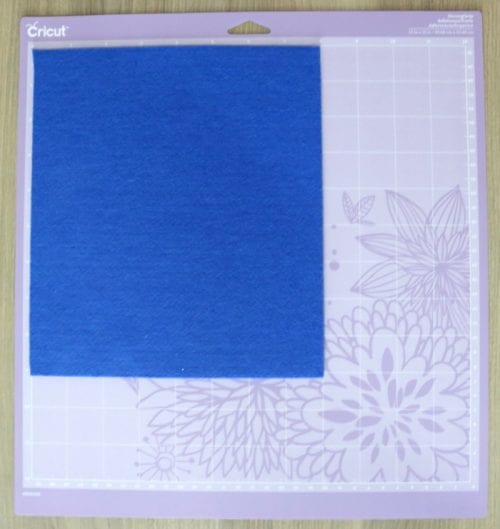
- Cut felt on a purple Strong Grip Cutting Mat. This mat is extra sticky and helps hold the thicker material in place.
You can even use my Snowflake file in Cricut Design Space.
To cut the snowflake, select the green circle at the top of the screen that says go.
Make sure to set the dial on the machine to Custom and then select Felt, Wool from the drop-down menu under Set on the next screen.

Then follow the prompts on the Cricut machine. When the arrow button flashes, load your mat, and then when the play button blinks, press the button to begin cutting. Since the felt is a thicker material, the blade will go over the design several times to make sure you have a good clean cut.
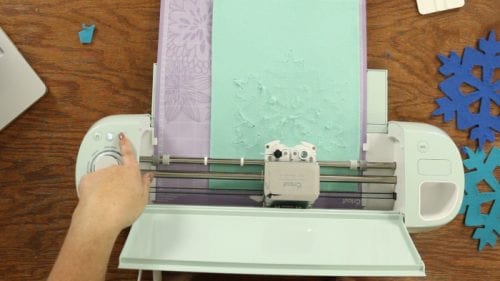
When the cut is complete, the arrow light will flash again. Press the button to release the mat. Carefully peel the felt from the mat and remove the inner pieces from the snowflake. If any fiber strands are still connected to the main sheet, simply snip away with a pair of scissors.
Repeat the cutting process two more times so there are a total of three felt snowflakes.

Assembling the Trivet
All that is left is to glue the layers of snowflakes together to create the trivet.
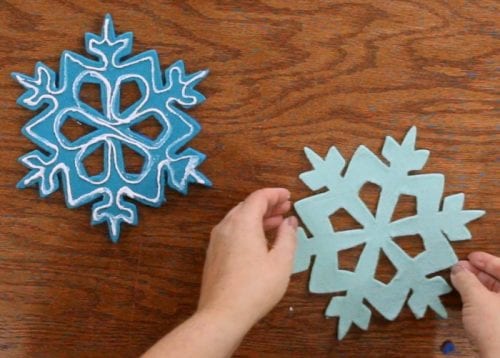
Line up the snowflakes so they lay on top of each other perfectly without the layer underneath showing through. You may need to turn each snowflake a couple times to find this perfect positioning.
Starting with the darkest layer, add a bead of glue around the outer edge of the snowflake and around the inner diamonds. Lay the middle blue color on top and press all over to secure the glue.
Repeat the glue on this second layer and apply the light blue felt snowflake on top. Again, press all over to secure the glue.
After the glue is dry your trivet is ready to use!
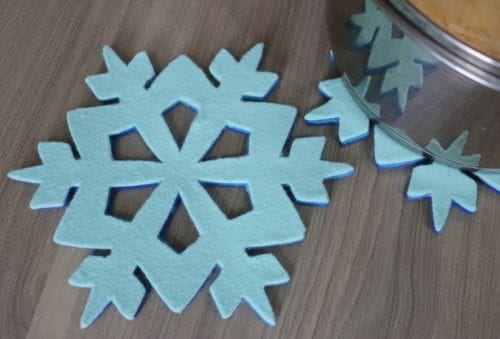
Isn't that ombre layering so cool?!
That is all there is to it! A simple trivet that is beautiful and functional!
Crafting Essentials
- The Cricut Cutting Machine is easily my favorite crafting tool. We use it in so many of our tutorials!
- These MakerX Crafting Tools are perfect for keeping in the craft room and are always ready when needed!
- This Fiskars Paper Trimmer is easy to use and cuts nicely without frayed edges.
- These Scotch Precision Scissors cut like a dream, and you get multiple pairs in a pack!
Antonella | White House Crafts
I never tried cutting felt, but these look so awesome and easy to do! Thanks for sharing with us at #thecraftycorner link party, and happy New Year xo
Katie
Thank you Antonella. It really is a fun craft, and easy when you use the Cricut!
Marie
This is such a smart idea! These would be perfect for setting dishes on during our nightly dinners. Thanks for sharing your awesome DIY with us at Merry Monday this week!
Lindi
I LOVE this Katie! And I LOVE the video 🙂 I'm featuring this tomorrow at the Creative Gallery! Thanks for sharing with us 🙂
Katie
Thank you for featuring my felt ombre snowflake trivet, Lindi!!! I am so glad that you like the project. It was a fun one to make!
creativejewishmom/sara
Lovely thanks so much for sharing on craft schooling sunday, great to reconnect in 2017!