

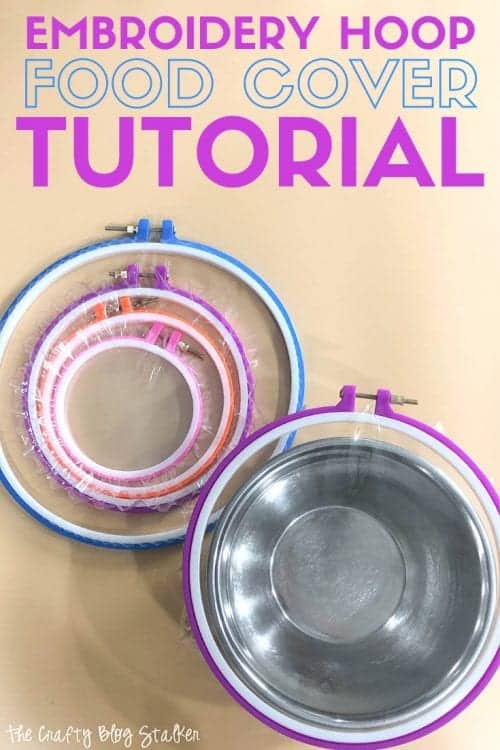
Having a picnic outside? Protect your meal with DIY Embroidery Hoop Food Covers that are reusable and easy to clean!
Enjoying a nice warm picnic outside is one of the best parts of summer!
Whether you are on your back patio or dining around the campfire, DIY bowl covers are a great way to keep your food safe and clear of leaves, bugs, and other little things you don't want to end up in your food!
The Cricut Maker was used in this tutorial, but it is completely optional. You can make Embroidery Hoop Food Covers with only the first 3 supplies listed below.
Embroidery Hoop Food Covers Video Tutorial
Like videos? I have a video tutorial for you! Please subscribe to my YouTube Channel so you don't miss out on any future video tutorials!
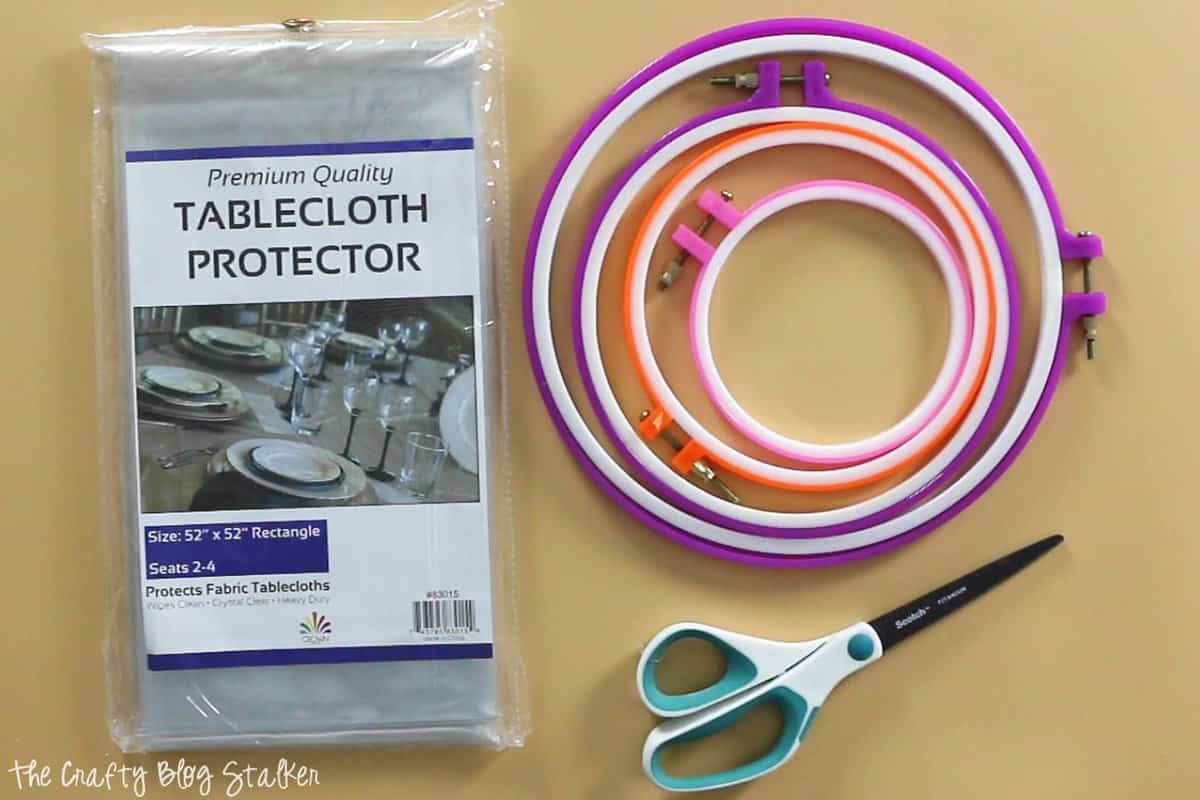
Supplies Used to Make DIY Embroidery Hoop Food Covers
Items linked below may go to similar items when exact items couldn't be found online. Links are affiliate so when you purchase, I will get a small kickback to help fund the next tutorial!
Optional Supplies
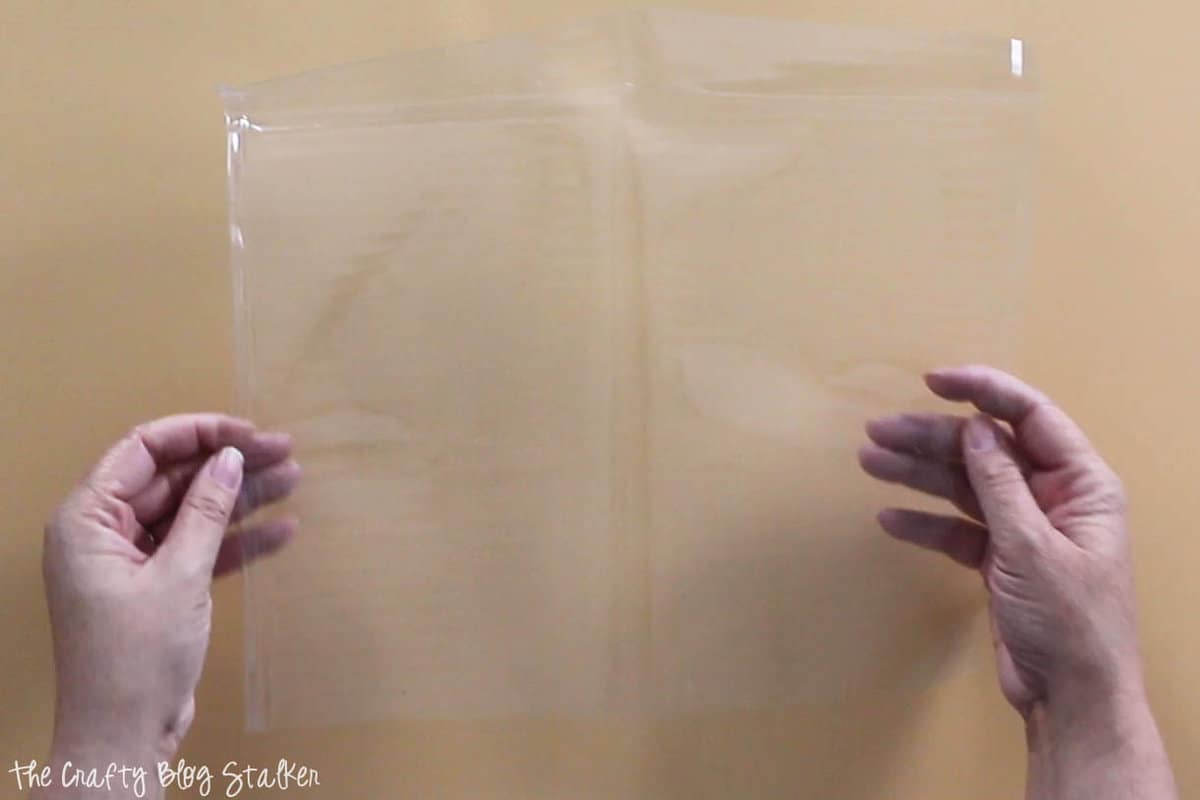
Ironing the Plastic Tablecloth Protector with Cricut Easy Press
Unfold the plastic protector. Since the tablecloth has been folded for who knows how long, the creases and folds are really deep!
Below, I cut a piece of the tablecloth that I needed for my project but this technique will work for the tablecloth as a whole, as well.
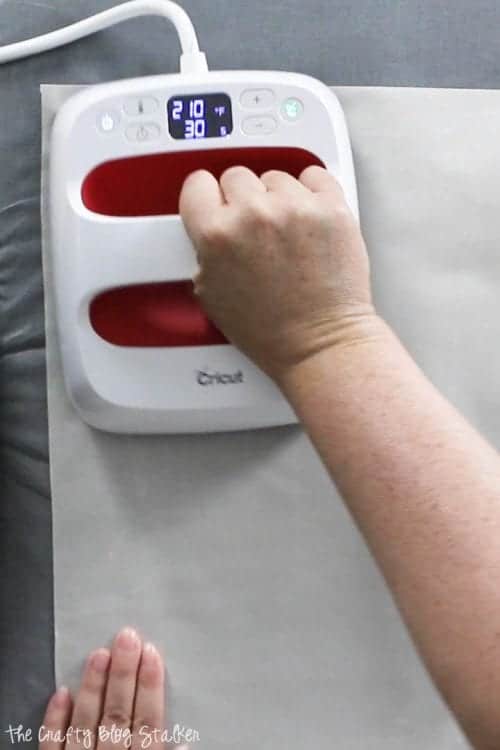
Set the EasyPress to the lowest setting which is 210 degrees. We are going to be using the EasyPress as an iron, and not as a press, so there is no need to worry about setting the time in seconds.
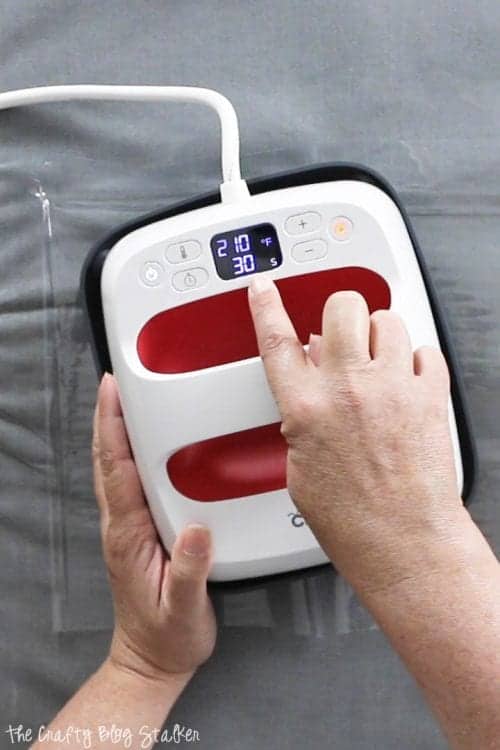
Lay the Tablecloth Protector on top of the EasyPress mat, and cover with the Iron-On Protective Sheet. Move the EasyPress over the in a sweeping motion. Careful not to spend too much time in one spot.
Remove the Iron-On Protective Sheet and flip the Tablecloth Protector. Replace the Iron-On Protective Sheet and iron again.
When completed, you may still be able to see faint lines where the folds were, but the Tablecloth Protector will lay flat.
Cutting the Tablecloth Protector with Cricut Maker
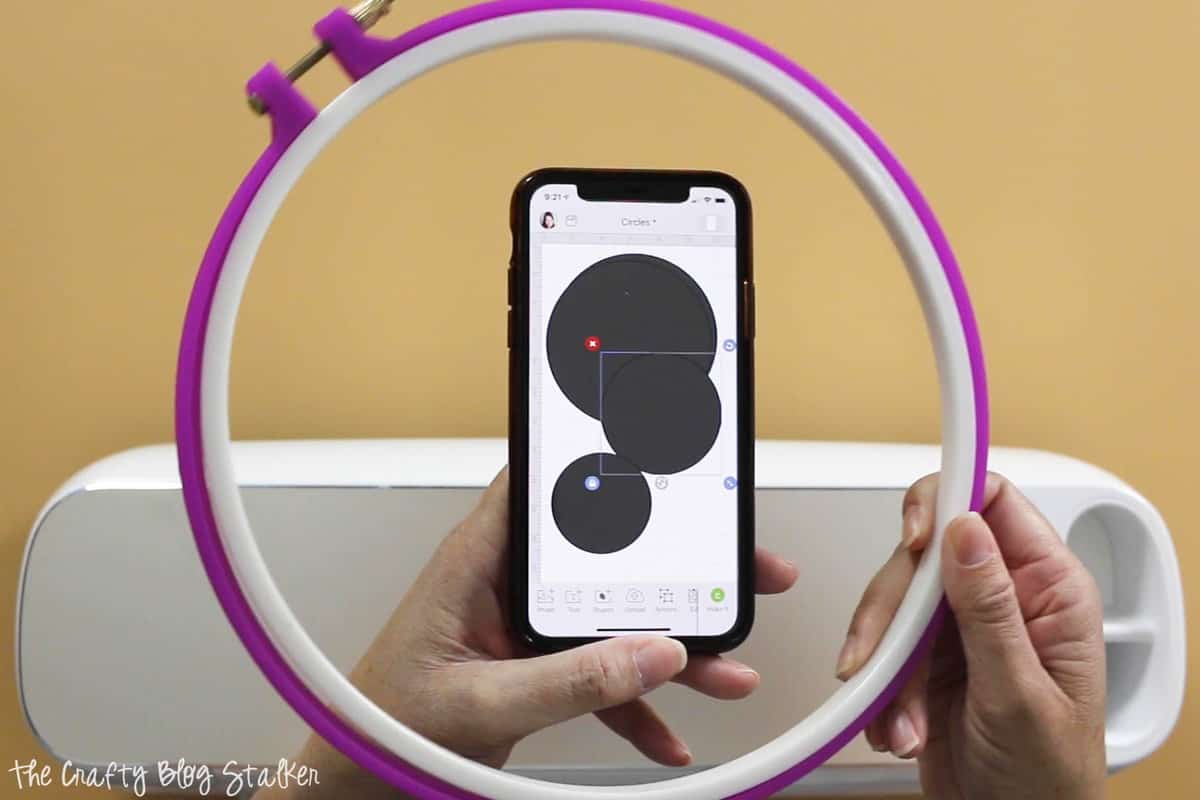
Open a new canvas in Cricut Design Space.
Create circles that are 2 inches larger than the embroidery hoop you are using.
The largest you can cut on the Cricut Maker is 11.5 inches, so keep that in mind.
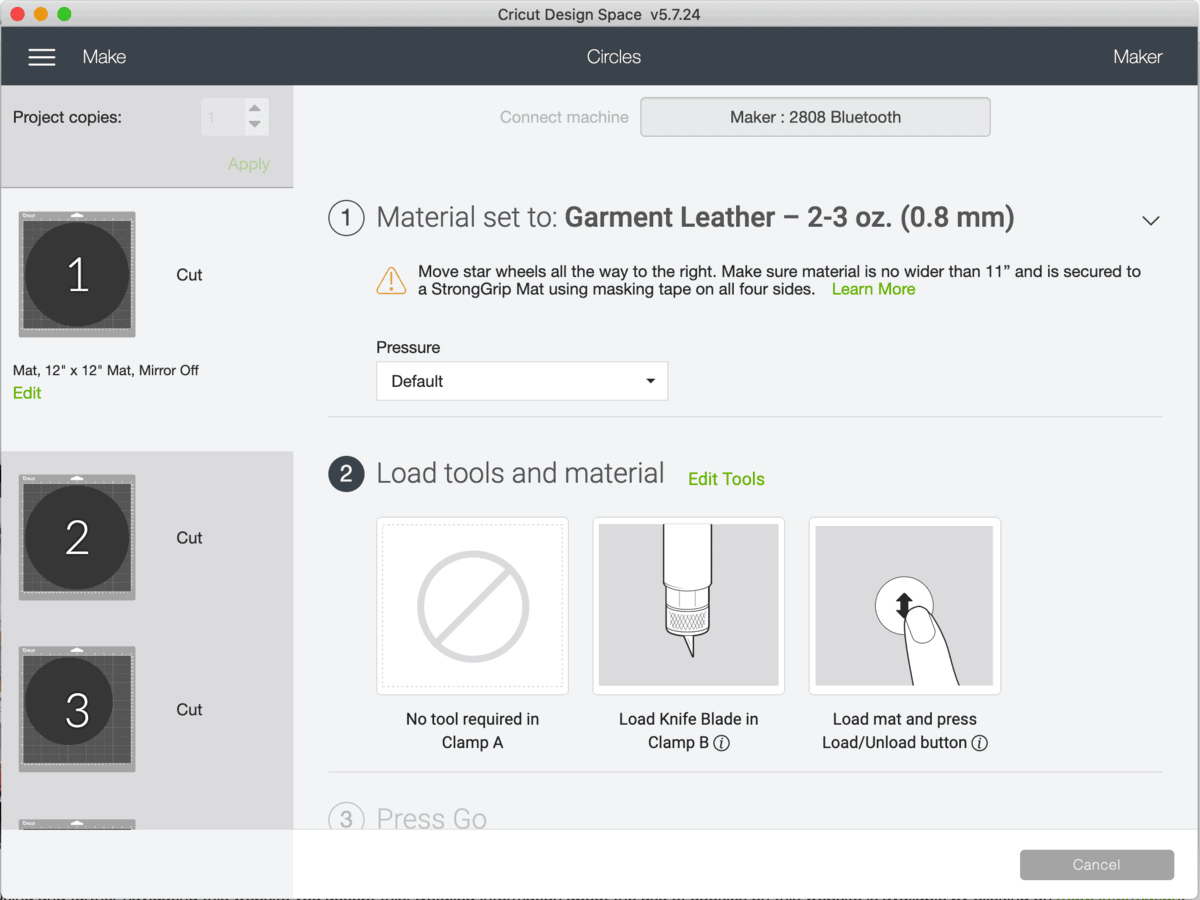
Set the material to Garment Leather - 2-3 oz. (0.8 mm), and load the Knife Blade into the clamp.
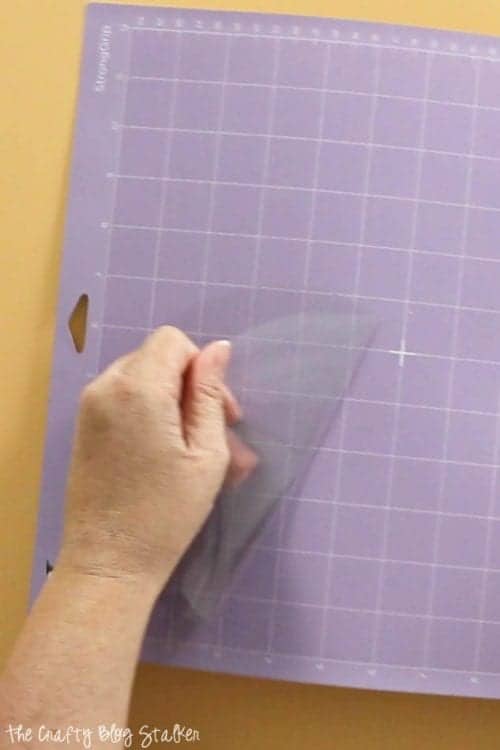
Lay a piece of Tablecloth Protector onto the StrongGrip Mat and load into the Cricut Maker.
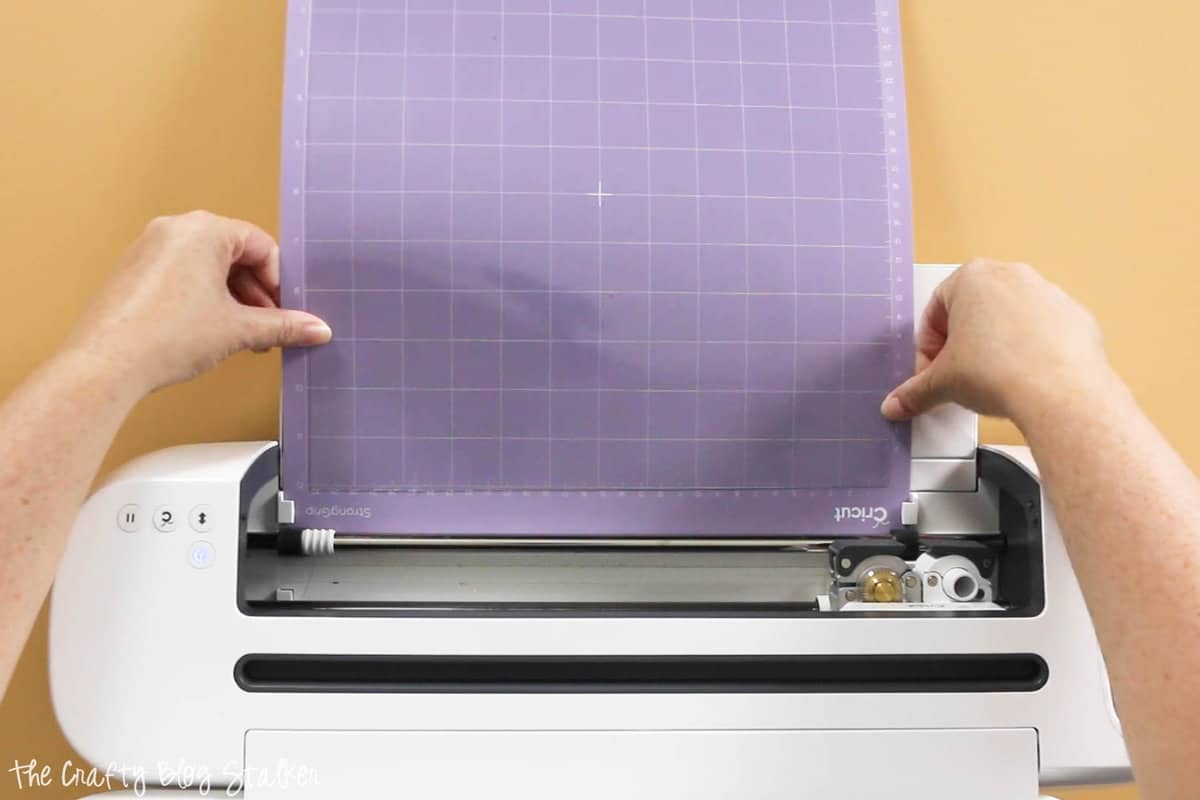
Follow the prompts in Cricut Design Space and allow the machine to cut the Tablecloth Protector. It will take a couple of passes to cut all of the way through.
To remove the plastic circle from the StrongGrip mat, remove the outer edge, and then slowly peel up the circle. The plastic can stretch so peel a little at a time.
Assembling the Embroidery Hoop Food Covers
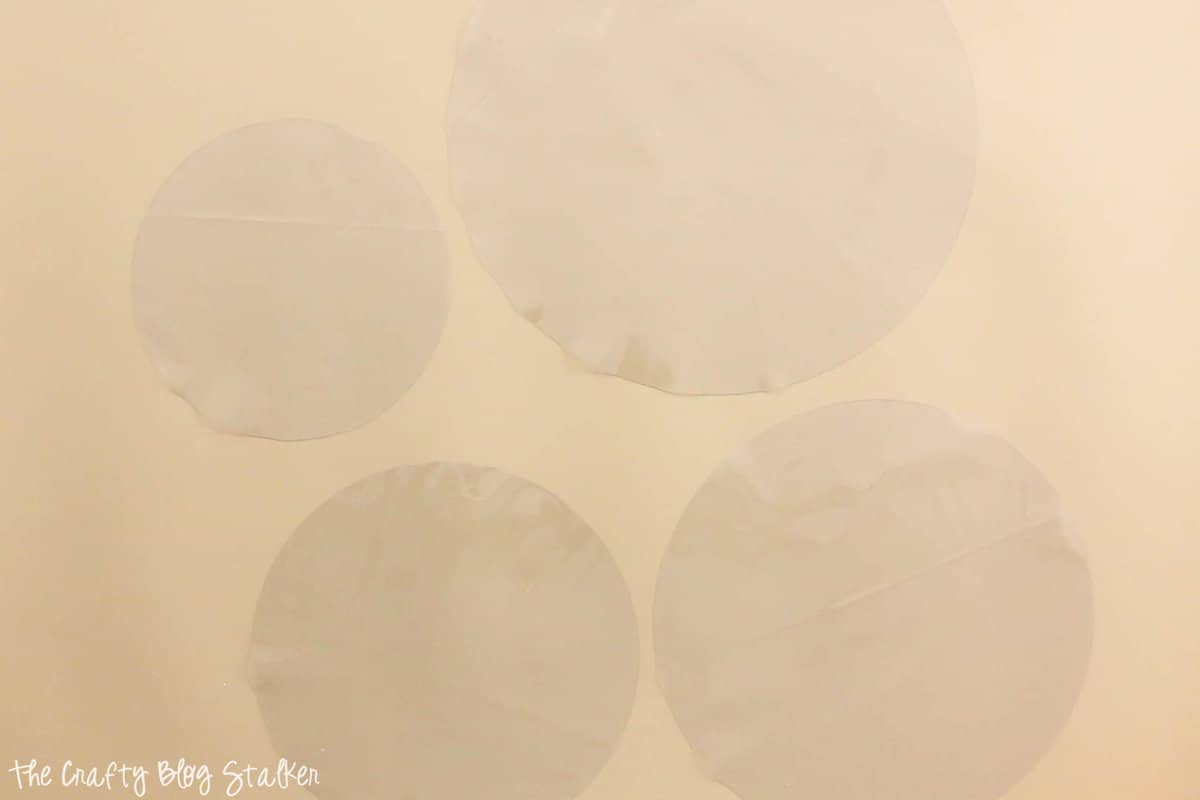
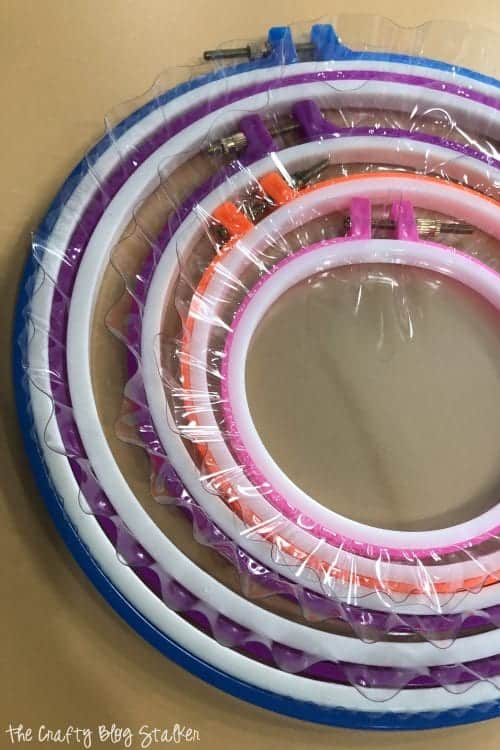
Here are the plastic circles that were cut out of the Tablecloth Protector.
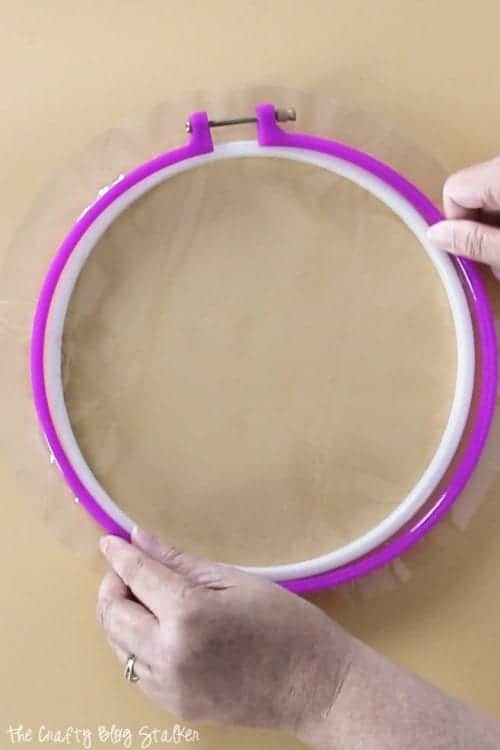
Remove the inner ring from the embroidery hoop and place it on the table. Lay the plastic circle on top centering over the ring.
Place the outer ring over the top and press it into place so it holds that plastic sheet nice and tight.
Twist the screw at the top of the hoop to tighten the rings. I used a small screwdriver to help me tighten and secure the outer ring.
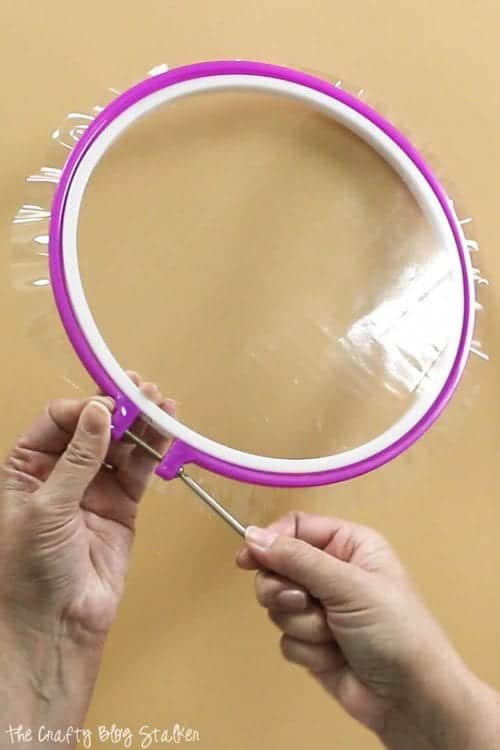
And that is it! Your embroidery hoop food covers are ready to use! I love that they are clear so you can see what is inside the bowl!
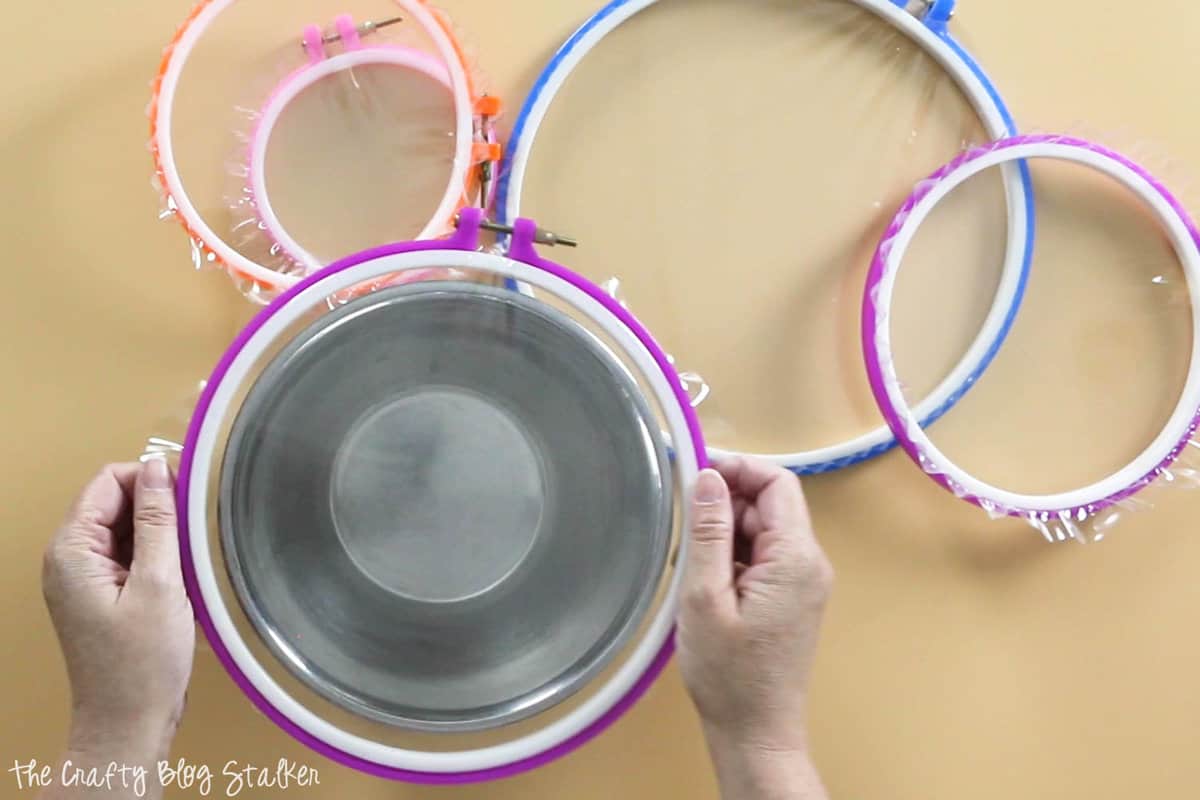
Since the bowl covers are completely plastic they are easy to clean, simply by wiping it down.
I'll be keeping a set in our camp trailer, as well as some at home to use in our backyard picnics.
How will you be using your DIY Embroidery Hoop Food Covers?
Crafting Essentials
- The Cricut Cutting Machine is easily my favorite crafting tool. We use it in so many of our tutorials!
- These MakerX Crafting Tools are perfect for keeping in the craft room and are always ready when needed!
- This Fiskars Paper Trimmer is easy to use and cuts nicely without frayed edges.
- These Scotch Precision Scissors cut like a dream, and you get multiple pairs in a pack!