

This post is sponsored by Munbyn. All opinions expressed are my own.
Discover how to craft elegant food labels for your next party using the Munbyn Printer. Organize your event with style and keep the snack table in order.
Are you planning a party and love to have everything organized?
Look no further! In this post, we're diving into the world of crafting beautiful food labels using the Munbyn Printer.
Whether you are hosting a birthday party, a wedding reception, a baby shower, or a casual get-together, having well-designed food labels not only keeps things organized but also adds a level of sophistication to your event setup.
Let's explore how you can effortlessly create stylish labels to impress your guests and make your party planning a breeze!
Supplies Used:
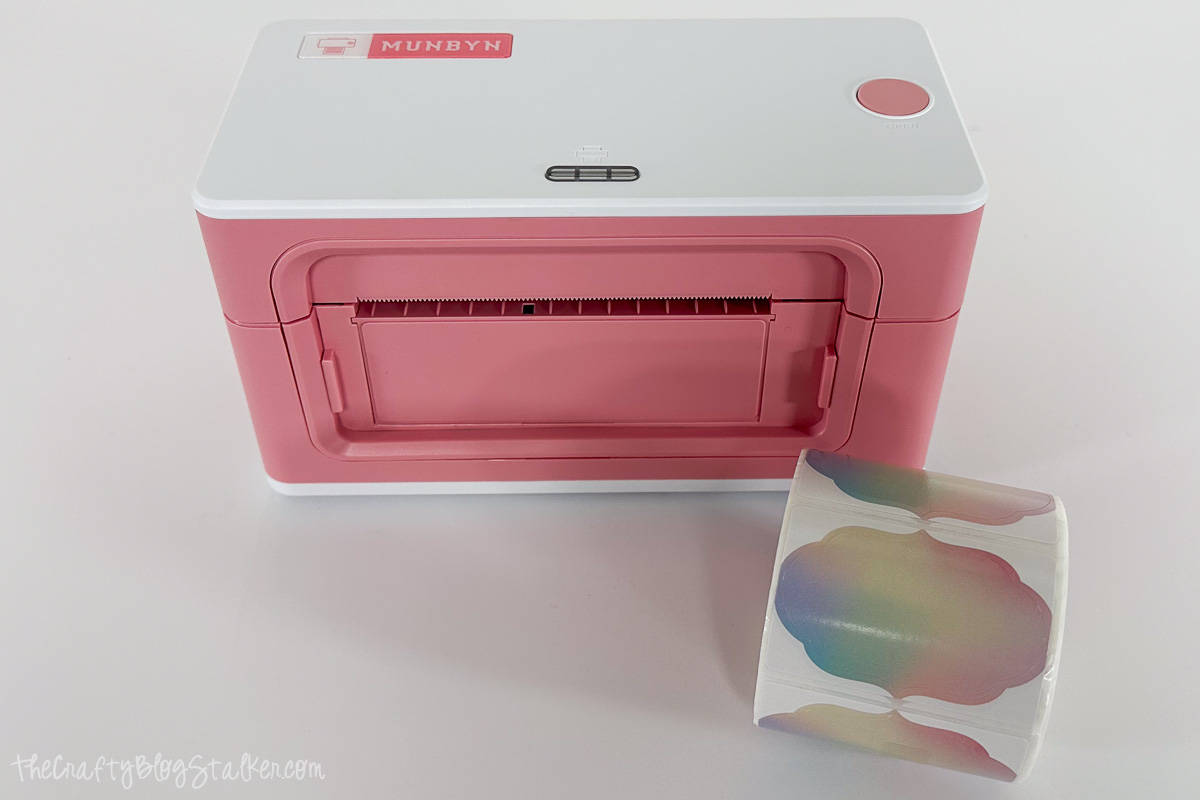
- Munbyn Thermal Label Printer
- Rainbow Thermal Stickers
- Clear Cookie Boxes
- Clear Cakesicle Boxes
- Clear Treat Boxes
- Cellophane Bags with Adhesive
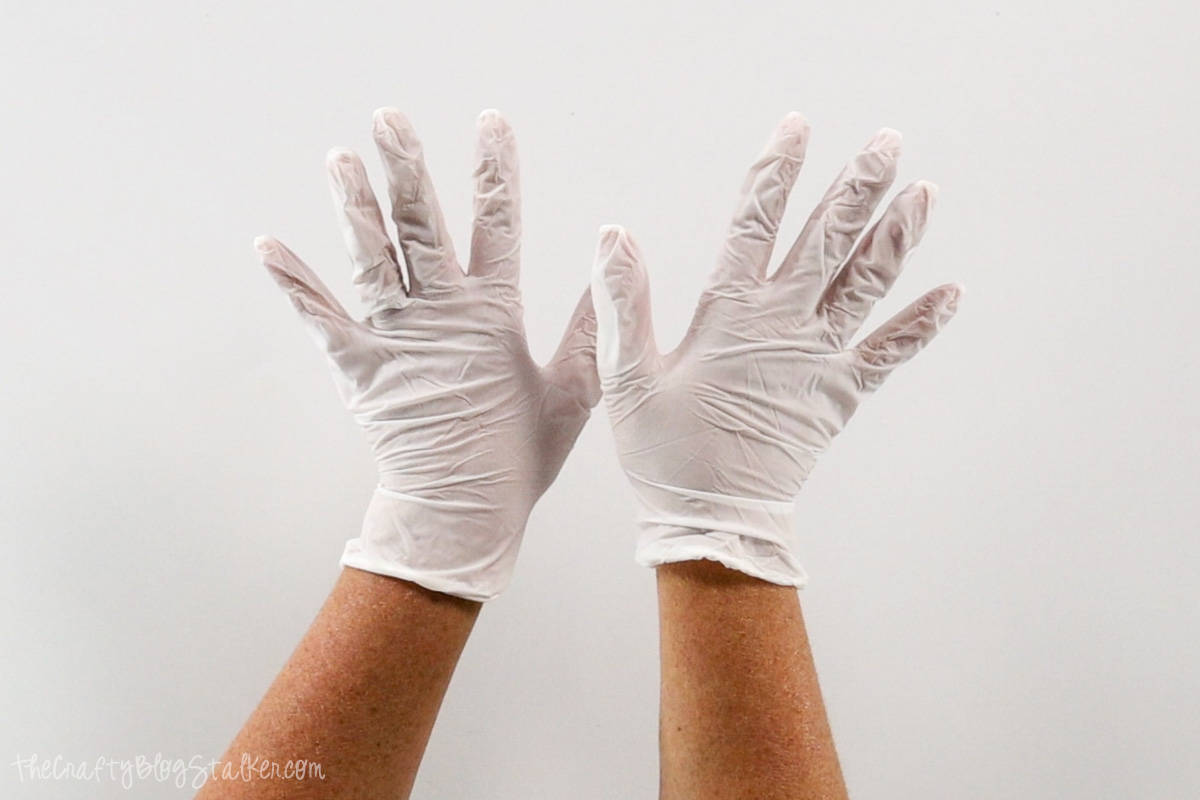
- Food Safe Gloves
- Sweet and Salty Kettle Corn
- Milk Chocolate Almonds
- Trail Mix
- Cookie Assortment
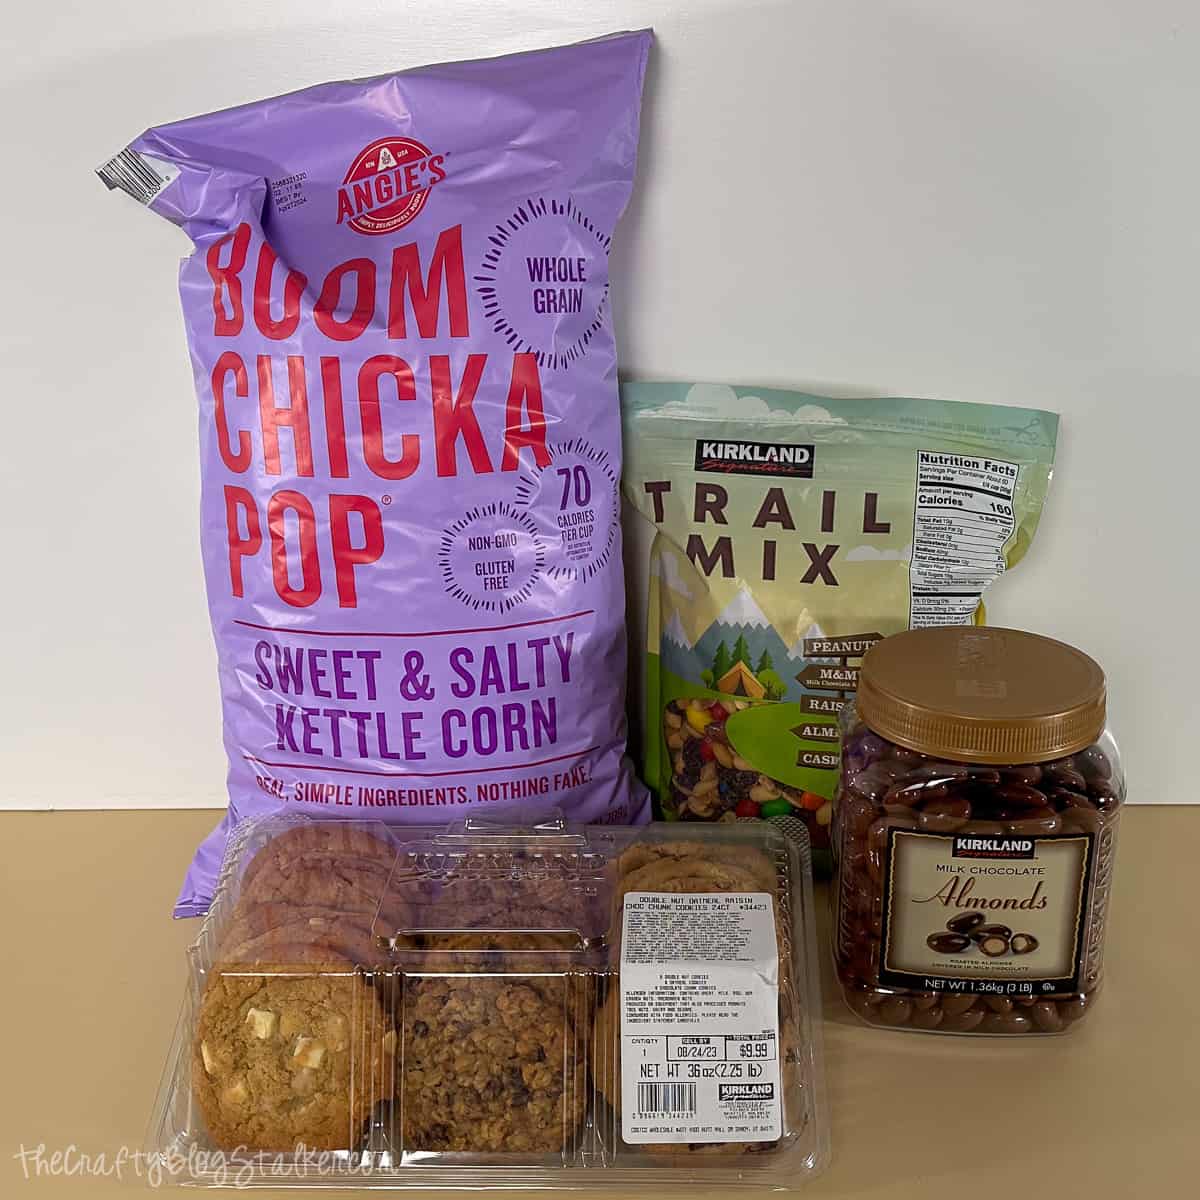
Of course, you can use any of your favorite treats. I am simply sharing what I shared.
Unboxing the Munbyn Thermal Printer:
I was so excited when I received my package from Munbyn!
Everything that you'll need is inside.
- Printer
- User Manual
- Adapter
- USB Cable
- Power Cord
- Labels
- Quick Tips
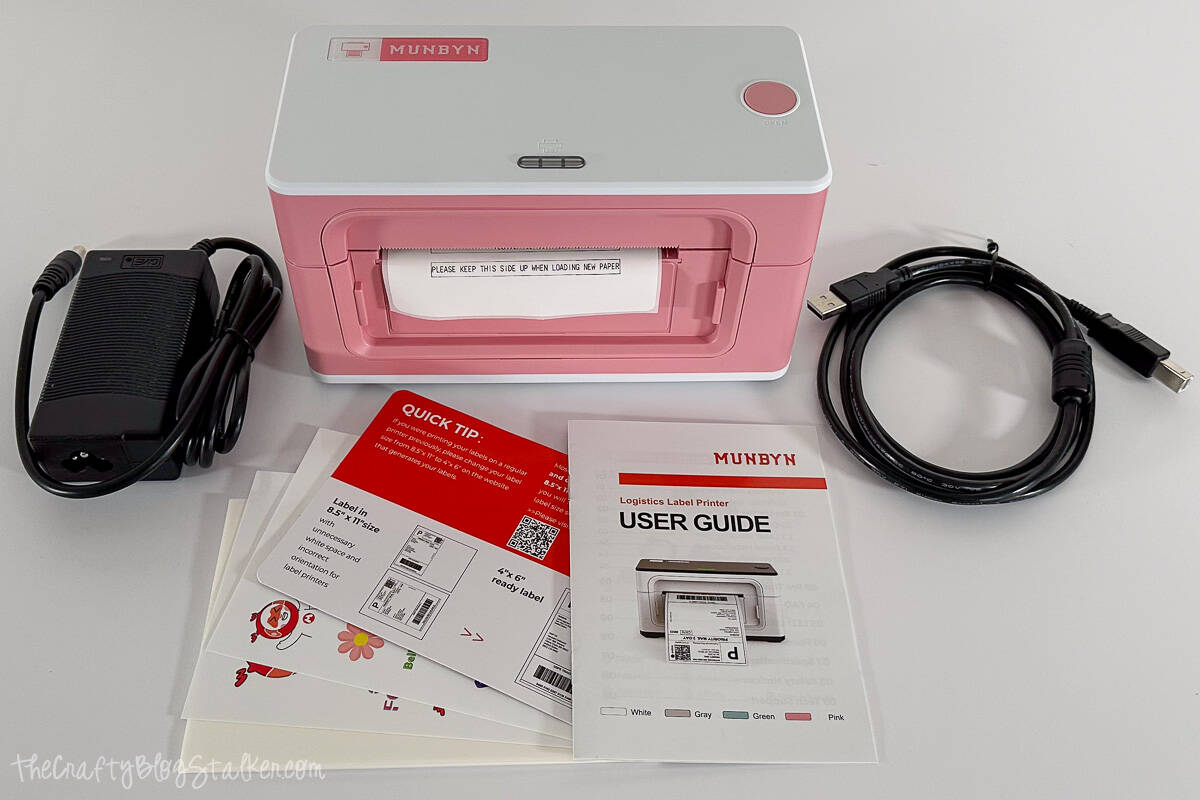
I also received some label stickers. They are not included with the printer and are an additional supply you can purchase.
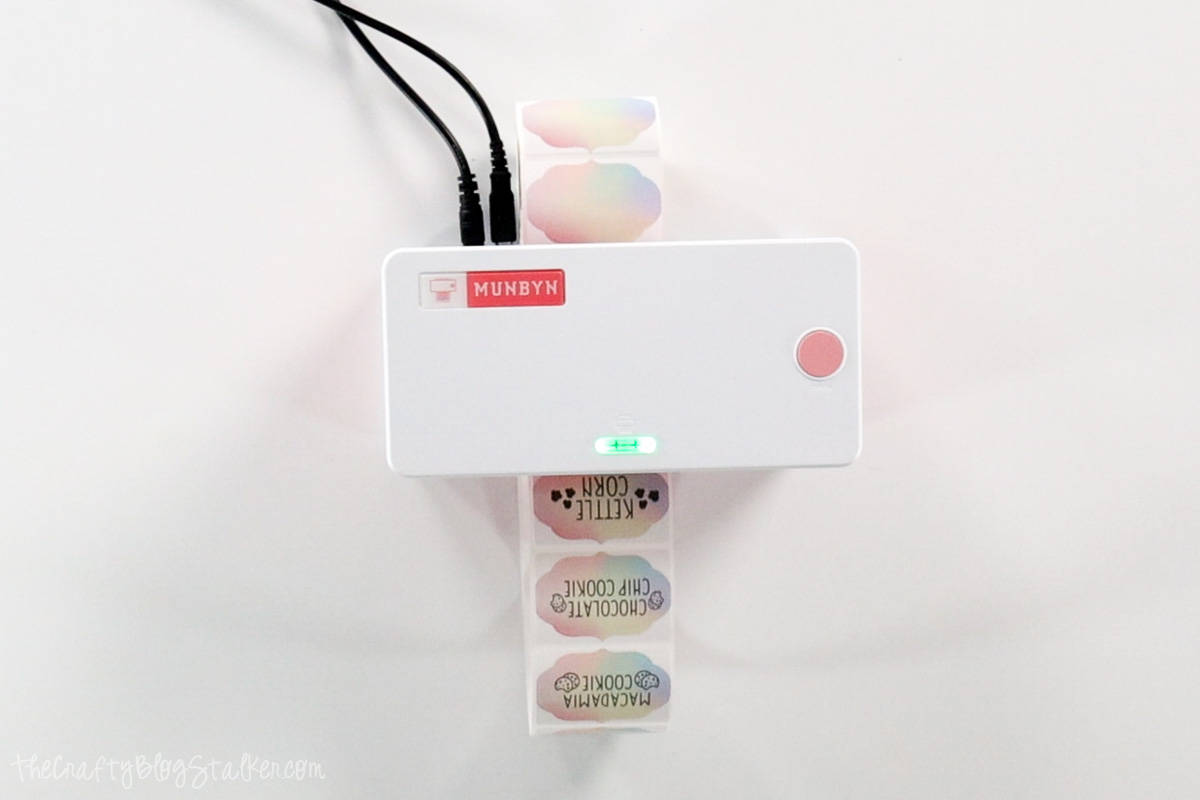
Munbyn Printer Setup:
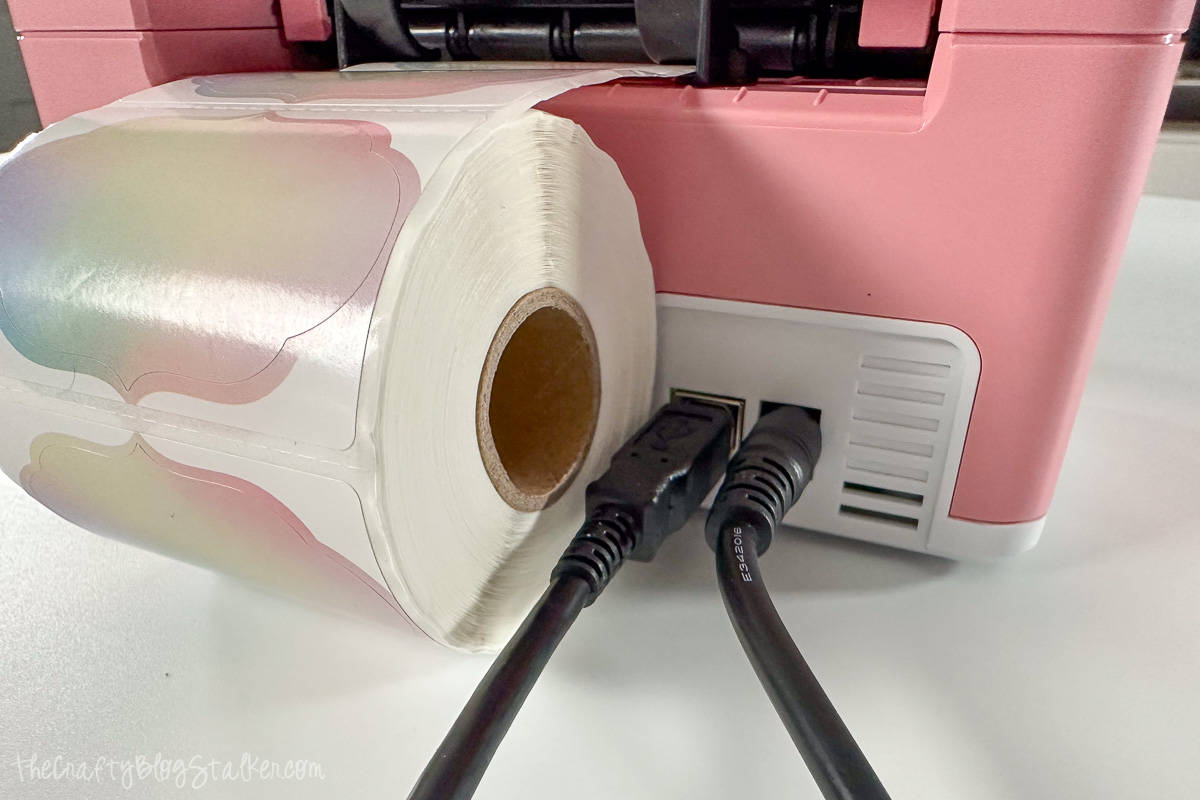
The printer setup is super simple.
Make sure that the printer is off, and plug the power cord into the back of the machine and into an outlet.
Then plug the USB cord into the back of the printer, and into your computer.
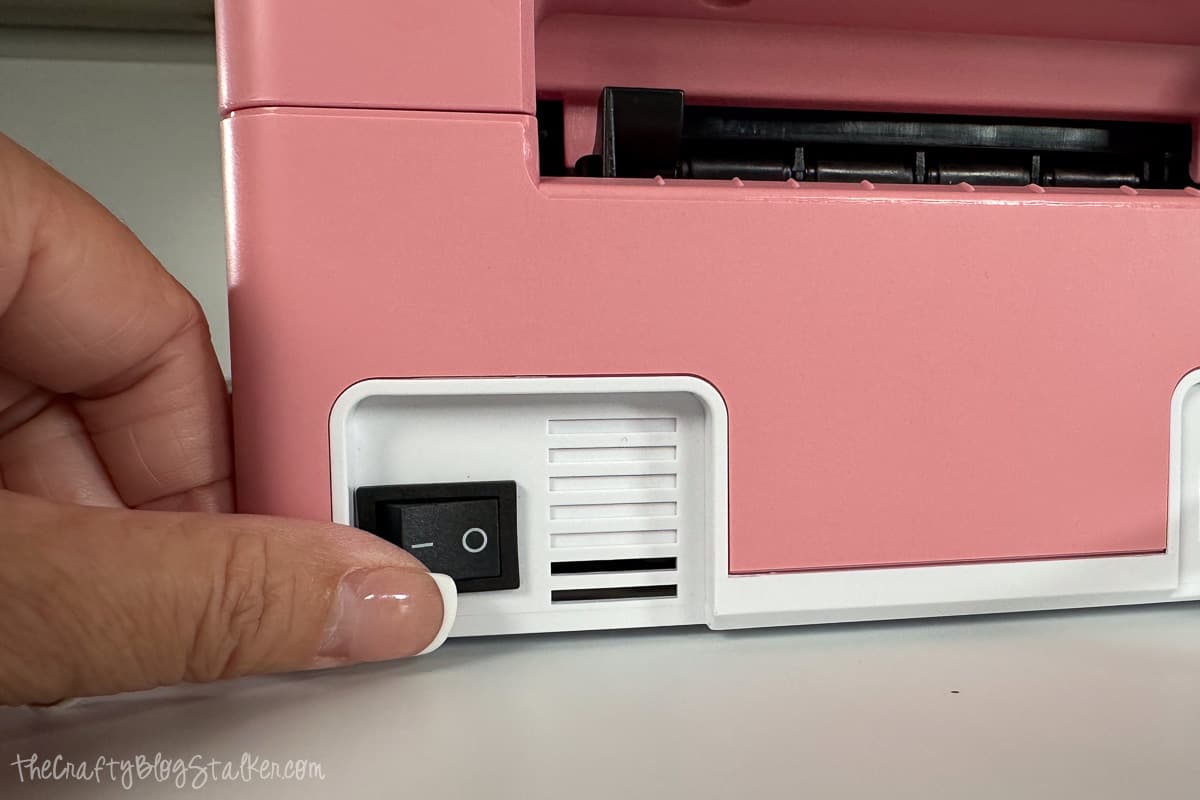
Power on the printer with the switch on the back.
Press the button on top of the printer to open it.
Adjust the feed arms manually so your roll of labels will smoothly be fed through the machine. Be careful, you don't want them too tight or too loose.
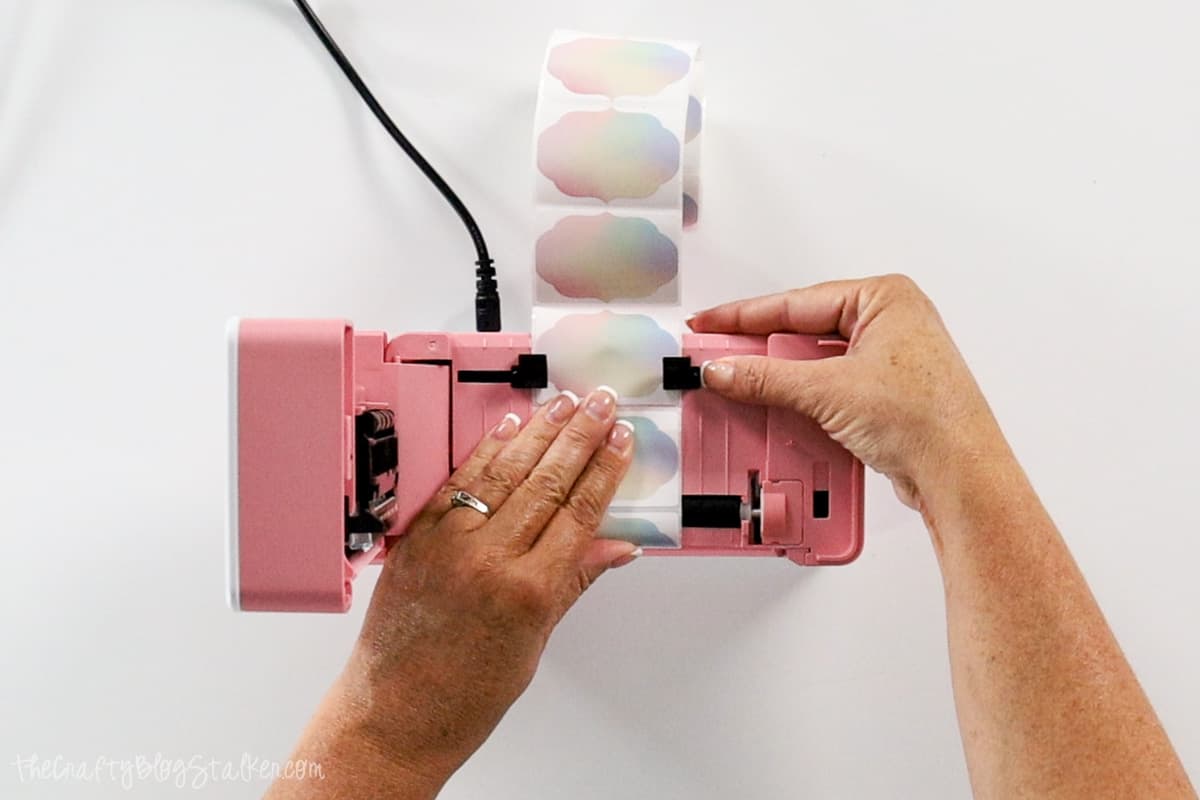
Load the labels with stickers facing up.
Then close the top, and press the lit-up button to calibrate the printer to the size of labels you are using.
Driver Installation:
Before you can print, you need to download the driver to your computer.
Open your browser and go to pos.munbyn.com/support/all/
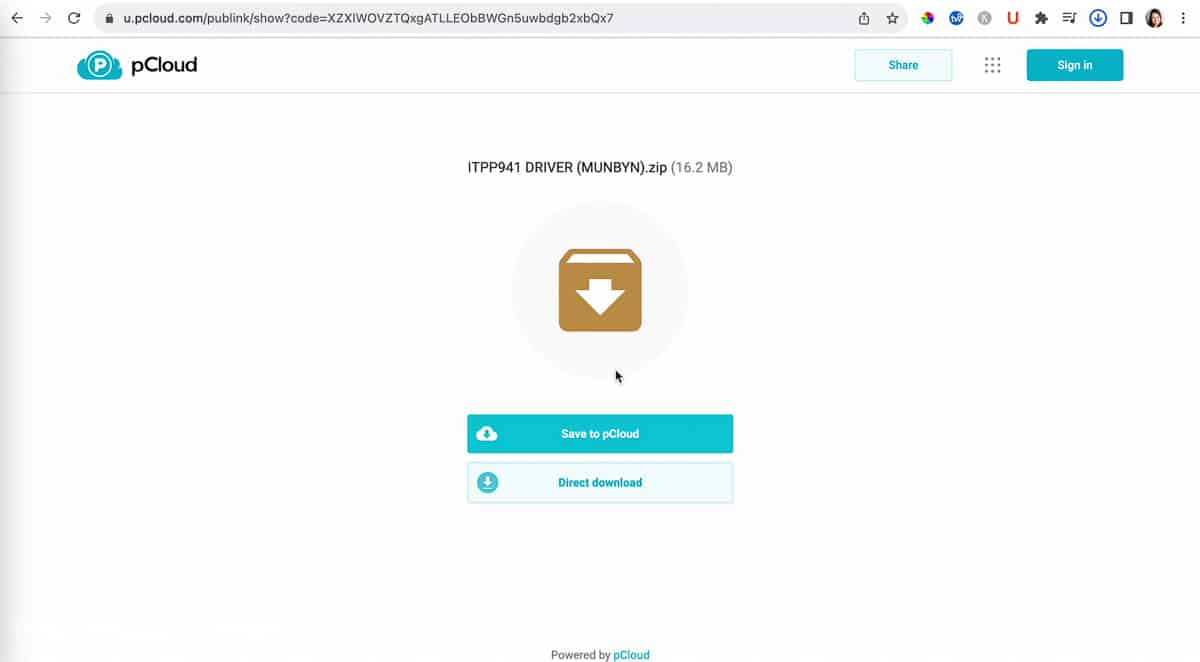
Select Direct Download.
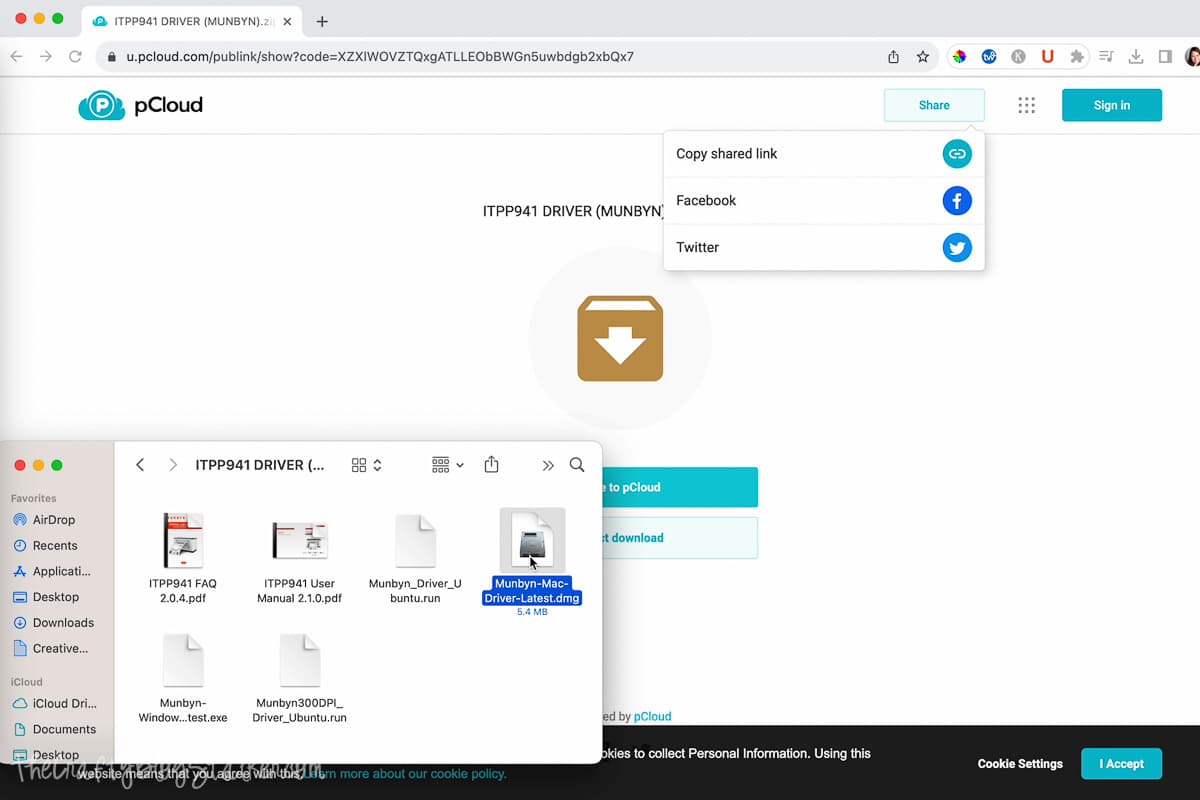
Open the file from where you saved it.
If you have a Mac, tap the .dmg file. If you have a PC, tap the .run file. I have a Mac so I selected the .dmg driver file.
Double-tap on the box icon to install the driver on your computer.
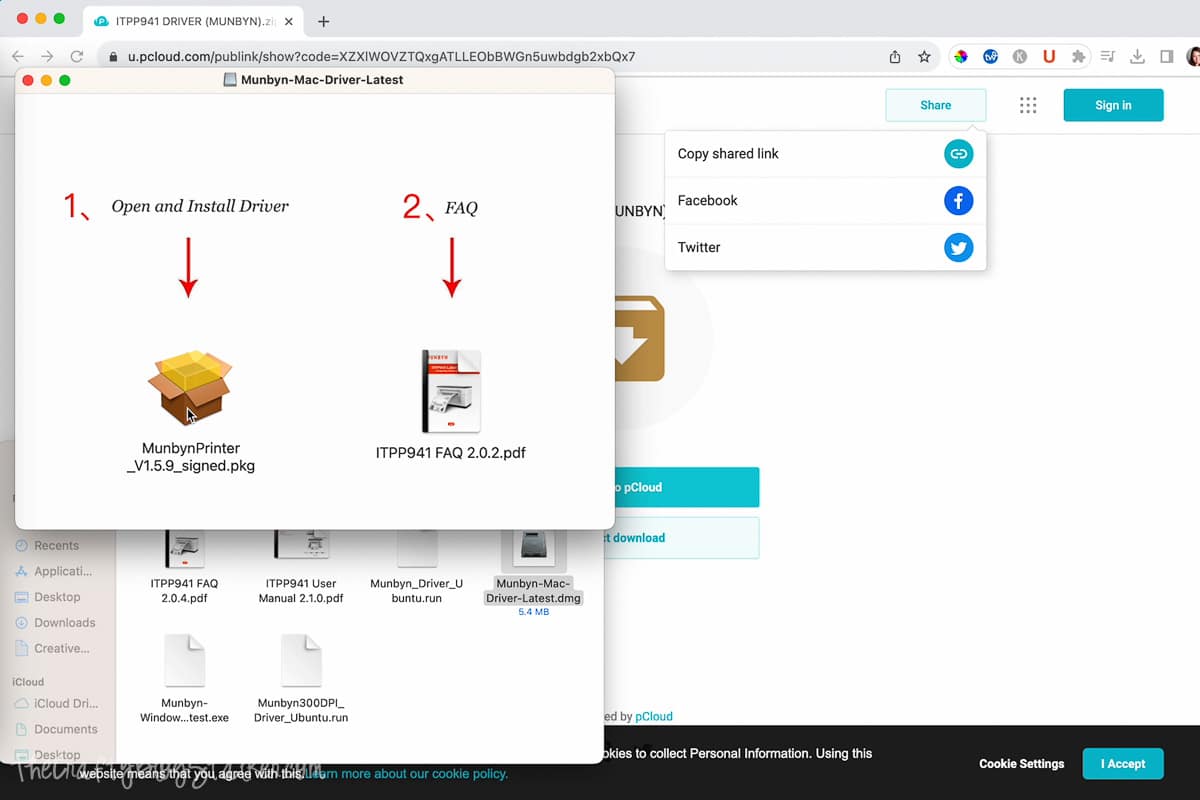
Once installed, you are finished with the setup. The screen will not go to a different screen. You are done. You can exit out of those open windows.
Design Your Labels:
Next is the fun part where you get to design your labels! I will share how to create labels using canva.com, although you can use any designing software you are familiar with.
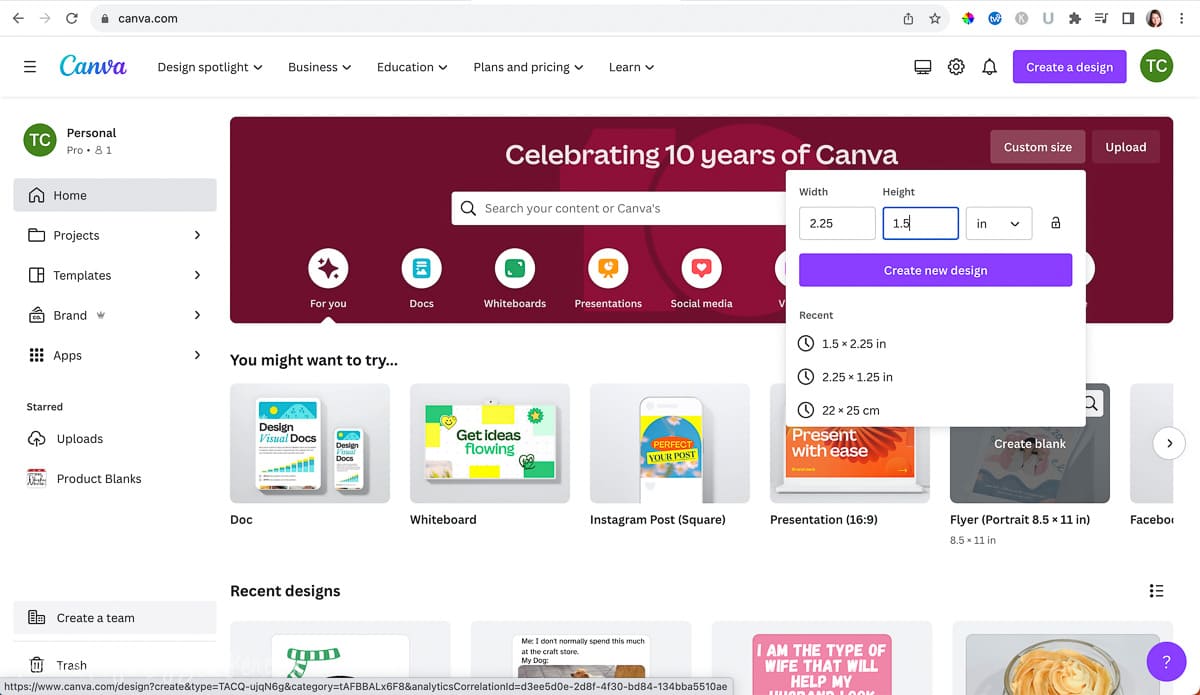
First, you need to know the size of your labels.
The Rainbow Thermal Labels I am using are 2.25 x 1.5 inches so I want to make sure the labels I am designing are the same size.
From your Home on canva.com select Custom Size.
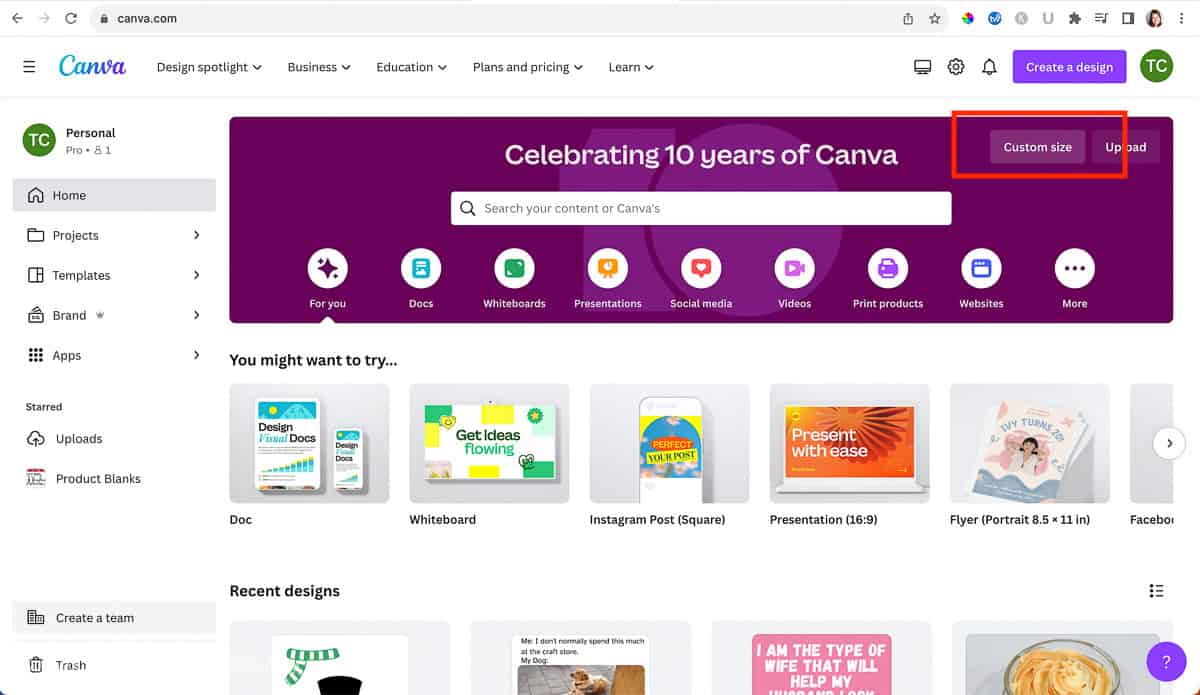
Type in the size of the labels, and then hit Create a Design.
A new tab will open with your blank canvas sized for your labels.
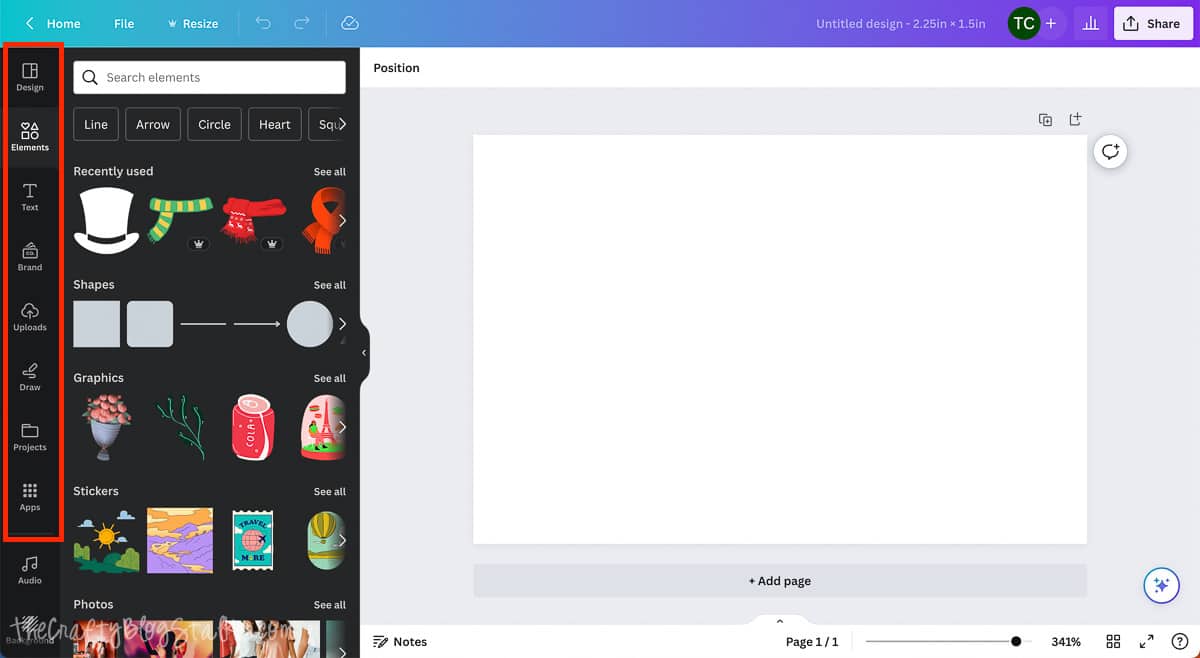
The icons on the left of the screen are where you will go to add text and or images to your label.
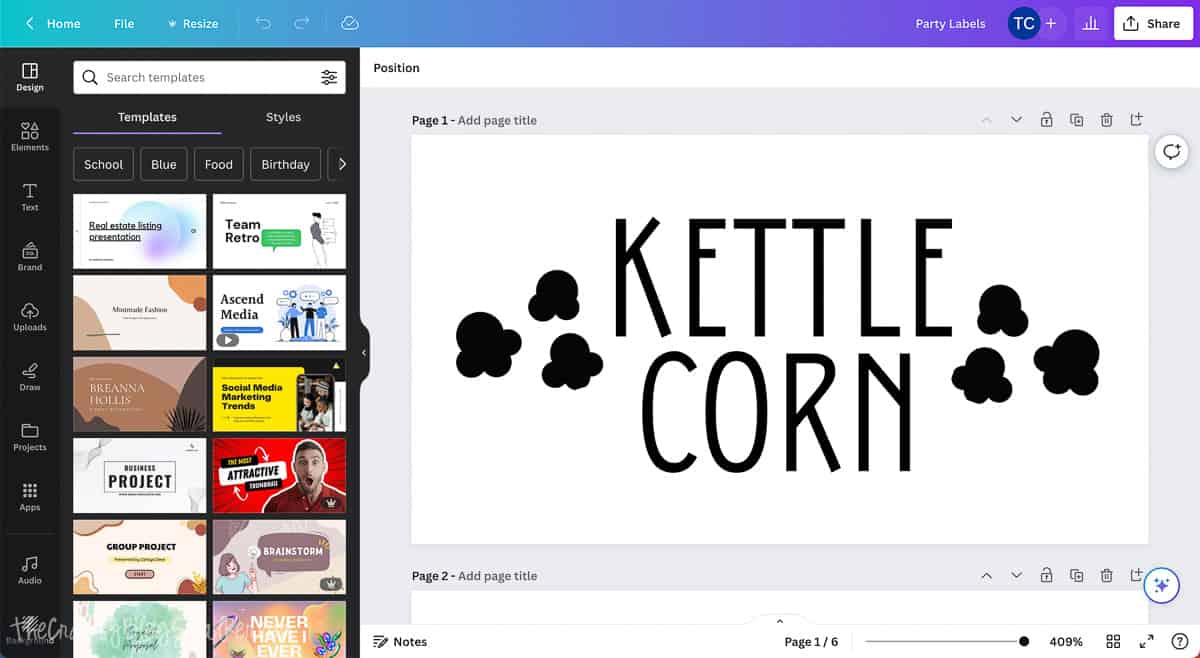
Have fun designing the perfect labels. You can type out the name of the food that will be in your packages, and even add dietary restrictions to labels!
I really love Canva. The more you play, the more you will learn all of its capabilities!
If you would like, you can access my labels. Although you will not be able to edit them.
Once you are finished designing your labels, select Share, Download, and then select PDF Print.

This will save the PDF file to your computer.
Printing your Labels:
Open your newly made PDF file.

On a Mac press Command+P to open your print options. On a PC press Control+P.
Select the Munbyn as your printer.

On Paper Size, select Other.
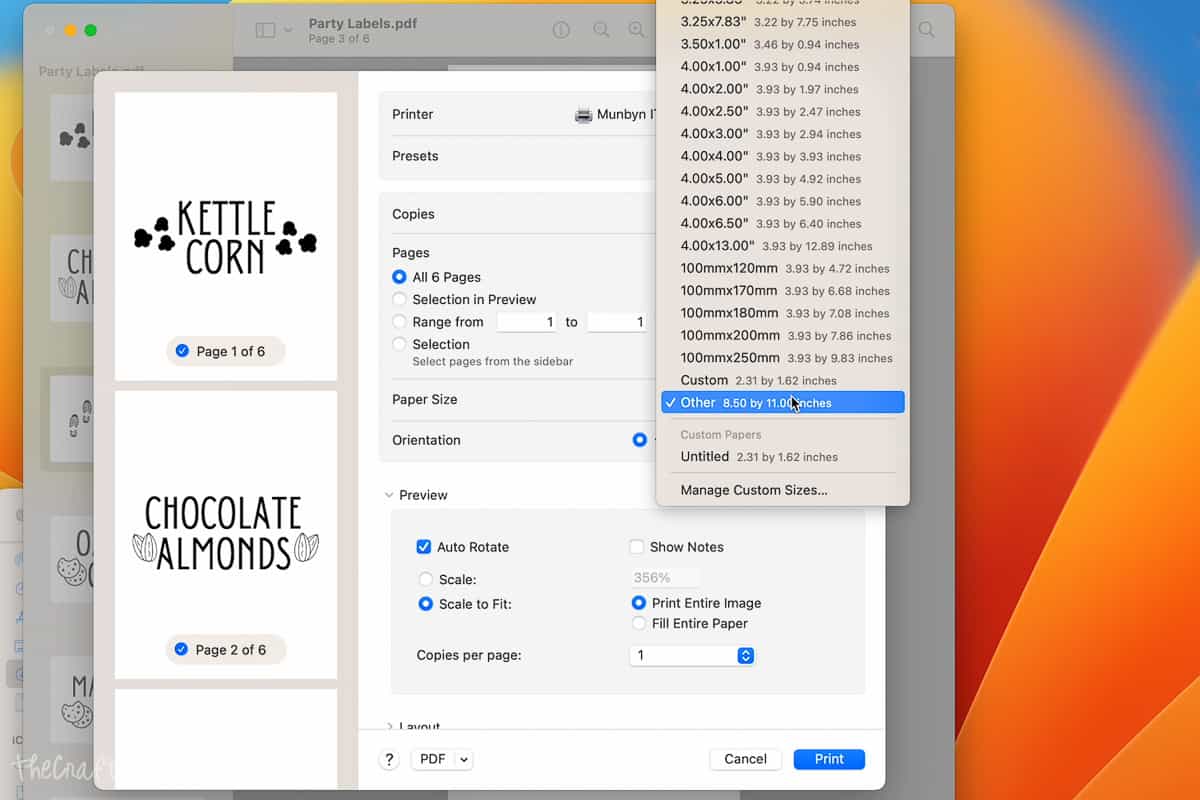
Type in the dimensions of your sticker labels.
I typed in more specifically the size of the sticker on the roll, which was 2.31 x 1.56 inches, then decreased all margins to .1 inches.
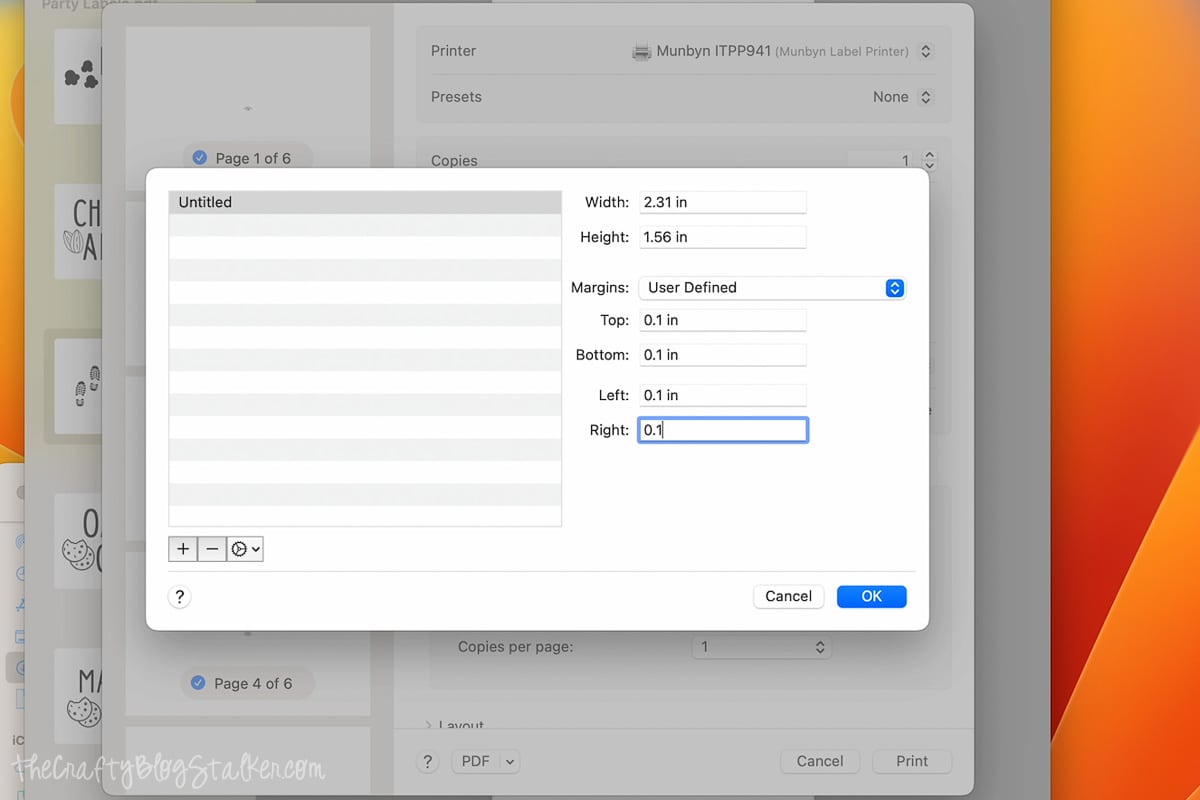
Then press the Print Button. Your food labels will begin thermal printing!
Food Packaging:
First, and most importantly, when handling food make sure the area is properly sanitized, and that you wear gloves.
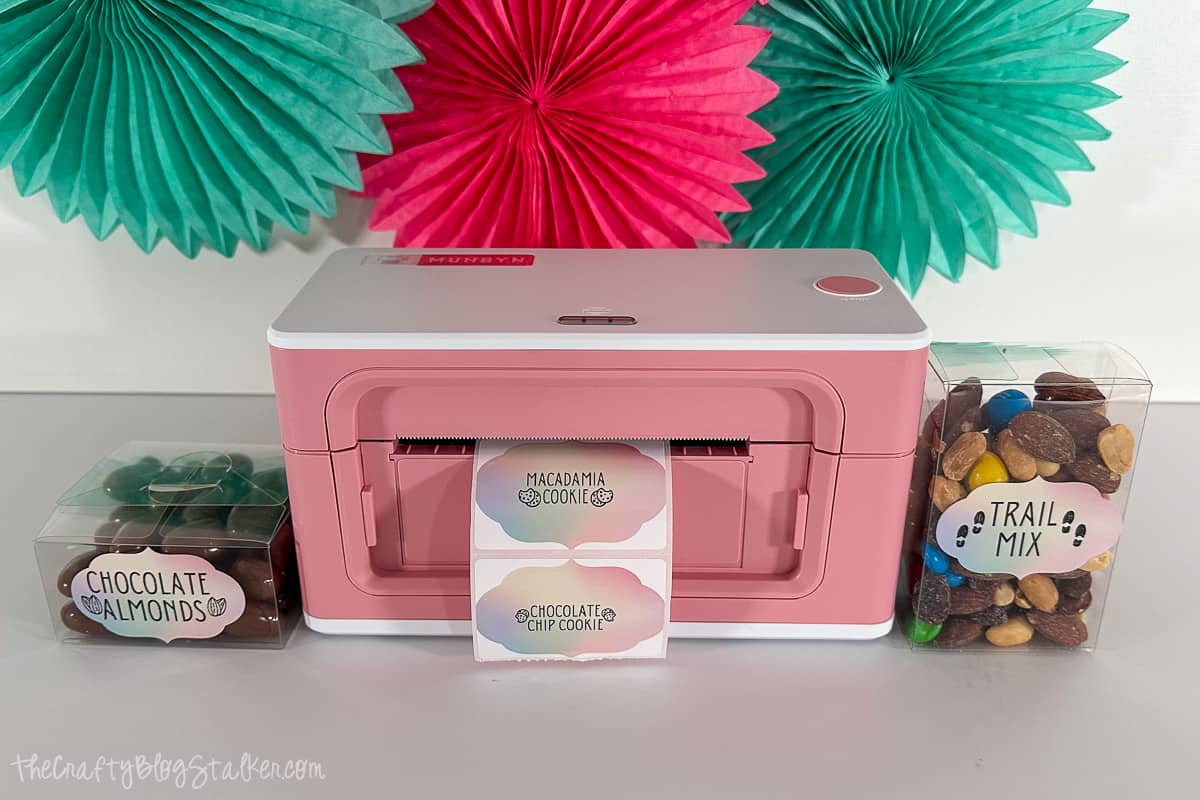
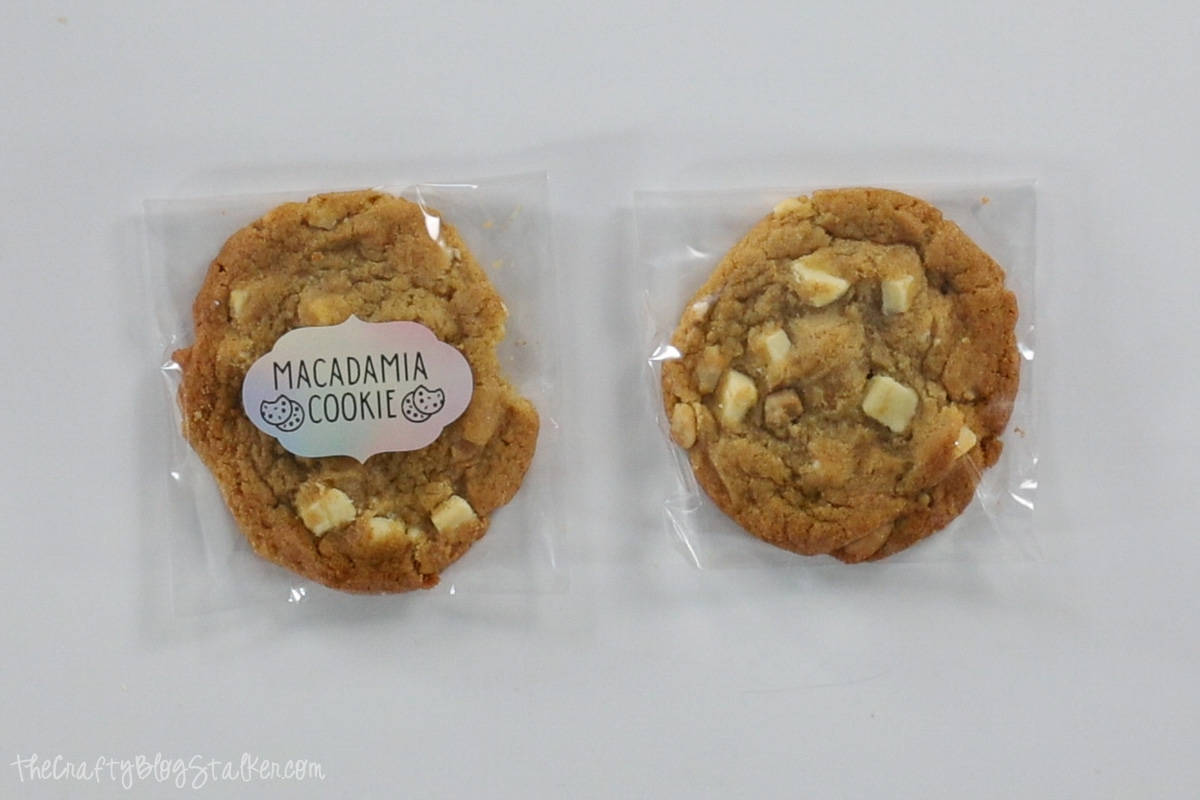
All of the cookies go in bags. I love the bags with the adhesive strip because it makes packaging so easy!
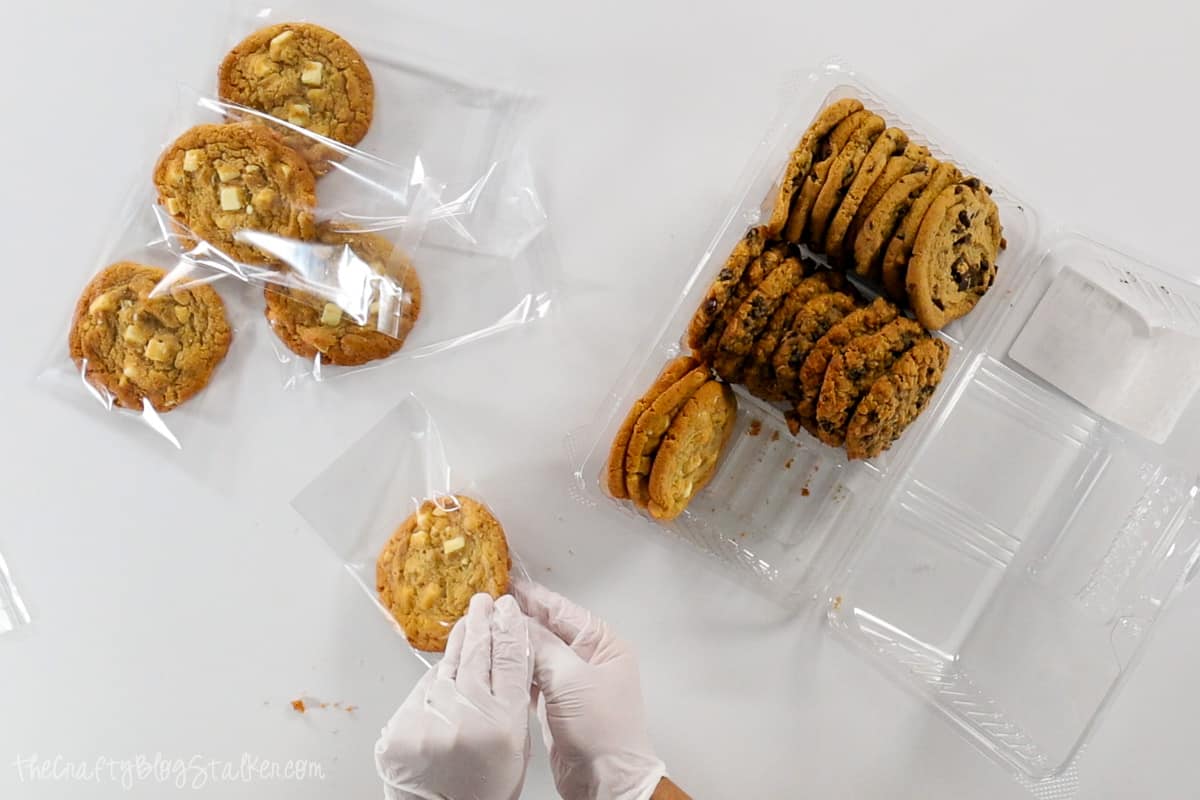
Don't they look so cute packaged? And the labels fit perfectly!
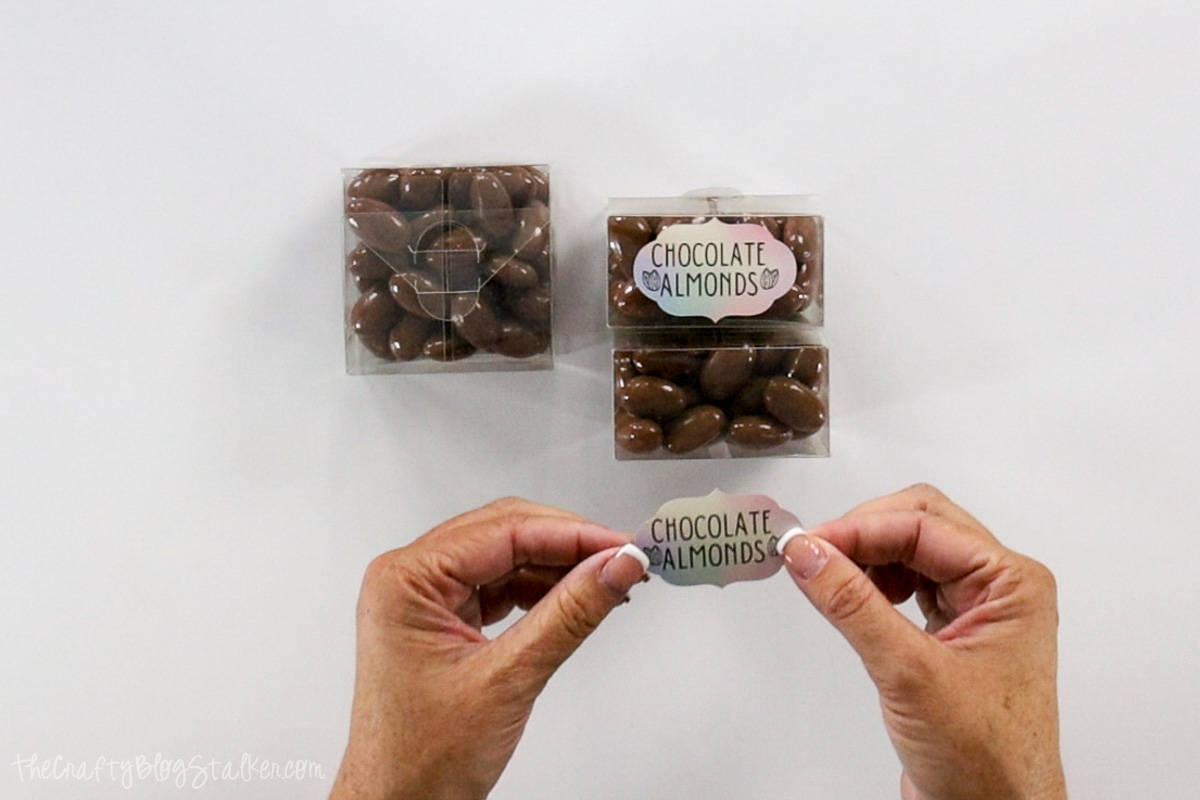
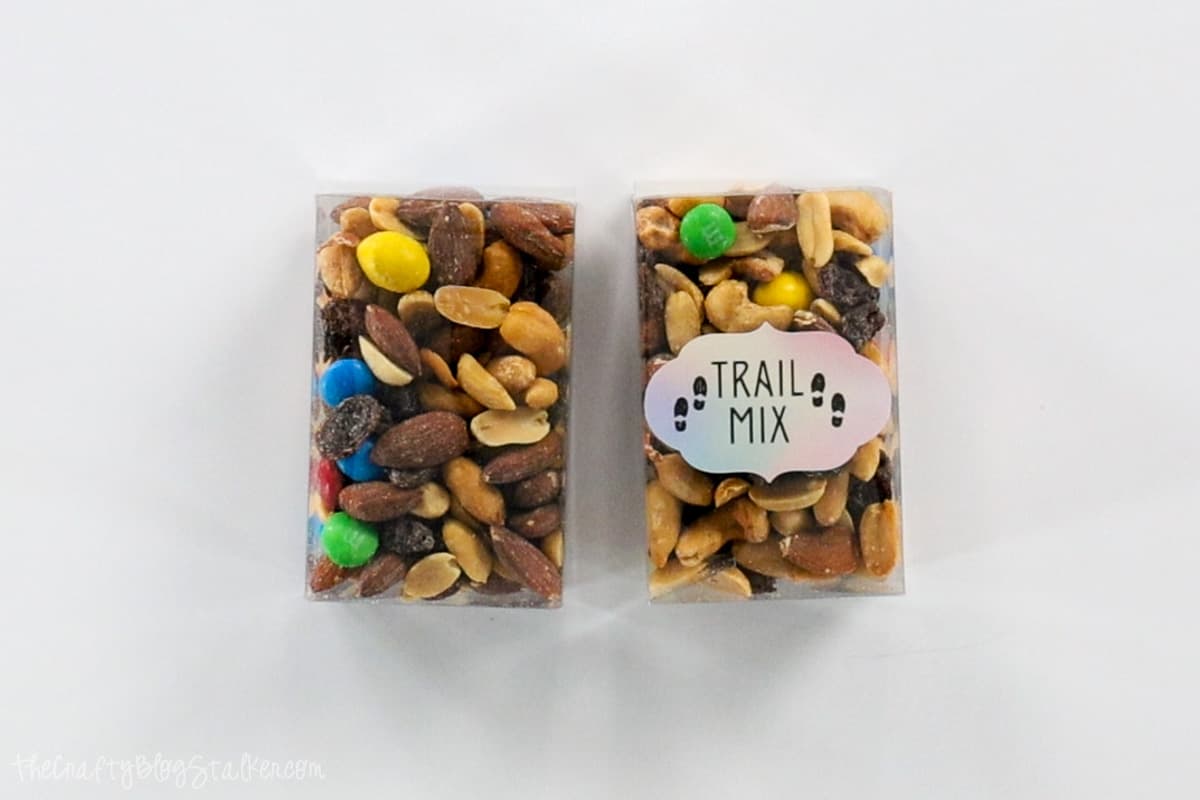
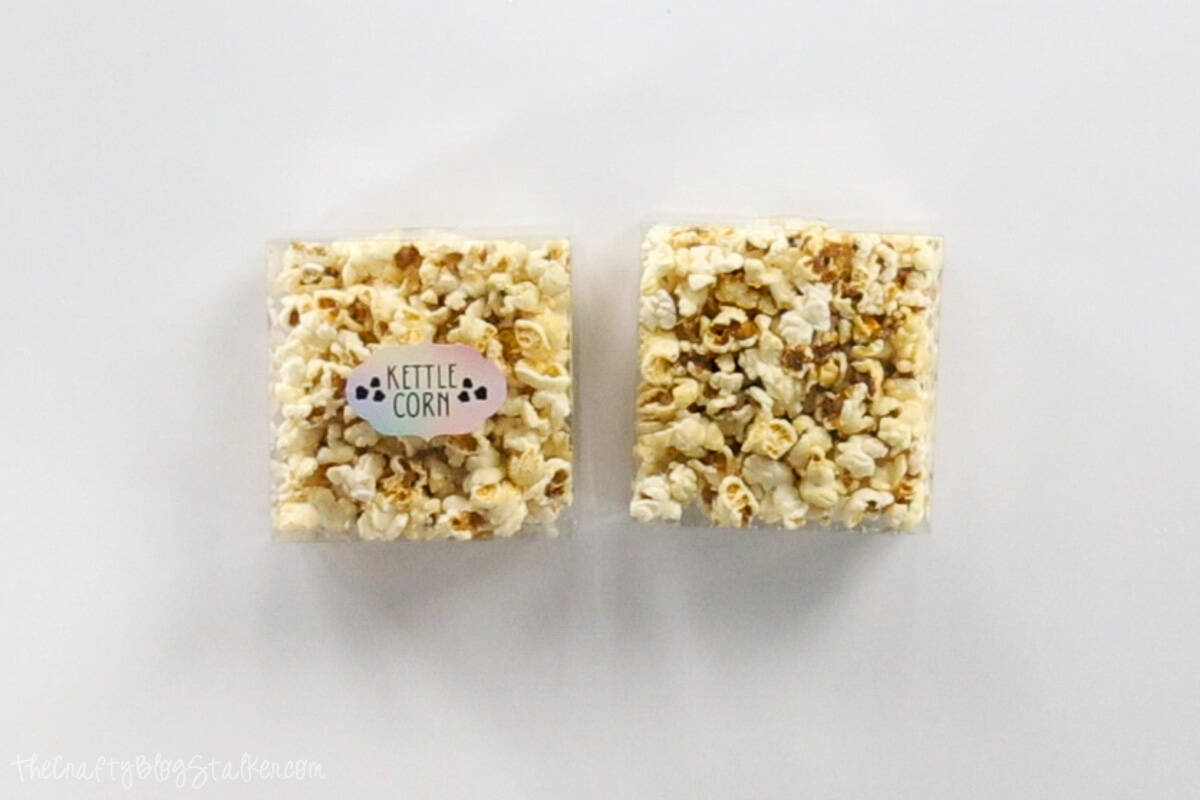
Next, assemble the clear plastic boxes for the other treats.
I used three different-sized boxes.
- 3 x 3 x 1.5 inches for Chocolate Almonds
- 3.7 x 2.2 x 1.5 inches for Trail Mix
- 4.25 x 4.25 x 1.63 for Kettle Popcorn
Then fill the boxes with their different treats.
Again, they each look so cute once labeled.
Display:
Now that everything is packaged all neat and cute, it is time to put them on display and let guests enjoy!
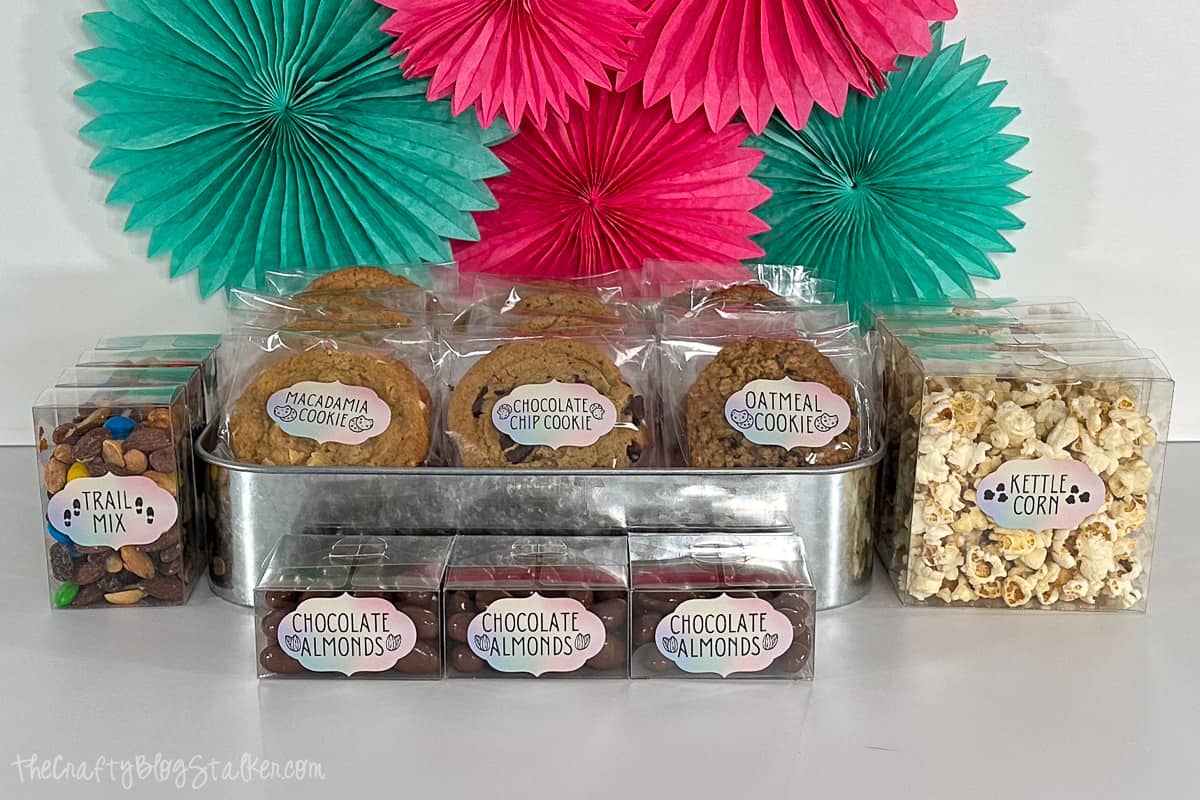
So many delicious treats to choose from, and each one is so cute!!
Of course, these labels are for decoration purposes only. You can use this thermal printer to create labels for food products you make and sell!
More Ideas for Labels at a Celebration:
- Seating Cards
- Name Tags
- Food Signs for a Buffet
- Silverware Wrappers
- Name Stickers for Cups
How else would you use these fun labels? Share and leave a comment below!
Frequently Asked Questions:
A thermal printer uses a thermal printhead pressed against a thermal product to create black text or images. It does not use ink, it uses a form of heat.
Yes, you can create your own nutrition labels! Visit https://www.nutritionfacts-labels.com/ . You can fill out all of the information and then download the file to print.