

This post has been sponsored by Cricut. All opinions are mine alone.
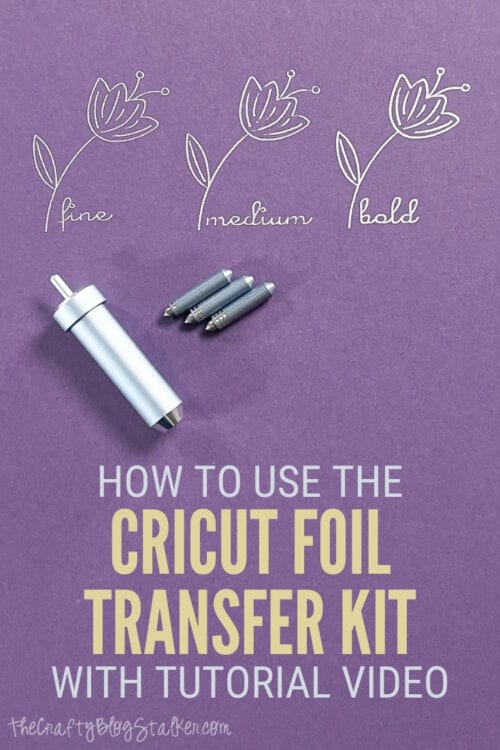
Add foil to your art and craft designs. Below is everything you need to know about the Cricut Foil Transfer Kit with a tutorial video.
Have you heard the buzz about Foil and Cricut? The two can now be used TOGETHER! This news is super exciting because foil is super trendy and fun to apply to everything!
Since this combination is fairly new, I thought I would help introduce the Cricut Foil Transfer Kit and answer some frequently asked questions before we get into our super cute project of a framed foil print.
If you have any questions that don't get answered below, then leave a comment with your question and I will do my best to find the answer for you.
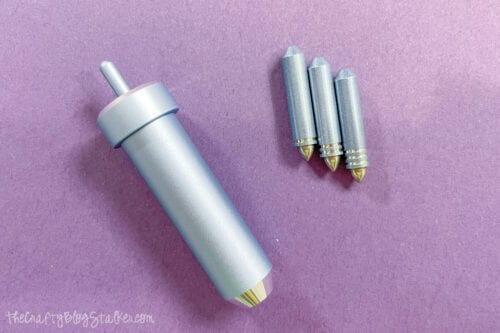
What Comes in the Foil Transfer Kit?
In the kit, you will receive the housing tool with interchangeable fine, medium, and bold tips. 12 foil transfer sheets and 48 tape strips.
Can I use the Foil Transfer Tool with all Cricut machines?
Cricut Foil Transfer is only compatible with Cricut Air family of machines and the Cricut Maker. The housing will not fit with the Cricut Joy.
Does the Foil Transfer Tool work with all devices?
No. This tool is not compatible with mobile apps. The Foil Transfer Tool requires Cricut Design Space for a computer.
What materials can I apply foil to?
The list is long, and you can see the list in its entirety at Suggested Materials, but a quick round-up would include cardstock, watercolor paper, kraft board, poster board, matboard, printable sticker paper, copy paper, photo paper, and faux leather.
What direction do I lay the foil down?
Place the foil sheets on top of your base material with the shiny side facing up. Secure the sheets in place using the provided tape strips, or you can use washi tape, painter's tape, or masking tape.
What is the best way to store the foil transfer sheets?
Keep the foil sheets stored in their original packaging, and keep them flat.
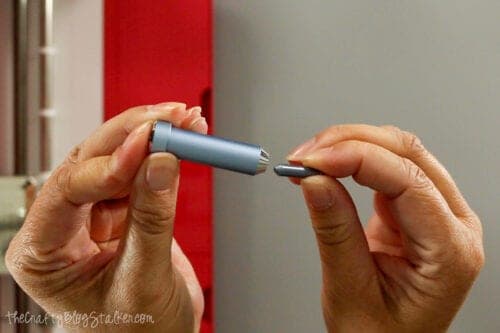
How do I tell the difference between the different tips?
On each of the three tips is a stripe. There is one strip on the fine tip, two stripes on the medium tip, and three stripes on the bold tip.
How do I change out the different foil tips?
The tips and the housing are magnetized. To insert a foil tip, slide the tip into the housing base with the non-striped side going in first. The magnet inside will grab the tip and secure it in place.
To remove a tip, press the stem at the top of the housing. This will push out the tip so you can grab it with your fingers to remove it.
Craft Tutorial:
Now let's get to our fun tutorial and make a framed foil print using the Cricut Foil Transfer Kit. Scroll to the bottom of the step-by-step instructions for the video.

Recipe Tutorial Video:
Like videos? I have a video tutorial for you! Please subscribe to my YouTube Channel so you don't miss out on any future video tutorials!
Supplies You'll Need to Create this Project:
Some links may lead to similar items when the exact item is unavailable.
- Foil Transfer Kit
- Cricut Cutting Machine
- Cricut Design Space Project
- Gold Foil Transfer Sheets
- Black Cardstock
- Frame
Cricut Design Space:
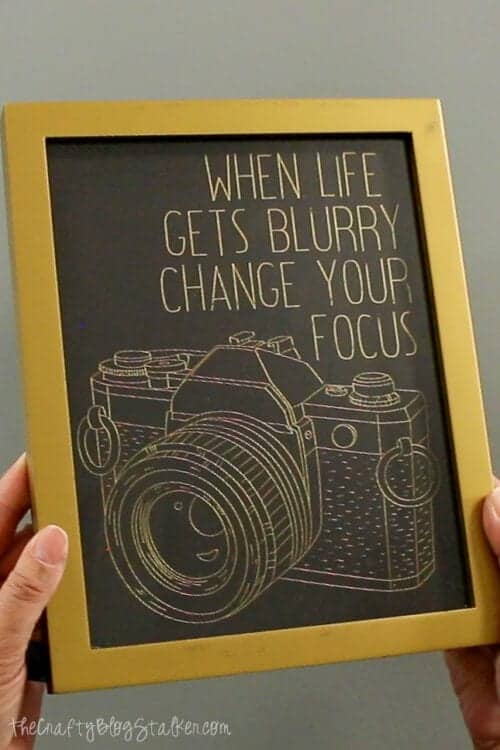
The cut file for When Life Gets Blurry has been designed and is completely ready to go in Cricut Design Space.
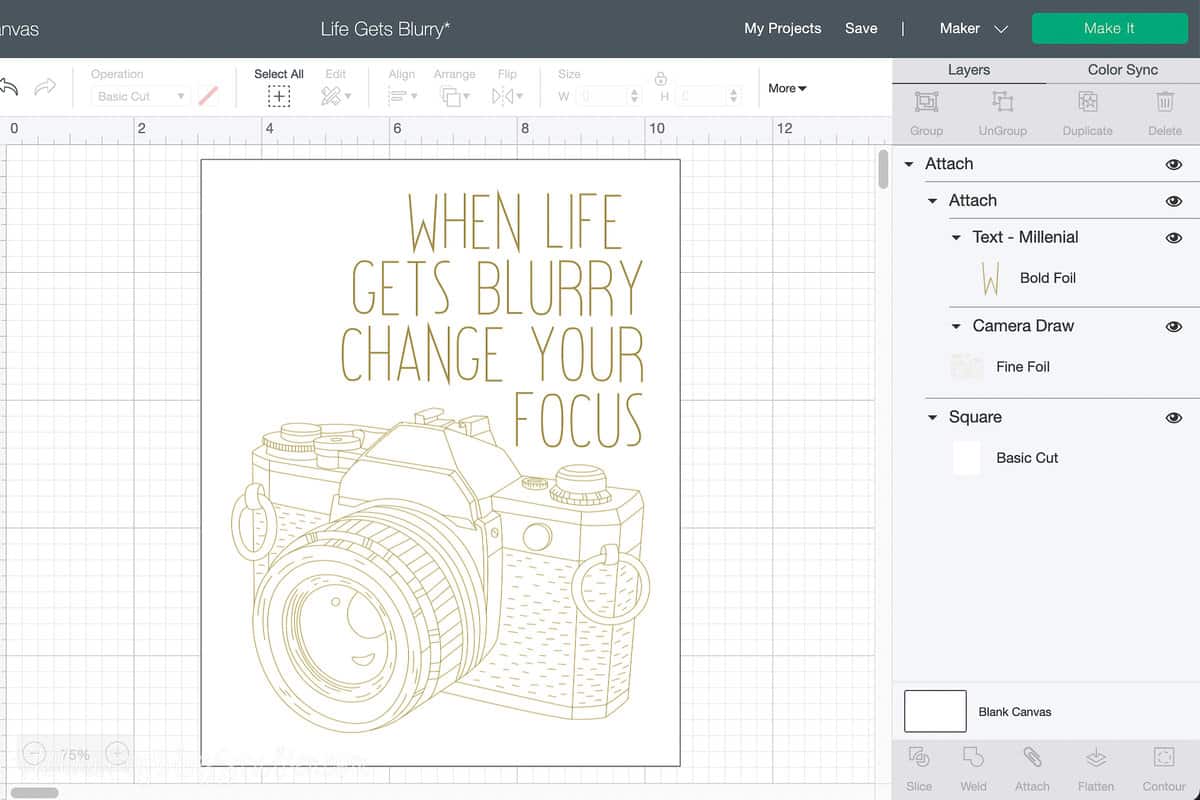
The print is sized as an 8" x 10" print. If this size works for you, select Make It. If you would like to make adjustments, select Customize.
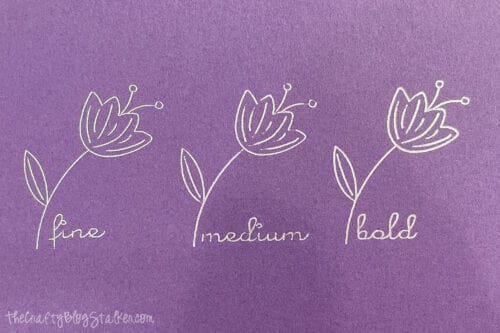
This design uses the fine tip and the bold tip, so follow the prompts to let you know what tip to insert and when.
Applying the Foil:
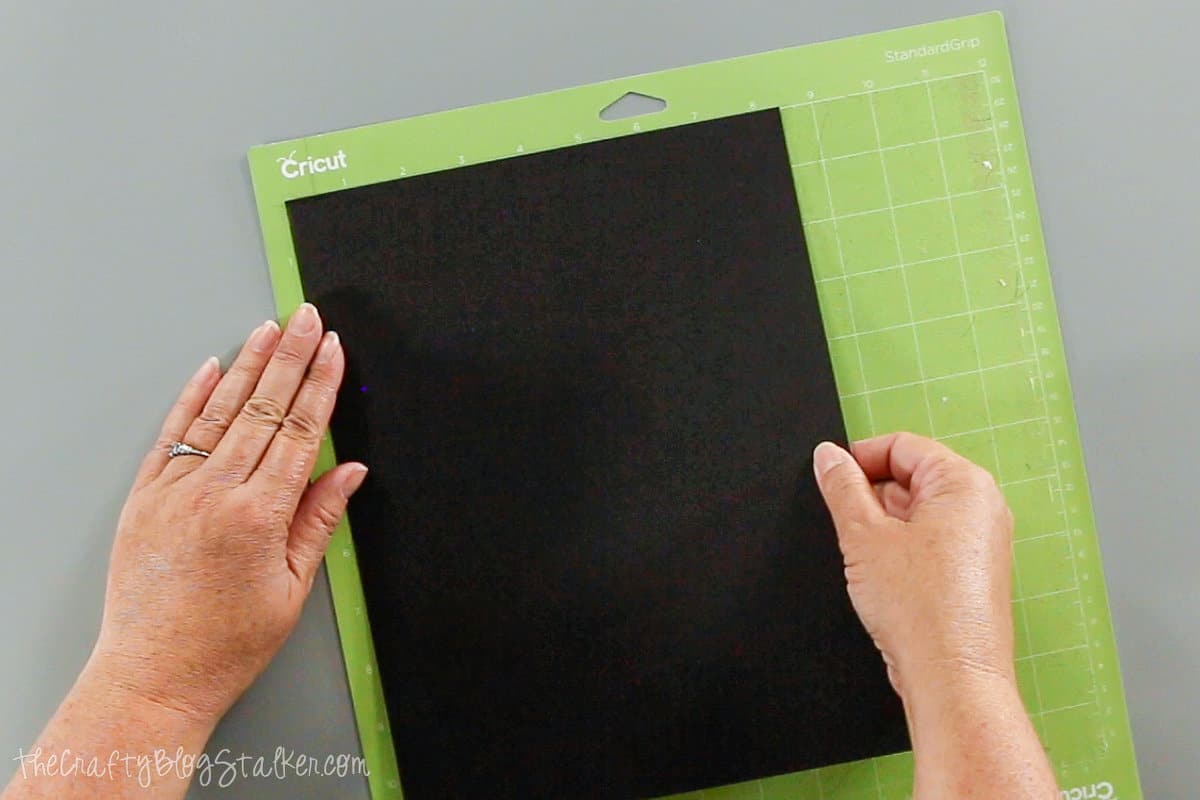
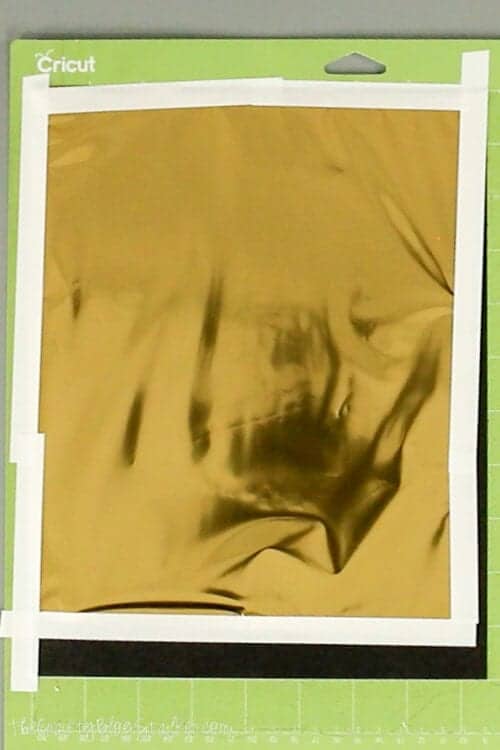
Line up a piece of black cardstock in the upper left corner of the standard grip mat.
Take a foil transfer sheet out of its package and trim down the size.
I used another mat with the cover as a cutting grid and cut the foil down to 8" x 10".
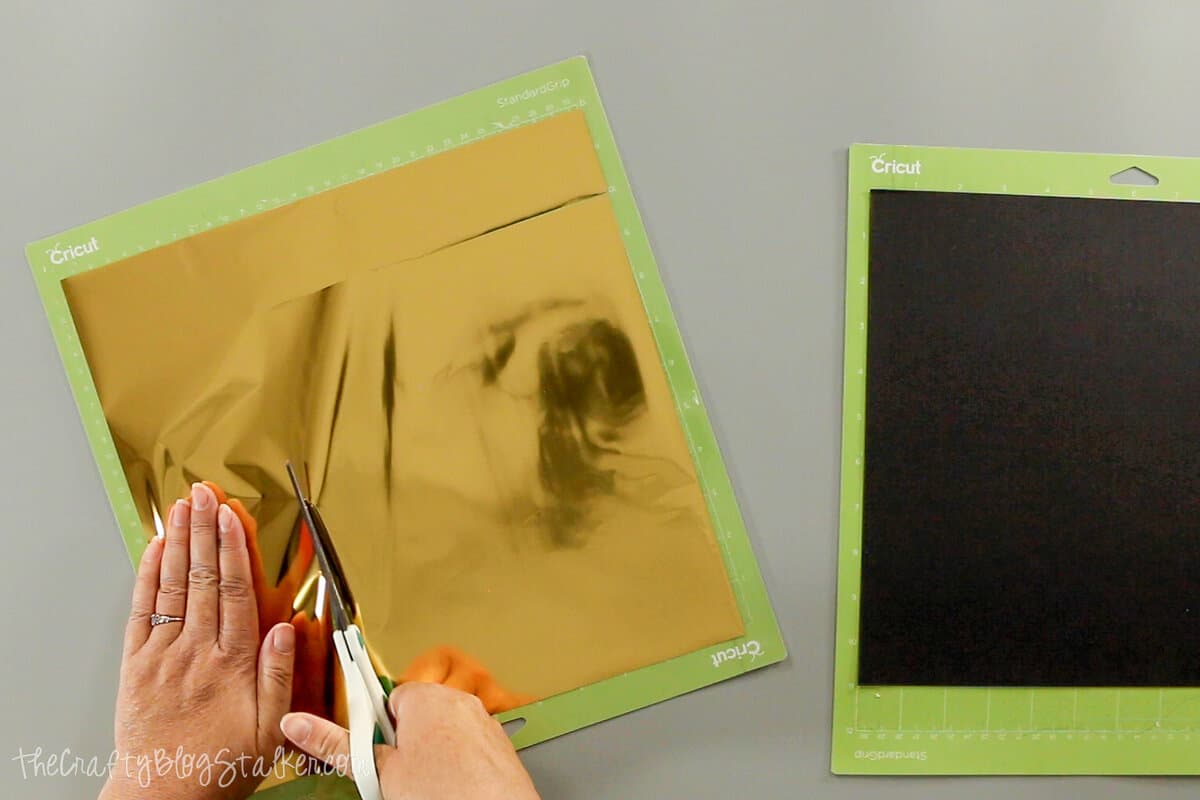
Tape the foil sheet onto the cardstock securing all the way around with the tape strips. Make sure to keep the foil away from the stickiness of the cutting mat.
As the material option, choose the material of your base material. In this case, it is cardstock. Load the correct foil tip into the housing and begin your "cut".
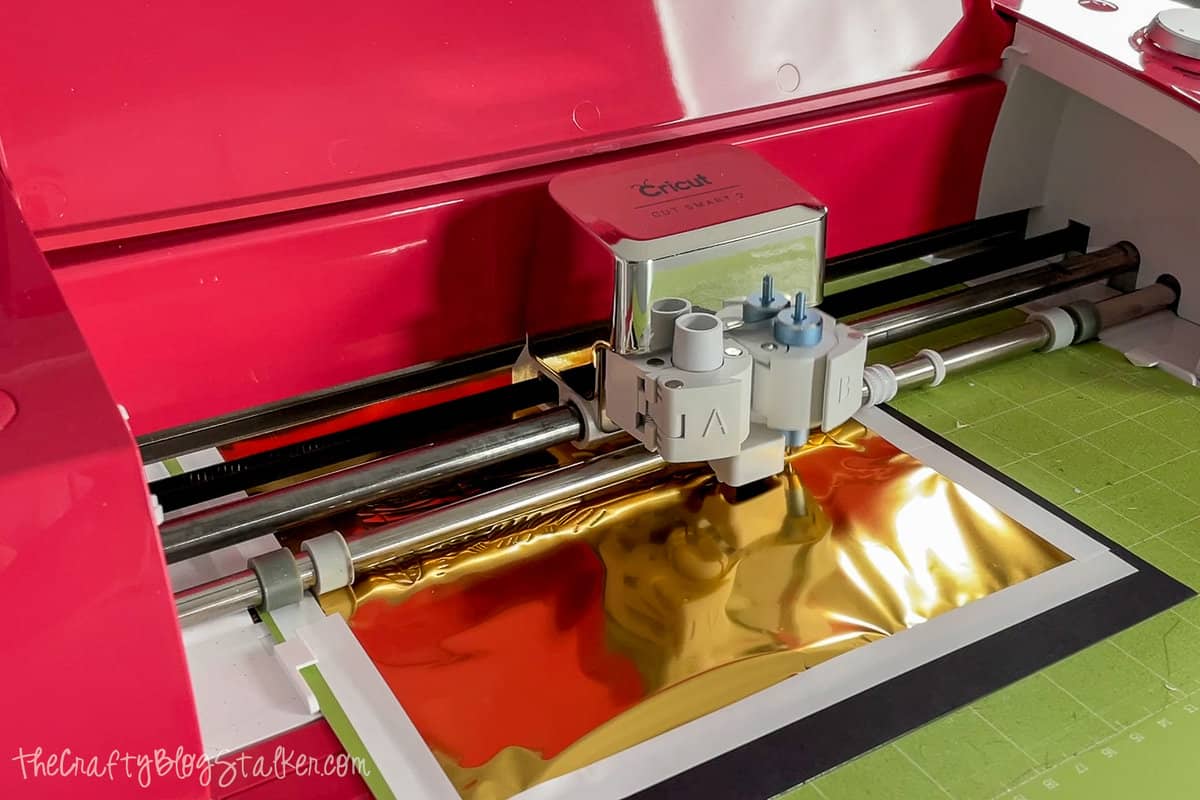
Since this design uses 2 different foil tips, you will be prompted to change them out halfway through. Do not eject the mat during the swap.
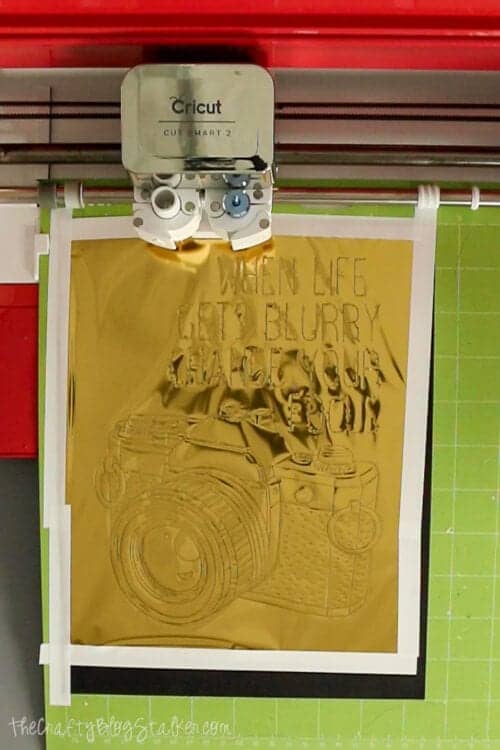
Once the foil tool is finished, remove the taped foil sheet, and reveal the foil design beneath. Do not eject the mat for this step.

Replace the foil housing with the cut housing and Cricut will cut the rectangle out around the design.
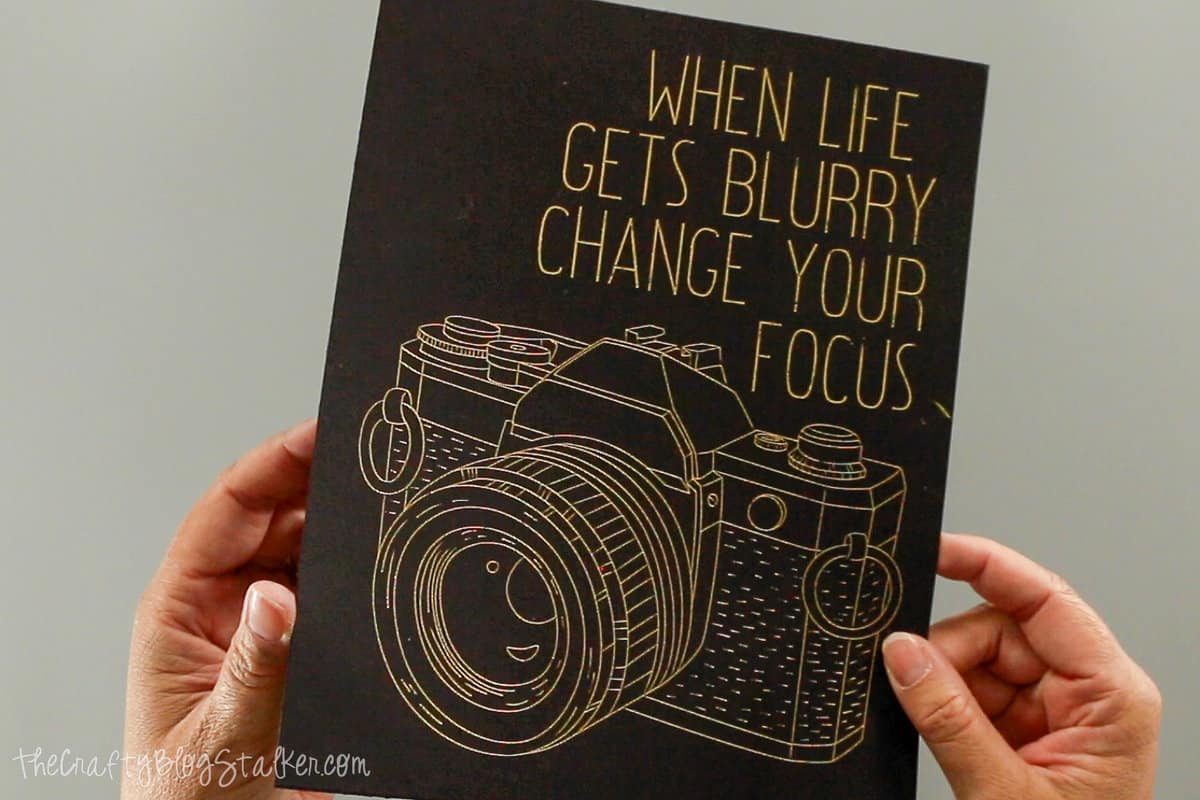
Doesn't it look awesome? All it needs is a frame!
Crafting Essentials
- The Cricut Cutting Machine is easily my favorite crafting tool. We use it in so many of our tutorials!
- These MakerX Crafting Tools are perfect for keeping in the craft room and are always ready when needed!
- This Fiskars Paper Trimmer is easy to use and cuts nicely without frayed edges.
- These Scotch Precision Scissors cut like a dream, and you get multiple pairs in a pack!
Shirl
Love this! I have an old silver frame that holds an eight by ten picture. Will making this with the silver foil! I think the foil feature is so cool, both on my joy and maker! Thank you for this inspiration!
Katie Adams
You are welcome! I am so glad you found this project inspiring!
Judy
Good evening Katie
I have been trying to find this project in CDS but not able to
Is there a number to look for it. I can get it on my tablet but not for the tablet my
Katie Adams
Hi Judy! You cannot do foil from a device, you have to be running Cricut Design Space from a computer. But here is the link to the project: https://design.cricut.com/landing/project-detail/603acf70b6f802052c63f301
Lorna
I'm a newbie...but would the silver cricut pen give about the same type of result as the foil in this project? Just wondering... Thanks!
Katie Adams
Great idea Lorna! It would be similar, and pretty in its own way!
Brenda
How do I open up the design in CDS? I saw the link above, but when I click on it, it takes to me a like for the CDS app. I'm trying to open it up on my desktop. Is there somewhere else to download the file?
Katie Adams
Hi Brenda, I am sorry but the design is only available in Cricut Design Space. Do you have an account? Make sure you are signed in and then click the link.
Brenda
Thanks!! I guess I tried to get design without being logged into CDS. I got the design!!!
Jackie
I had success using the cricut foil, but after not doing a while the foil is patchy. I am using new foil and the same type of card as before (I think). Any ideas on what I could try to get even coverage, please?
Katie Adams
Are you using a new sheet of foil each time? Or it could be that you are getting even pressure.
Teri
What lbs is the cardstock your using with this project ?
Katie Adams
I think it is 60 or 70 lb cardstock.