This post may contain affiliate links. For more information, please see our disclosure policy.
How to Apply Transfer Foil with the NEW Gemini Foilpress! Add foil to handmade cards, invitations, and paper crafting! Easy DIY Craft Tutorial Idea. This is a sponsored post on behalf of Crafter's Companion. All opinions are my own because I love giving you helpful tutorials!

Have you seen the Gemini Foilpress? This is such an amazing tool for your craft room! The Foilpress is a machine that when used with the Gemini Junior can add gorgeous foil to your paper crafts. Plus, who doesn't love foil? That metallic glimmer adds a special touch and it is so pretty!
The Gemini Foilpress comes with everything you see here and I am going to show you how to use it!
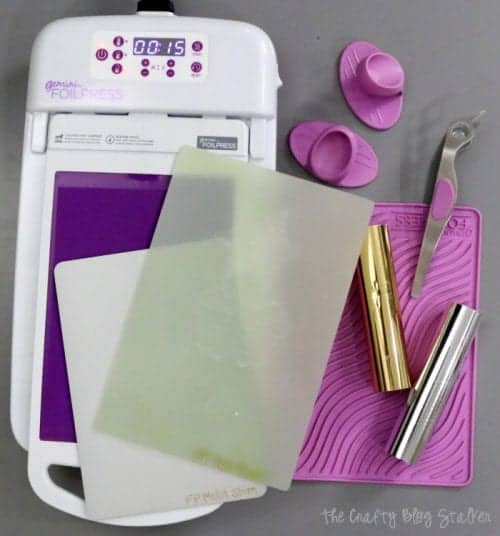
Supplies Used: Affiliate links below may be to similar items when exact items couldn't be found online.
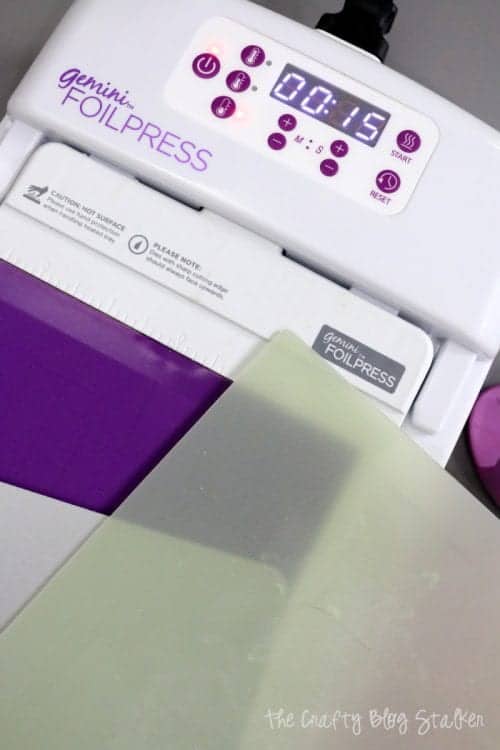
Like videos? I have a video if you would prefer to watch the tutorial. Please subscribe to my YouTube Channel so you don't miss out on any future video tutorials!
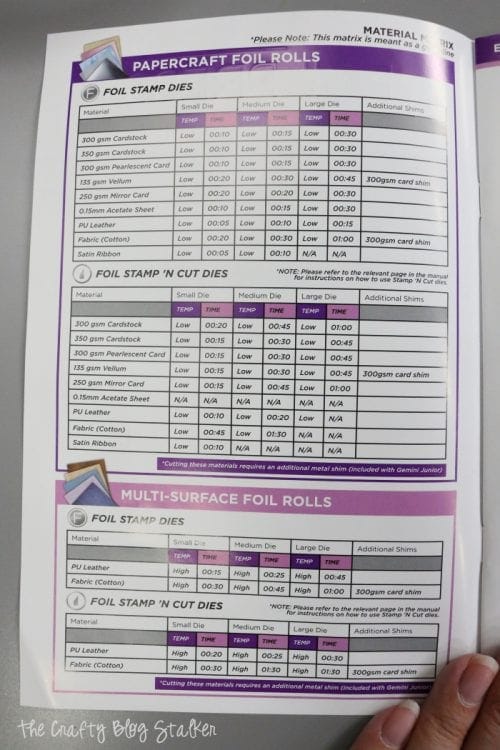
Before we begin I would like to say how important the instructions are to the Gemini Foilpress. Make sure you keep them handy. The settings are different depending on the material or size of stamp die and there is a handy grid at the front of the instruction book.
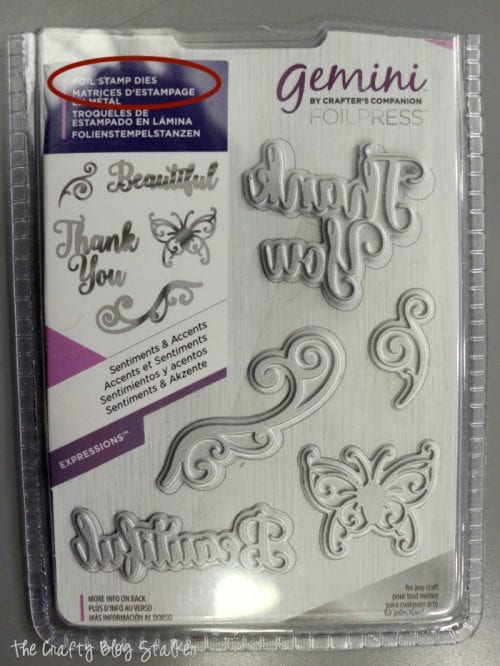
Hot Foiling with Foil Stamp Dies
There are a couple different ways that you can apply foil to your projects using the Gemini Foilpress. The first is with Foil Stamp Dies. Foil Stamp Dies will deboss the paper and apply foil hot-stamping to your project. The metal die does not cut the paper, only stamps.
Reference the Material Matrix to decide the temperature setting and time. I am using a small foil stamp die so have pushed the low-temperature setting button and set the time for 10 seconds.
Place the Foil Stamp Die facing up on the purple surface of the platform. Cover with the top plate and press START on the digital display.
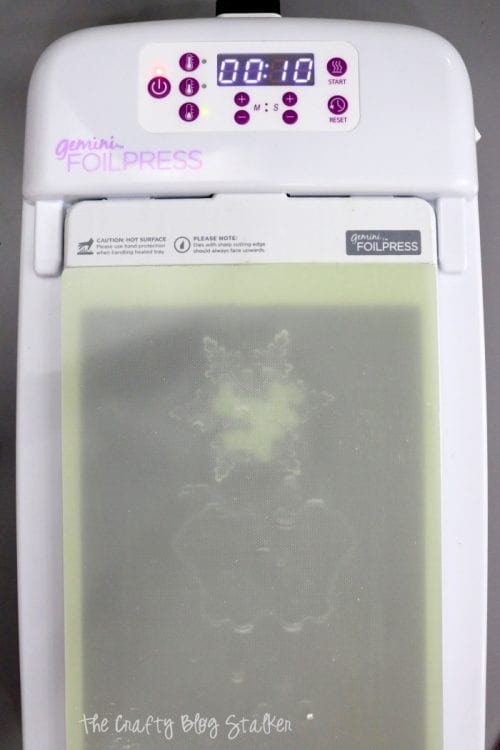
Trim the Transfer Foil to a size that will cover the Foil Stamp Die.
When the Foilpress base has preheated the light next to the temperature setting turns green and the machine beeps. Remove the platform from the machine and place the foil shiny side down on top of the Foil Stamp Die.
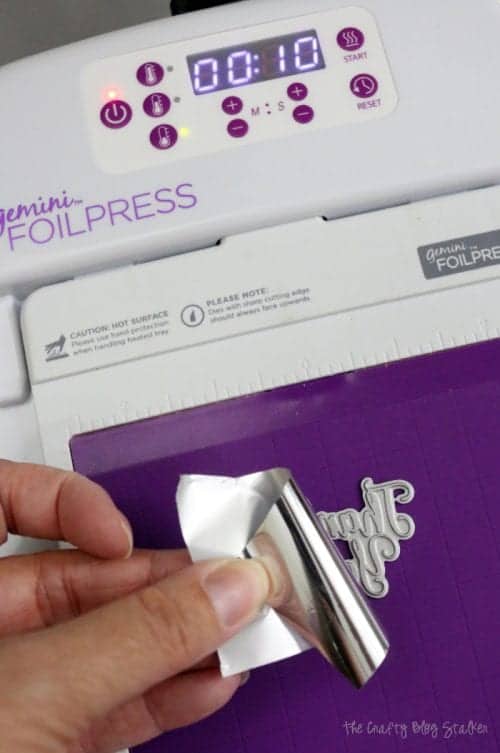
Place the paper face-down on top of the foil and carefully place the Top Plate on top of the paper. This entire stack from the bottom platform up is called a sandwich.
The platform will be hot so make sure to use the Silicone Finger Grips to remove the sandwich and guide into the opening of the Gemini Junior.
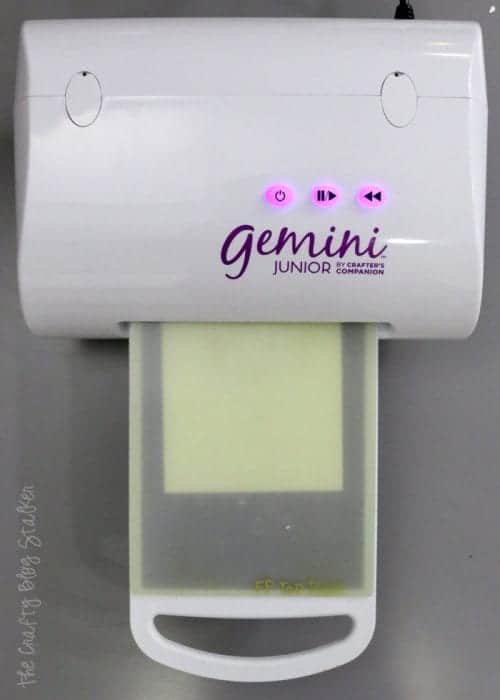
As it passes through the Gemini Junior the paper becomes foiled and debossed.
If layers are too hot to handle, use the included tweezers to remove the layers to get to the paper. Carefully peel back the foil and you will see your image debossed into the paper! Isn't that pretty!
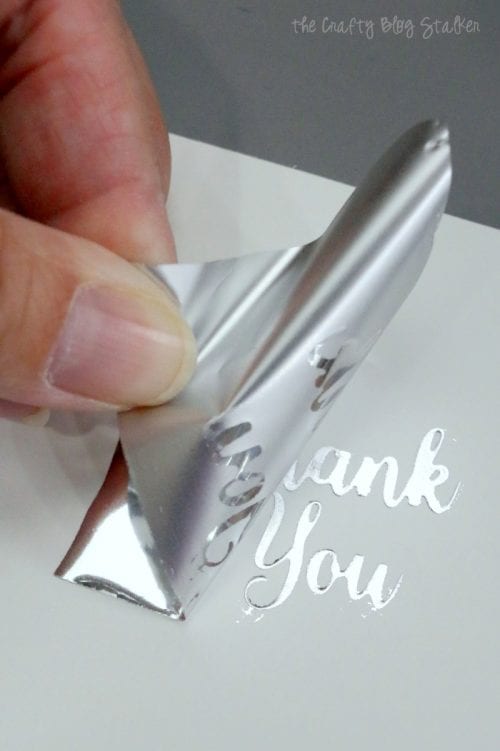
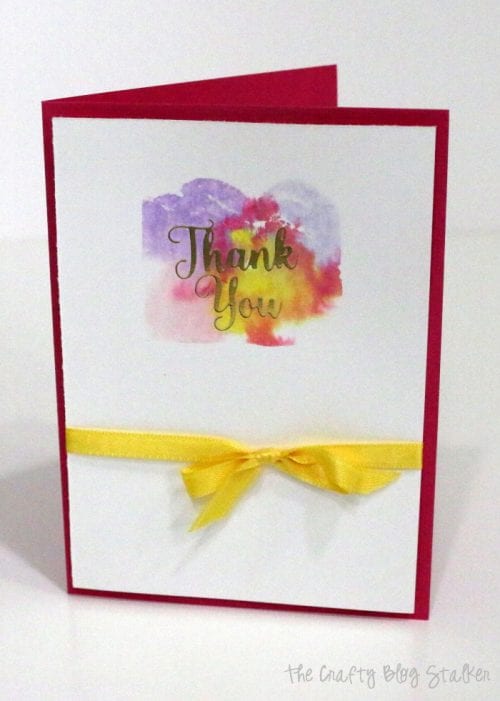
Here is a simple Thank You Card I made using the Foil Stamped Image and some water coloring.
Hot Foiling with Foil Stamp N' Cut Dies
The next way to apply foil is with Foil Stamp N' Cut Dies. This metal die adds foil hot-stamping and die cutting all with one pass.
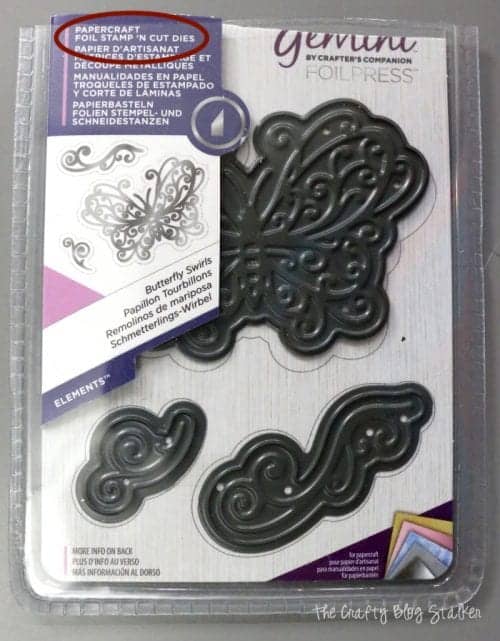
This time my Foil Stamp is a bit larger so I am going to say I am using a medium size stamp with a temp of 15 seconds.
Place the Metal Shim on the Foiling Platform and place the Foil Stamp N' Cut Die facing up on the purple surface of the platform. Cover with the top plate and press START on the digital display.
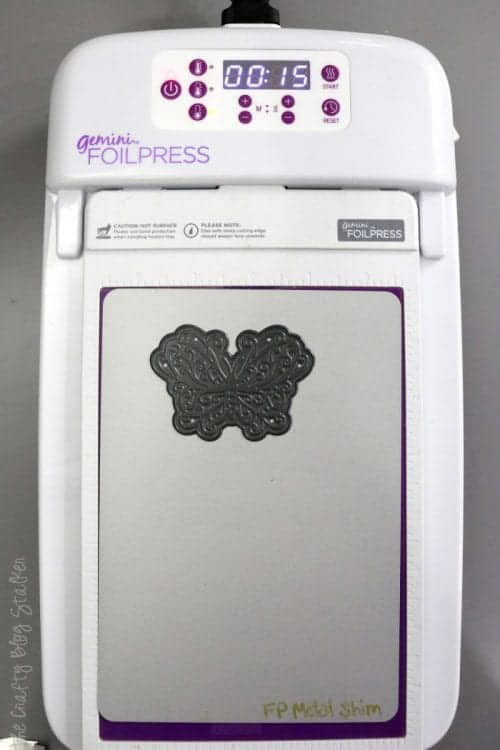
Trim the Transfer Foil to a size that will cover the Foil Stamp N' Cut Die.
When the Foilpress base has preheated the light next to the temperature setting turns green and the machine beeps. Remove the platform from the machine and place the foil shiny side down on top of the Foil Stamp Die.
Place the paper face-down on top of the foil and carefully place the Gemini Junior Metal Shim followed by the Top Plate on top of the stack. This will complete your sandwich.
The platform will be hot so make sure to use the Silicone Finger Grips to remove the sandwich and guide into the opening of the Gemini Junior.
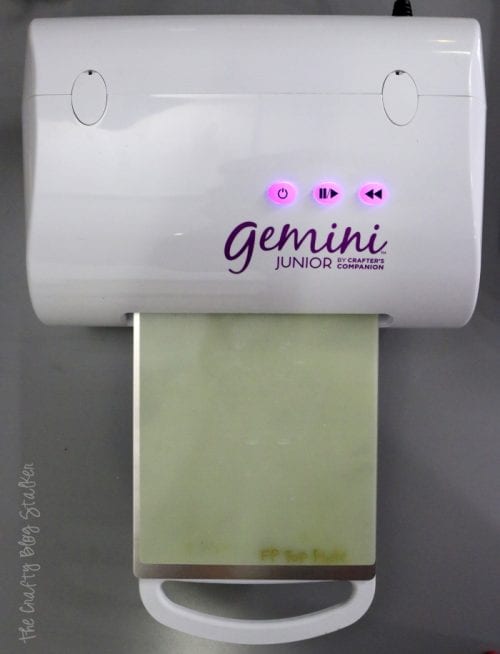
As it passes through the Gemini Junior the paper becomes foiled and cut!
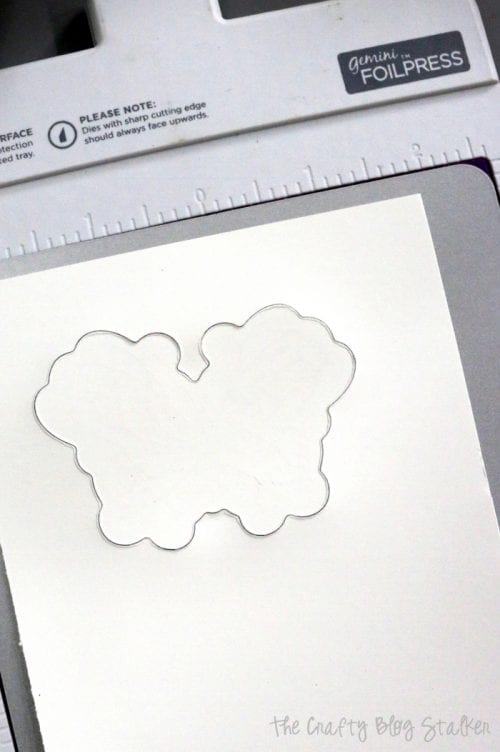
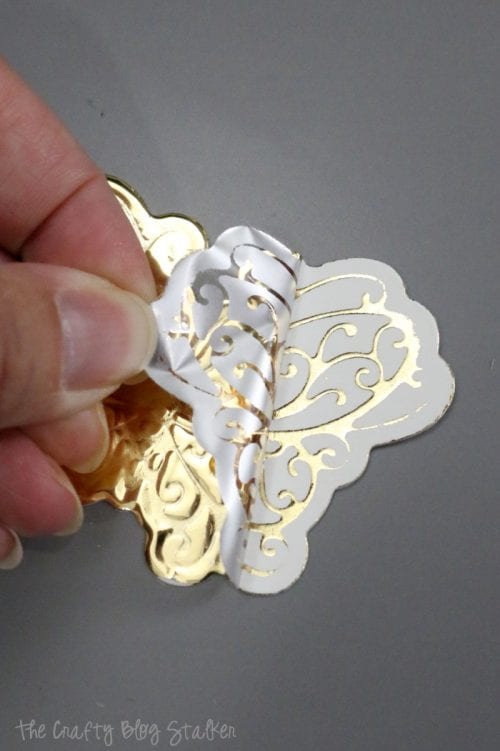
Peel back the foil and you will see your new foiled die cut image! I love this butterfly, so pretty!!!
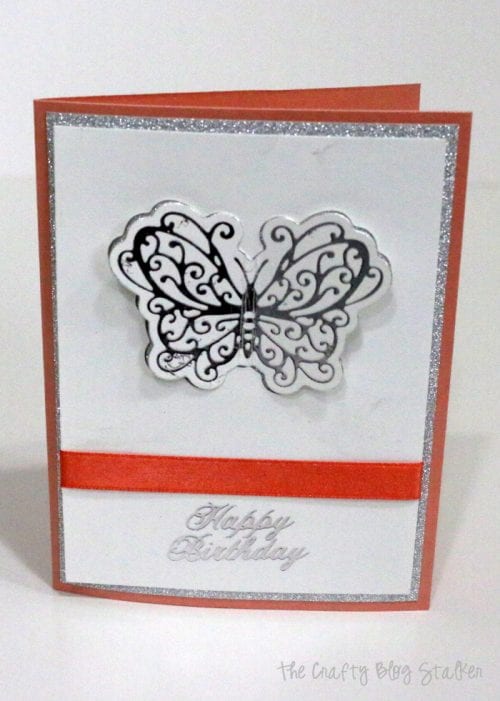
Of course, I had to make a cute butterfly card too! What do you think?
Hot Foiling with Thin Metal Dies
This last technique for foiling is one that I discovered, you will not find it in the instruction book that comes with your Gemini Foilpress.
Basically, we are going to turn a Thin Metal Die into a Foil Stamp.
Run the Thin Metal Die through the Gemini Junior with a piece of scrap paper just like you normally would. If you need a reference for that sandwich it is
- Clear Cutting Plate
- Paper (material to be cut)
- Thin Metal Dies (blade side up)
- Magnetic Shim
- Plastic Shim
- Clear Cutting Plate
When you are done cutting don't remove the paper from the Thin Metal Die, leave it inside. Although, you will want to remove any other paper piece from the negative spaces.
This now becomes my Foil Stamp and I follow the original instructions.
Referencing the Material Matrix to decide the temperature setting and time. This time it will be a large die with a time of 30 seconds.
Place the Foil Stamp Die facing up on the purple surface of the platform. Cover with the top plate and press START on the digital display.
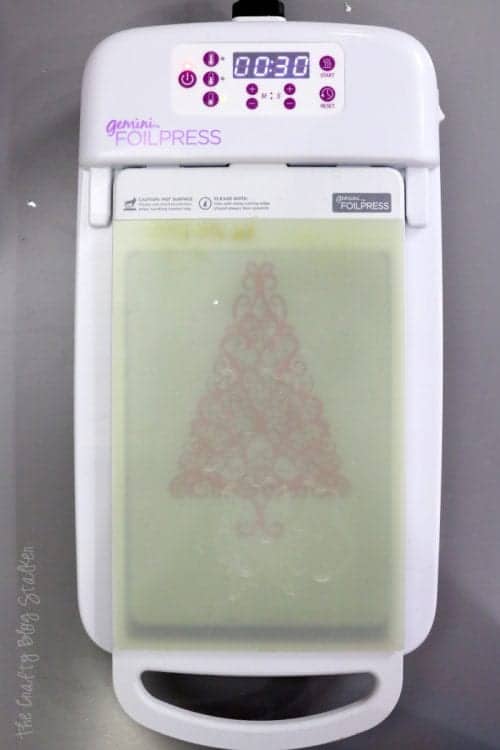
Trim the Transfer Foil to a size that will cover the Foil Stamp Die.
When the Foilpress base has preheated the light next to the temperature setting turns green and the machine beeps. Remove the platform from the machine and place the foil shiny side down on top of the Foil Stamp Die.
Place the paper face-down on top of the foil and carefully place the Top Plate on top of the paper to complete the sandwich.
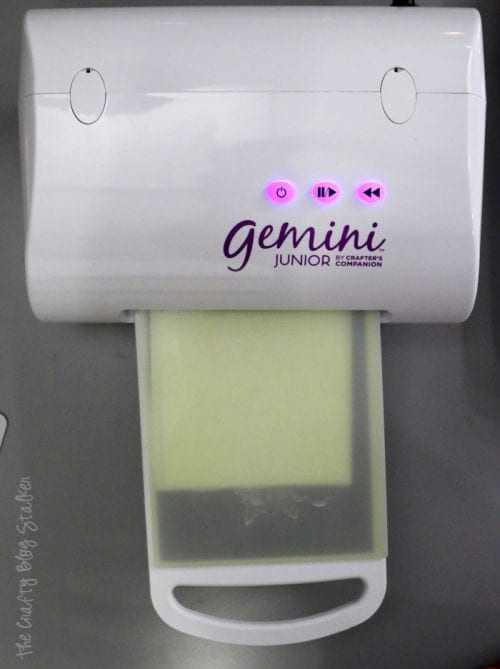
The platform will be hot so make sure to use the Silicone Finger Grips to remove the sandwich and guide into the opening of the Gemini Junior.
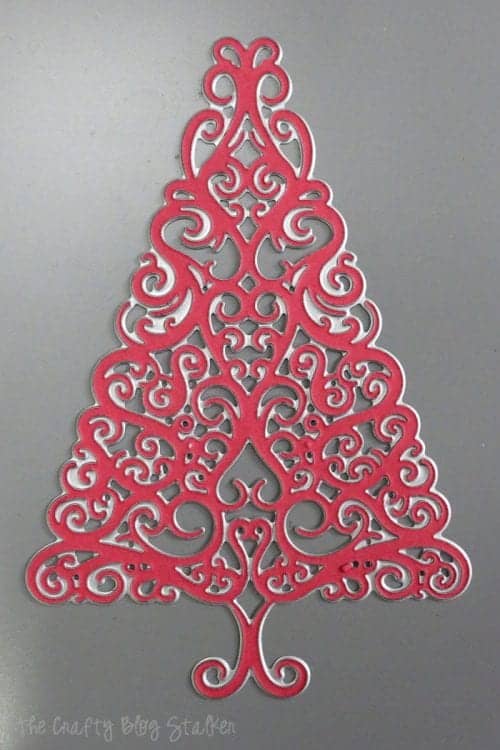
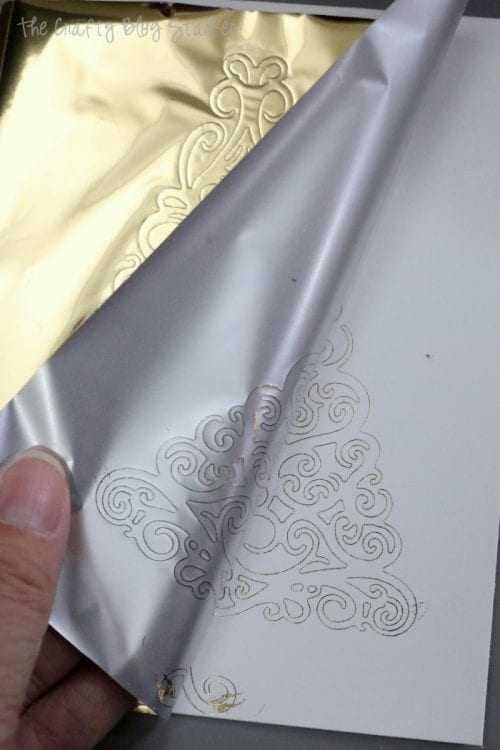
Carefully peel back the foil and you will see the image from the Thin Metal Die but the die doesn't cut through the paper!
I made a couple cards with this technique because I was having so much fun!
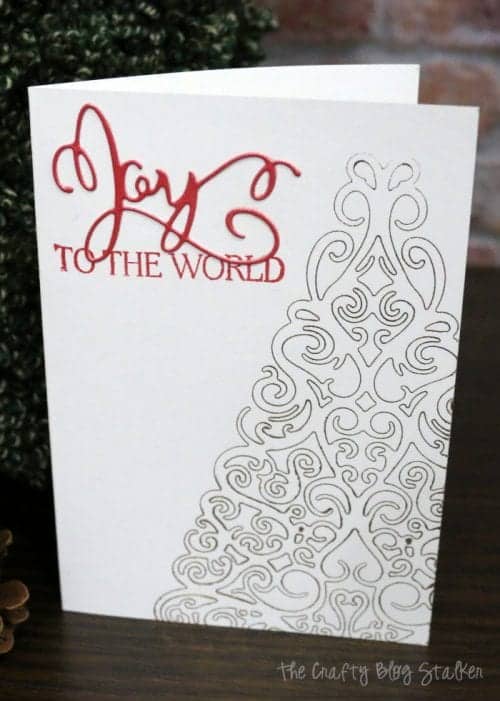
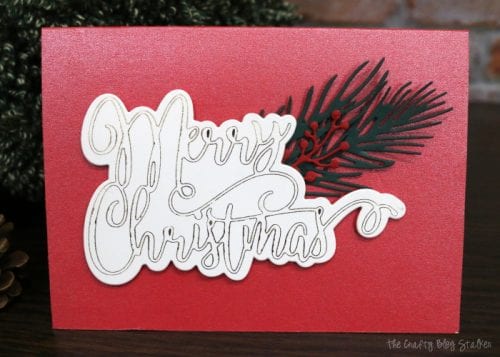
This Merry Christmas Greeting came from a Thin Metal Die Set that had the words and then the outline. How cute is that?!
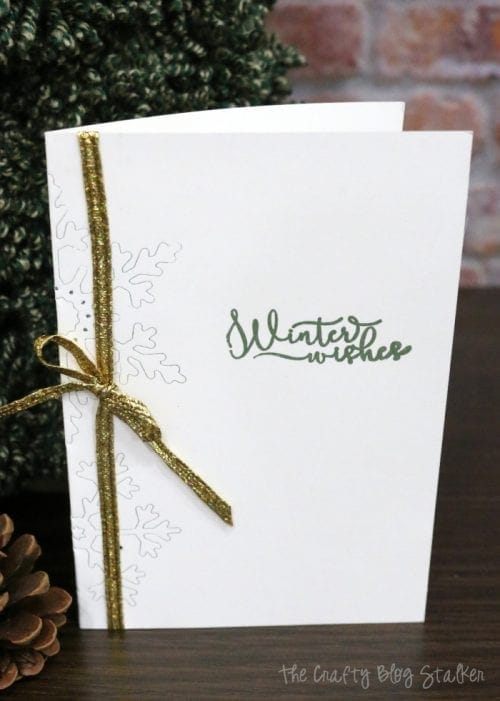
I also used the technique for the snowflakes along the edge of this card.
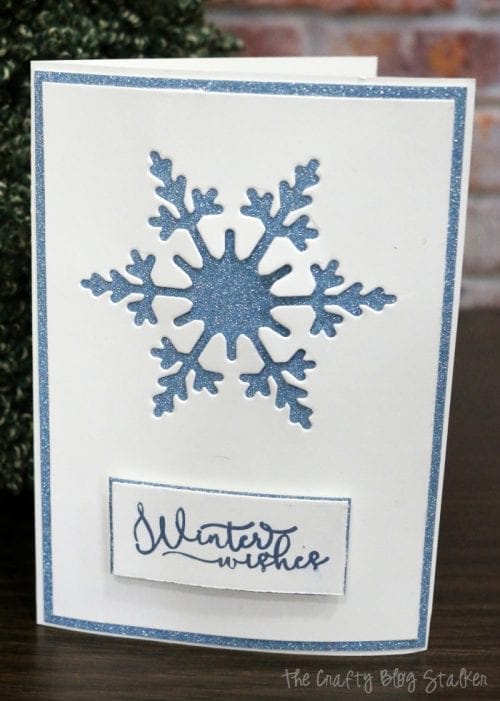
The next card doesn't have any foiling but does use the snowflake die from the card above. I still love the card so I wanted to show it too!!
There are so many ways to add foil to your projects with the Gemini Junior and Gemini Foilpress! What are you going to make first? Share and leave a comment below.
SAVE HOW TO APPLY TRANSFER FOIL WITH THE GEMINI FOILPRESS TO YOUR FAVORITE DIY PINTEREST BOARD!
And let’s be friends on Pinterest so you can see all the DIY projects I’m pinning!




Leave a Reply