

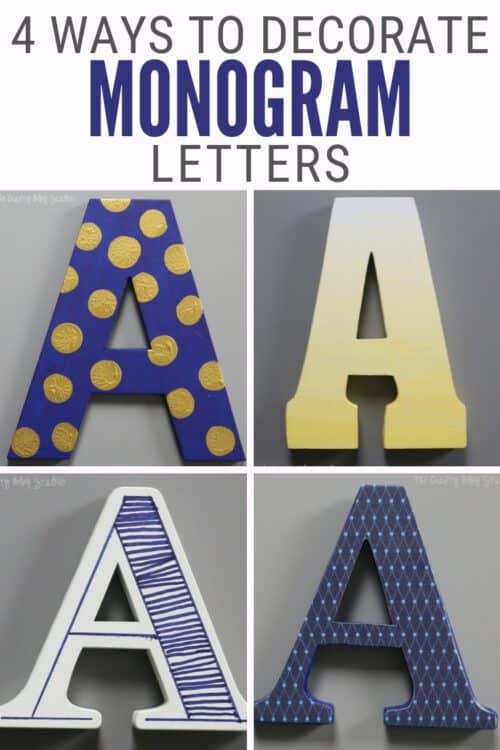
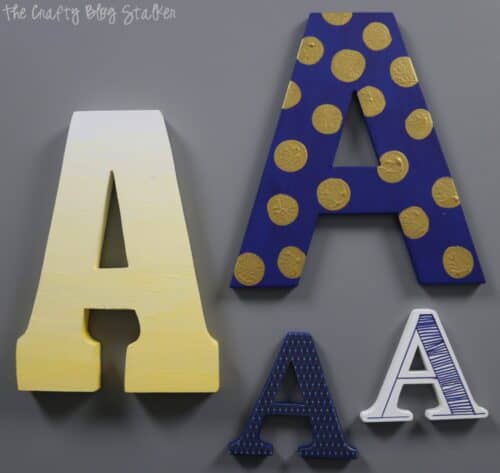
Decorate monogram letters to create beautiful wall decor. Below are 4 tutorials, ombre, polka dot, mod podge, and hand-drawn doodles.
Do you like to DIY your own home decor? I have been on a huge decorating kick and have had so much fun giving my home a little personality and style.
Recently, I created a Monogram Photo Gallery Wall, and several of the monogram letters are designed and painted by me! You can read all about it in my post, Monogram Photo Gallery Wall.

Monogram Letter Tutorials:
This post is a bit different, instead of focusing on 1 tutorial, there are 4 tutorials! So keep reading because there is more!
Each letter also has a video tutorial if that is more your style.
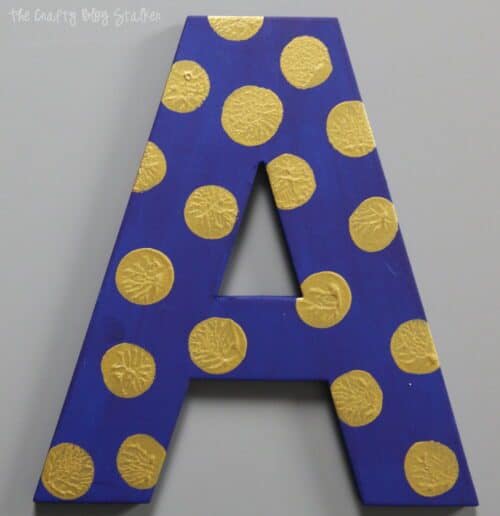
How to Make a Polka Dot a Monogram Letter:
This post contains affiliate links.
- Cadmium Yellow Americana Acrylic Paint
- Ultra Blue Deep Americana Acrylic Paint
- Glorious Gold Dazzling Metallics Acrylic Paint
- Round Paint Sponge Daubers
- Foam Brushes
- Paper Plate to be used as a paint pallet
Craft Tutorial:
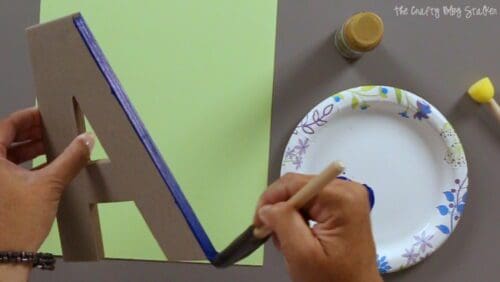
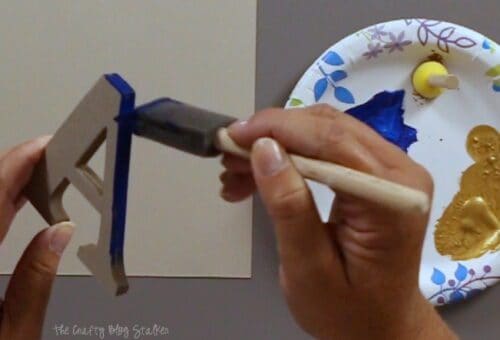
Begin by putting a good blob of paint onto the paper plate pallet and paint the edges of the letter with a foam brush.
Paint the front of the letter. You don't need to worry about painting the back side because no one will see it. Apply two or more coats to the letter. The number of coats depends on the look you are going for and the paint that you use.
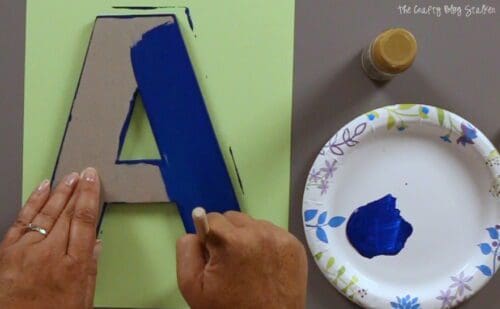
Let the paint dry before moving on to the next step.
Using a round paint sponge dauber pick up a little of the gold paint. Dab a little of the paint off.
Apply the sponge to the surface of your letter with a light circular motion and lift it straight up. You can apply the dots in a unified pattern or apply at random. I went for the random method.
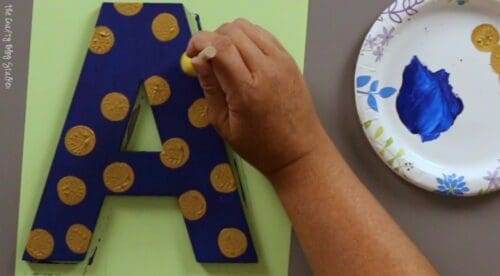
The gold paint dries shimmery and looks awesome once it is dry.
Video Tutorial:
Like videos? I have a video tutorial for you! Please subscribe to my YouTube Channel so you don't miss out on any future video tutorials!
How to Mod Podge a Monogram Letter:
- 4" Monogram Letter
- Ultra Blue Deep American Acrylic Paint
- Printed Cardstock
- Mod Podge
- Foam Brushes
- Scissors
- Paper Plate to be used as a paint pallet
- Pencil
The first step is to paint the sides of the letter with a foam brush. I always seem to forget the sides so I make them first so I don't forget them. 🙂
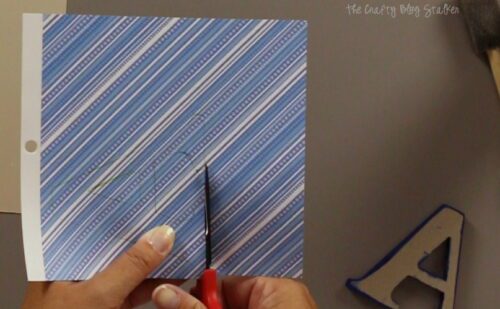
For me, the fun part is picking out the pattern paper that I am going to use. The sheet I used came from a 6x6 paper stack made by DCWV, called Winter Basics. Sadly, it's not available on Amazon, so I can't directly link to it.
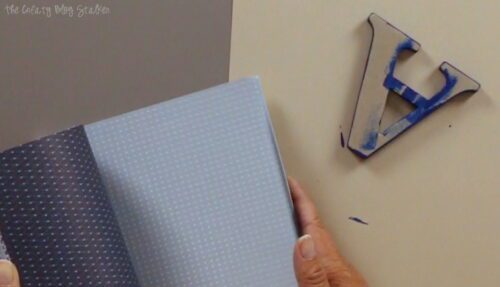
Place the paper with the front side down. Place the letter face down on the paper, trace around the letter.
Carefully cut inside the traced line with a pair of scissors.
You want the letter to be just a tiny bit smaller than the actual letter.
To adhere the cutout letter to the chipboard letter, apply a layer of mod podge to the chipboard letter with a foam brush.
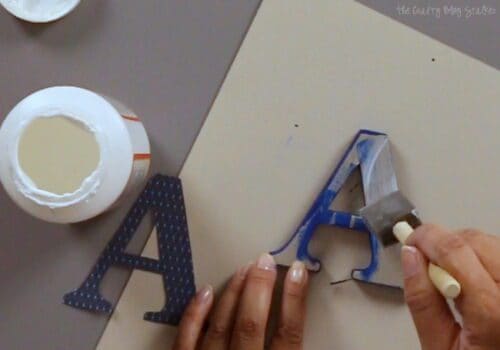
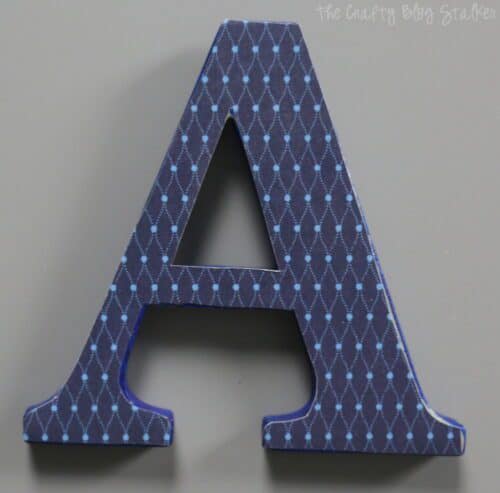
Lay the paper onto the chipboard letter and press down to make sure it is good and secure and there are no air bubbles. Then apply a top layer of mod podge.
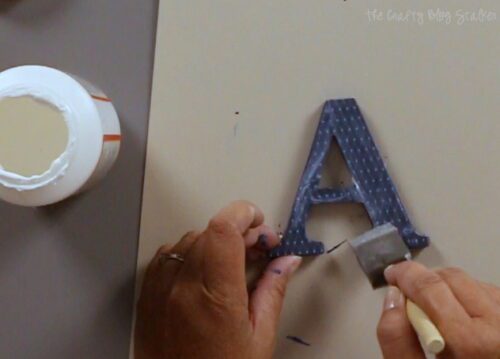
The mod podge goes on white but will dry clear. Make sure to clean up the edges if any of it drips down the sides.
Video Tutorial:
Like videos? I have a video tutorial for you! Please subscribe to my YouTube Channel so you don't miss out on any future video tutorials!
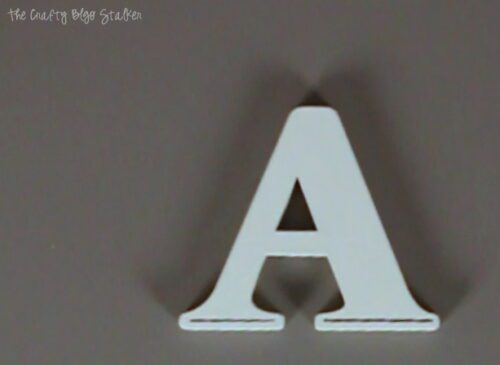
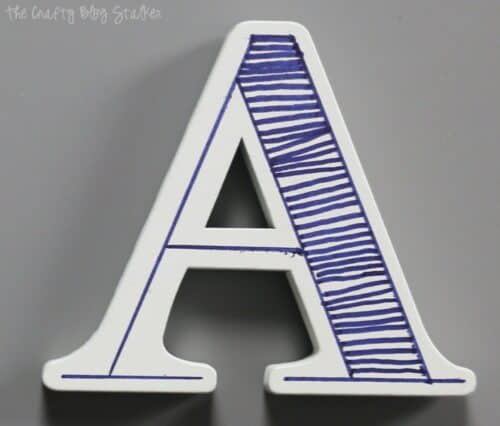
How to Doodle a Monogram Letter:
This is a simple tutorial that I am sharing, but I absolutely love the look of hand-drawn!
The letter used is wood and already had a white primer. If the wood letter is natural you may want to apply a coat or two of paint before using the marker.
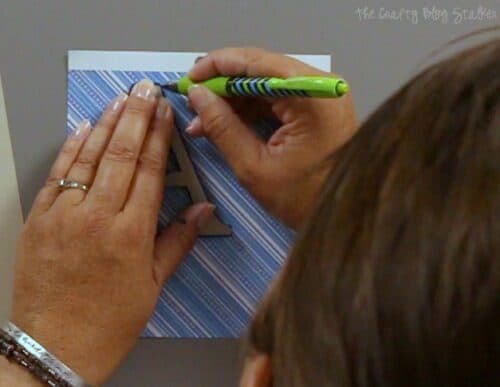
For my design, I started drawing two lines at the bottom of the A.
Then a line up the side.
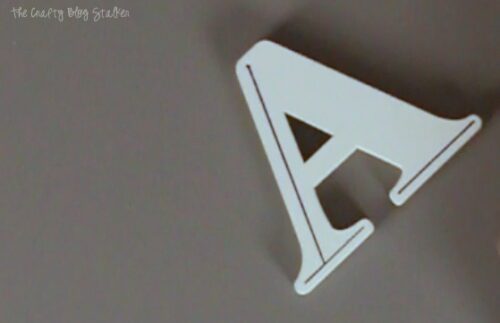
Can you see that I am basically outlining the letter?
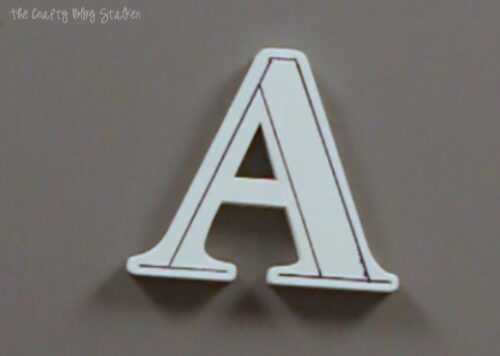
On the thicker side, I hand draw a bun of little lines to fill the space.
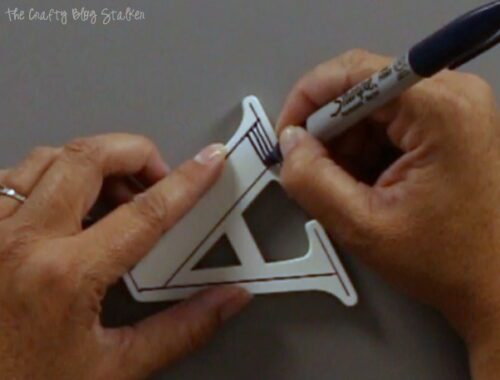
Wasn't that easy?!
Video Tutorial:
Like videos? I have a video tutorial for you! Please subscribe to my YouTube Channel so you don't miss out on any future video tutorials!
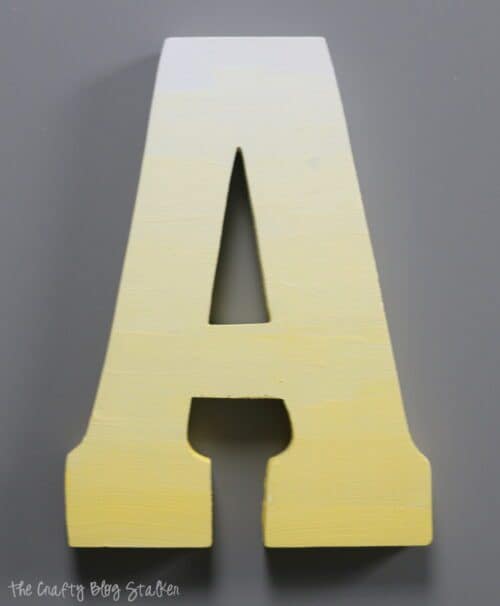
How to Ombre a Monogram Letter:
- 8" wood letter
- White Gesso
- Cadmium Yellow Americana Acrylic Paint
- Foam Brushes
- Plastic Spoon
- Paper Plate to be used as a paint pallet
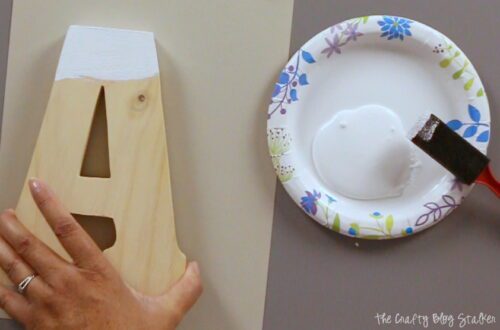
The goal of ombre is to start with one color and end with another.
We are going to start with white and end with yellow.
I had originally planned on using white acrylic paint but I didn't have any and that is how I ended up using the gesso. Gesso is thicker than acrylic so leaves a deeper texture. If you prefer a lighter texture I would recommend acrylic paint.
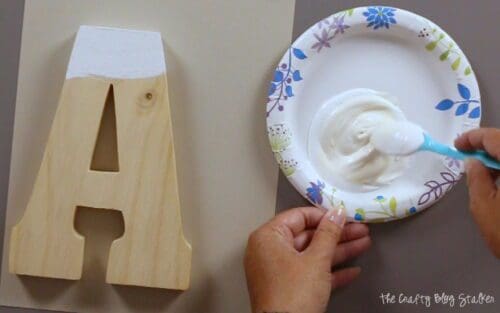
Take a spoonful of gesso and tap it onto a paper plate. The first strip of paint that is applied to the letter is just the gesso. Paint it on with a foam brush.
Now we want to begin the slow progression of yellow. Add a couple drops of yellow paint to the gesso on the paper plate.
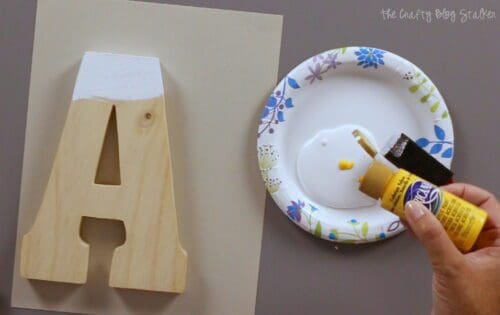
Stir with a spoon until well blended. Using the same foam brush apply a thin strip of paint to the letter about ½ inch down from the top, blending the two shades, but making sure not to cover the entire first section with this new color.
Between each strip of paint add a couple more drops of the yellow paint, stir and apply the new color. As you can see below, when I got to the bottom of my letter the yellow was much stronger and vibrant.
Video Tutorial:
Like videos? I have a video tutorial for you! Please subscribe to my YouTube Channel so you don't miss out on any future video tutorials!
I think all of the letters turned out great! I would have to say my very favorite is the yellow ombre. That one is just cool and I love the texture from the gesso.
What was your favorite way of decorating monogram letters? Do you have a different technique you would like to share? Leave a comment below and tell us all about it!
Crafting Essentials
- The Cricut Cutting Machine is easily my favorite crafting tool. We use it in so many of our tutorials!
- These MakerX Crafting Tools are perfect for keeping in the craft room and are always ready when needed!
- This Fiskars Paper Trimmer is easy to use and cuts nicely without frayed edges.
- These Scotch Precision Scissors cut like a dream, and you get multiple pairs in a pack!
Janet Vinyard
Hi Katie, Great joy and nice tutorial as well! My favorites were the yellow ombre and the polka-dotted monograms. Looks like fun! Thanks for the inspiration! Blessings, Janet
Katie
Thank you Janet! My favorite was the ombre letter as well. It was one of those projects that turned out better than I expected!
Melanie - the wedding bistro
Monogram letters are great as they're perfect for wedding signage! Pinned!
Katie
They really are! I love that there are so many simple things you can do with a monogram letter! Thanks Melanie!
Edye
You have such great ideas on your blog! Have a great week <3
Blessings,
Edye
Katie
Thank you so much Edye!
Kendall Patton
Such great ideas here! And easy, too! I've designed letters for our boys' room with their names, I want Hun to route them out of wood! I haven't decided how I'll decorate them just yet, though. 🙂
Katie
Thank you, Kendall! Monogram letters are so much fun because there are so many things you can do with them.
creativejewishmom/sara
Especailly love the doodled one! thanks so much for sharing on craft schooling Sunday whole month ago! I am back now after a month unplugged, and the party will be resuming this sunday as well, hope to see you there!