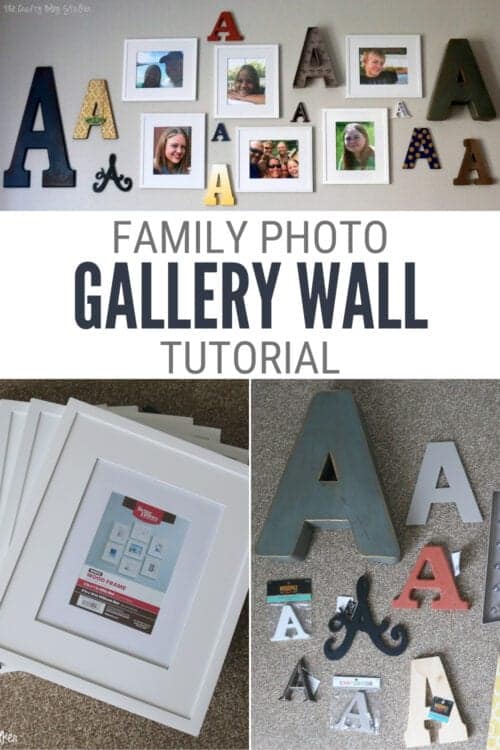
You can design a Family Photo Gallery Wall for your home. Below is the Monogram Family Photo Wall Gallery step-by-step tutorial.
Two years ago we purchased this beautiful home. I remember being so excited about all of the decorating possibilities and all of the fun things I could do with it!
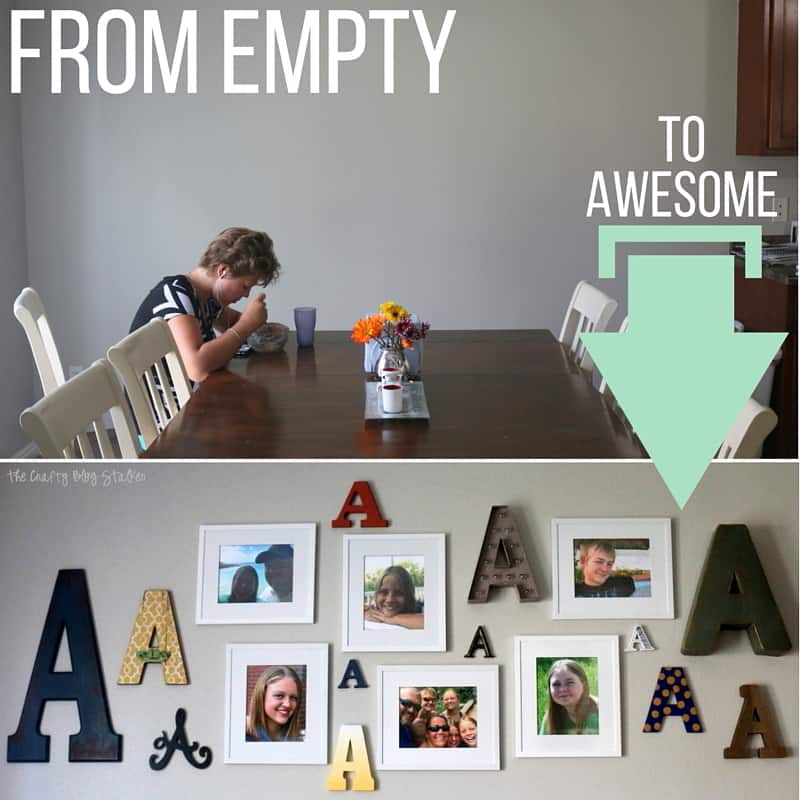
Fast forward to the present, and I am still dealing with blank walls. Man, I really am a procrastinator!
In my defense, we were waiting to paint. At least that is the excuse that I gave myself. But we painted in March! You can read all about it in my post, Choosing My Perfect Paint Wall Color.
Now that my excuses have run out, I am really tired of looking at my empty walls. I guess that means it's time to put on my thinking cap and get crafty.
Supplies You'll Need to Create this Project:
This post contains affiliate links.
Planning for the Gallery Wall:
The main level of my home consists of a sitting room, living room, dining room, and kitchen. Since this is the area we spend the most time and where we entertain (when we do), that this would be the best place to start.
I wanted to begin with the wall behind our dining room table. It's just a big giant blank wall that is begging to be fancied up.
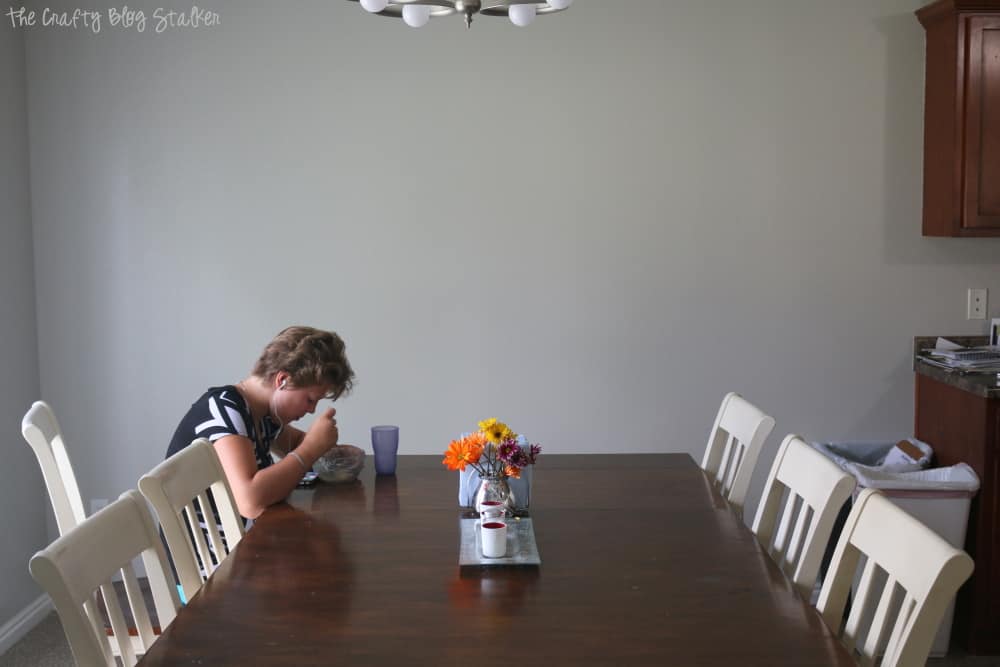
My original vision for this wall was a gallery wall of family photos. Two years ago when I had this thought, I found a ton of 8 x 10 frames on clearance and I bought all that they had. I wanted my gallery wall to be one of those everything perfectly placed and evenly spaced photo walls.
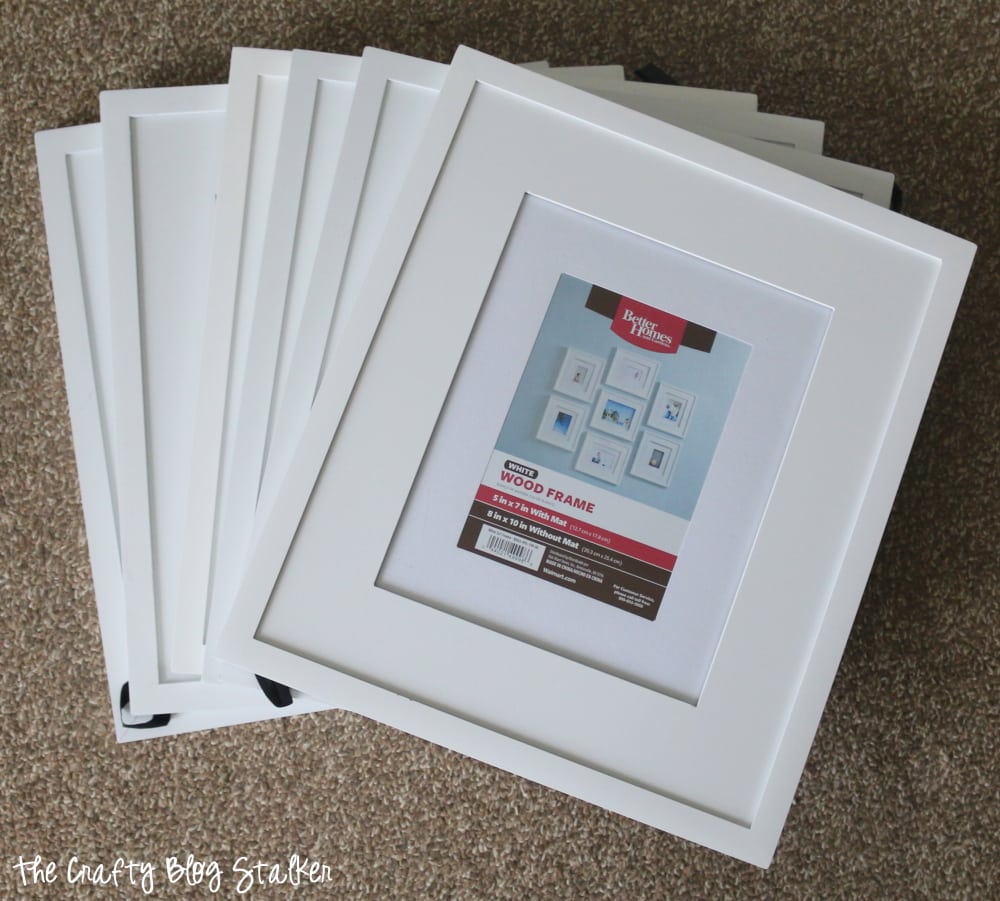
But when I finally came to time to open them, more than half of the corners had been crushed and I was super frustrated.
The frames were wrapped and had cardboard covers over each corner so there is no way I could have known. And of course, it was too late to take them back since I procrastinated on this project for two years.
I put my thinking cap back on and tried to think of what else I could do.
I had been collecting A's for the last couple of years so I could do a monogram wall somewhere in my house too. That is when I decided to combine the two and have a Monogram Photo Gallary Wall.
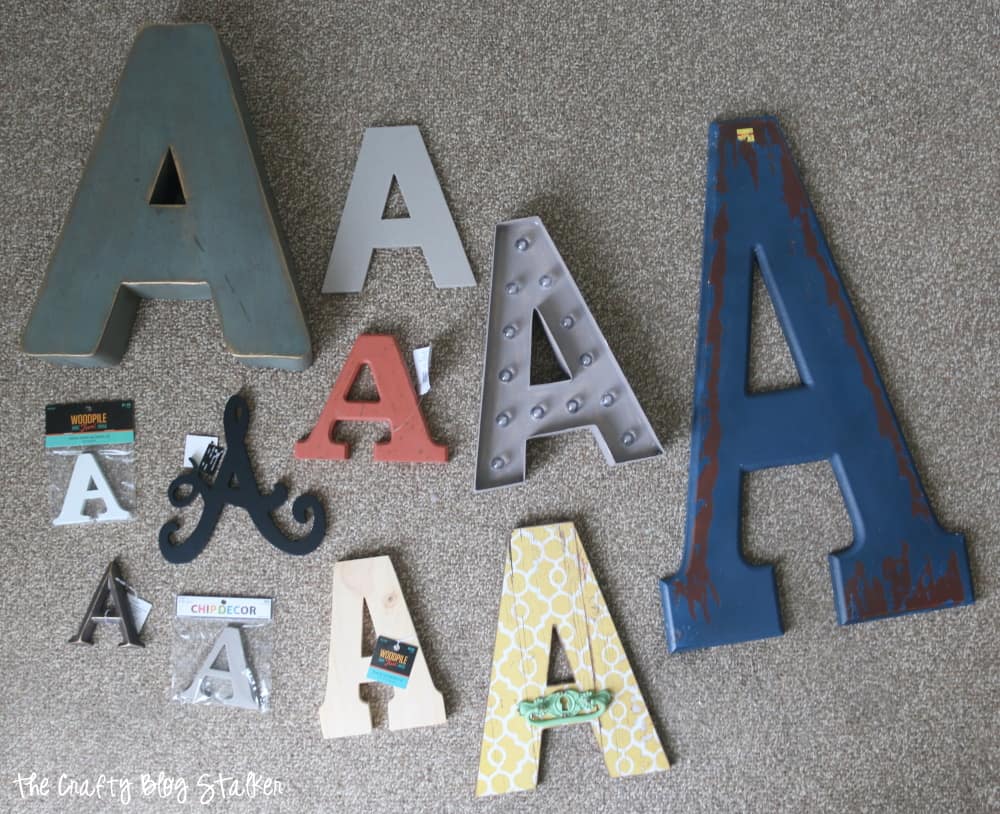
I was surprised at how many A's I had acquired. A couple of them were unfinished and I wanted to do something crafty with them, I just wasn't sure what yet.
Layout Frames and Monograms on the Floor:
To start designing my wall, I laid all of my frames and all of my A's on the floor and started moving them around until I liked the layout.
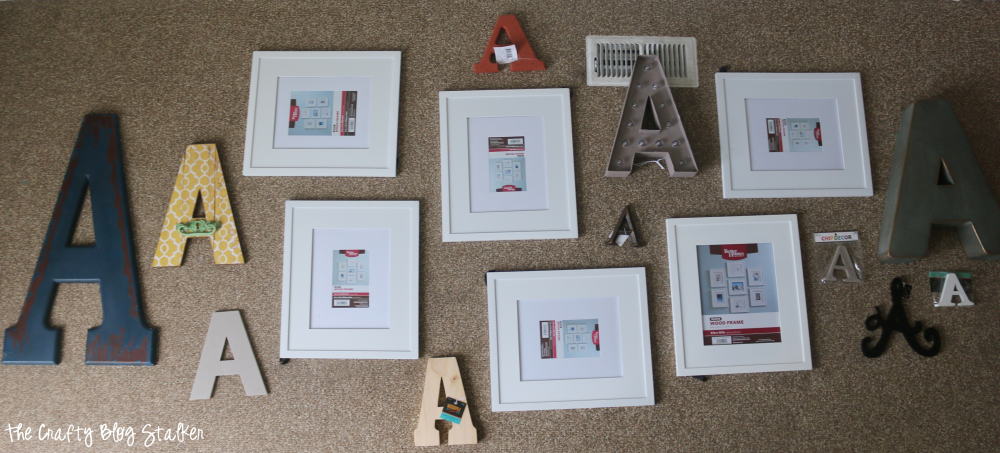
Once I was happy with the layout I began moving the pieces from the floor to the wall.
Also, I have to tell you, that I do not like putting nail holes in the wall. It never fails I end up with 5 holes to hang 1 nail. That is why I absolutely love Command Strips.
They are basically a little velcro strips that you can use to hold your frames and home decor items to the wall. I only used 2 nails on my entire display, and that I can totally deal with! (And if you look closely you can find a couple stray nail holes from those two nails- grrrrrrrrr)
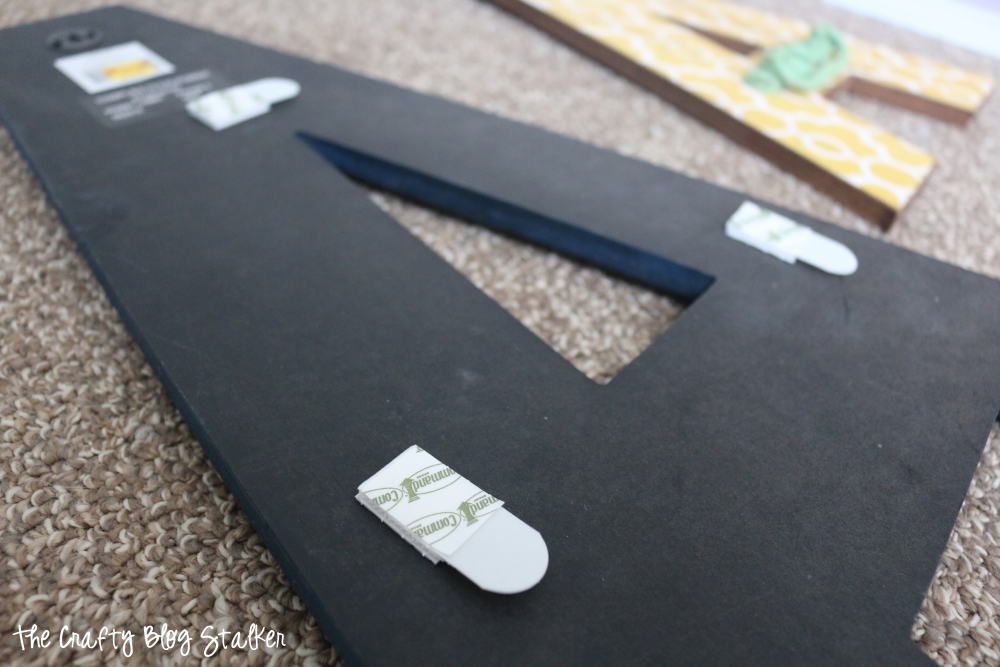
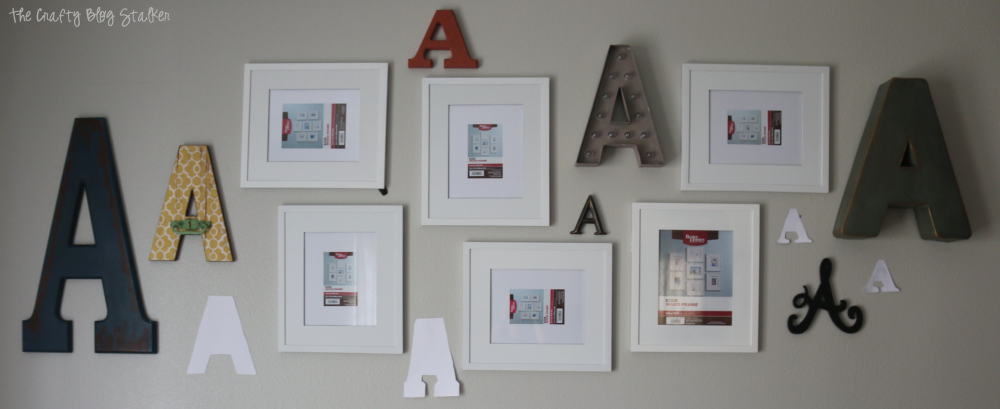
Hanging everything on the wall actually went pretty quickly. Remember those letters that I wanted to craft on? Since they weren't finished I traced them and taped them to the wall with some folded painters tape to hold their spot on the wall.
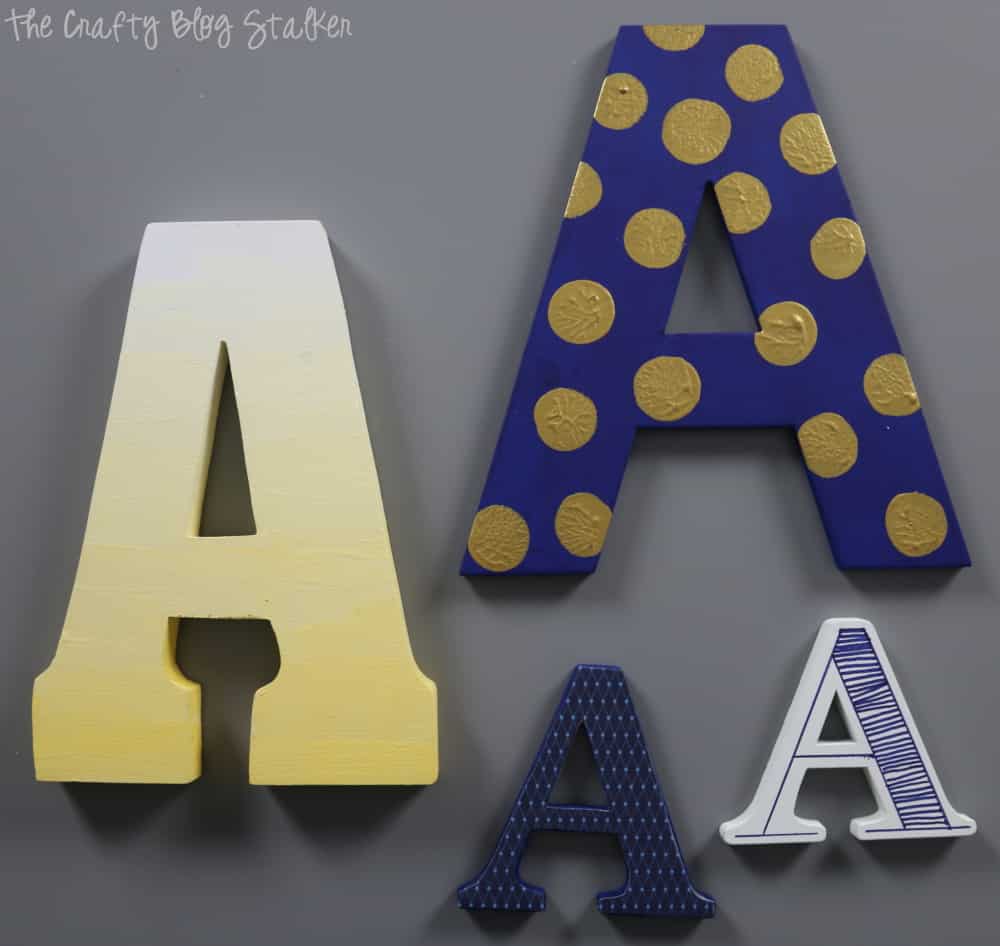
I did some fun crafting to my blank letters, and I absolutely love how they turned out. I think I like them better than the store bought ones.
Visit How to Decorate Monogram Letters to see what I did to each letter!
After all of that, my Monogram Photo Gallery Wall is finished! Isn't it fun?
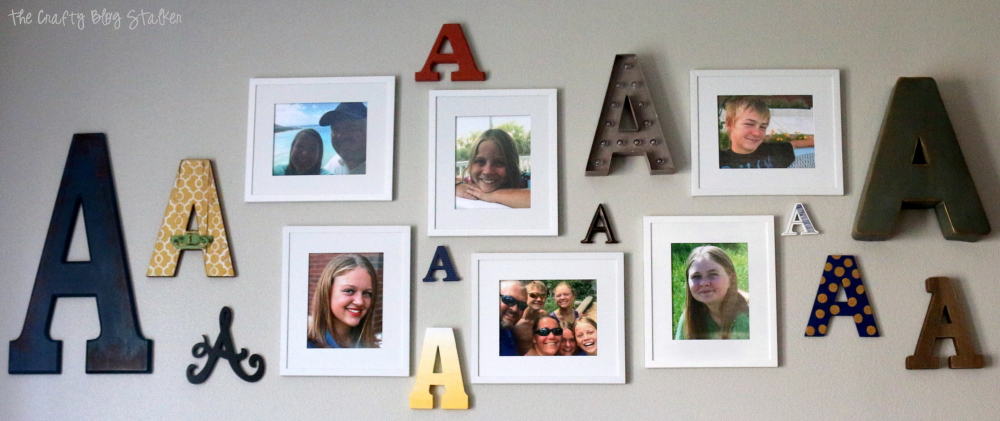
I went from a large, boring, empty wall to a wall that I can't stop admiring. It makes me smile every time I see it.
If you love this tutorial, please give it a five-star review and help me share it on Facebook and Pinterest!
Our Crafting Essentials:
- The Cricut Cutting Machine is easily our favorite crafting tool. We use it in so many of our tutorials!
- These MakerX Crafting Tools are perfect for keeping in the craft room and are always ready when needed!
- This Fiskars Paper Trimmer is easy to use and cuts nicely without frayed edges.
- These Scotch Precision Scissors cut like a dream, and you get multiple pairs in a pack!




Jenn @ EngineerMommy
LOVE a gallery wall! Great job with this! By the way, I featured this post on my blog today: http://engineermommy.com/2016/9-gorgeous-home-updates/
Katie
Thanks so much Jenn! A great collection of ideas!
Rhonda
Had fun watching you decorate your "letters", great job!??
Katie
Thank you Rhonda I am so glad that you enjoyed it! I had a lot of fun too!
Rebecca West
Such a fun way to use the letters! Thanks for linking up at Welcome Home Wednesdays!
Katie
Thanks Rebecca! It's true, there are so many different ways to use them. I love them!
Cathy Lawdanski
What a creative way to fill up a big wall! The letters you decorated are great! Thanks for sharing with #overthemoon!
Marsha
That looks like you had a good time with those A's. Thanks for sharing on DIY-Crush.
Katie
Thanks Marsha, they were a lot of fun to do!
Gina
This is such a great decor idea! I love it! I'd love to do this with photos of my family and the letters of my last name and hubby's! It'd be like a melting pot of the families. 🙂
Katie
ha ha! It is a melting pot! It's my new favorite wall in my house. I am so glad that you like it Gina!
Jamie Snide
Genius! Love your gallery wall. It just gave me the idea to add a shelf into the middle of mine and put a big wooden R for our last name on it! Thanks for the inspiration ??
Katie
You are so welcome, Jamie! I'd love to see your wall when you're finished with it.