This post may contain affiliate links. For more information, please see our disclosure policy.
Reuse plastic jars and create stylish storage containers for your home! Great for organizing and decorating your space.
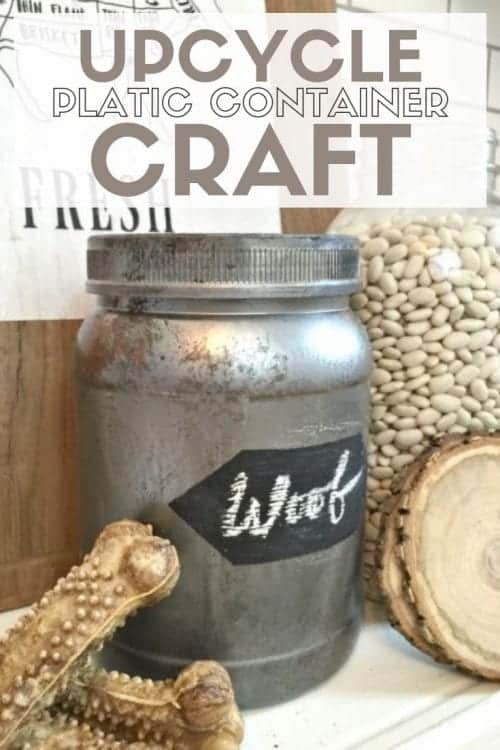
Hi there! I am Sara from Twelve On Main, and I am so very excited to be a new contributor here! I am a big fan of DIY projects, anything home décor, and I am all about farmhouse style. Today I am excited to feature a fun and super easy project.
I know we have all felt guilty of all those plastic containers we are constantly tossing in the trash. I am always trying to find another alternative or purpose for them.
Being slightly obsessed with farmhouse style accessories, I knew there had to be a way to upcycle plastic jars into stylish containers. With this container, I decided to try to make a galvanized finish. It was easy and inexpensive.
One little word: this may seem like a lot of stuff for one little container, but I have used all these supplies on many projects and still have plenty left to use for others. It is well worth investing a few bucks for them. Imagine how many things you could make!
Supplies Used to Upcycle Plastic Storage Container
- Empty plastic container
- Black Spray Paint
- Mirror Finish Spray Paint
- Plaid Rust Finish
- Masking Tape
- Chalkboard Paint or chalkboard sticker labels
Removing the Label
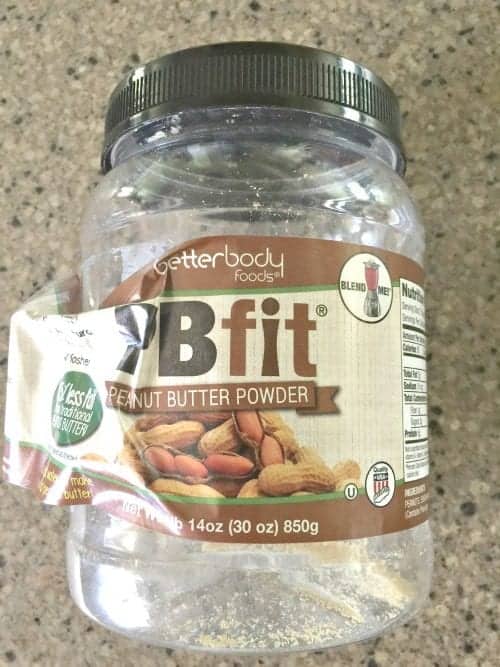
I started off with my container, took the label off and then gave it a good cleaning. The Doterra Lemon Oil works like a charm to get the sticky stuff off.
Painting the Jar
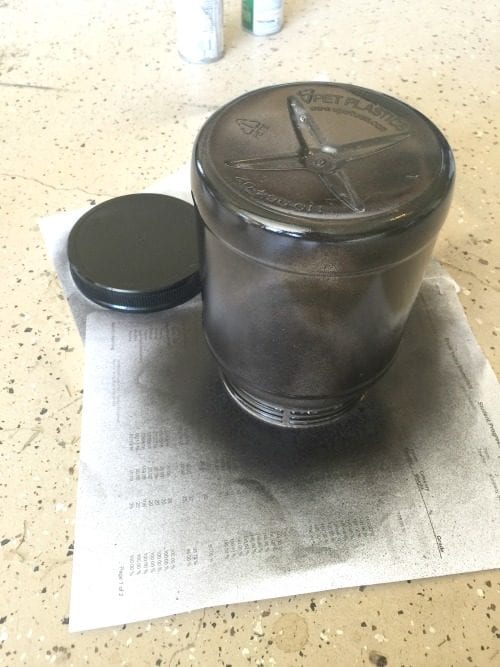
Once it was dry, I set it upside down on some newspaper and set the lid down next to it. I gave both pieces a light coat of black spray paint.
Once that was dry, I started lightly spraying the mirror finish over the top of the black. This technique can allow little bits of black to show through.
While it was still wet, I took a paper towel and lightly blotted the silver paint. It gave it a sort of mottled effect that we see on galvanized metal.
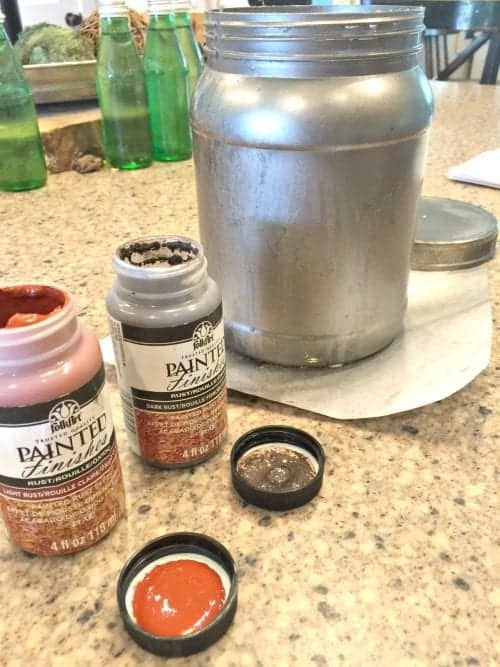
Once that was all dry, I got out my faux rust paint. This stuff is so fun to use. Lightly blot the base color with a paper towel and randomly apply on a few specific spots. I then applied the second(red) coat on the top of the brown very lightly since I didn't want it to be too strong.
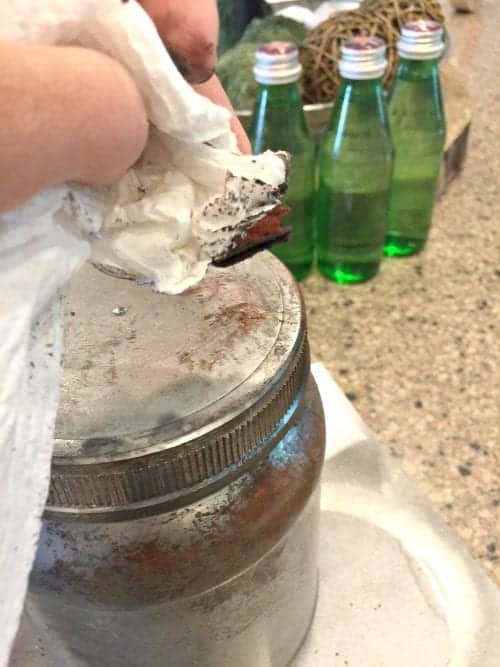
The last thing I needed to do was to create a label. You can simply stick on a chalkboard sticker label, or if you are like me, just use a little masking tape to create the chalkboard shape and then paint it with chalkboard paint.
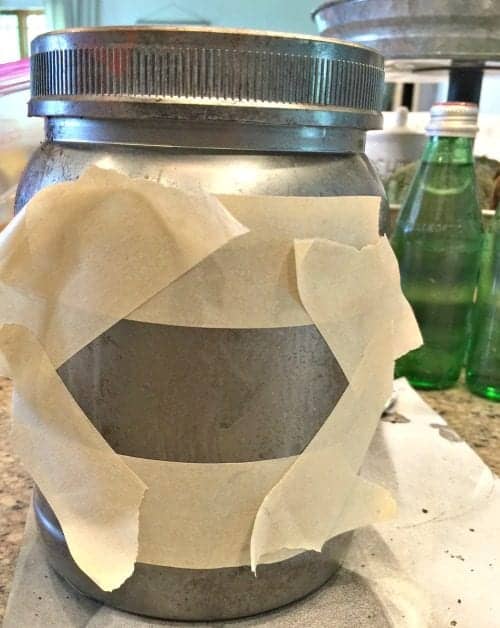
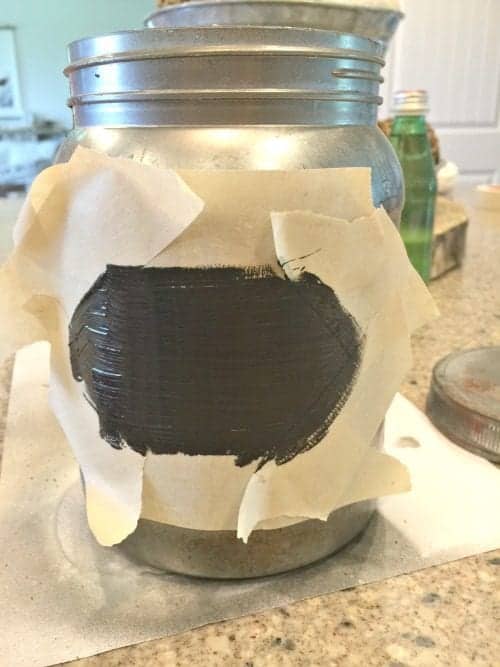
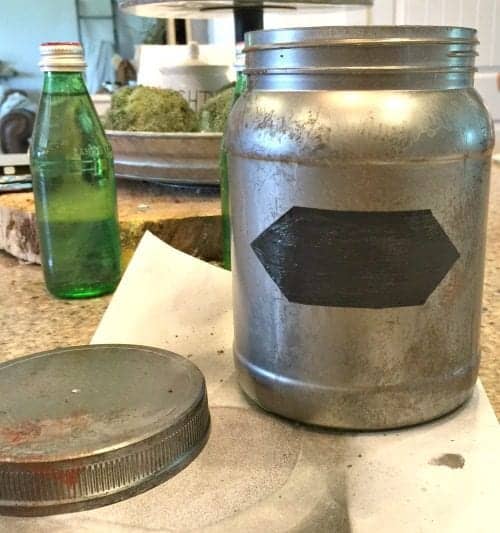
Stylish Storage Container
I decided to use this container to store my dogs treats. You know, they always come in ugly bags. This way I can keep them accessible and stylish. Plus, I love my pup so much, he deserves to have a few cute things.
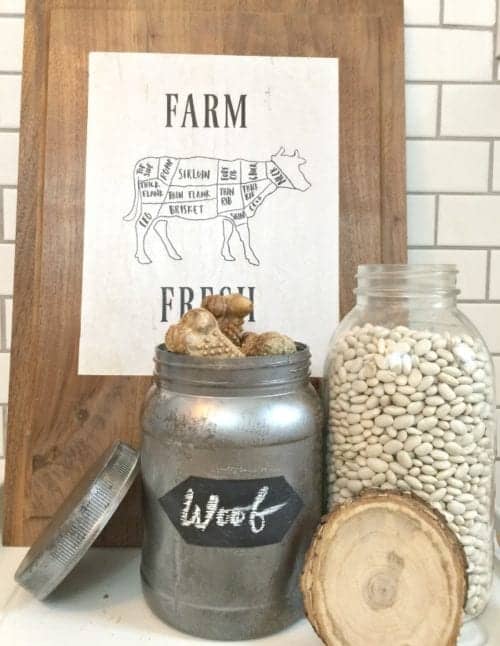
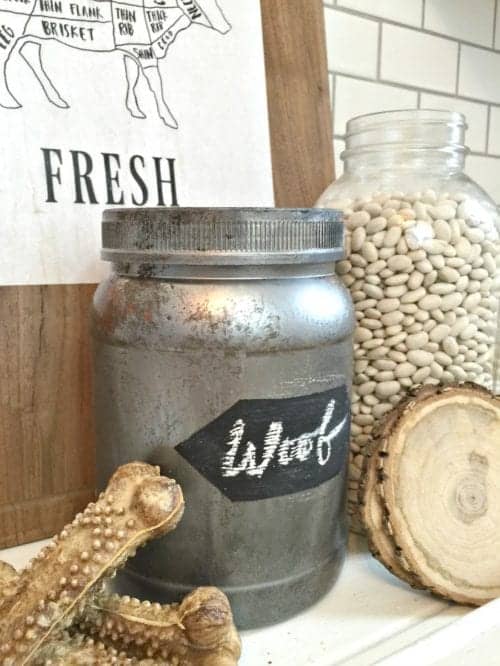
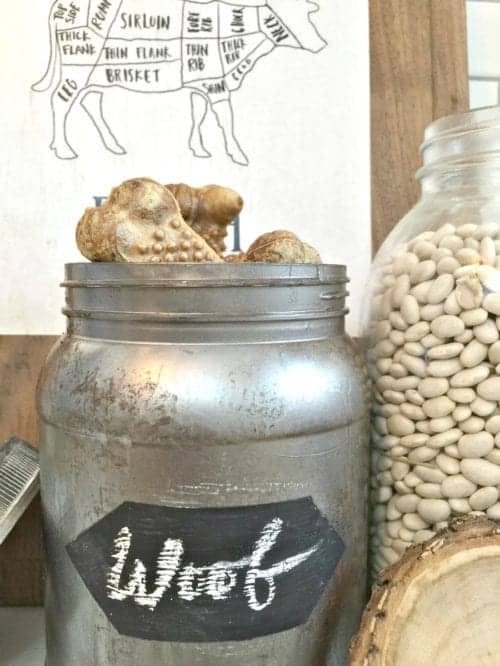
Do you have some plastic containers lying around? Why not put them to good use and create something stylish! Are you ready to upcycle plastic jars into stylish storage containers?
Thanks so much for letting me hang out with you today. If you want to see more of what I do on my blog make sure to stop by Twelve On Main.
SAVE HOW TO REUSE PLASTIC JARS AND MAKE STYLISH STORAGE CONTAINERS TO YOUR FAVORITE PINTEREST BOARD!
Follow The Crafty Blog Stalker on Pinterest and you can see all the DIY projects I'm pinning!
You Might Also Like:


Heather @ Country Life, City Wife
This is adorable. I actually have some protein powder containers this would be perfect for. With a new puppy in our house what a great place to store treats! Thanks for adding to the Small Victories Sunday Linkup! 🙂
Katie
Thank you, Heather! I am so glad that you like the tutorial and actually have a use for it yourself!
Pauline Molinari
I love how your container turned out. So fab! Thanks for sharing your crafty inspiration on this week's Monday Funday Party!
Katie
Thanks, Pauline! It's a fun way to dress up an old container and make it display worthy.
Cathy lawdanski
So clever. I never would have guess that it was a plastic peanut butter container! Thanks for sharing with #overthemoon
Katie
Thanks, Cathy! Upcycle projects are the best when you can quite tell what they were before! LOL!
Angie Rose
This is so creative! Can't wait to do this now 🙂
Katie
Thank you Angie! It is a fun project!