

This technique is a simple way to sort and organize your jewelry-making supplies so you know exactly what you have so you can make your jewelry without stopping to search!
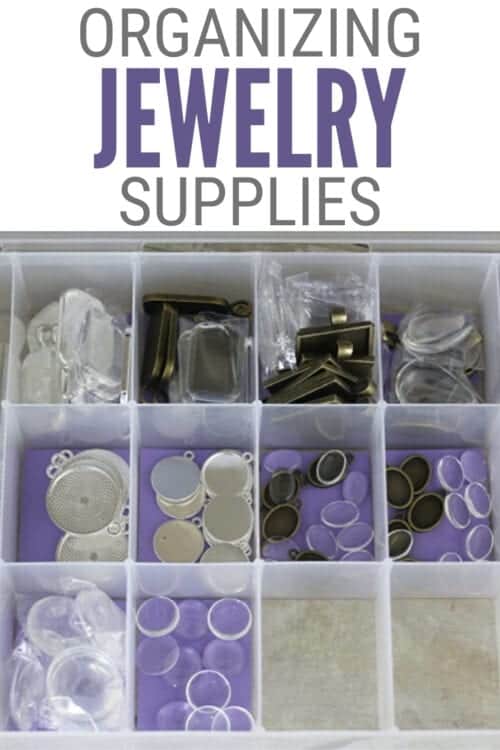
Do you like to make your own Jewelry? Do you have beads, clasps, and chains in a jumbled mess shoved in a box somewhere?
Making jewelry can be so much fun but not when you have to begin by digging and searching to see what you already have. It is so much easier to be able to see what you have and what you need with a simple glance.
Supplies You'll Need to Create this Project:
This post contains affiliate links.
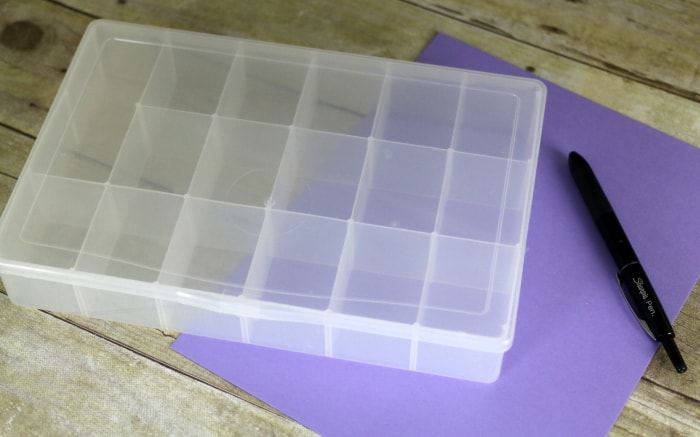
Making Paper Labels:
Begin by measuring the size of the compartments in the plastic storage container. Depending on the box you use, the dimensions may be different from mine, so don't use my measurements, but measure your own.
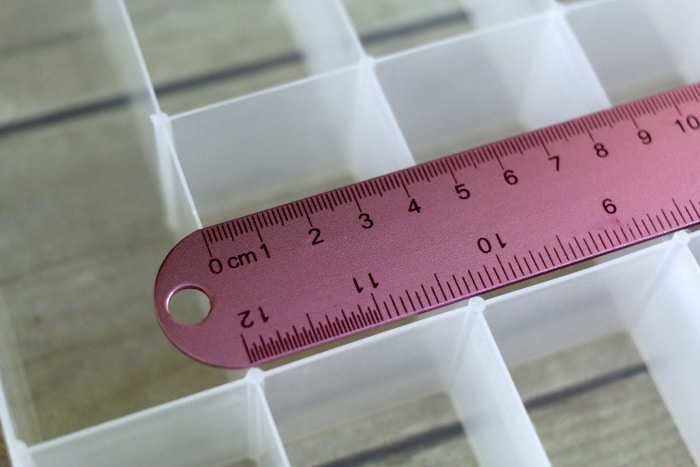
These compartments are 4 x 5.5 centimeters. You can see how the cardstock cut down to that size fits perfectly inside.
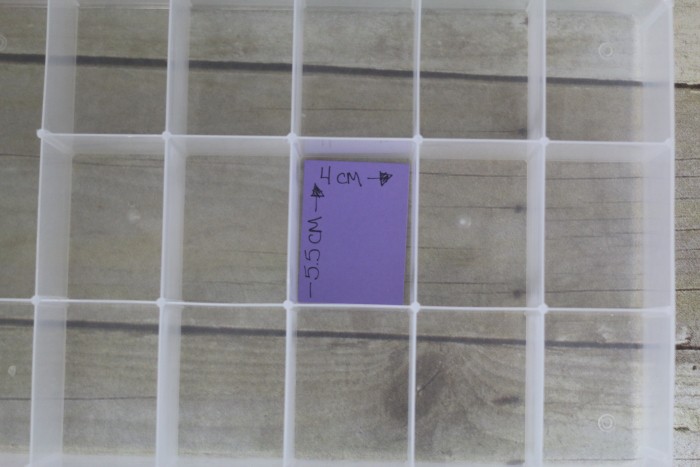
Cut as many rectangles as needed for your storage container.
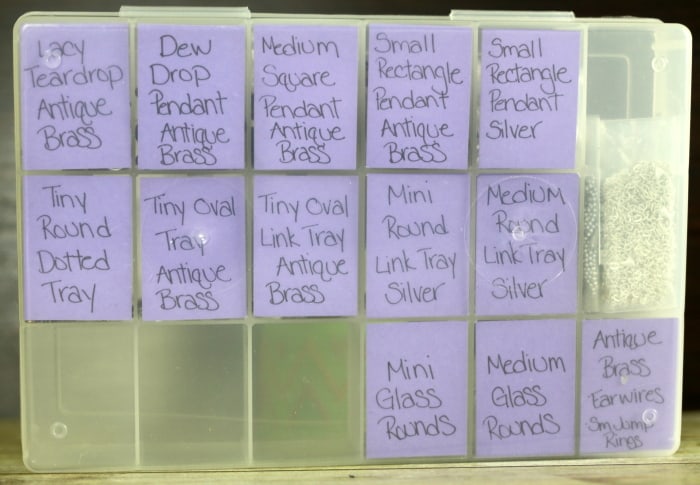
Write on the rectangle what will go inside that compartment.

Put the rectangle inside the compartment with the writing facing down, then put the supply on top of it.
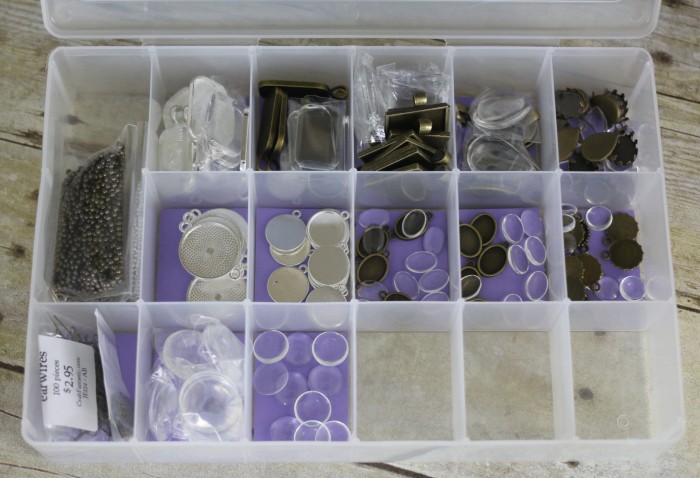
When the box is closed, you'll be able to turn the container over and see what's in the storage container at a glance. And don't worry, the compartment walls go all the way to the lid, so even if you have tiny seed beads in a compartment, they won't get mixed into other compartments.
If you love this tutorial, please give it a five-star review and help me share it on Facebook and Pinterest!
Jewelry Making Essentials
- Jewelry Pliers are essential for jewelry making.
- Good-quality Jump Rings are a necessity in a variety of sizes and metals.
- A Non-slip Bead Mat keeps your beads, findings, and tools in front of you without rolling away!
- The more you DIY Jewelry, the more little beads and things you will accumulate. Keep them organized with Plastic Organizer Containers.
Erika
Great idea! I use a similar organizing system. I use the same box types, each one is organized by color and then I use my label maker and print whatever bead/finding and stick it to the top of each box. I have just about every brand of plastic box and I find that if tipped stuff still seems to get mixed.
However, now I have SO many storage boxes that it's become too difficult to lay them all out and open them up to see everything I have when creating as I go along. I've been looking at different organizing/storage ideas (love the use of old letterpress cabinets, but SO expensive!) And would be interested to see an article about 'moving on up' (so to speak!) to the next level of bead organizing.
Janet
I have tried so many different types of storage and, like you, keep trying to find the best one.. This is what I'm using now and I absolutely love them... In the Fishing Dept at WalMart, they have anti-tarnish storage boxes similar to the one above. They're made by Flambeau and have a 5-yr warranty. They are awesome! AND.. the bins are so tight, even the smallest of my findings will not get mixed up!! Also, they are air tight so they keep my findings from tarnishing.. and, since they are not in the jewelry dept... they cost much less! Give them a try, I think you'll like them! They come in 2 sizes and the largest is not much over $5.00...
Denna
I find these in fishing tackle section at the dept stores or sporting goods much cheaper than the craft supply stores! They are the same! I use pot dividers mounted on wall. The "tackle boxes" fit perfect! Mine will now get labeled like your idea!