This post may contain affiliate links. For more information, please see our disclosure policy.
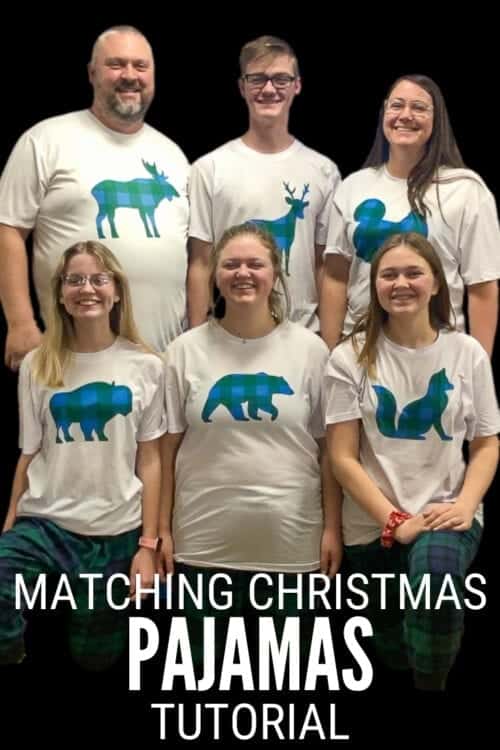
Make your Christmas Eve tradition by giving matching Plaid Christmas Pajamas using Cricut Infusible Ink. Below is the step-by-step tutorial and video.
A family tradition in our home is opening a new pair of jammies on Christmas Eve.
I have always wanted to do the matching pajamas but they are so stinkin' expensive when you go to traditional pajama stores.
This year I decided, it was finally the year for matching jammies. But this year, I was going to make them, well, mostly.
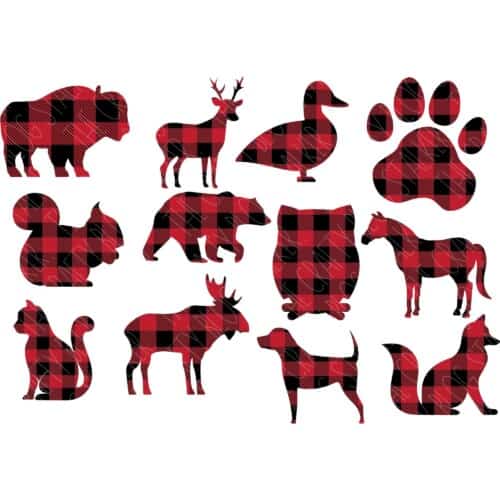
The pants were bought at Old Navy but the tops were made by me! I even designed the plaid animal files myself!
Craft Tutorial Video:
Like videos? I have a video tutorial for you! Please subscribe to my YouTube Channel so you don't miss out on any future video tutorials!
Grab the Plaid Animals Bundle.
More Cricut Craft Tutorials:
The Cricut is our very favorite crafting tool, so naturally, we have shared lots of Cricut tutorials. Like these Metal Tag Ornaments, this Winter Wooden Door Tag Hanger, and this Tic Tac Snowman Poop.
Be sure to look around the blog for more Christmas craft tutorial ideas!
Supplies You'll Need to Create this Project:
This post contains affiliate links.
- Plaid Animals SVG File
- Cricut Cutting Machine
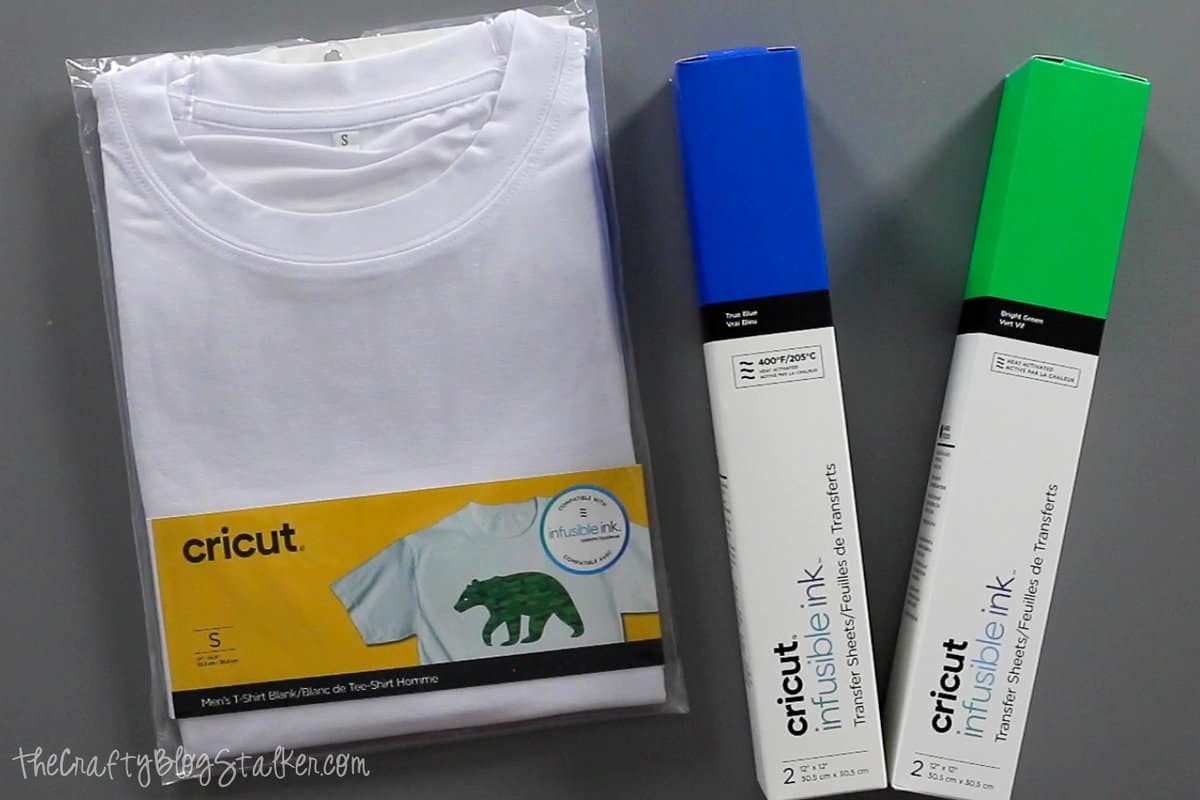
- Cricut Shirt Blanks
- Green and Blue Infusible Ink Transfer Sheets
- Heat Press
- EasyPress Mat
Cut the File in Cricut Design Space:
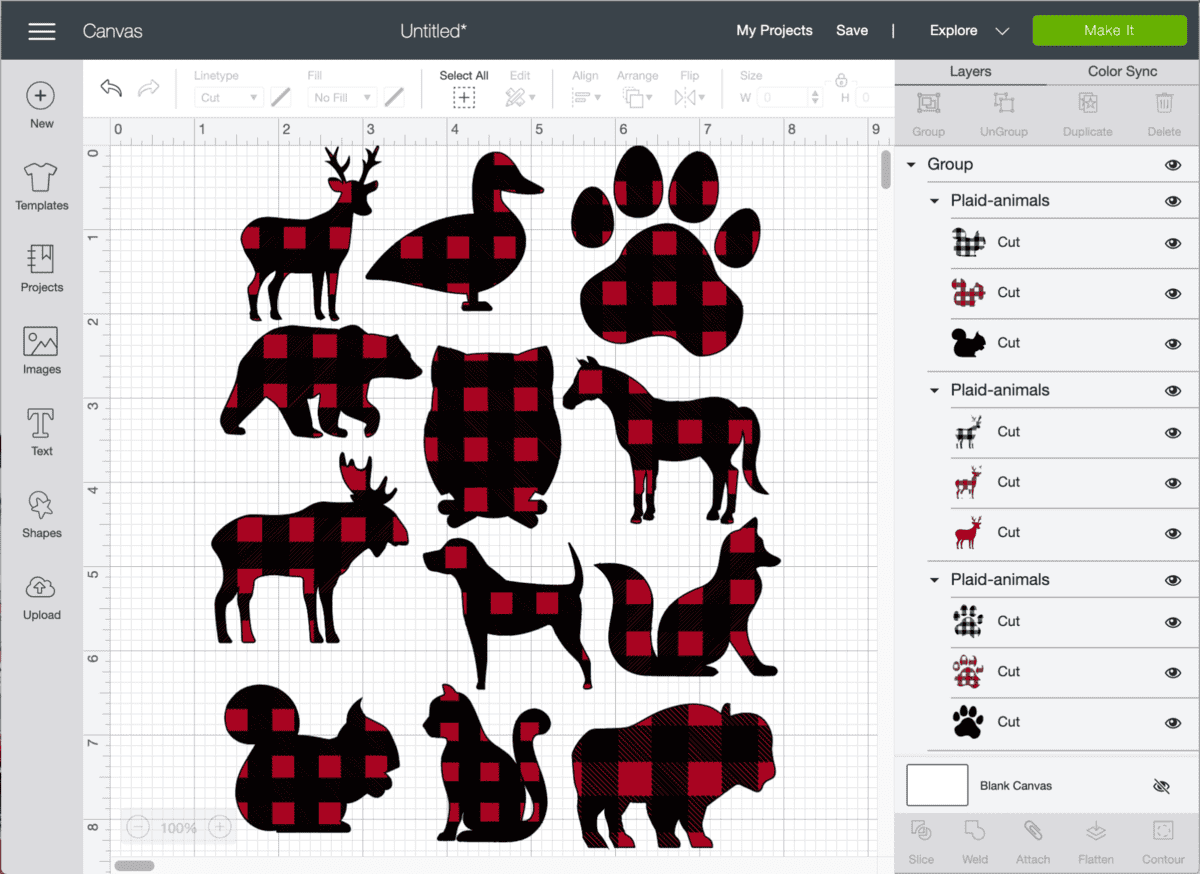
Open the SVG file in Cricut Design Space.
Each of the animal designs comes with three layers, 2 plaid layers, and a solid layer. For this project, we only need 1 plaid layer and a solid layer. So you can delete one of the plaid layers. It doesn't matter which one.
I used a different animal for each member of the family, so the pajamas are matching but still unique to each member.
Size the animal design to the shirt size and follow the prompts in Cricut Design Space to cut the image out.
For my shirts, I cut the solid piece out of the blue, and the plaid piece out of the green Infusible Ink transfer sheets.
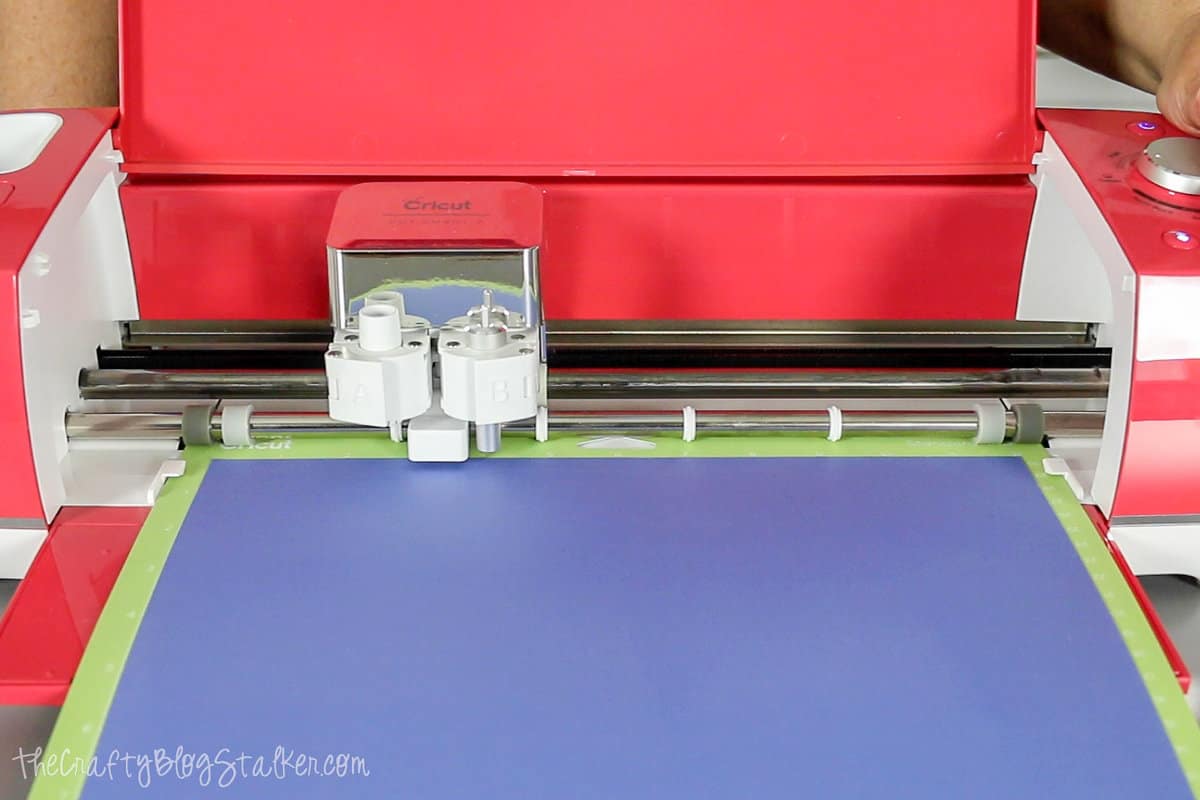
Applying the Design to the Pajama Shirt:
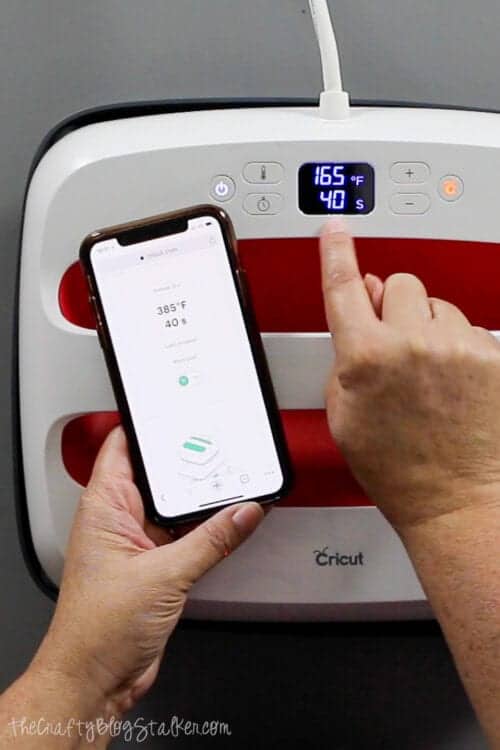
Using the Cricut Heat Guide, figure out the temperature and time needed to apply the iron-on design.
Lay the Cricut shirt blank on the EasyPress Mat and iron to remove the wrinkles.
Place a couple sheets of butcher paper inside the shirt to protect it from ink bleeding to the back side of the shirt.
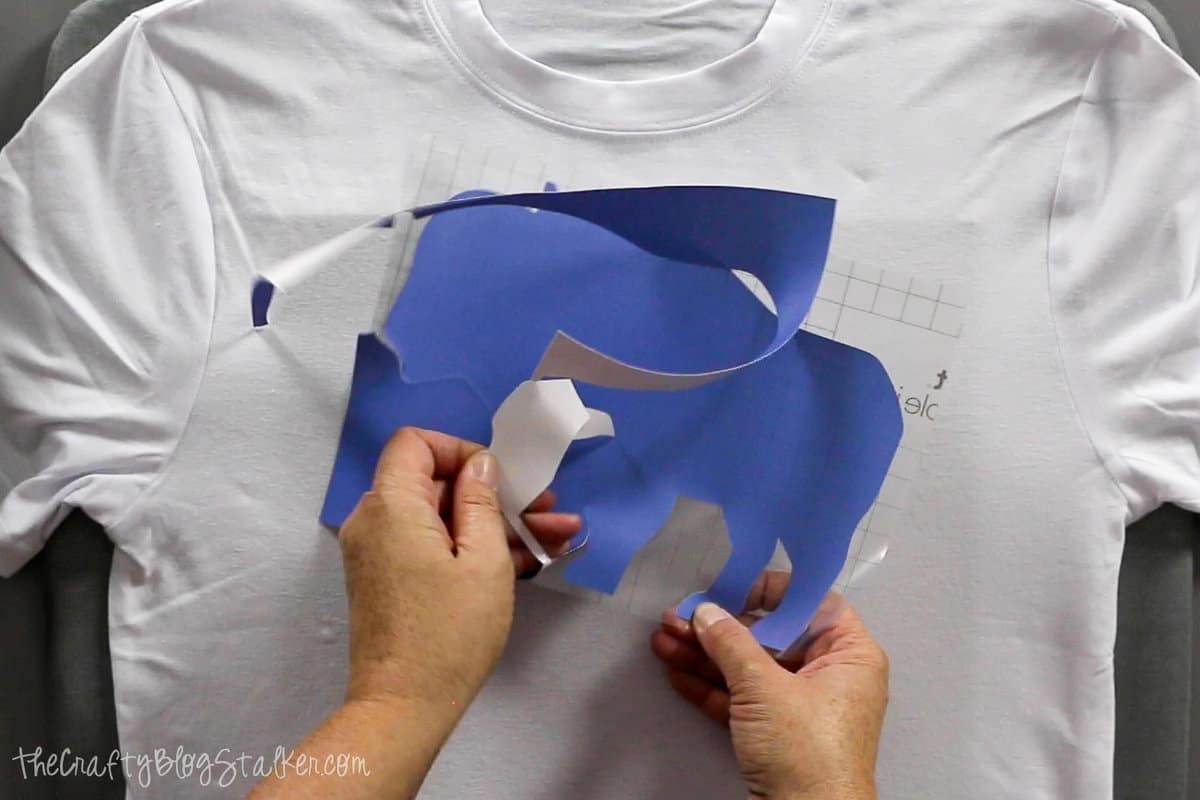
Weed the Infusible Ink Transfer Sheet of the solid base layer of the animal design.
Use a lint roller over the shirt to remove any extra fibers or dust.
Preheat the shirt for 15 seconds.
Lay the Infusible Ink Transfer Sheet paper side down onto the shirt.
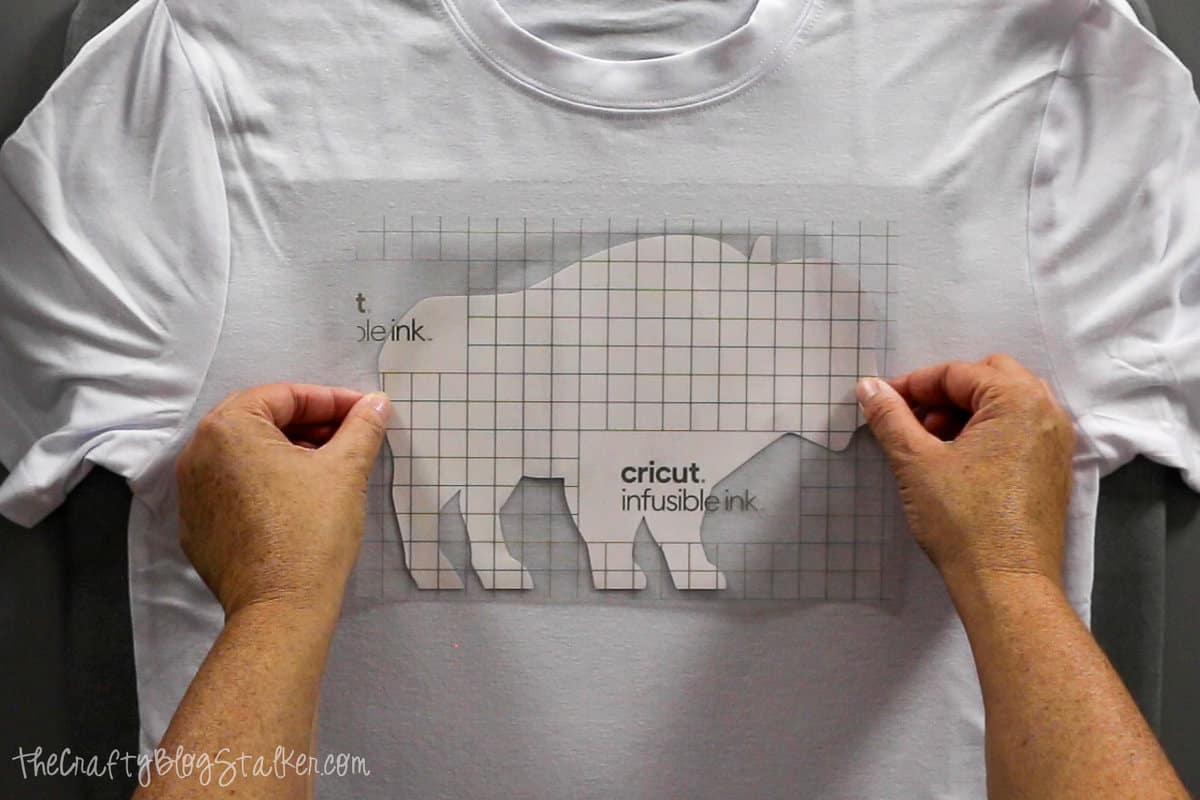
Cover with a piece of butcher paper and apply heat with the EasyPress.
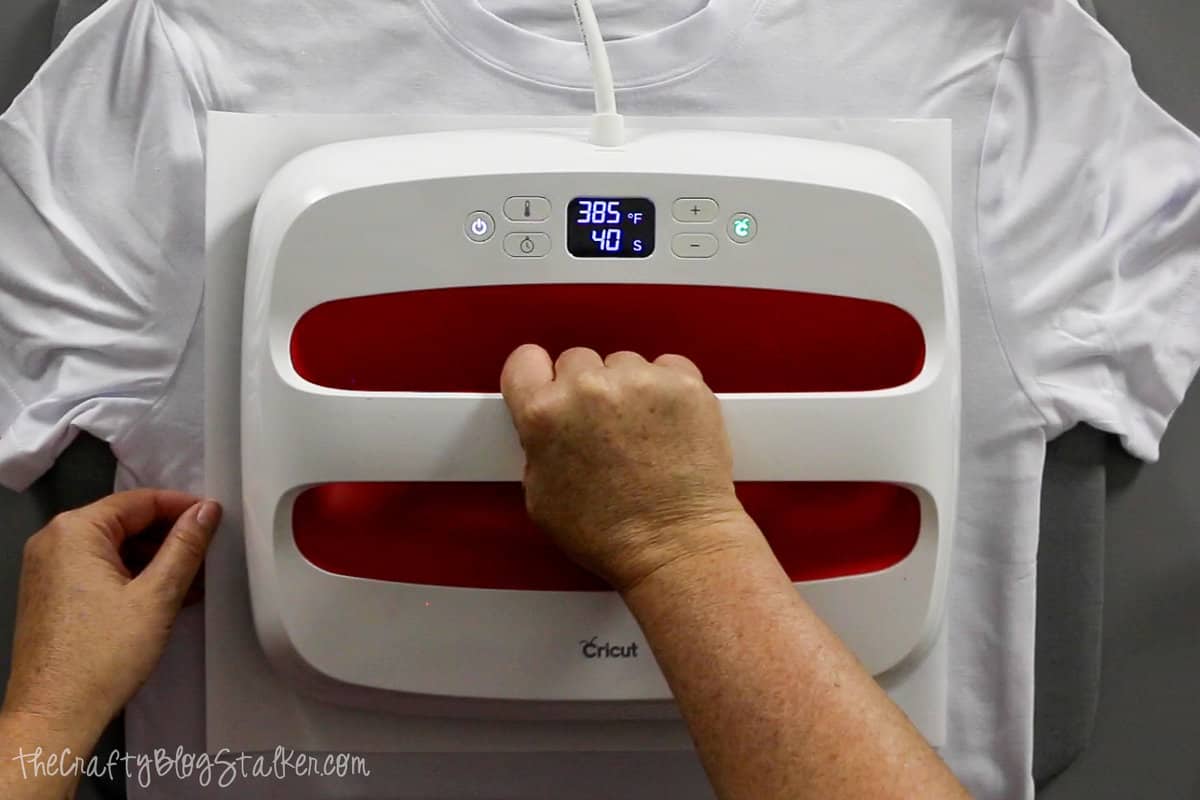
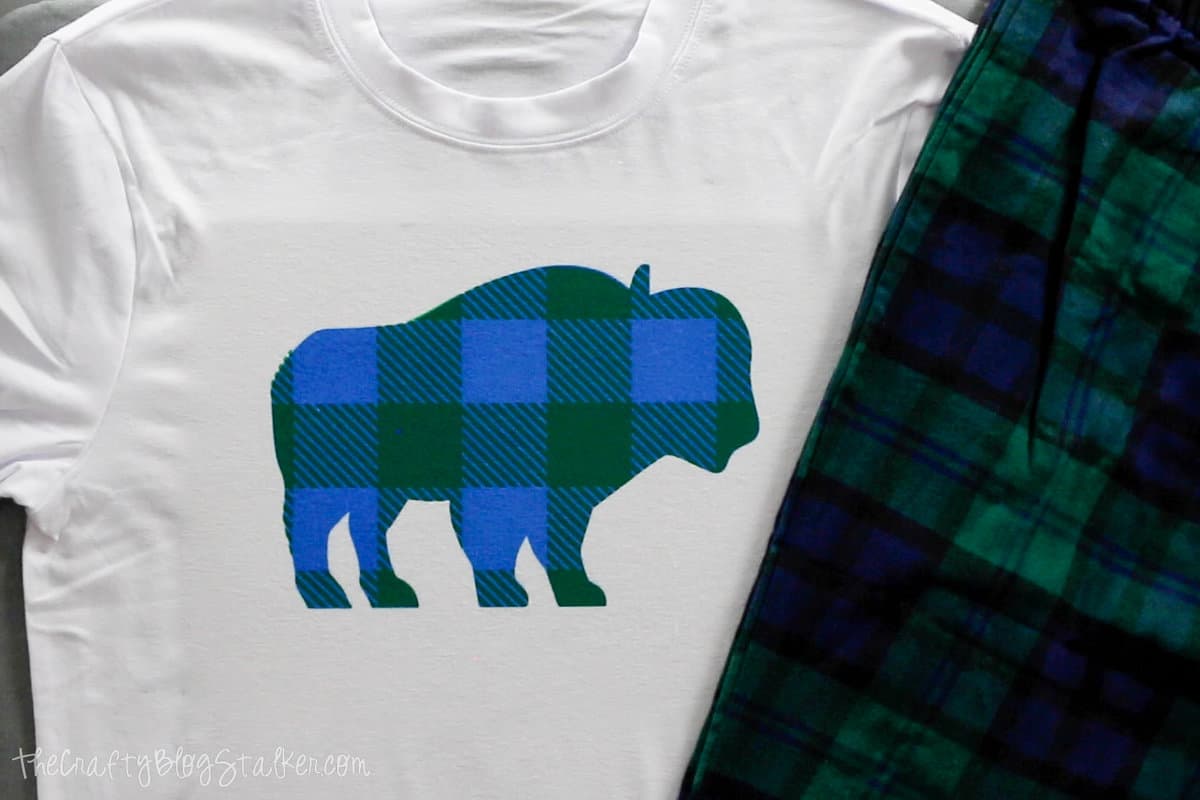
Carefully peel back the transfer sheet. Look at that totally awesome buffalo!
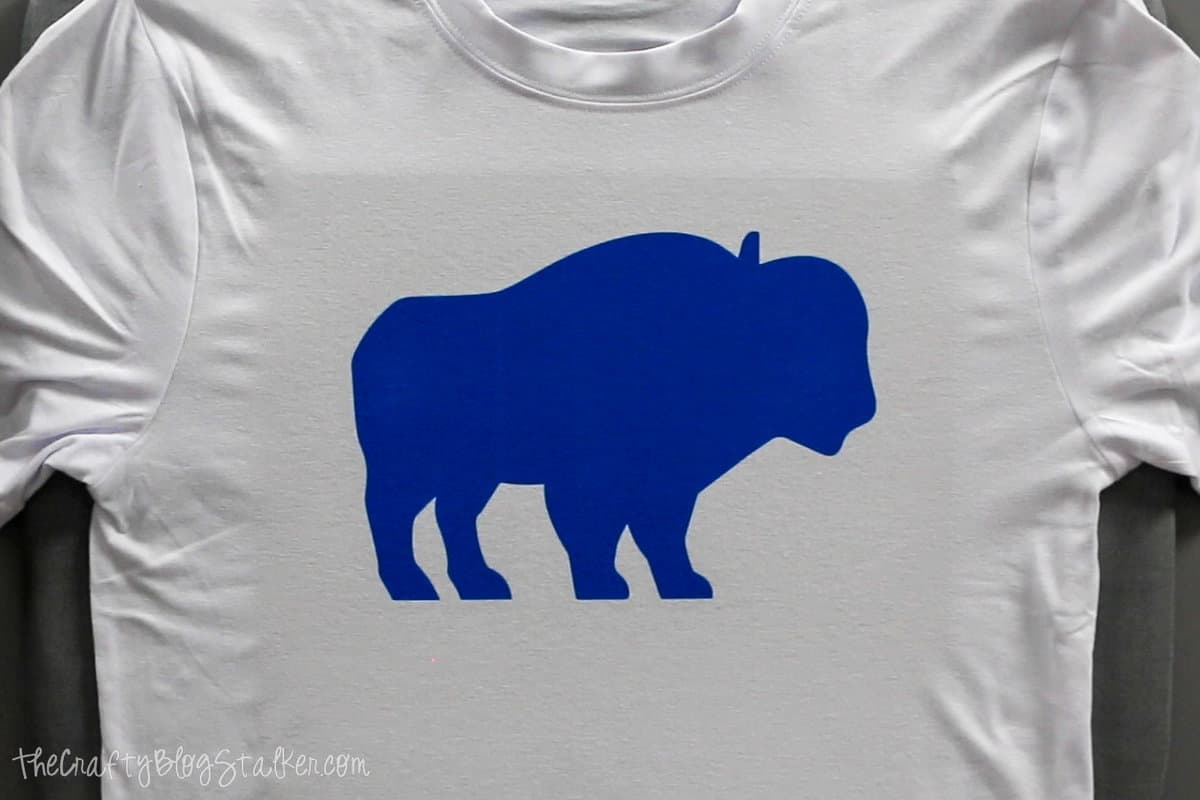
Next weed the green plaid layer. This layer is a bit trickier to weed because it has more cuts. Just weed carefully so you don't tear the design.
Layer the plaid layer over the blue buffalo on the shirt. You can lightly pull the shirt material to shift the fabric if needed to make the plaid layer match perfectly.
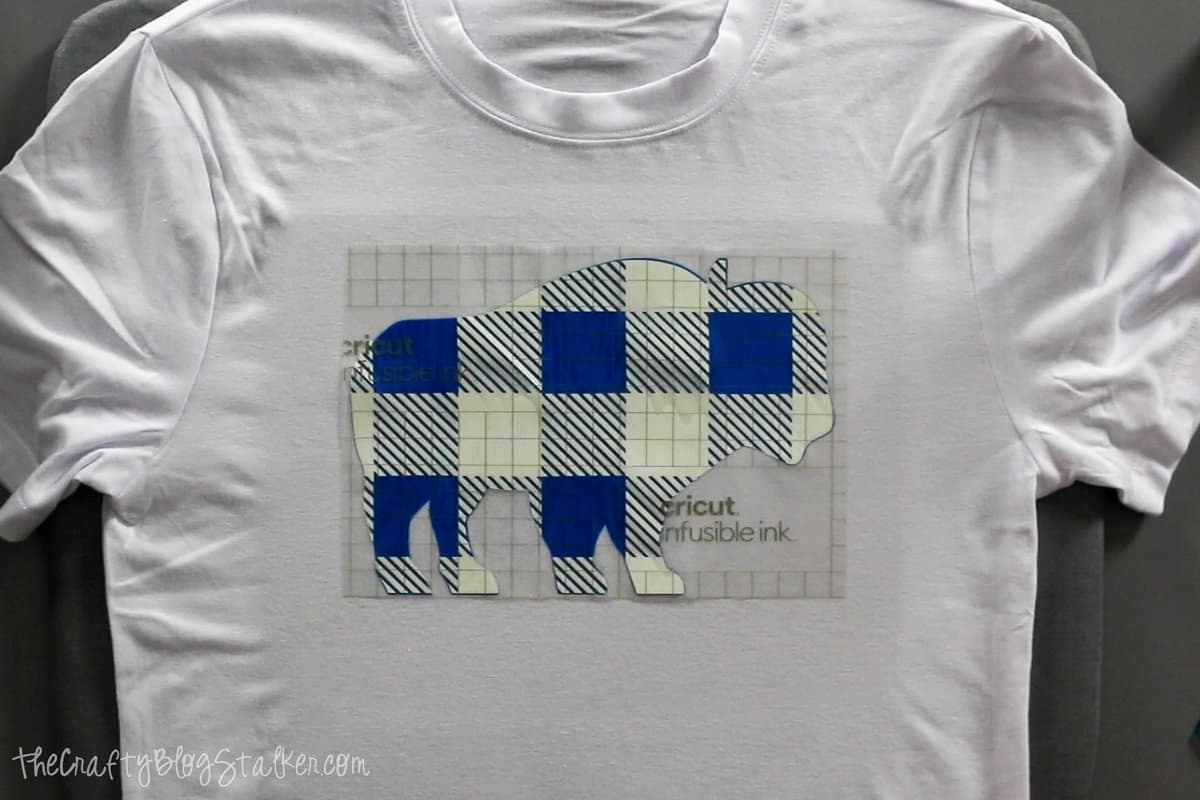
Press, and carefully remove the backing sheet.
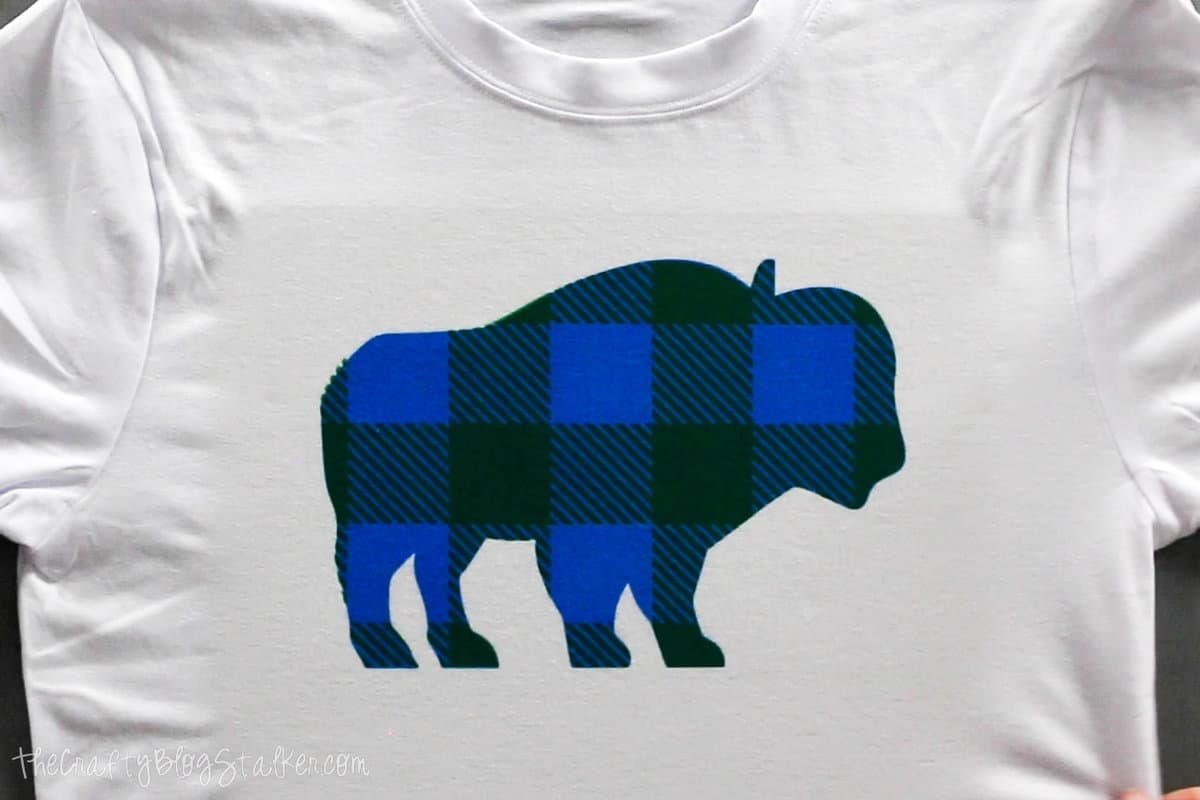
I absolutely love this blue and green plaid buffalo. He is so cute!
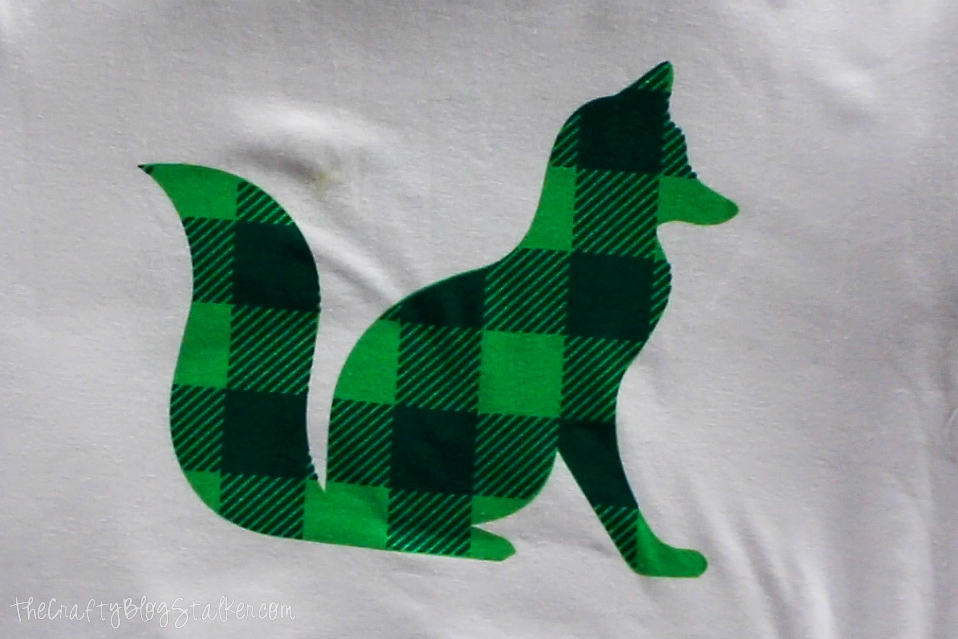
Just for fun, I layered one shirt opposite. So the green layer was the base layer and the blue was the plaid layer. It is crazy how different it looks. More of a two-tone green. You don't see any blue at all.
On Christmas Eve we all opened our matching plaid pajamas and it was so fun to see everyone together.

Our Crafting Essentials:
- The Cricut Cutting Machine is easily our favorite crafting tool. We use it in so many of our tutorials!
- These MakerX Crafting Tools are perfect for keeping in the craft room and are always ready when needed!
- This Fiskars Paper Trimmer is easy to use and cuts nicely without frayed edges.
- These Scotch Precision Scissors cut like a dream, and you get multiple pairs in a pack!





Leave a Reply