This post may contain affiliate links. For more information, please see our disclosure policy.
Transform traditional crayons into Halloween-themed crayons with these instructions on how to make shaped crayons. Tags are printable and easy to make. If you make a purchase using the links included, we may earn a commission.
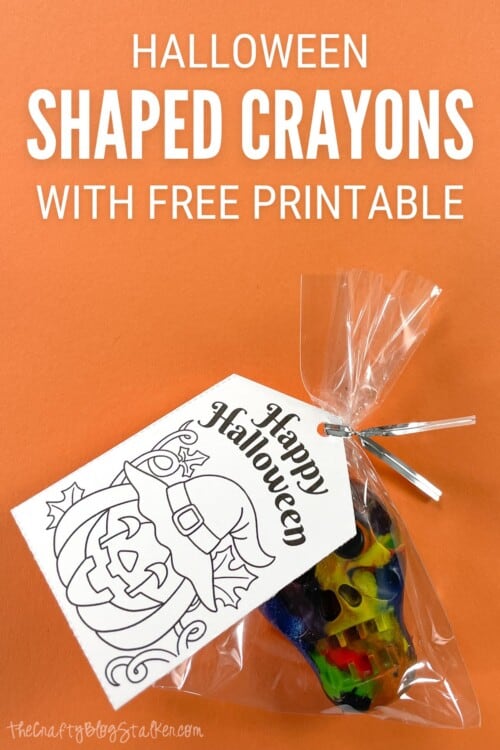
Looking for a non-candy treat to hand out to trick-or-treaters this Halloween?
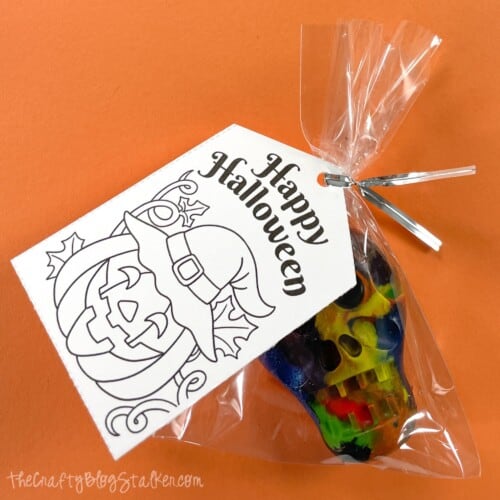
These DIY Halloween shaped crayons are so much fun to make. Wrap them up with a colorable tag, and they are ready to hand out to friends, family, or kids in the neighborhood!
Plus, all of the supplies needed can be found at your local Dollar Tree or you may already have them on hand. So they're cheap and easy!
Craft Video Tutorial:
Like videos? I have a video tutorial for you! Subscribe to my YouTube Channel so you don't miss any future videos!
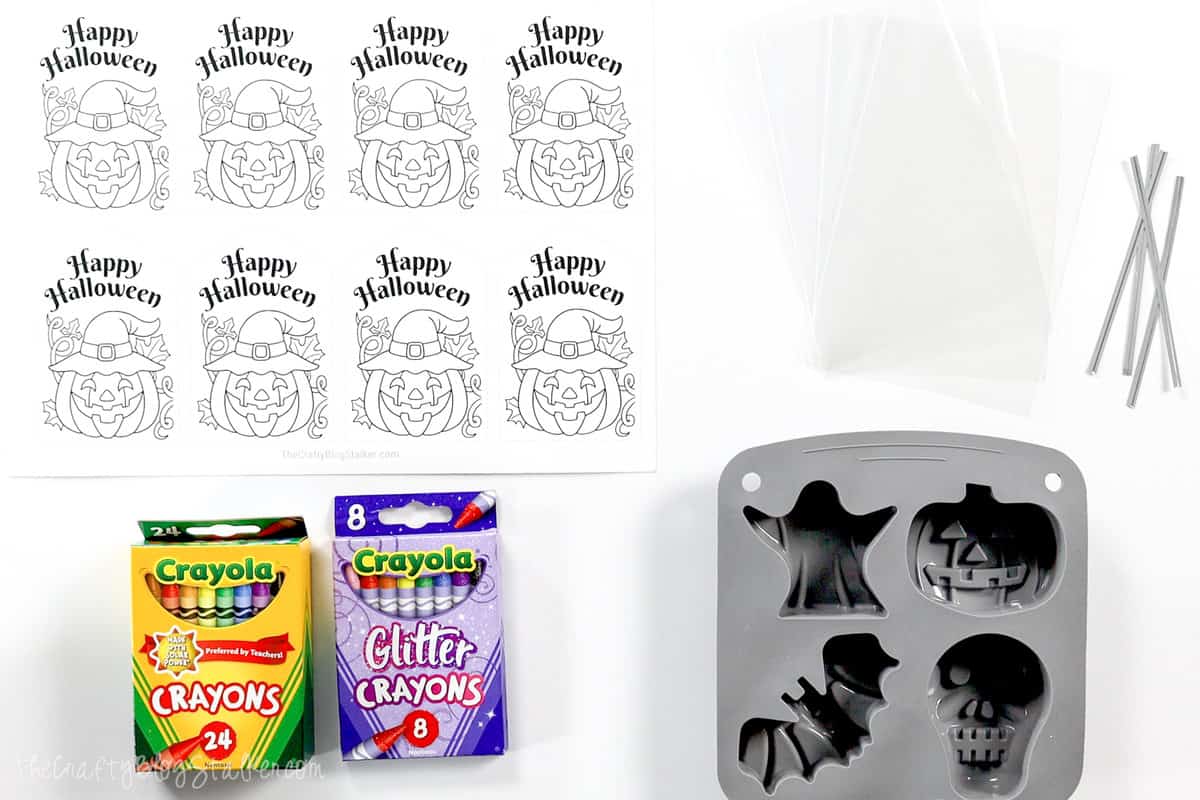
Supplies You'll Need to Create this Project:
- Crayons
- Silicone Baking Mold
- 4x5 inch Cellophane Bags
- Twist Ties
- Scissors or Paper Trimmer
- Hole Punch
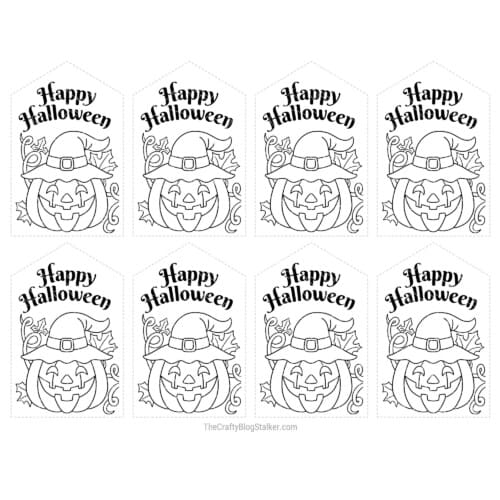
- Printable Halloween Tags
Unwrap the Crayons:
The easiest way to unwrap the crayons is to soak them in a warm water bath. No soap is needed.
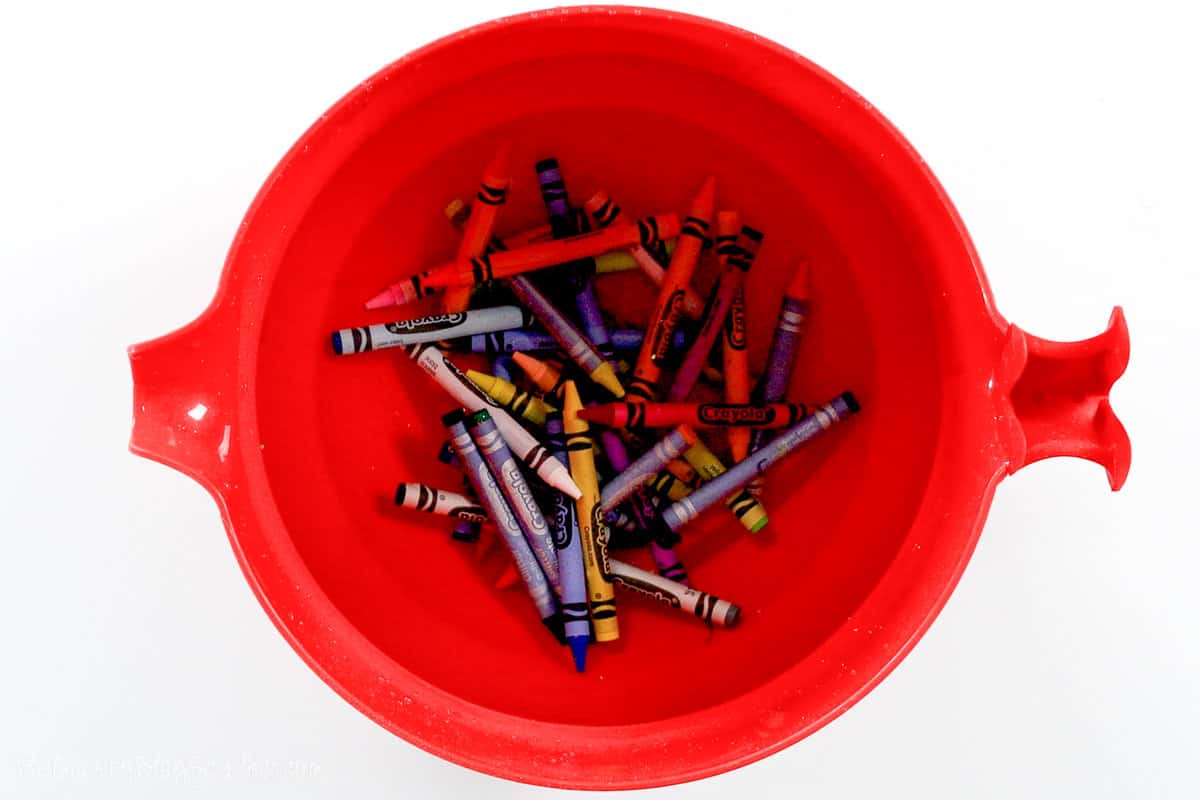
Let them sit for about 3-5 minutes.
Then stir the crayons with your hand and the wrappers will start to come off all on their own, and float to the top.
Seriously, it is that easy!
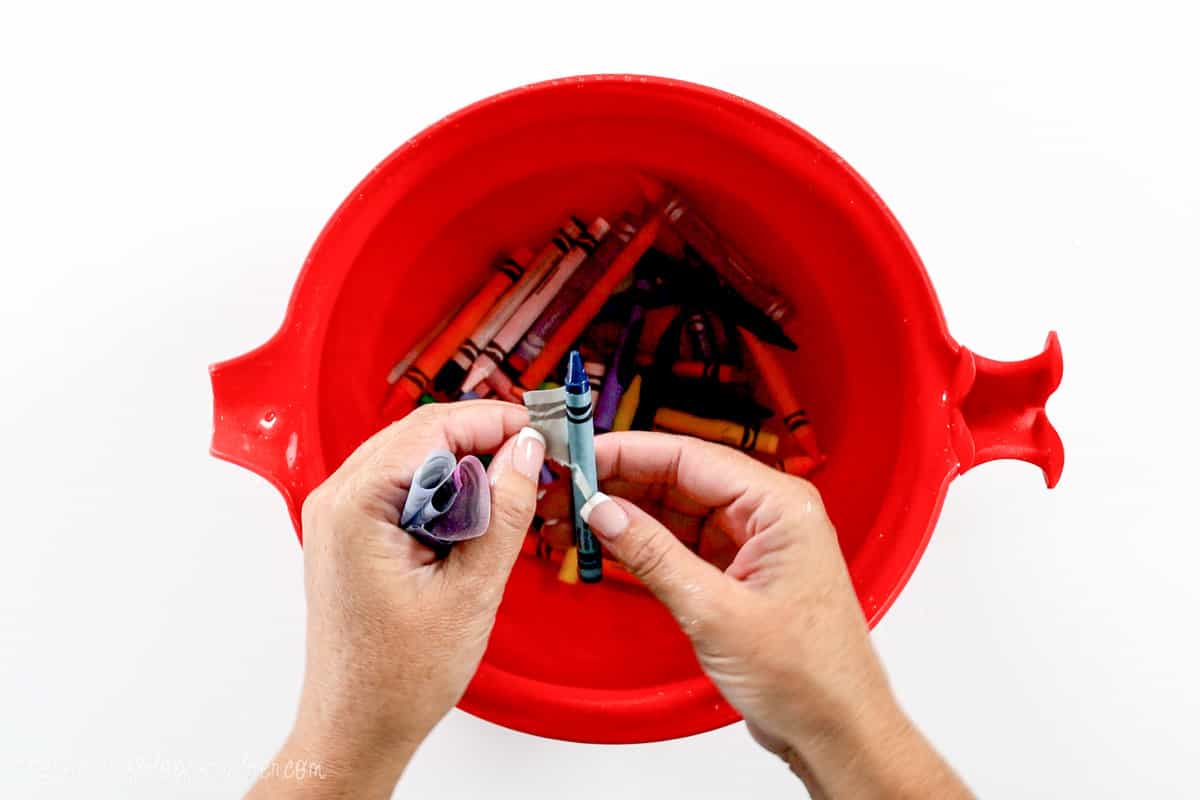
Of course, there will be a few that will still take a little bit of peeling with your fingers, but there won't be many, and wet labels make them much easier to peel than if they were dry.
Remove the peeled crayons from the water and pat dry with a towel.
Break the Crayons:
Break the crayons into smaller pieces, and put them into the silicone mold.
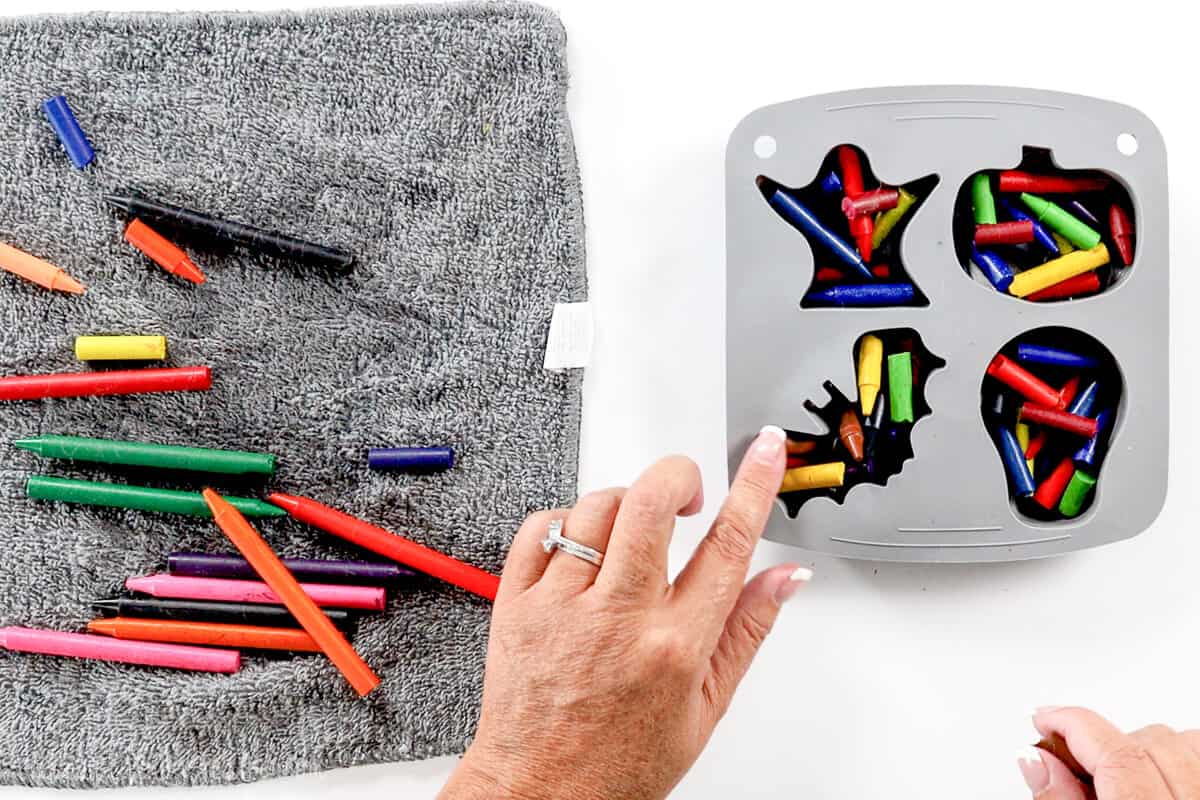
I broke my crayons in half, but if you are using well-loved crayons you may not need to break them into smaller pieces.
Just make sure that they fit inside the mold.
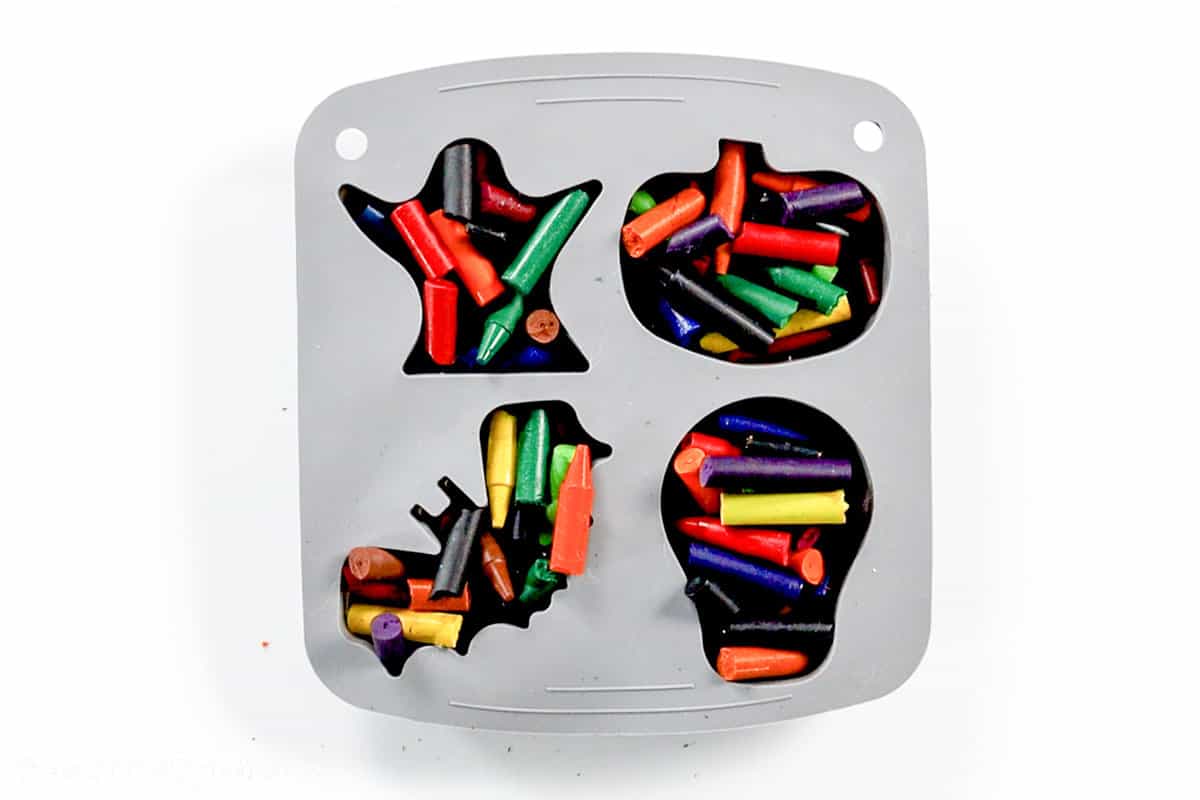
Fill the molds about as full as you can.
Bake:
Place the mold on a baking sheet, and place it in a preheated oven at 200º F.
Time may vary based on the size of your molds and the crayons you use, but they should completely melt in about 10-15 minutes.
If you need longer, that is totally okay. But keep checking on them every couple of minutes.
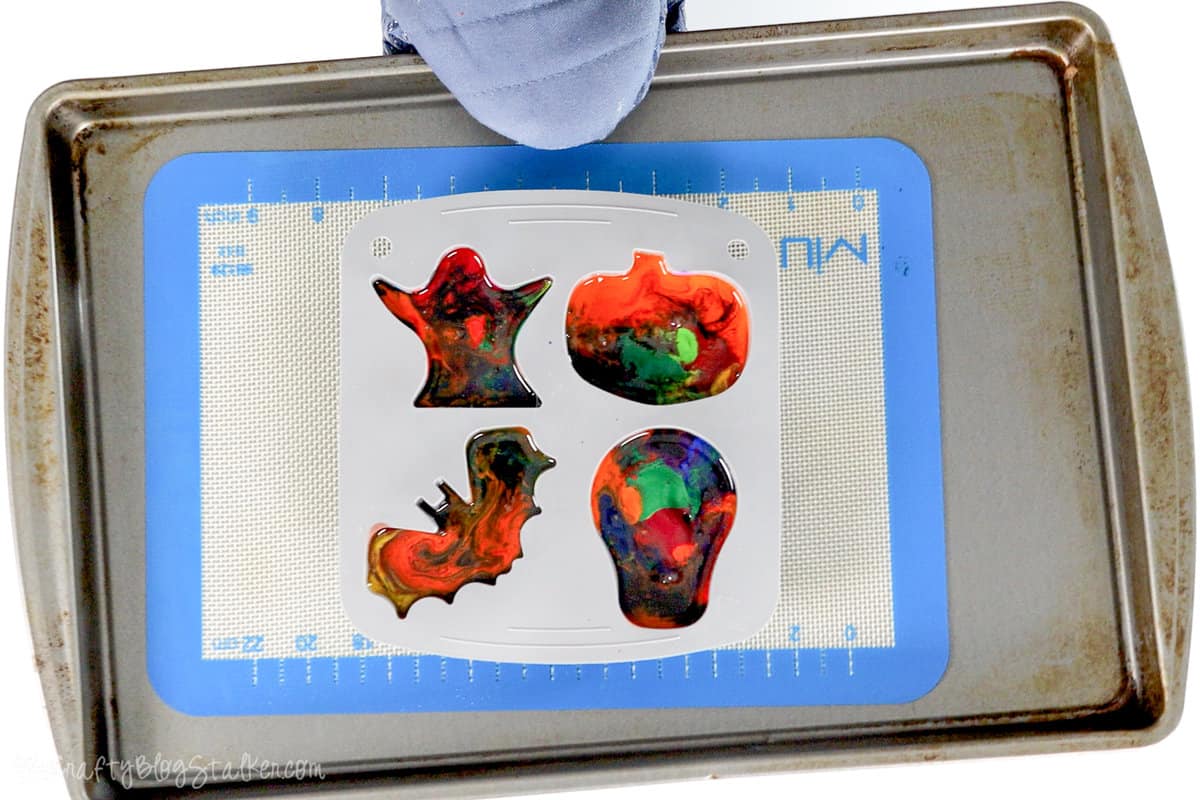
Once the crayon pieces are completely melted inside the molds, remove the baking sheet from the oven.
To help the crayons harden faster you can place them in a fridge or freezer.
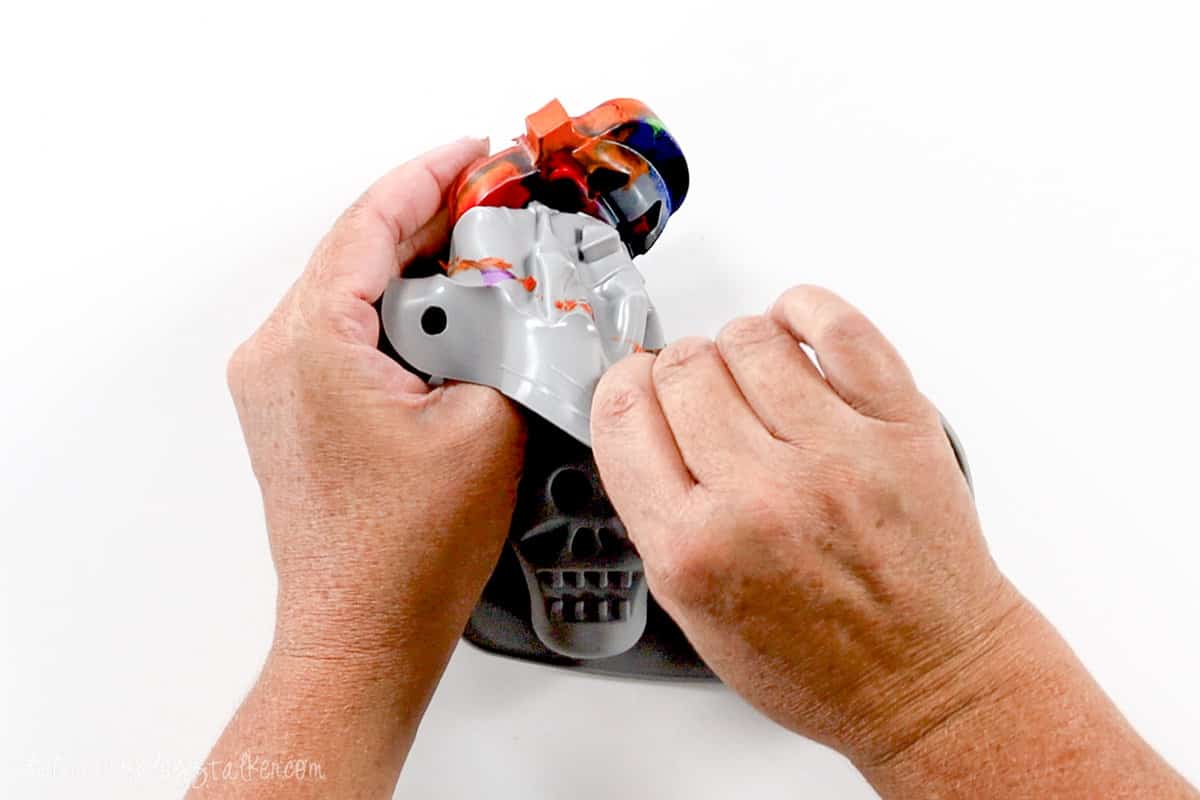
Once they are completely set, you can pop them out of the silicone mold.
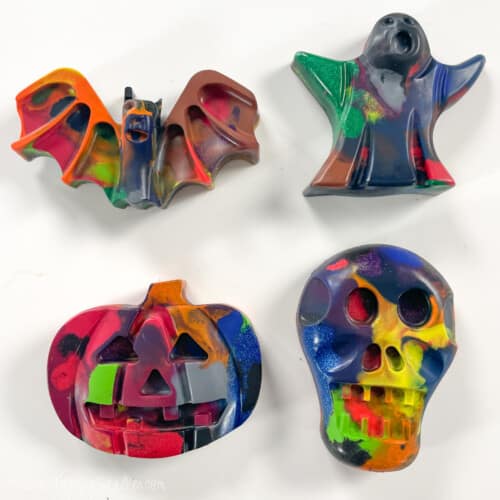
Aren't they so cute? Look at all of those fun colors!
Prepare the Printable Tags:
Print out the Halloween tags on your home printer.
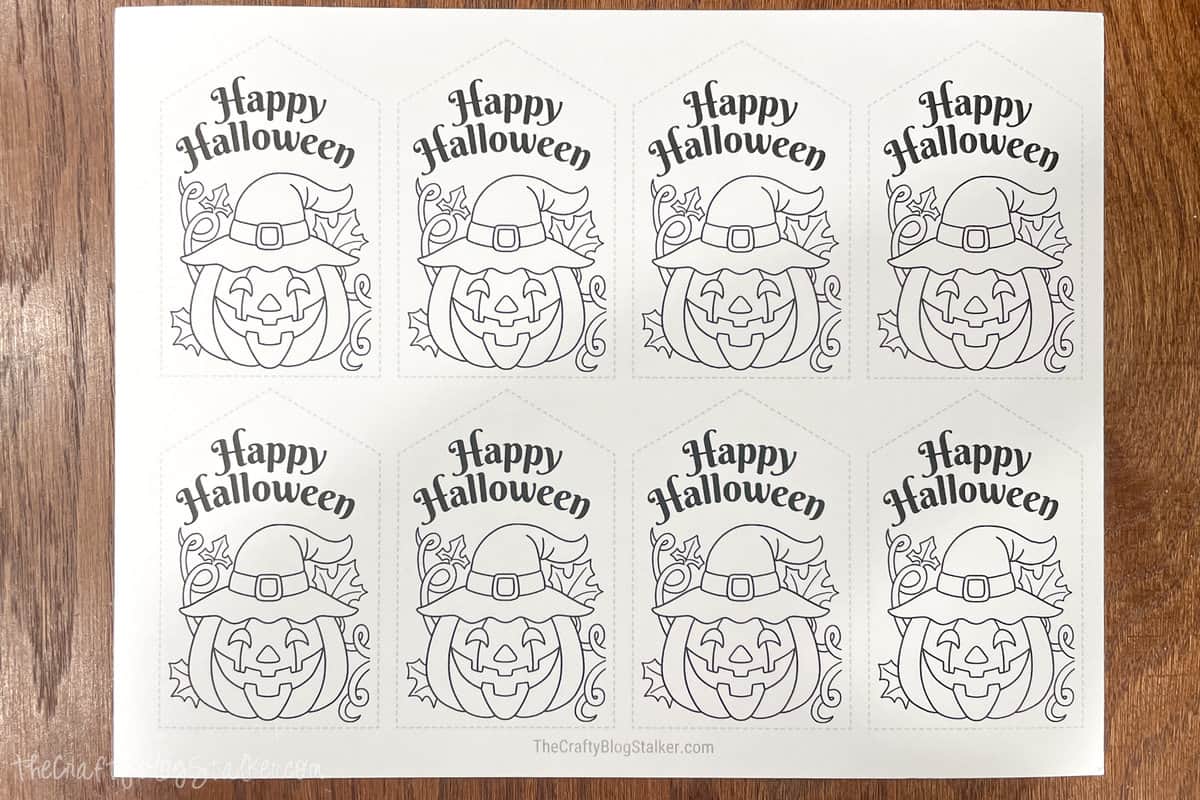
Use a pair of scissors or a paper trimmer and cut the tags out, along the dotted line.
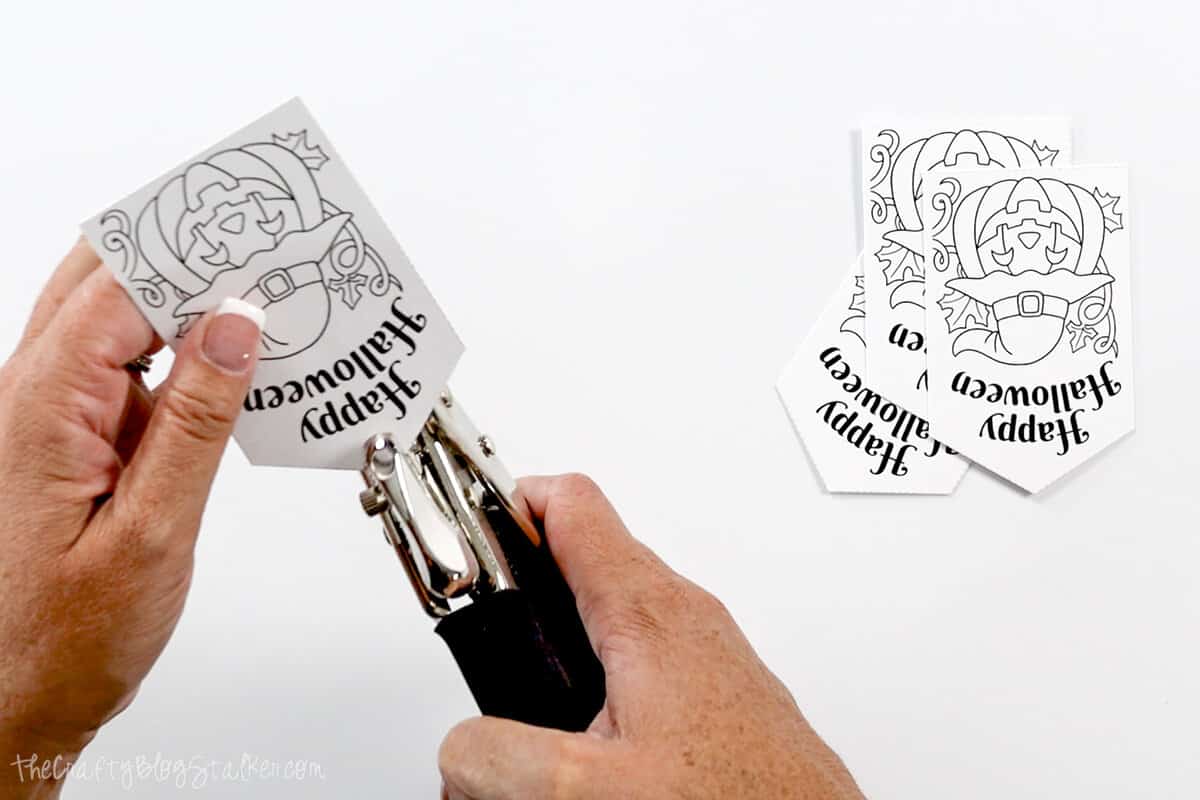
Then punch a hole at the top of the tag with a hole punch.
Package the Halloween Shaped Crayons:
Place a shaped crayon inside the cellophane bag.
Twist the top.
Push a twist tie through the hole in the tag, wrap the twist tie around the top of the bag, and you are done!
Frequently Asked Questions:
Do I have to use Crayola brand crayons?
No, you can melt down any brand of crayons to make fun-shaped crayons.
Although, different brands of crayons may melt at different rates so you may need to adjust the baking time.
Is Crayola better than CRA-Z-Art?
I am not an expert in crayons, but in my personal opinion, I prefer Crayola. They slide over paper better leaving beautiful color.
Other brands tend to have more of a cheap waxy feel.
But if you prefer other brands that is ok. Just know that the crayons will color the same before and after being melted. Having them melted into shapes makes no difference in how they feel when coloring with them.
Should I only use new crayons to make shaped crayons?
Absolutely not! In fact, this project is the perfect way to give new life to used and broken crayons.
I don't have littles anymore, so my boxes of used crayons were long ago donated.
What is the easiest way to melt crayons?
The oven is my go-to way to melt crayons. It is really easy and all you need is a silicone mold and an oven!
Preheat the oven to 200º and bake until completely melted. Should take about 10-15 minutes, but it is ok if they take longer. Just keep an eye on them.
Our Crafting Essentials:
- The Cricut Cutting Machine is easily our favorite crafting tool. We use it in so many of our tutorials!
- These MakerX Crafting Tools are perfect for keeping in the craft room and are always ready when needed!
- This Fiskars Paper Trimmer is easy to use and cuts nicely without frayed edges.
- These Scotch Precision Scissors cut like a dream, and you get multiple pairs in a pack!



Leave a Reply