This post may contain affiliate links. For more information, please see our disclosure policy.
Learn how to sew watercolor cards! Easy DIY craft tutorial idea to make a beautiful handmade card and send snail mail or give as gifts!
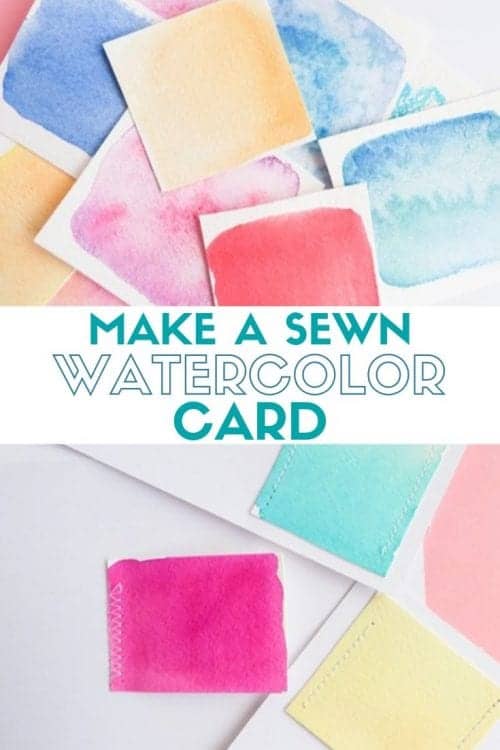
Thanks for having me here on The Crafty Blog Stalker. I recently bought a sewing machine and have been inspired to come up with simple projects so I can practice using it. These sewn watercolor cards are easy to make and look so pretty together as a set.
Although you can stitch cards by hand, I recommend using a machine for this particular project, as you will be sewing watercolor paper and card stock together. You can paint little scenes and even embellish the watercolor paper swatches with words such as "Thank you". Use my ideas as a jumping-off point, and above all, have fun experimenting!
Supplies Used to Make Stitched Watercolor Cards
Some links may be too similar items when exact items couldn't be found online.
- Practice sheet of card stock
- One sheet of watercolor paper (a postcard-sized piece is fine)
- 3-4 plain card stock cards
- Watercolors (*see note below)
- Water and paintbrush
- Scissors for paper and for cutting thread
- Sewing machine with contrasting thread
*You can also substitute water-soluble markers, gouache, watered-down acrylics, or watercolor pencils for watercolors.
Testing your Sewing Machine
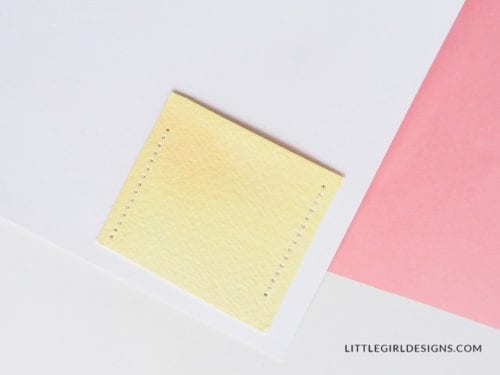
Before you get started, make sure the needle you have in your machine will work with paper. I found that the needle that came with my machine worked great. Also, know that this project works best with the more simple stitches available on machines as each stitch literally punches a hole into the paper; complicated stitches leave too many holes and weaken the paper. Use your practice sheet of card stock to see which stitch or stitches you'd like to use.
Paint
Paint square swatches of color on your watercolor paper. I experimented with painting a small square of water on the paper first and then dotting on different colors to let them spread naturally as well as painting color straight onto the paper. I also used my water-soluble markers by scribbling color onto the paper and then painting over them. They literally "melt" into a vibrant watercolor look.
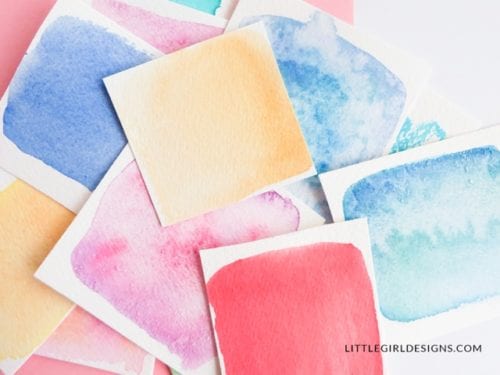
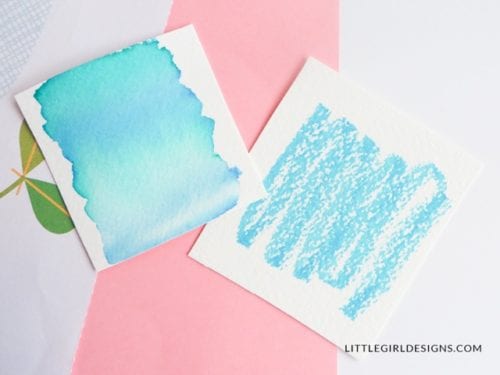
When painting, be sure to use either warm colors (reds and oranges) OR cool colors (blues and greens.) This will guarantee bold colors that are not muddy brown.
Wait for your swatches of color to dry, then cut them out.
Assembly
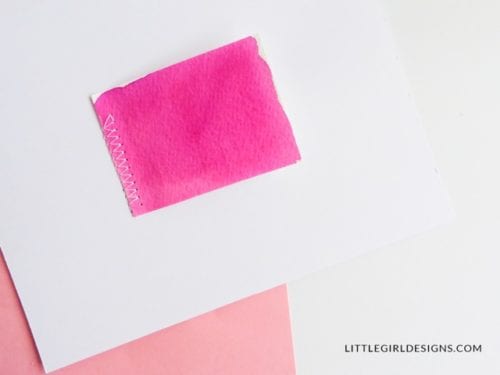
Attach the watercolored squares to the card stock with a piece of double-stick tape, though I held mine in place to stitch. I used the slower speed setting on my sewing machine because I wanted to be able to easily see the stitches as I was making them—yes, I'm a newbie here!
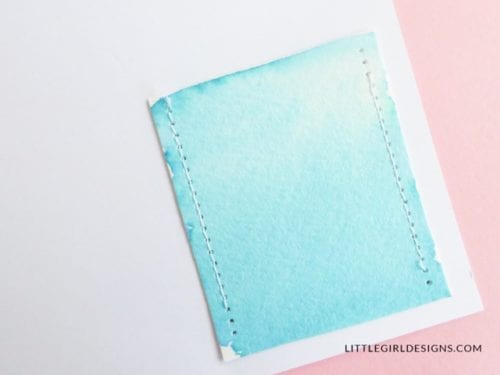
When you're finished with sewing the watercolor piece on, leave a tail of thread and then cut it off. Weave the upper thread back into one of the nearby holes on the card so it comes out the back and then tie it in a knot with the back thread. Cut the thread. You can also reinforce it by a small piece of clear tape on the back of the stitched card as well.
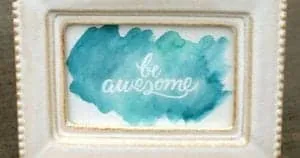
If you'd like to add a small design or sentiment to the piece, go for it. I've found it's easier to add wording after the card is sewn together.
This is definitely a project where younger kids can help out by painting the swatches, and older kids can make the entire project. You can make a set of these sewn watercolor cards for a friend or use them yourself to send out some lovely snail mail in the world.
Thanks again for having me here on The Crafty Blog Stalker.
Hope you all have a lovely {and creative} day!


Marlena
Thanks so much for this. I thought that this had to be done by hand. I am so glad to know I can use my sewing machine. Great article.
Katie
You are very welcome Marlena! Glad to help!