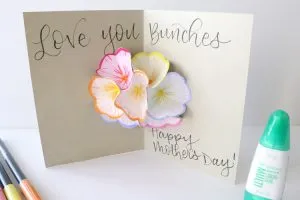
Do you like to make handmade birthday cards for your friends and family? This embossed butterfly card is a beautiful card to give or to receive!
I love making Birthday Cards for my friends and family and I hope that it makes them feel special knowing that I made a card just for them.

Supplies Used to Make Handmade Cards with Embossed Butterfly
Items linked below may go to similar items when exact items couldn't be found online. Links are affiliate so when you purchase, I will get a small kickback to help fund the next tutorial!
- White Cardstock
- Pattern Paper
- Butterfly Stamp
- Birthday Greeting Stamp
- Pink Embossing Powder
- Embossing Ink Pad
- Crafting Heat Gun
- Paper Trimmer
- Ribbon
- Label Paper Punch
- Scissors
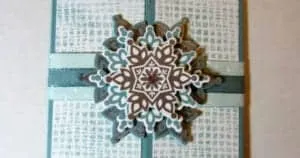
How to Make the Embossed Butterfly
- Stamp the Butterfly image on a white piece of card stock using a Clear Embossing Ink Pad
- Sprinkle the stamped image with Embossing Powder and then tap the paper to remove the access
- Use a heat gun and slowly heat the paper and the Embossing Powder will melt and join together creating this awesome Embossed image - be careful not to burn the paper or your fingers!

- After the Embossing Powder dries and cools (just a couple of minutes) cut around the embossed image with a pair of sharp scissors
- I added some rhinestone to the body of the butterfly to make it sparkle and pop just a bit more

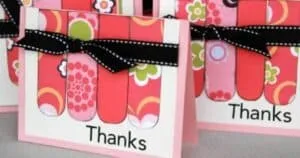
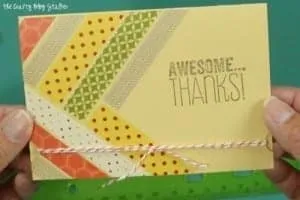
How to Make the Birthday Greeting Tag
- Stamp the Happy Birthday greeting onto a white piece of card stock
- Using a Label punch cut a piece out of a matching colored card stock, and cut the greeting out with the same punch
- Cut the colored label in half and trim inwards a bit so it won't show on the sides. You only want the ends to show - glue
- When you turn it over you have a perfectly framed tag

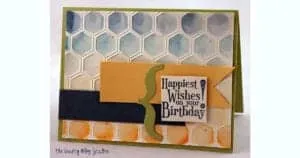
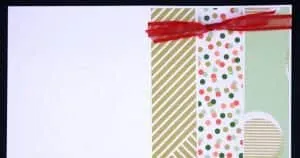
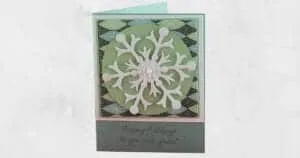
Assembling the Handmade Card
When all of the elements are done you start assembling the card

I made this card for a friend of mine at work and I knew everyone on our team would be signing the card so it needed to have lots of space to sign.

To solve that problem I glued a second card to the inside cover of the card so know there is twice as much signing space!

The embossed butterfly is really my favorite element of this card and I love how simple embossing is. It adds so much to the look of the card.

Have you tried embossing before? Share and leave a comment below!
Follow me on Pinterest and you can see all the DIY projects I'm pinning!
You Might Also Like These Tutorials:
- Start of a Smash Book
- Frame Diamond Art
- Sea Glass Wind Chime
- Above Ground Sprinkler
- Wood Burned Wooden Spoons
Our Crafting Essentials:
- The Cricut Cutting Machine is easily our favorite crafting tool. We use it in so many of our tutorials!
- These MakerX Crafting Tools are perfect for keeping in the craft room and are always ready when needed!
- This Fiskars Paper Trimmer is easy to use and cuts nicely without frayed edges.
- These Scotch Precision Scissors cut like a dream, and you get multiple pairs in a pack!
Recommended Posts

beetreestudios
Really pretty card! I don't typically make cards but you made this look quite easy, thanks for sharing =) Stopping by from Follow Friday!
mail4rosey
How pretty, this turned out great!!
I'm visiting today from the Frugal Fit Family blog hop. 🙂
Gena at ichoosejoy.org
I'm sure your friends love getting your cards!
--Gena
Melissa @ My Recent Favorite books
Your card is so pretty! =)
Amy | The Happy Scraps
Beautiful Card! Seeing this really makes me want to make some cards. It's been so long since I embossed something.
Shanice
Thank you for sharing this post at City of Creative Dream's City of Links on Friday! I appreciate you taking the time to party with me. Hope to see you again this week 🙂