This post may contain affiliate links. For more information, please see our disclosure policy.
Make the perfect gift for your 2025 graduating senior with this DIY Senior Hoodie. This design is available for any graduating class!
Complete the step-by-step instructions and video tutorial below!
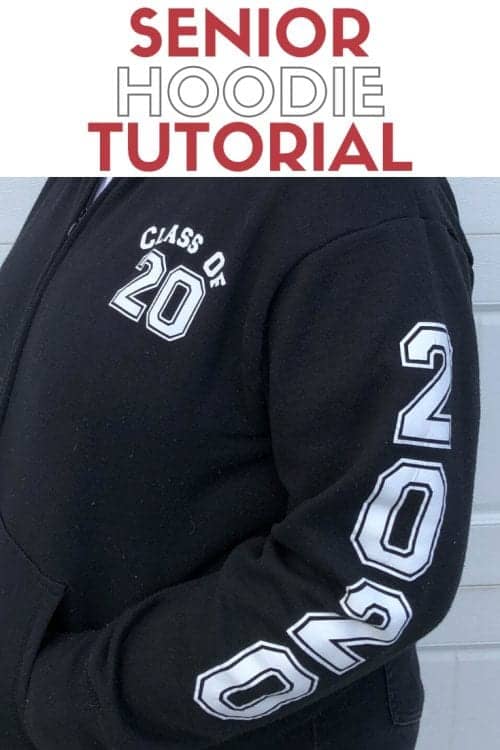
Do you have a graduating senior too? It is so hard to believe!
My daughter is months away from graduation and is so excited she wants to shout it from the rooftops. To help her shout it out, I created a Senior SVG design.
Supplies Used to Make a DIY Senior Hoodie
Items linked below may go to similar items when exact items couldn't be found online. Links are affiliate so when you purchase, I will get a small kickback to help fund the next tutorial!
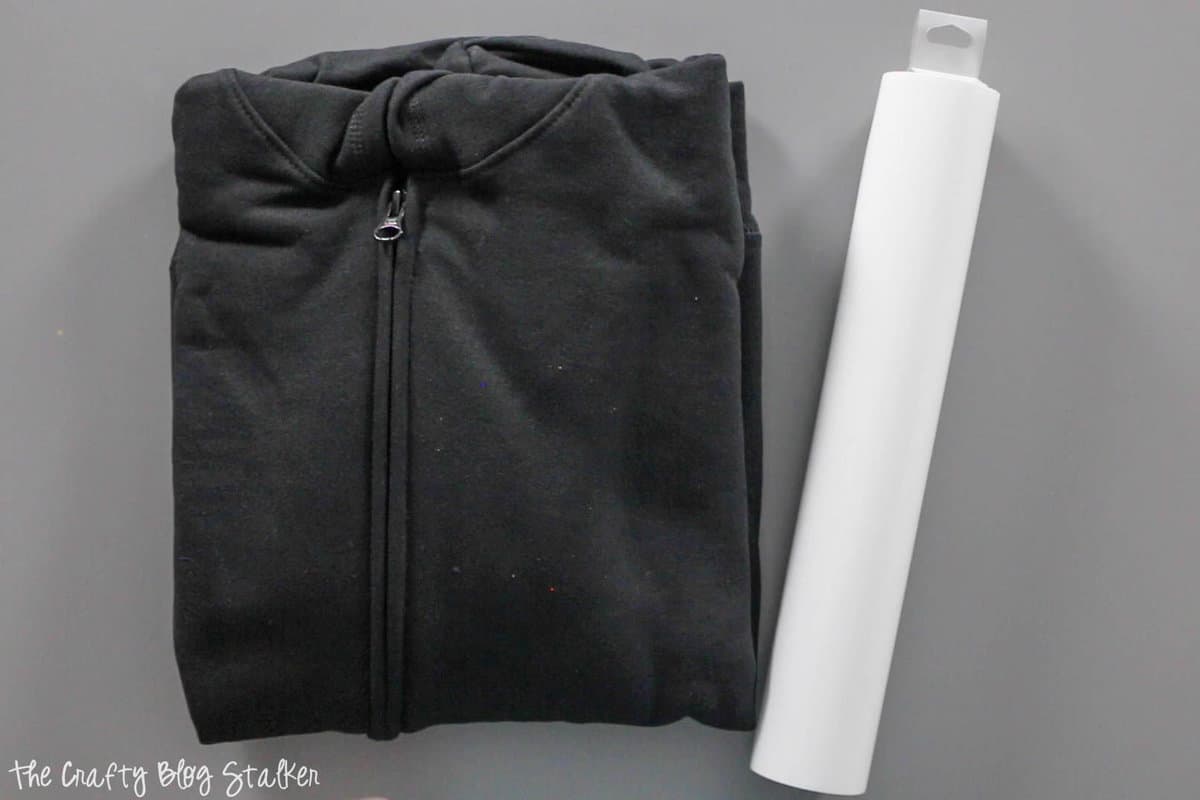
- Cricut Cutting Machine
- Senior SVG
- Iron-on Vinyl
- StandardGrip Mat
- Weeding Tool
- EasyPress
- Hoodie
- Lint Roller
DIY Senior Hoodie Video Tutorial
Like videos? I have a video tutorial for you! Please subscribe to my YouTube Channel so you don't miss out on any future video tutorials!
Cutting the Senior SVG in Cricut Design Space
Grab the Senior SVG Cut File.
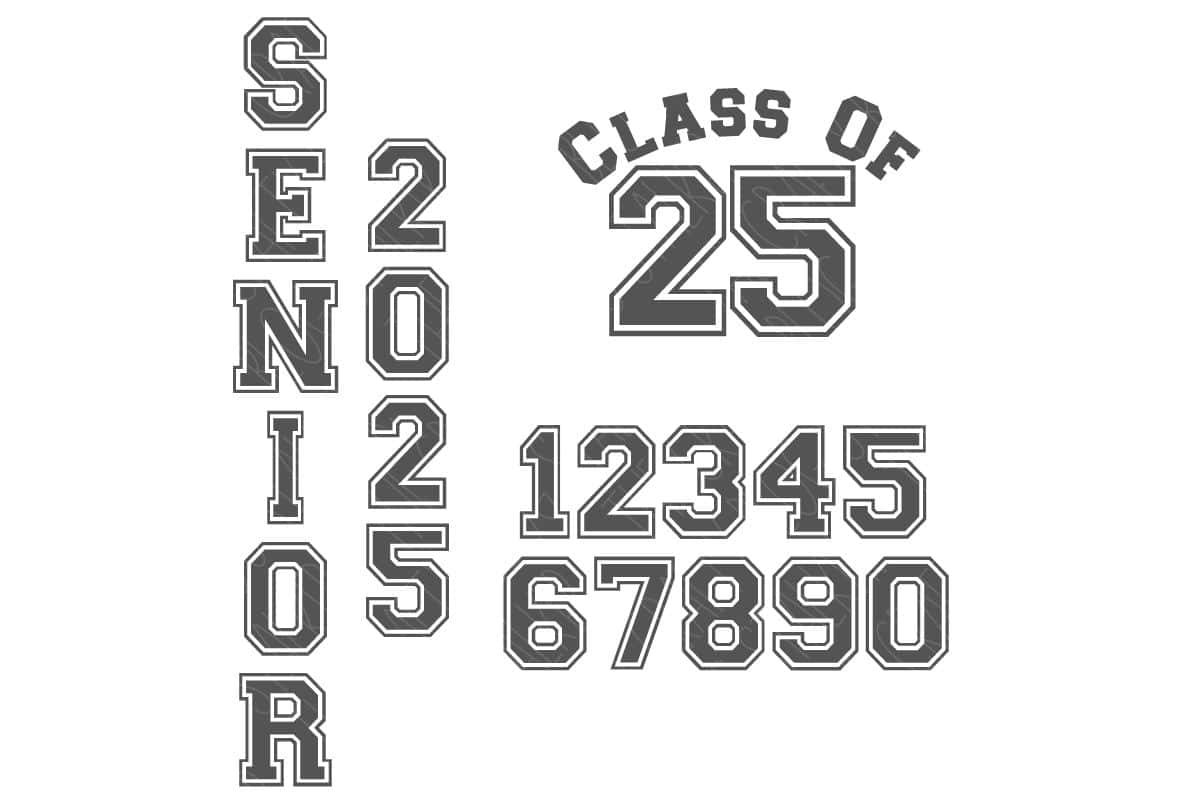
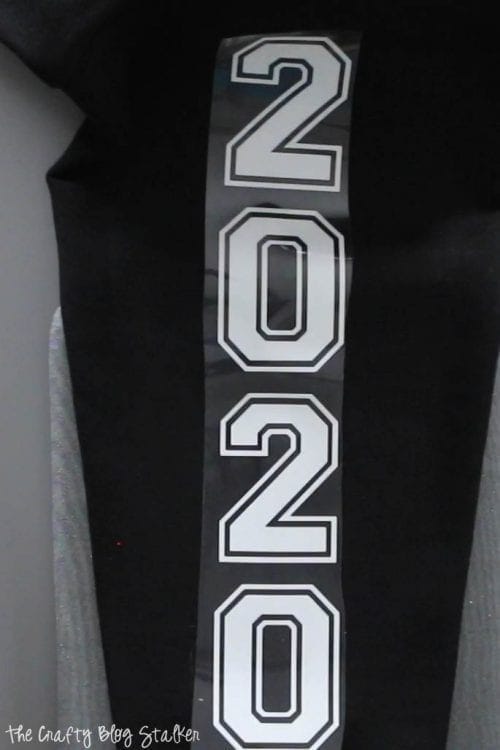
As you can see by the photo above, all numbers are included so you can make this design fit any year for a graduating class!
The file includes the SVG, DXF, EPS and PNG versions of this cut file, so you should be able to use it no matter what cutting machine you use.
Upload the SVG file into your cutting software, I use Cricut Design Space.
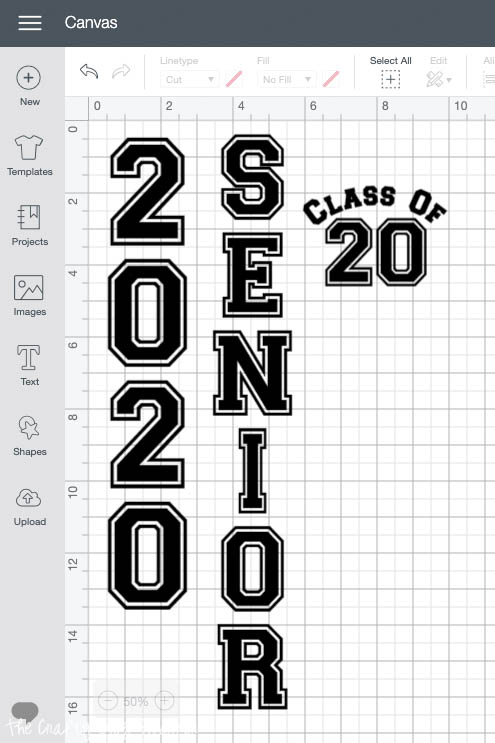
Move any numbers around that you may need to create a certain year.
Measure the arm length of the hoodie you will be applying the vinyl so that you can resize the design to fit the hoodie.
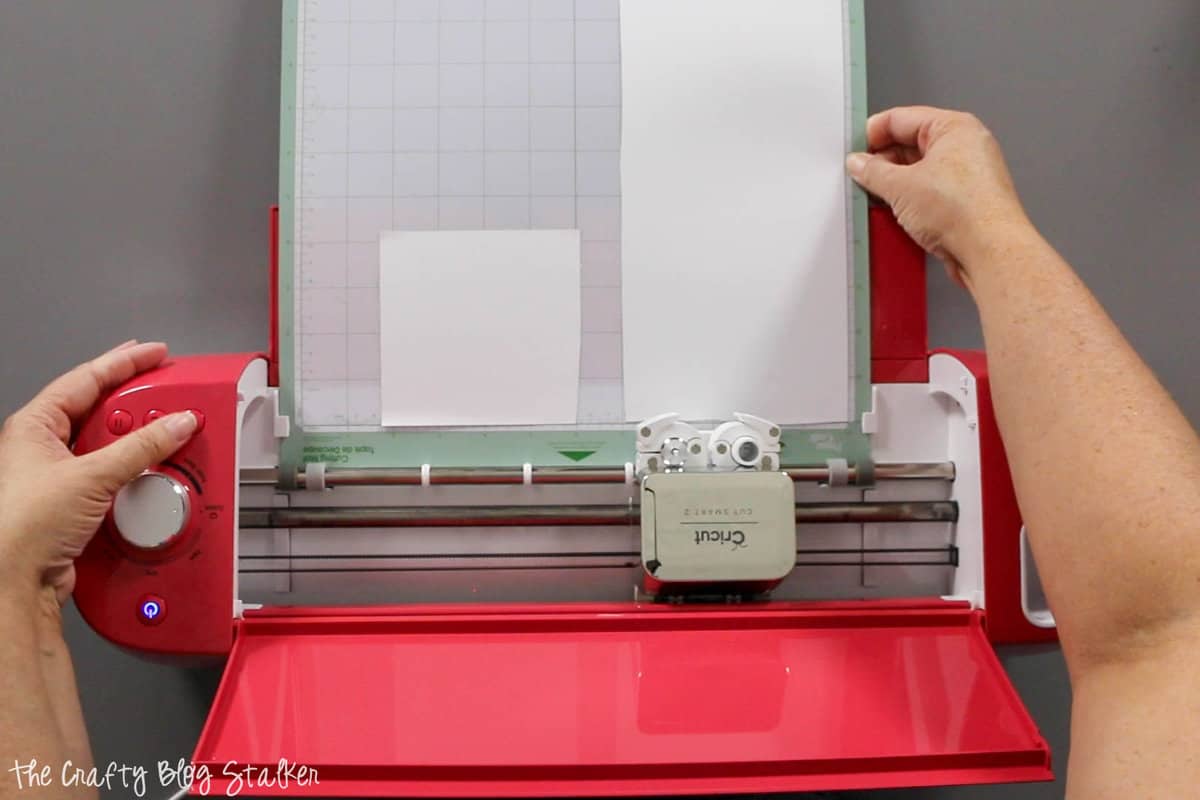
Follow the Prompts in Cricut Design Space to cut the design, making sure to mirror the design since we are using iron-on.
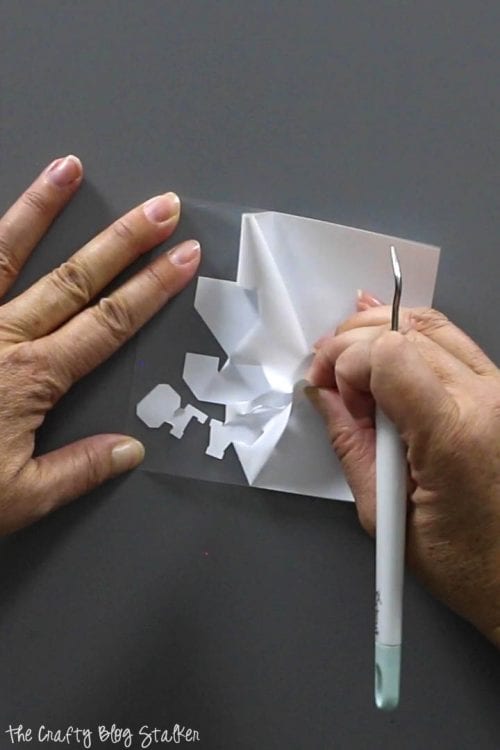
Weed the design and remove the excess vinyl with a weeding tool.
Applying the Senior Design to a Hoodie
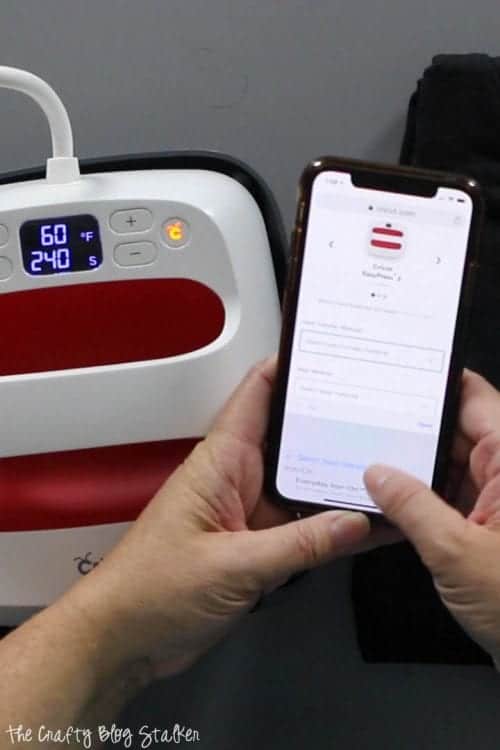
Using the Cricut Heat Guide, figure out the temperature and time needed to apply the iron-on design.
I am starting with the smaller design that will go on the chest of the hoodie.
Use a lint roller to remove any stray fuzzies or hairs from the area you will be applying the iron-on.
Preheat the area for 5 seconds with the EasyPress, then lay the iron-on design in place.
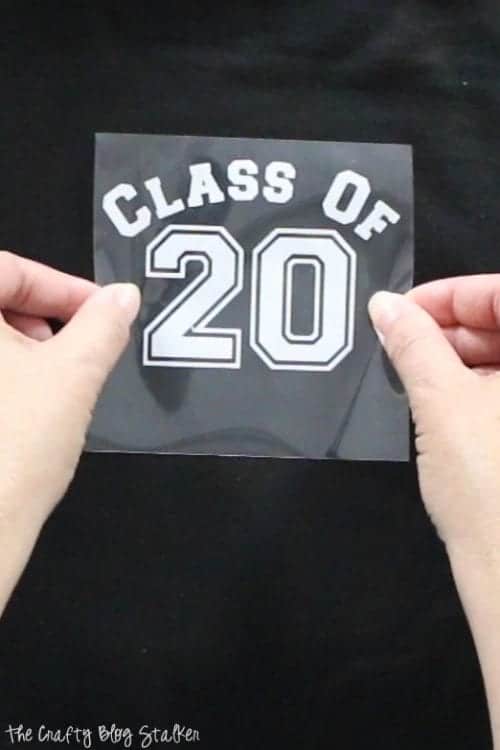
Apply heat for the specified time.
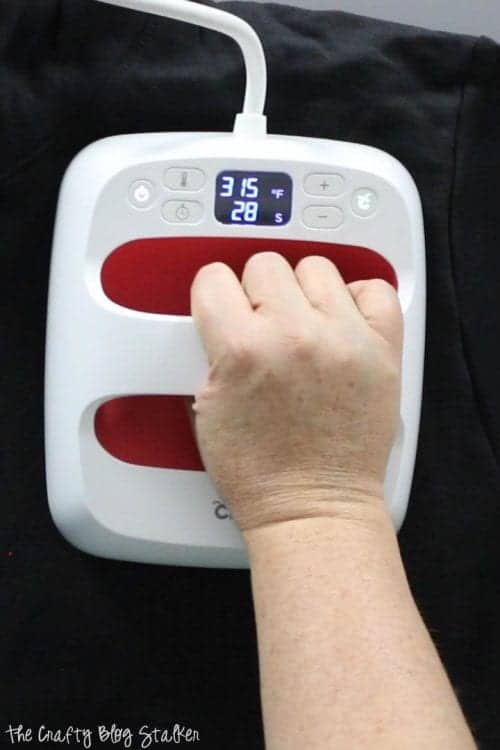
Let the iron on only slightly cool before you peel back the backing sheet. You still want it warm but cool enough to touch.
If the backing sheet doesn't peel easily, lay it back into place and repeat the heat step.
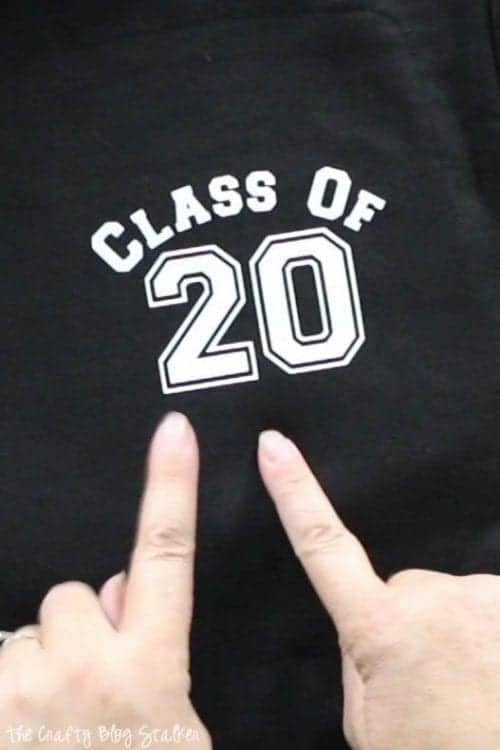
For the sleeves, fold the top of the sleeve flat. Repeat the steps above with cleaning with a lint roller, preheating, and applying the heat.
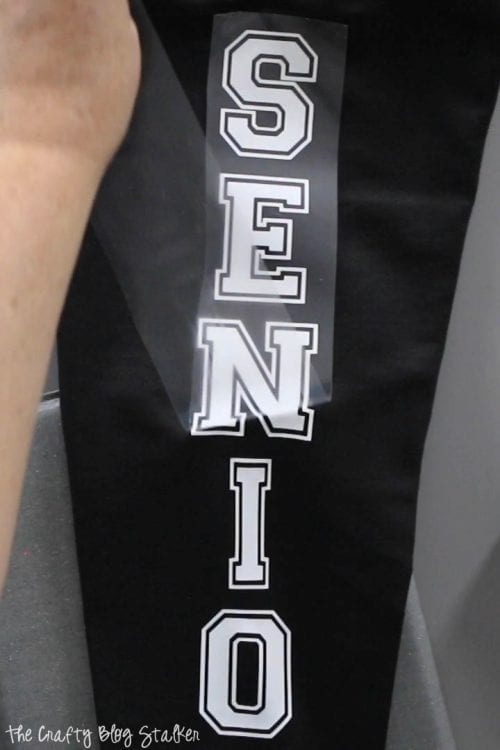
Repeat again for the other sleeve.
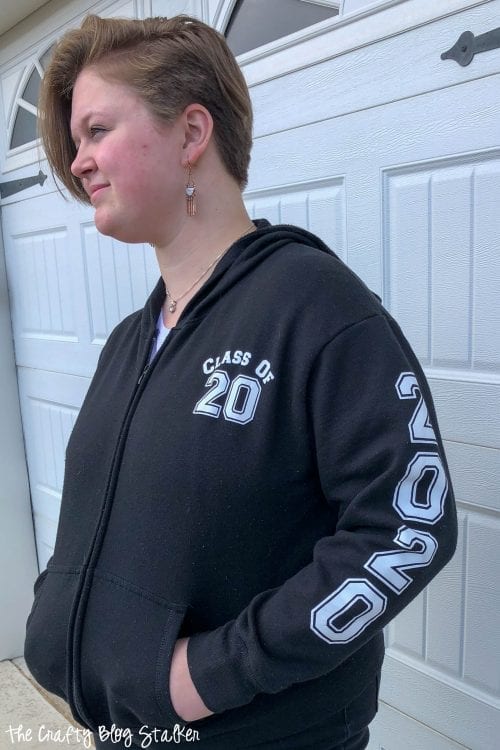
The finished hoodie looks so great and my daughter absolutely loves it!
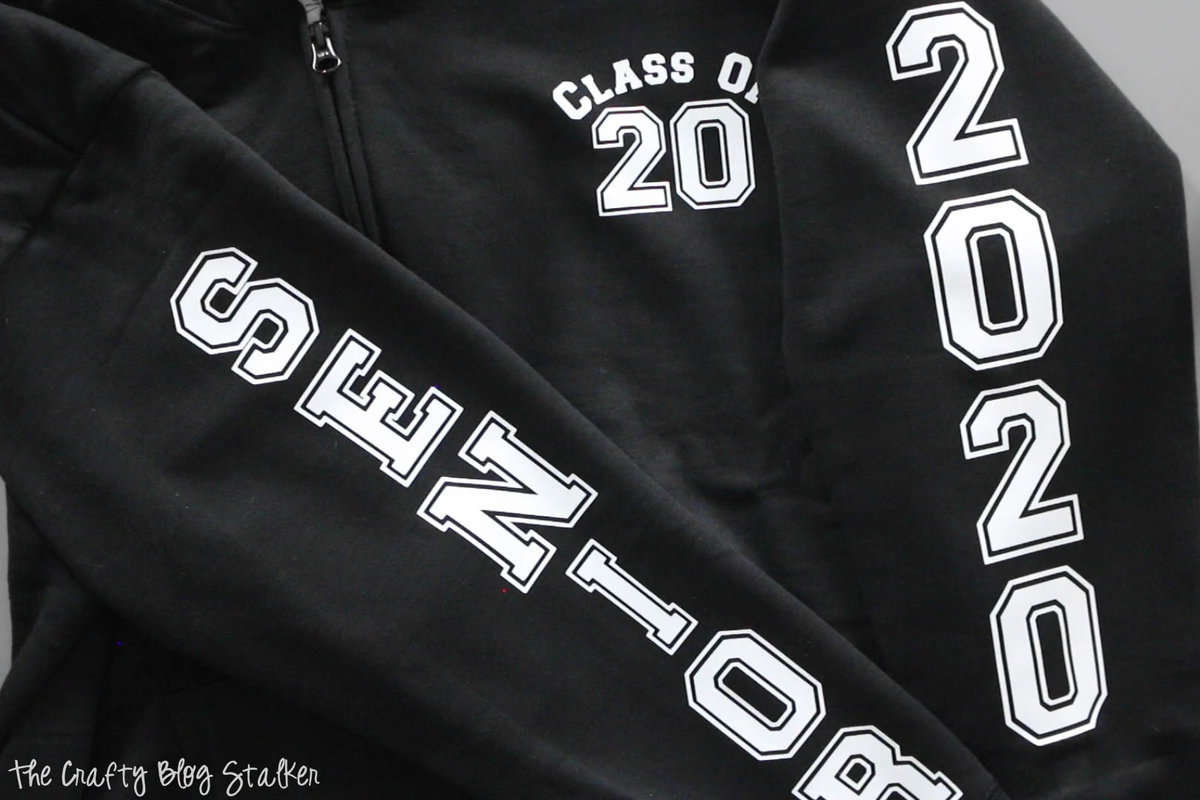
In fact, she is ALWAYS wearing it!

Our Crafting Essentials:
- The Cricut Cutting Machine is easily our favorite crafting tool. We use it in so many of our tutorials!
- These MakerX Crafting Tools are perfect for keeping in the craft room and are always ready when needed!
- This Fiskars Paper Trimmer is easy to use and cuts nicely without frayed edges.
- These Scotch Precision Scissors cut like a dream, and you get multiple pairs in a pack!


Leave a Reply