This post may contain affiliate links. For more information, please see our disclosure policy.
This is a sponsored post on behalf of Diamond Art Club. All opinions are my own because I love giving you helpful tutorials!
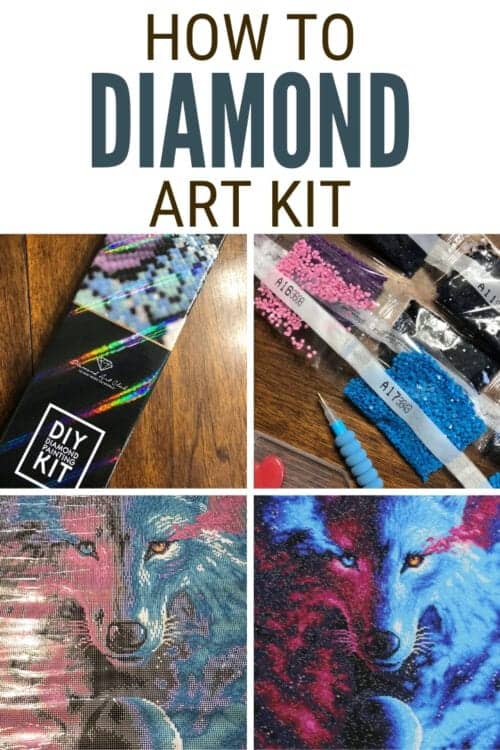
Create gorgeous pieces of art that shimmer and sparkle with Diamond Art from the Diamond Art Club.
Have you heard all of the buzz about diamond art kits? I had wondered what it was all about. Then the Diamond Art Club reached out to me and asked if I would be interested in trying one of their kits for free and leaving a review. Of course, I said yes, and now I am hooked!
What is Diamond Art
If you are not familiar, diamond art is like cross-stitching only with plastic diamonds that sparkle and shine.
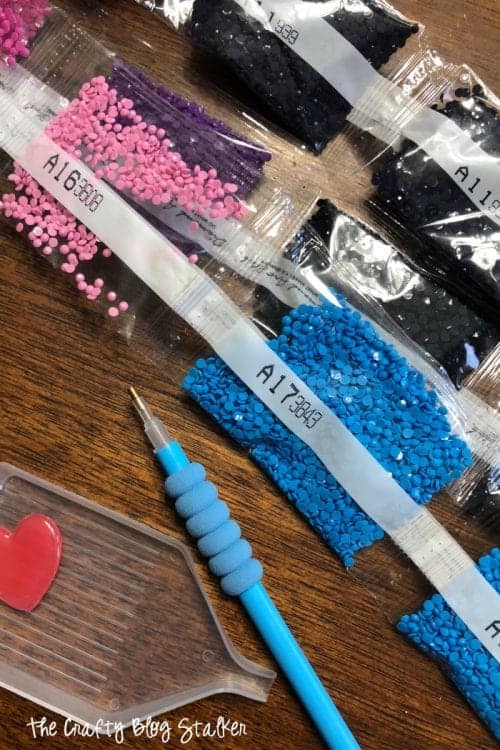
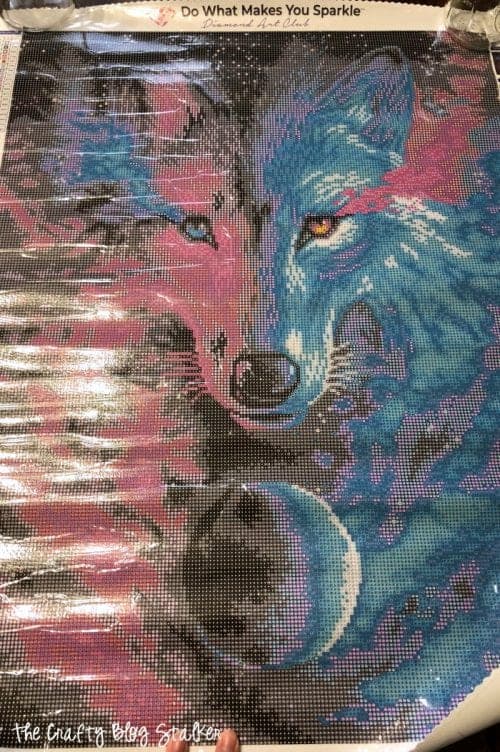
In a Diamond Art Kit, you receive a sticky canvas with the design grid printed onto it. You will also receive all of the little plastic diamonds in the needed colors, a placement tool, a tray, and a pad of wax.
On the side of the canvas is a cipher that tells you what symbol coordinates with what color.
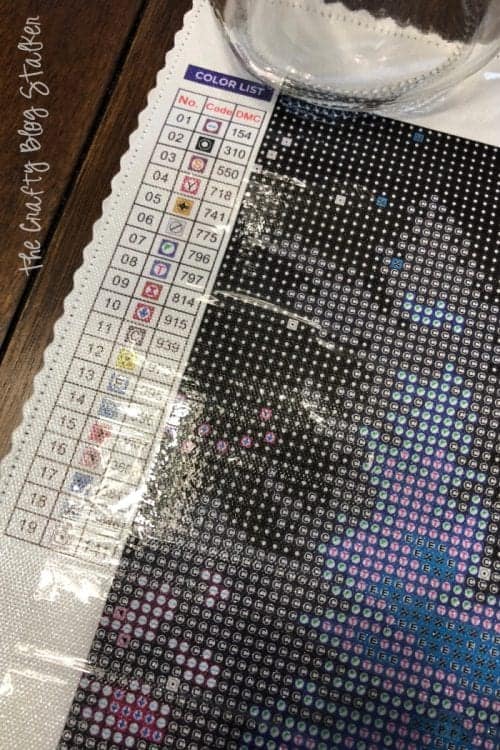
For example, for the white circle on a black square symbol, you use the color 310 (each colored bag is numbered). So everywhere you see the symbol on the canvas grid, you place a 310-colored plastic diamond.
When you are finished and the canvas grid is completely covered, you have a gorgeous piece of art!
Where to Buy Diamond Art
Diamond Art Club has so many amazing canvases to choose from, and there are lots of sizes too!
I did one of the largest ones but if that is too overwhelming you can start with a much smaller diamond art.
Visit Diamond Art Club to shop all of their beautiful Diamond Art Kits!
How to Diamond Art
The kit I received is called Where Light and Dark Meet and is 20.5″ X 27.6″. It was quickly shipped and I love how even the box is shimmery!
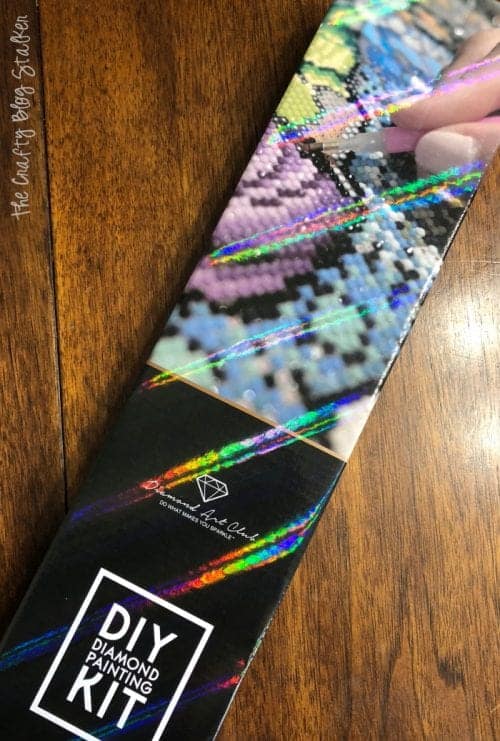
To begin, pull everything out of the box so you know what you have.
This part was a little overwhelming. When I saw how many diamonds were in the plastic pouches I thought what did I get myself into! But I was also very excited to get started.
Since the canvas comes rolled up, you may need to use some jars or something heavy on each corner to hold it down. It worked perfectly!
Here is my full canvas before I started. I tried not to think about how many diamonds it was going to lay in place to complete the artwork.
Before you begin, you may want to decide on your strategy. Do you want to go by color, by section, or by rows?
I decided to go by color but would always start in the left-hand corner and rotate around the canvas in a clockwise direction. This strategy worked really well for me!
To begin, select your color by the number printed on the pouch of diamonds and find the corresponding symbol.
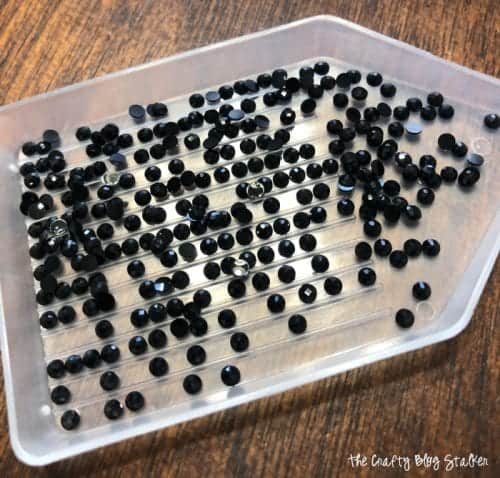
Pour some of the diamonds into the sorting tray and give it a little shake. The shake helps separate the diamonds and hopefully turns them on the right side to easily pick up with the tool.
The canvas comes pre-sticky with a clear cover sheet. Pull back the sheet to only the section you are working on. Be careful not to touch the sticky with your hand or arm while placing the diamonds.
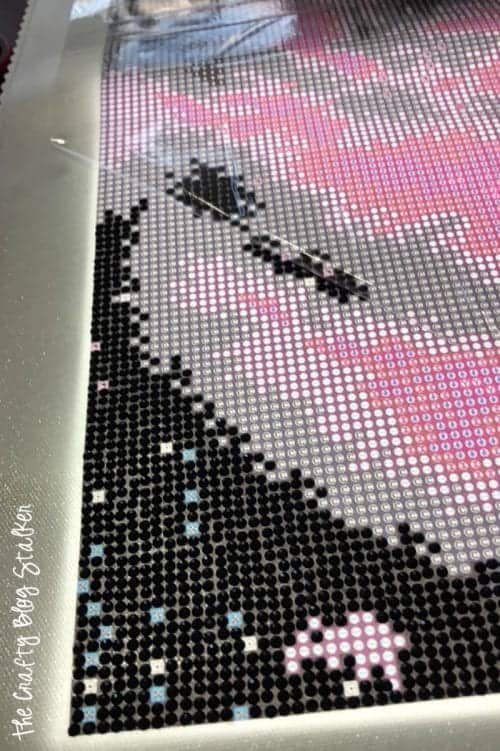
Make sure even when you are done with a number/color that you keep any remaining diamonds just in case you accidentally missed a few.
It was surprising to me how relaxing this little project was. I found myself wanting to put everything else aside so I could work on my diamond art.
Even my kids joined in on the fun and they each spent several hours working on it too. Now they want their own!
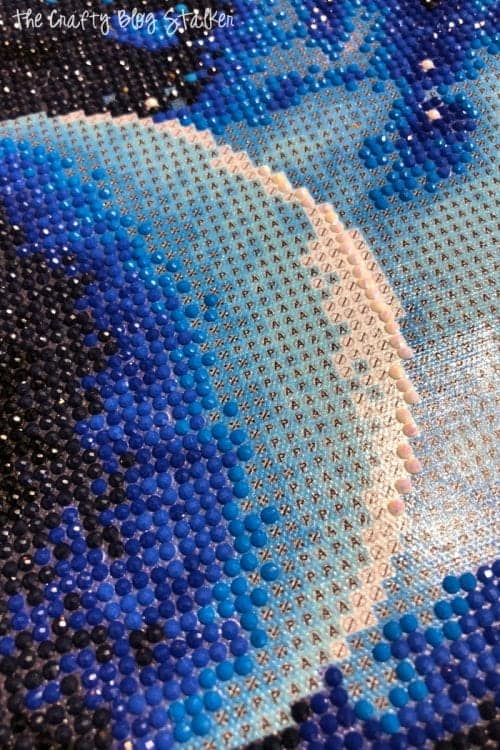
Overall, I think I spent about a month on this project, or about 8-10 hours a week. This was a big canvas, but I would totally do a big one again!
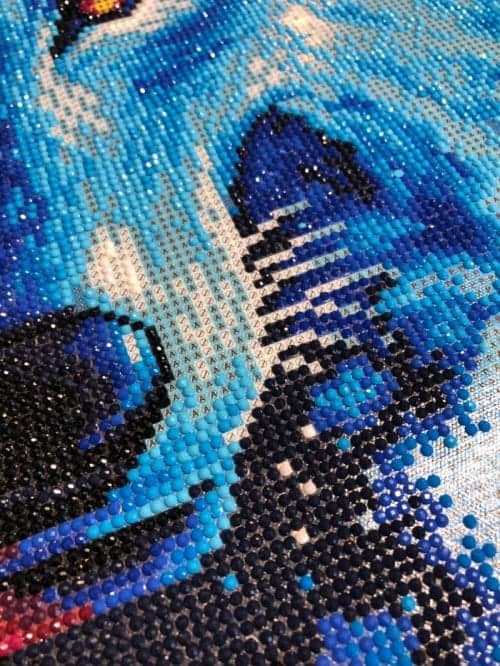
We were all so excited to see the finished project. In fact, my daughter asked me to make a video of putting the last diamonds into place so she would miss out.
Isn't the finished diamond art gorgeous?!
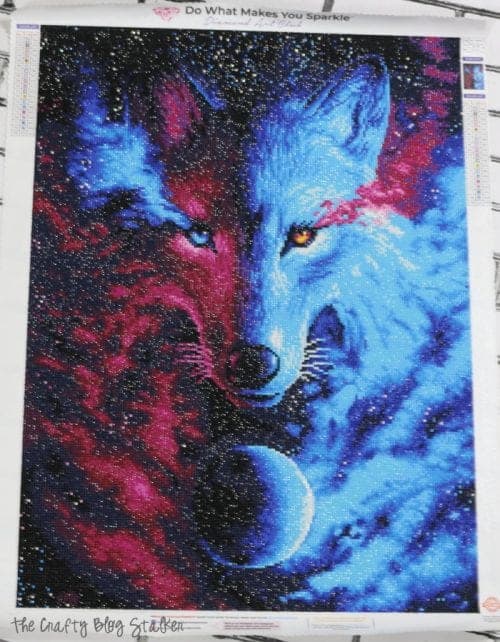
Visit this post to see How to Frame Diamond Art.
What kind of Diamond Art Kit would you like to make? Share and leave a comment below.
Our Crafting Essentials:
- The Cricut Cutting Machine is easily our favorite crafting tool. We use it in so many of our tutorials!
- These MakerX Crafting Tools are perfect for keeping in the craft room and are always ready when needed!
- This Fiskars Paper Trimmer is easy to use and cuts nicely without frayed edges.
- These Scotch Precision Scissors cut like a dream, and you get multiple pairs in a pack!


Deann
I purchased my first one - from another source! It is of eagles! Love love love it! Not even half way through! I taped mine on a box lid from a storage box! To keep it firm! My tecnique was doing one half at a time! So a lot of open packets at one time!! Probably won't do it that way in the next one I have not taken a picture yet!
Katie
It is so fun to watch them come together.
Great tip with taping to a lid to keep it firm!
Crystal M Simon
Hi,
I just finished my 4th one in a month. I have 2 more on the way in the mail. I am definitely going to use your framing method, I love that. I also tapped mine, but I used one of those dinner trays that tilt, it was perfect as the last one was the largest I had done. I really want to have a name piece made like I did with counted Cross-stitch, where each letter is a different monster for example from monster themed alphabet. I have seen people do custom diamond art using pictures and I guess I could do that since I have the pictures per letter but since I want each letter large (8' x 8') and separated for diagonal hanging purposes I think it would be quite expensive. Any ideas?
Thanks,
Crystal
Katie
This is such a fun idea, Crystal! If you have the cross stitch pattern already you could convert that into diamond painting since they are both on grids. But if you want them to be larger I am not quite sure how you would do that conversion.
Several Diamond Art companies do personalized images, but that might be a bit pricey if you are doing several letters.
I am sorry I am not a ton of help, but I do love this idea!
Robin Bernecker
This diamond art is very beautiful. I love doing the diamond art but I have been having a problem with the last 2 that I have done. Once the project is done, the diamonds fall off of the canvas. What can I use to make them stay on or to seal them on so I don't have to worry about it anymore? Thank you so much for your time. It is greatly appreciated.
Katie
I hate to say it, but it could be the brand of diamond art that you are using. There are definitely different qualities out there. I only had a couple fall off while I was framing my art from Diamond Art Club but was able to stick them back on and they haven't fallen off since.
I did find this video about sealing diamond art.https://www.youtube.com/watch?v=YIJeELvM8E8 It looks like there are sealers that can be used like mod podge or a spray, but they take the sparkle away from the diamonds.
Maybe try some different brands of diamond art to find one that works best for you and your climate. Like I said earlier, my favorite is Diamond Art Club. https://www.diamondartclub.com/tcbs
stacy Werner
I purchased a Kit I would love to put it on the back of a Jean jacket for a child (Unicorn) Does anyone know if I can do that?
Katie
Most kits are not iron-on, only canvas art. But I love this idea! Definitely worth a bit more research!