

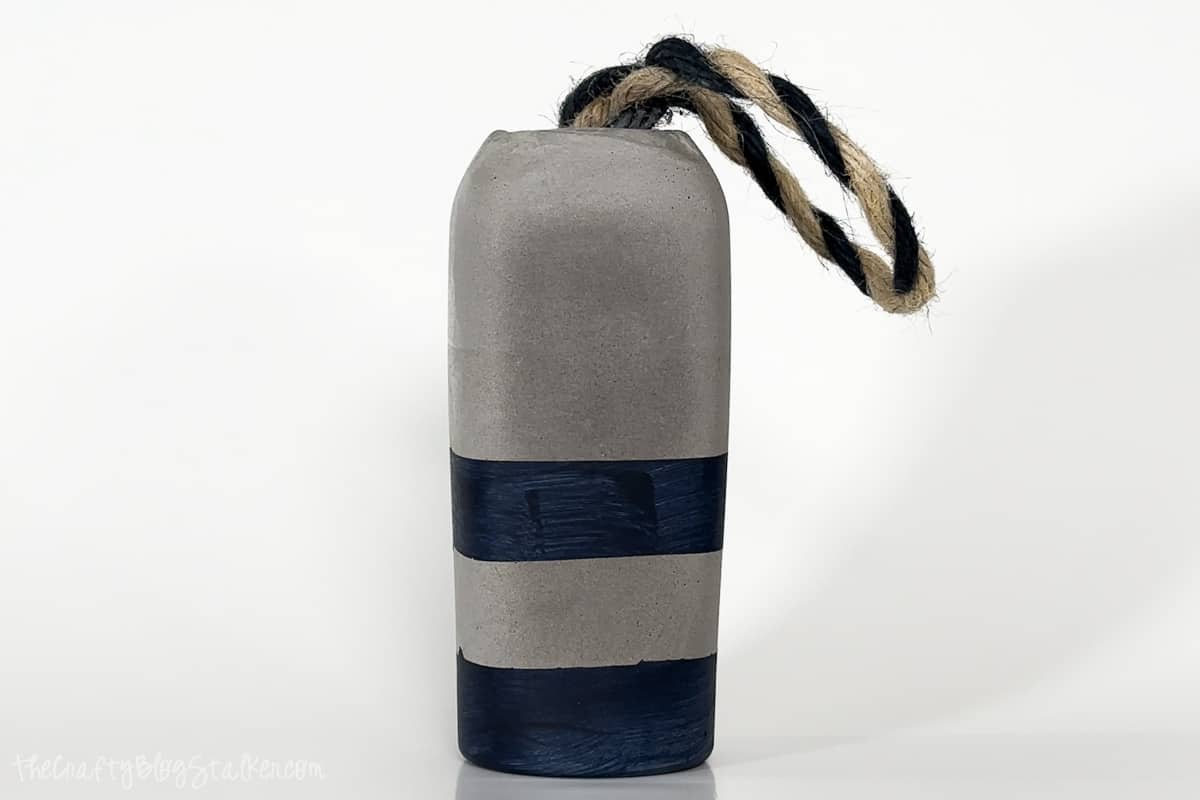
Create a concrete buoy DIY door stopper using cement and a plastic bottle. Make charming nautical decor that doubles as functional door stops.
Looking to add a touch of nautical charm to your home decor?
Learn how to easily create a concrete buoy with just cement and an empty plastic bottle.
This step-by-step guide will walk you through the process of making these adorable and functional doorstops that also double as charming nautical decorations.
With their simplicity and versatility, these cement buoys are the perfect addition to any coastal-themed space.
Get ready to showcase your creativity and enhance your home's style with this delightful DIY doorstop!
Supply List:
- Bolthouse Farms Smoothie
- Water Bottle
- Cement
- Decorative Jute Rope
- Zip Tie
- Popsicle Stick
- Disposable Plastic Mixing Bowl
- Scissors
- Craft Knife
- Sanding Block
- Acrylic Paint (optional)
- Masking Tape (optional)
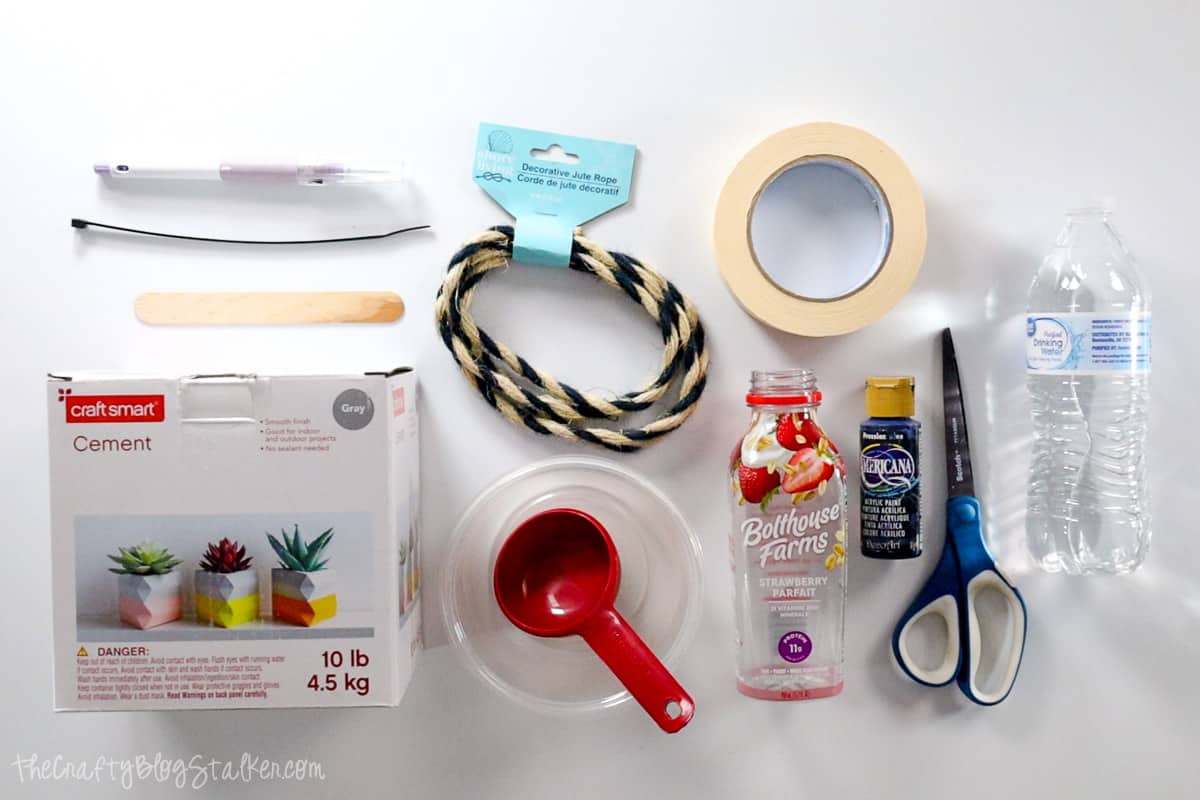
I purchased my cement mix and Michaels, although it looks like this brand is no longer available. Any cement mixture should work. Just make sure to follow the package instructions for mixing ratios.
Craft Tutorial Video
If videos are your thing, you're in luck-I've got a full tutorial ready for you!
Subscribe to my YouTube channel and stay inspired with every new project.
Preparing the Mold:
My mold is a Bolthouse Farms Smoothie drink bottle. The shape of this bottle is perfect for a buoy, but you can use any disposable plastic bottle.
First, drink the smoothie, It's delicious!
Then rinse out the bottle and cut off the top rim using a craft knife.
Cut the second empty water bottle about 3 inches down from the top. This will give you a funnel.
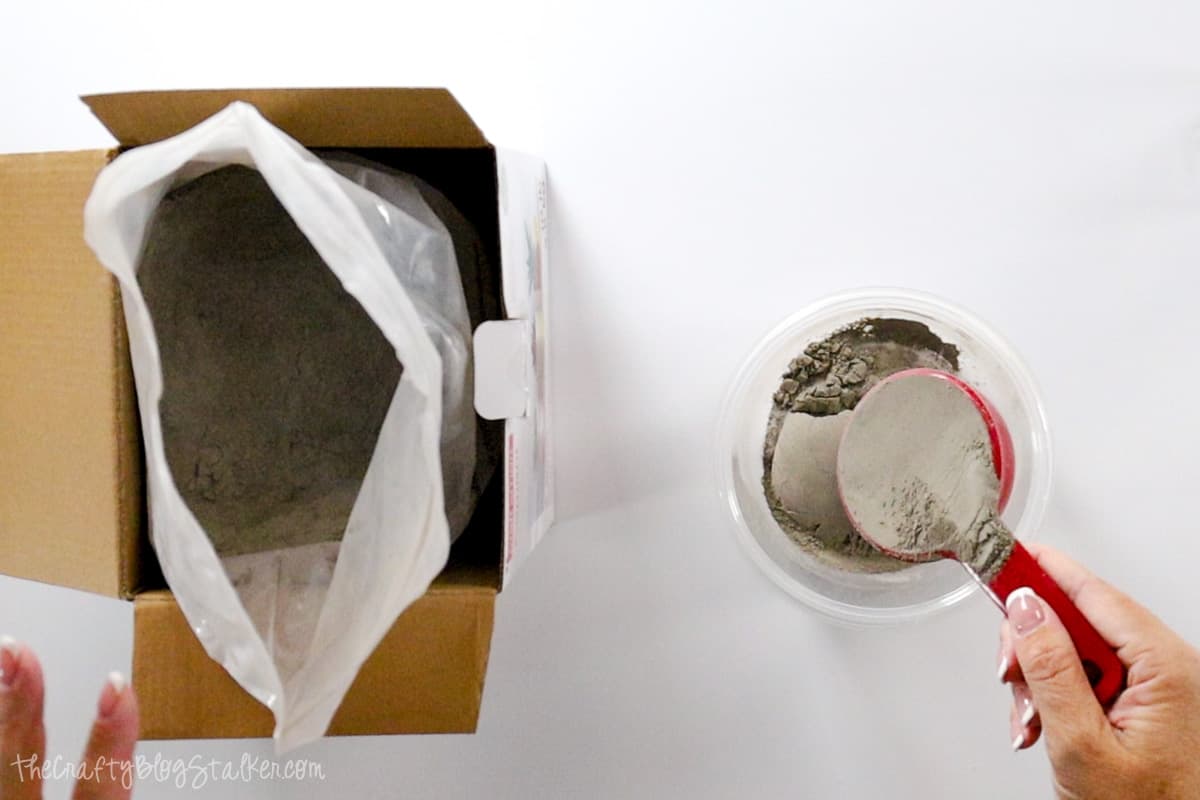
Mixing the Cement:
Make sure to follow the instructions on the package of the cement you are using.
I am using CraftSmart Cement and it is 3 parts cement powder to 1 part water.
With a ⅓ measuring cup, I combined 1 cup of cement with ⅓ cup of water.
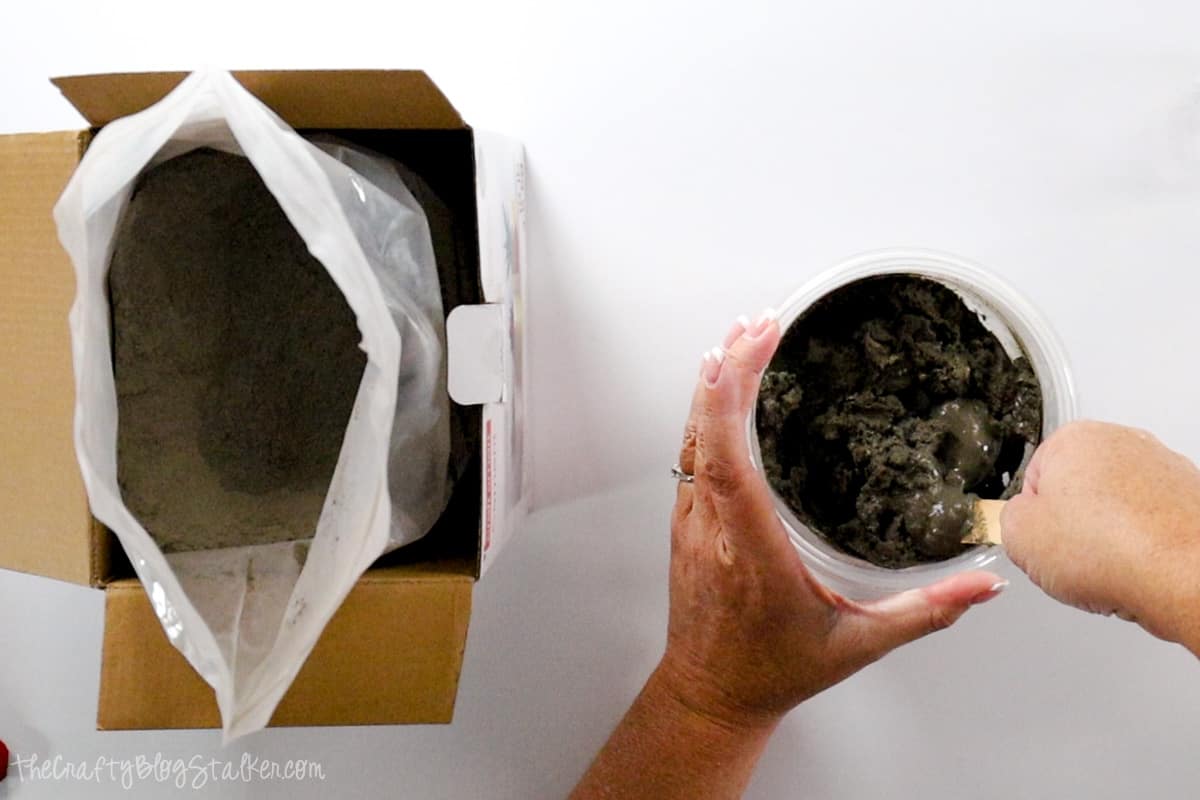
Stir thoroughly with a popsicle stick, making sure to scrape the bottom of the bowl until all of the powder is mixed with the water.
When completely mixed together you want a nice smooth cement. I ended up adding about 1 tablespoon more water to achieve that.
If you do add more water, add it slowly. You don't want your mixture too liquidy.
I know I am going to need about 2 cups of cement mixture, but my bowl isn't big enough to make it all at once. So I will need to make two batches and that is totally fine.
Pour the Cement into the Mold:
Place your homemade funnel into the opening of the buoy mold.
Scoop the mixture out of the bowl with the popsicle stick into the funnel, then bounce the bottle, hitting it on the table or countertop to get the cement to move through the funnel into the mold.
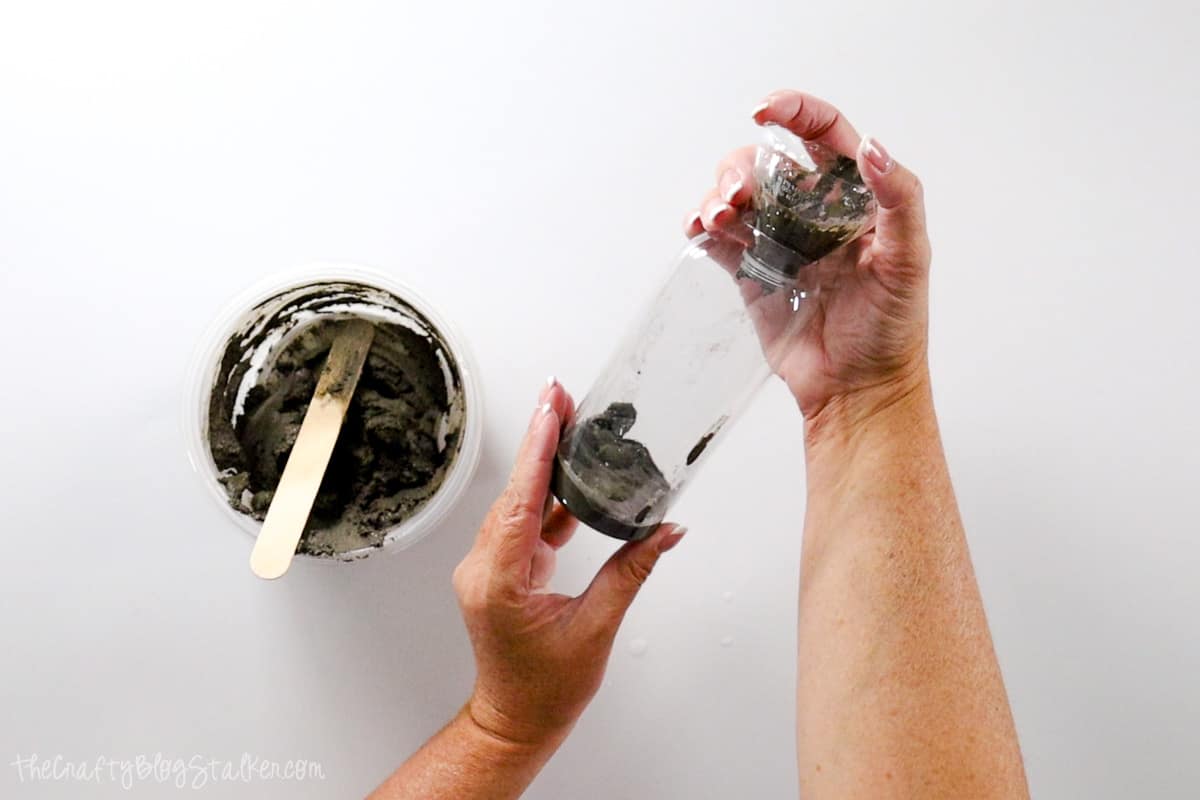
My first batch only filled my mold about halfway. Once that was gone, I mixed another batch and continued filling my mold.
Continue until you have all of the cement in the mold, or until the mold is full.
Bounce the mold a couple more times on the counter to level out the cement in the mold.
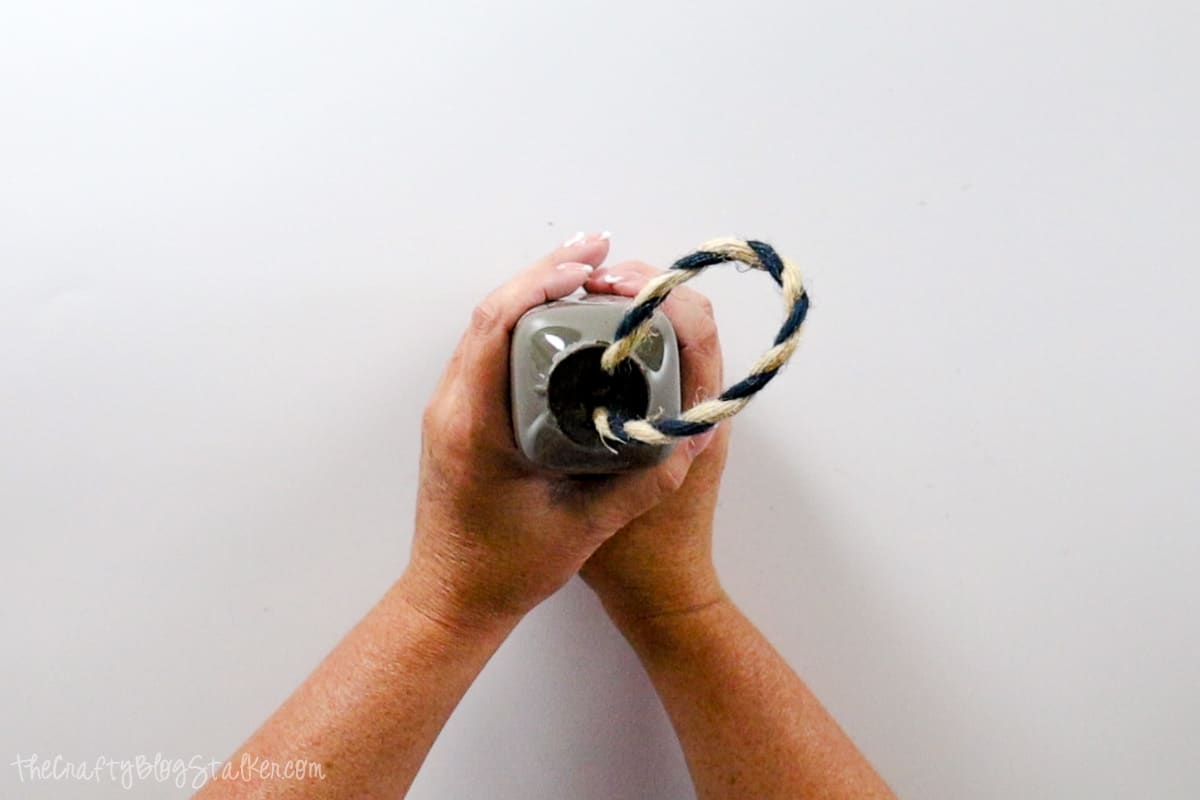
Adding the Rope Handle:
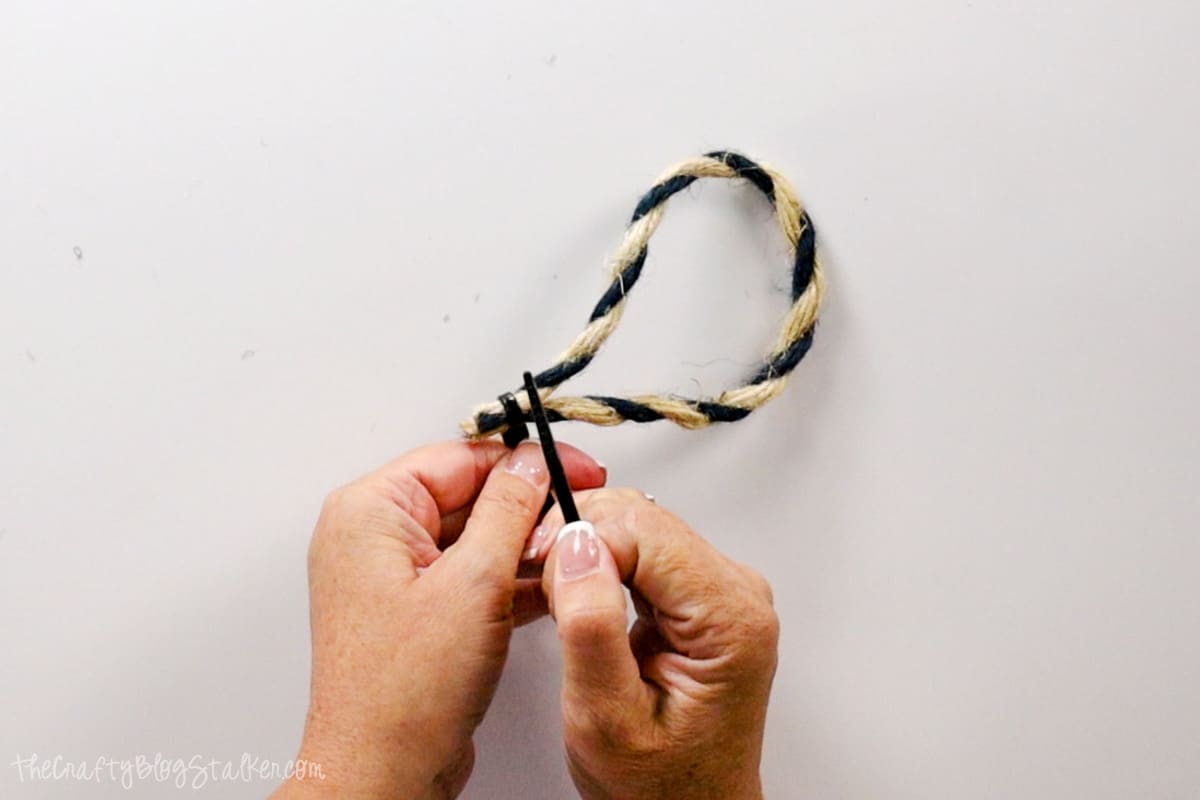
Cut a length of rope 12 inches long.
Create a loop with a zip tie.
Bring the ends of the rope together and place them through the loop of the zip tie.
Tighten the zip tie as tightly as you can around the rope ends, and then trim off the end of the zip tie.
You are going to use that zip tie end to help push the rope into the cement.
Push the zip tie end between the two lengths of rope and push it into the buoy mold.
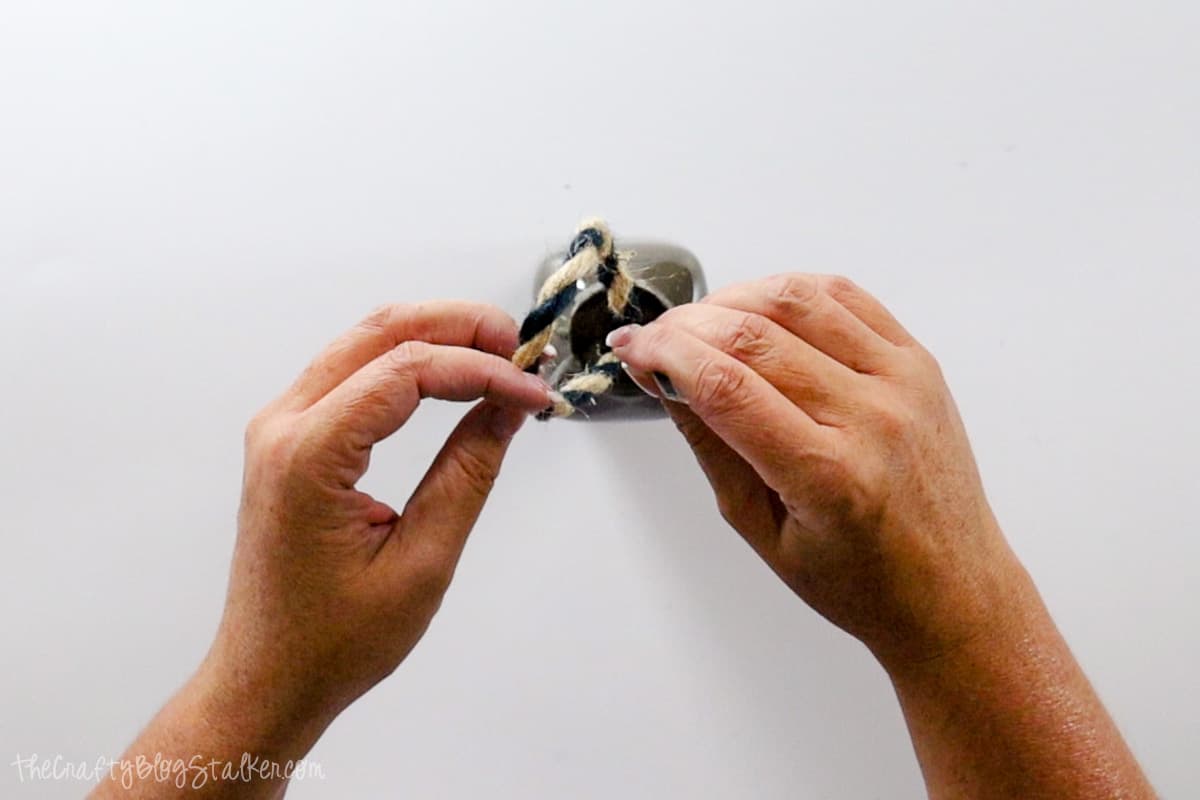
You'll want the zip-tied section about an inch into the cement.
Tap the bottle on the counter a couple more times to level the cement, and let it dry.
I let mine dry for 4 days. If you are using a clear plastic container you'll be able to see the color of the cement lighten as it dries, although it won't dry completely until it has been removed from the mold.
Unmolding the Buoy:
I checked for dryness by touching the exposed cement through the top of the mold. It felt pretty dry so after 4 days it was time to unmold.
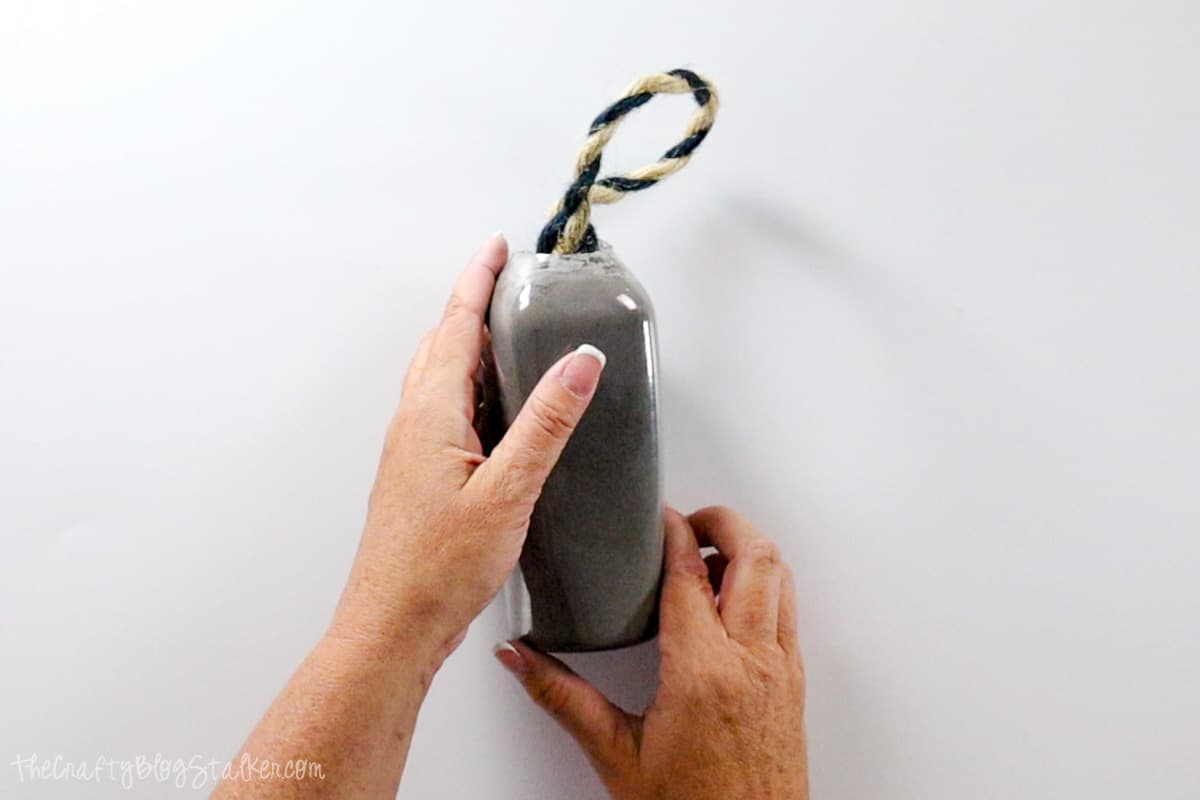
Using a craft knife carefully cut into the plastic bottle, not the cement.
If you can, tear the plastic away from the cement buoy. I was able to do this in sections.
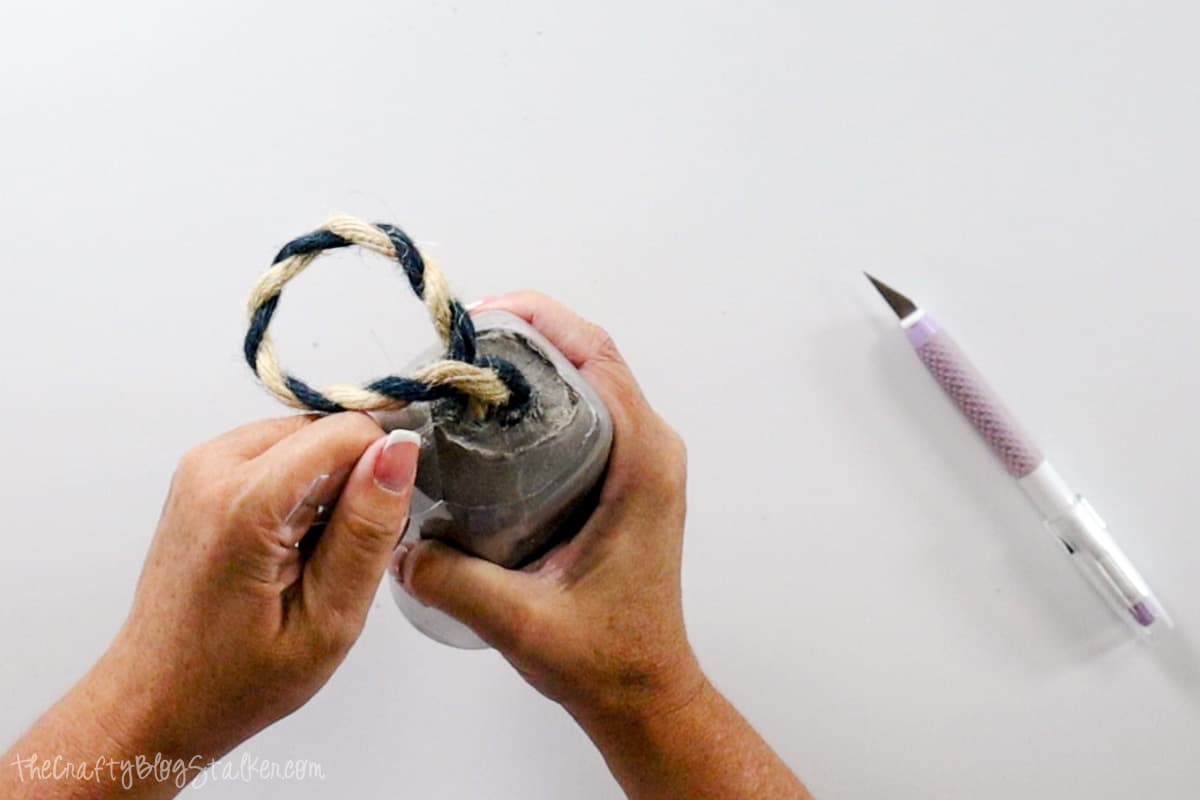
When I got to another section I could no longer tear, I cut another inch-long slit.
Repeat until you are able to completely remove the cement buoy from the plastic bottle mold.
Doesn't it look awesome?
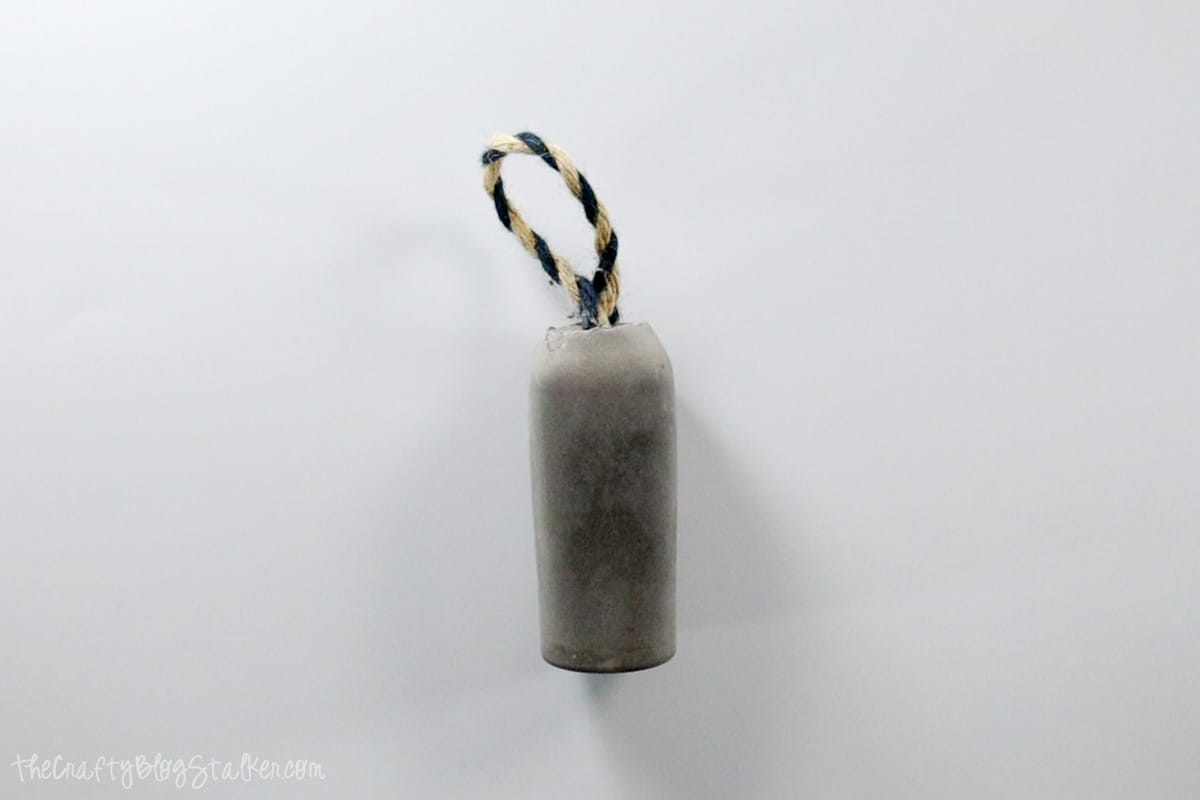
Sanding the Buoy: (Optional)
The top of my buoy was a little jagged. To smooth it out, I went around those top edges with a sanding block.
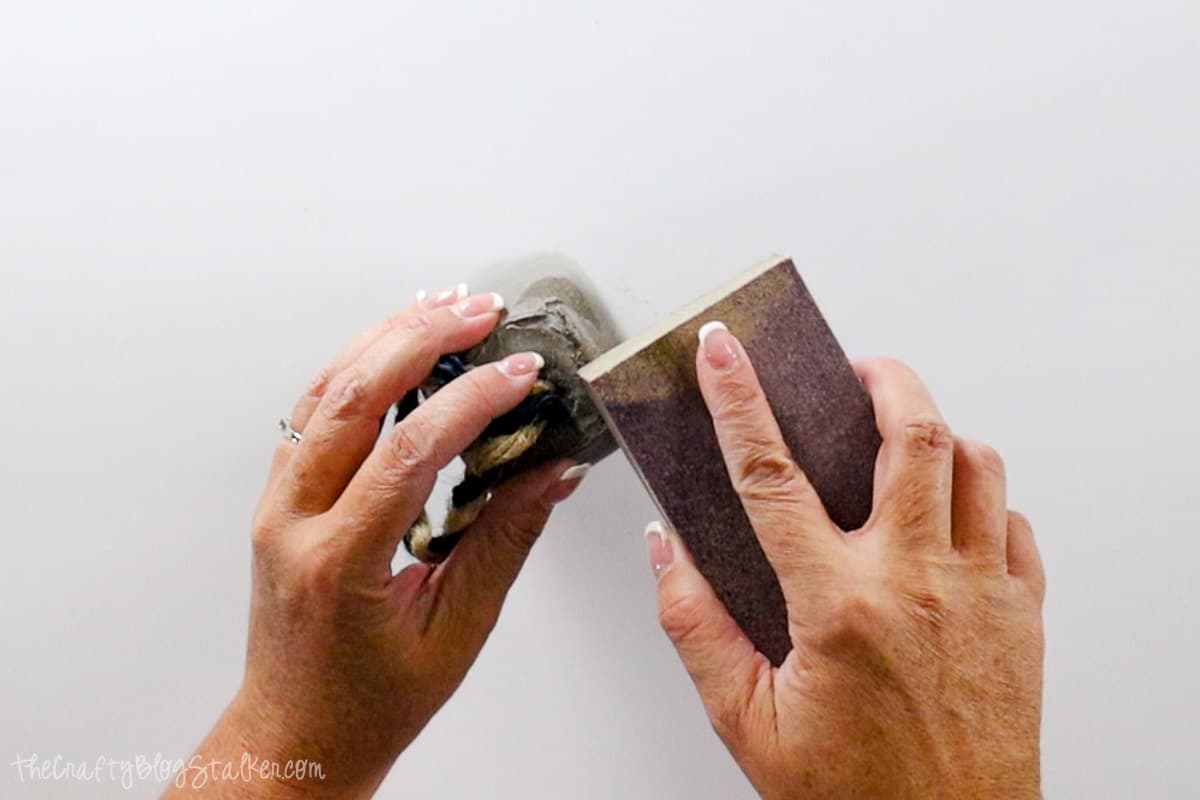
The cement smoothed really nicely with this technique.
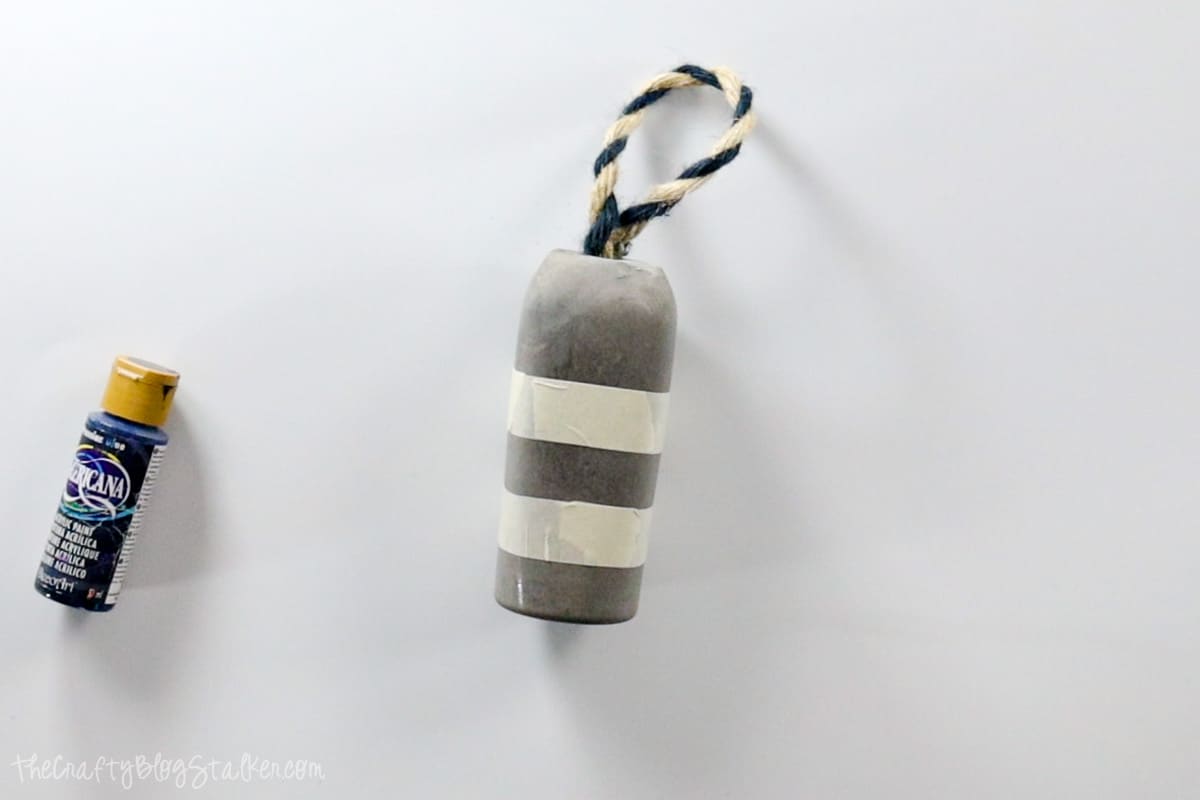
Painting the Buoy: Optional
To give my buoy more of a nautical look, I decided to paint on some stripes.
I masked off some areas using painter's tape.
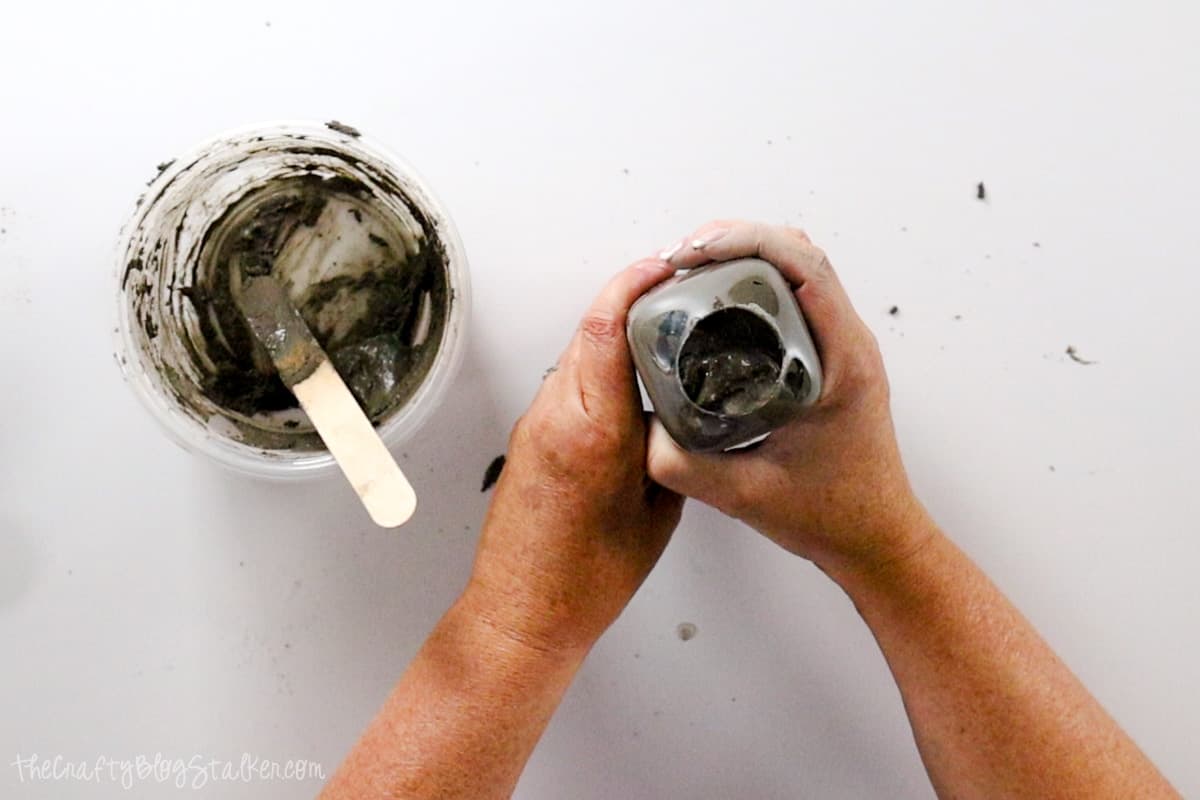
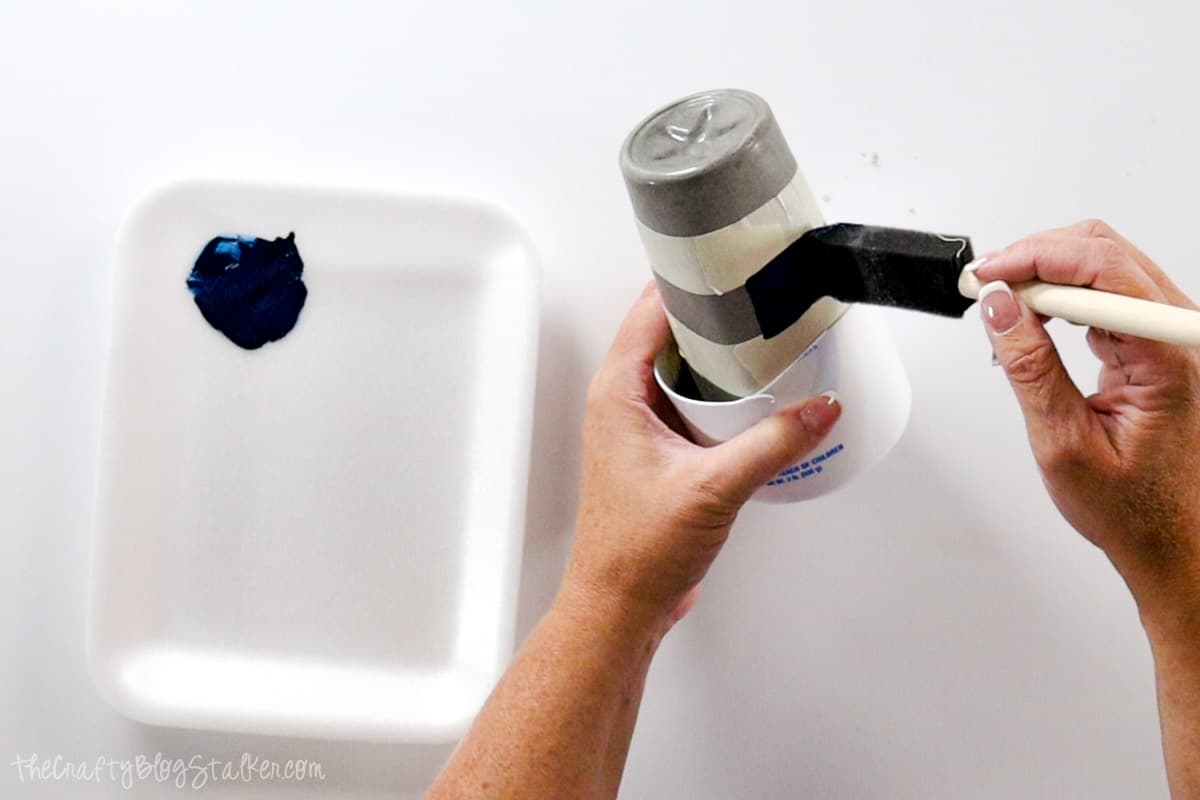
I wanted to paint the base of my buoy, but it wouldn't stand upside down. So I found a little container in my trash that would hold it steady.
I used a cut-down round container, but I imagine a yogurt container would work great too.
Then painted the strip and base with navy acrylic paint.
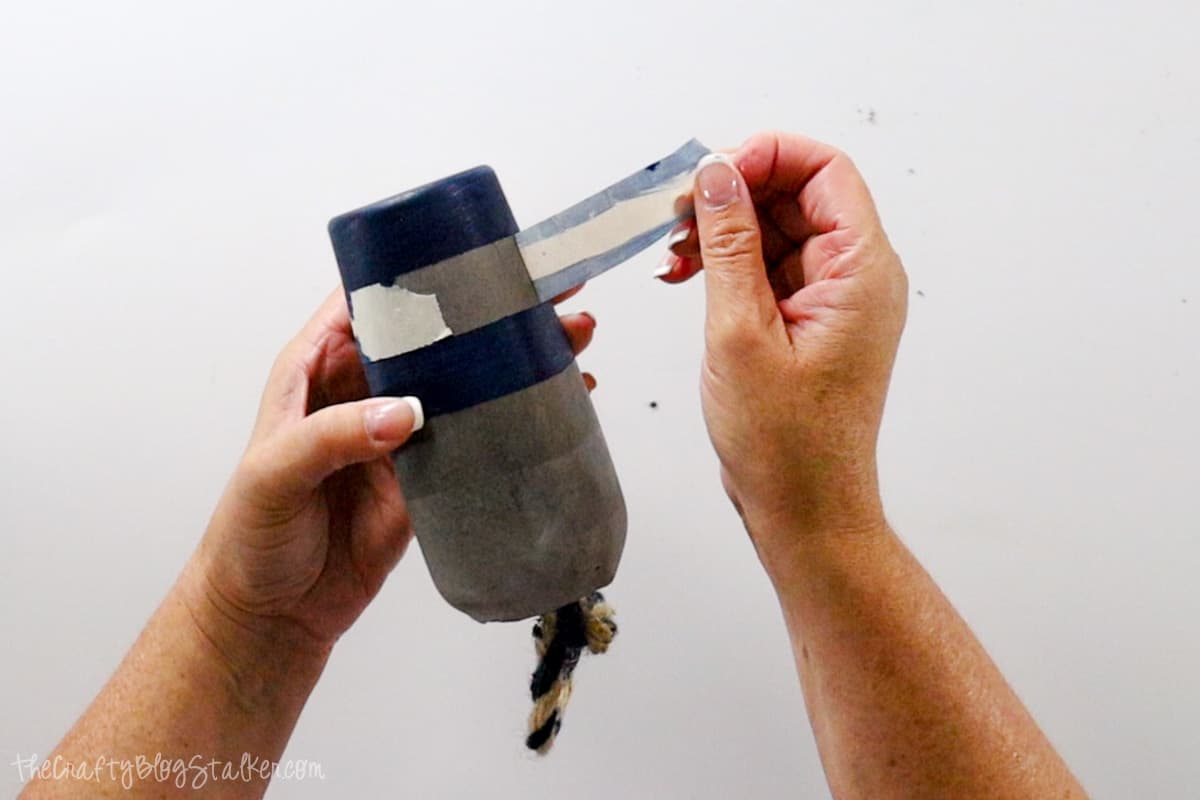
The paint soaked into the cement and dried really quickly.
I only applied one coat of paint, but feel free to add more to get your desired look.
Once dry, I removed the painter's tape.
And I love my finished cement buoy! I think it looks so great!
By following these simple steps, you can easily create your own concrete buoy DIY door stopper.
With its functional purpose and charming nautical appeal, this DIY project is a fantastic way to add a touch of coastal decor to your home.
Whether you use it to keep your doors in place or as a decorative accent, your homemade concrete buoy door stopper is sure to impress.
Happy crafting!
Crafting Essentials
- The Cricut Cutting Machine is easily my favorite crafting tool. We use it in so many of our tutorials!
- These MakerX Crafting Tools are perfect for keeping in the craft room and are always ready when needed!
- This Fiskars Paper Trimmer is easy to use and cuts nicely without frayed edges.
- These Scotch Precision Scissors cut like a dream, and you get multiple pairs in a pack!
Chelle Schade
Nice idea,
Thank you for sharing this, but I have one question: Wouldn't the size of the bottle need to be a little bigger, so as not to tip over? It seems like it would have to be heavier to be an effective doorstop. I'm planning on modifying this by taking a 1–2-gal Carboy or using a "Growler" sized bottle from a local micro-brewery as a mold.
First by wrapping of a plastic shopping bag or any other thin flexible type of rubbish around the bottle and covering it with duct-tape so I can slide it off or alternatively tightly wrap it and cut the duct-tape off it and retape it together after it's off the bottle using a paper or plastic plate to stabilize the bottom.
Then fill the mold with cement... being sure to tap or tamp it so there's no air bubbles that would show on the outside of cement buoy when done.
Then I'd follow the rest of your tutorial I'd be able to create a heavier doorstop, perhaps even make multiples to use as weights to keep my shade tarps or patio umbrella from sailing away.
I really appreciate your inspiration to do this with your cute idea.
Katie Adams
The size works fine for the doors I have in my home, but if you have bigger heavier doors then yes you would need to use larger bottles.
The problem I see with pre lining with a plastic bag is the cement will then show the wrinkles and texture from the bag. But if you try it, please share your results. I'd love to know how it turned out! ❤️