

Craft a charming "You Are My Sunshine" DIY wood sign with the xTool M1 Ultra. Easy print and cut project that's perfect for decor or gifting!
Looking to add a touch of charm to your home decor?
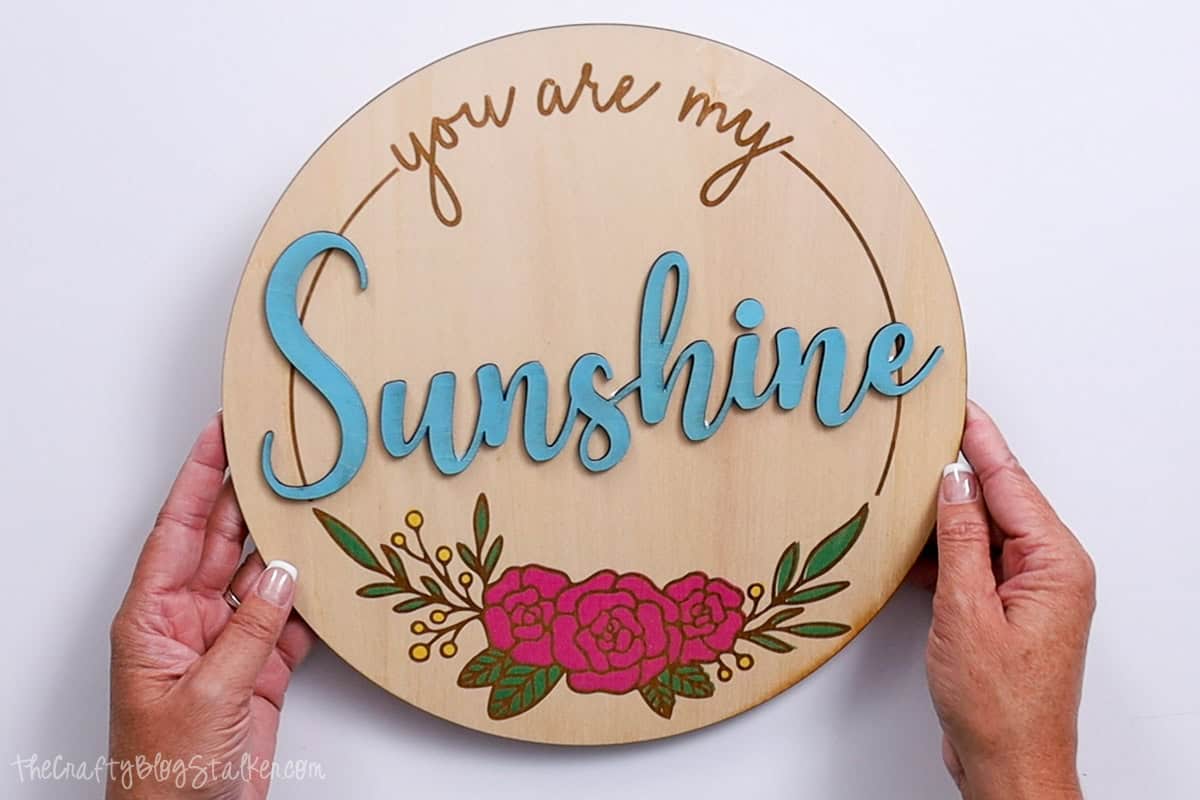
This tutorial will show you how to create beautiful 'You Are My Sunshine' DIY signs using the xTool M1 Ultra.
With its print-and-cut capabilities, this crafting machine makes it easy to design and assemble your sign.
Follow along and bring a little sunshine into your space with this homemade wooden sign.
Jump to:
Craft Tutorial Video
If videos are your thing, you're in luck-I've got a full tutorial ready for you!
Subscribe to my YouTube channel and stay inspired with every new project.
Supply List:

This project can be created on any laser-cutting machine. For the print and cut, the xTool M1 Ultra is needed.
Grab the Free Laser File:
Download the free SVG laser file to your computer or device.

xTool Creative Space:
To begin, I need to upload the file into xTool Creative Space.
In xTool Creative Space select Add Project and then Files.
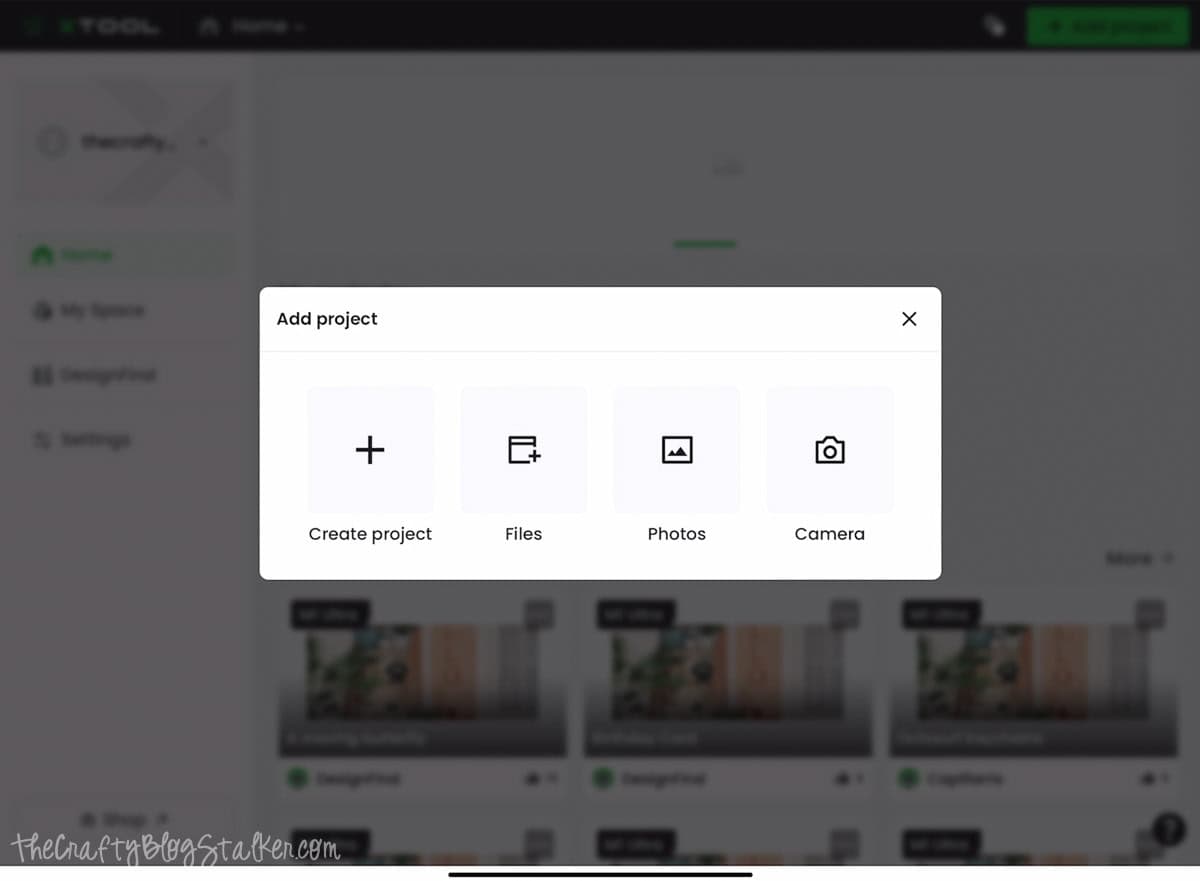
This will open my Downloads File where I can select the Files.
This project requires 2 files, the SVG and PNG, and each needs to be uploaded separately.
Group the circle cuts together so they do not become misaligned.
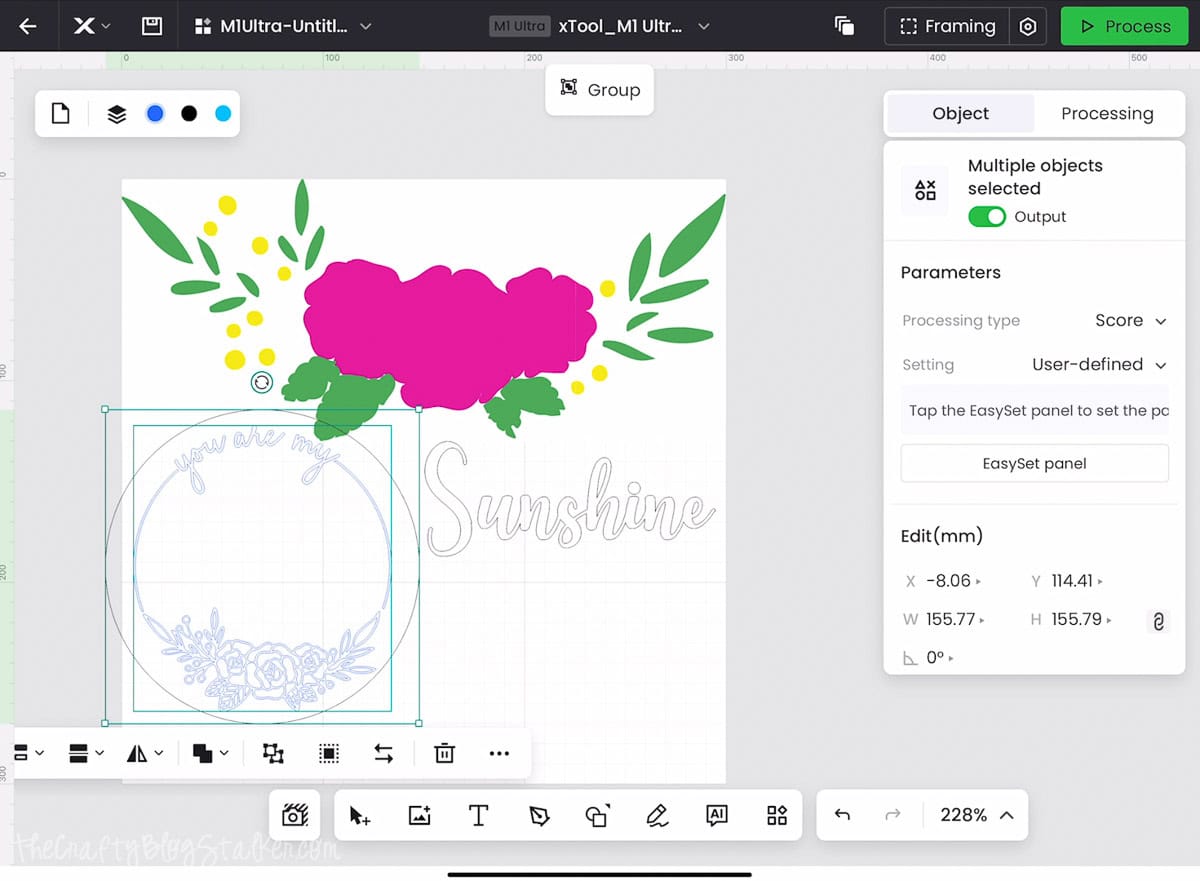
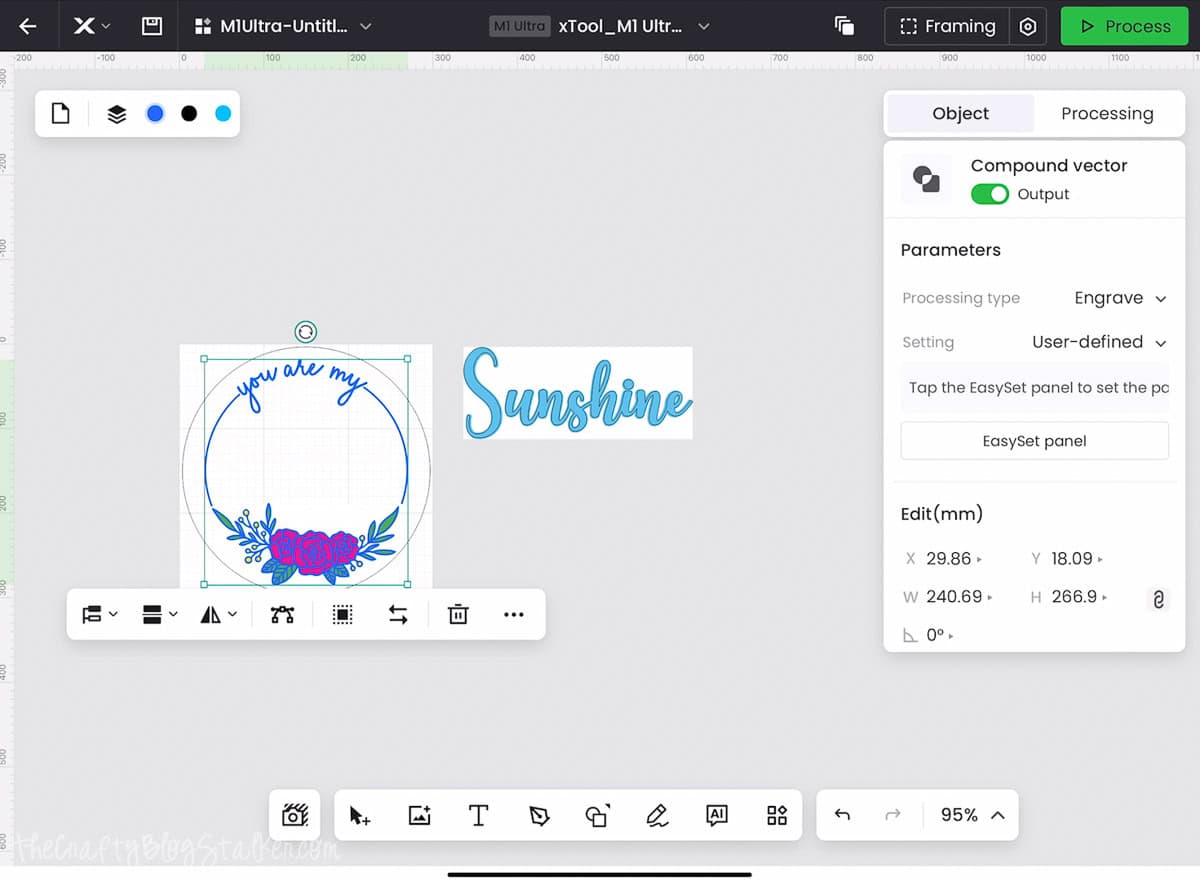
Resize the PNG image to fit within the cut lines of the design.
Move the image to the back layer and group together.
Repeat with the Word Sunshine.
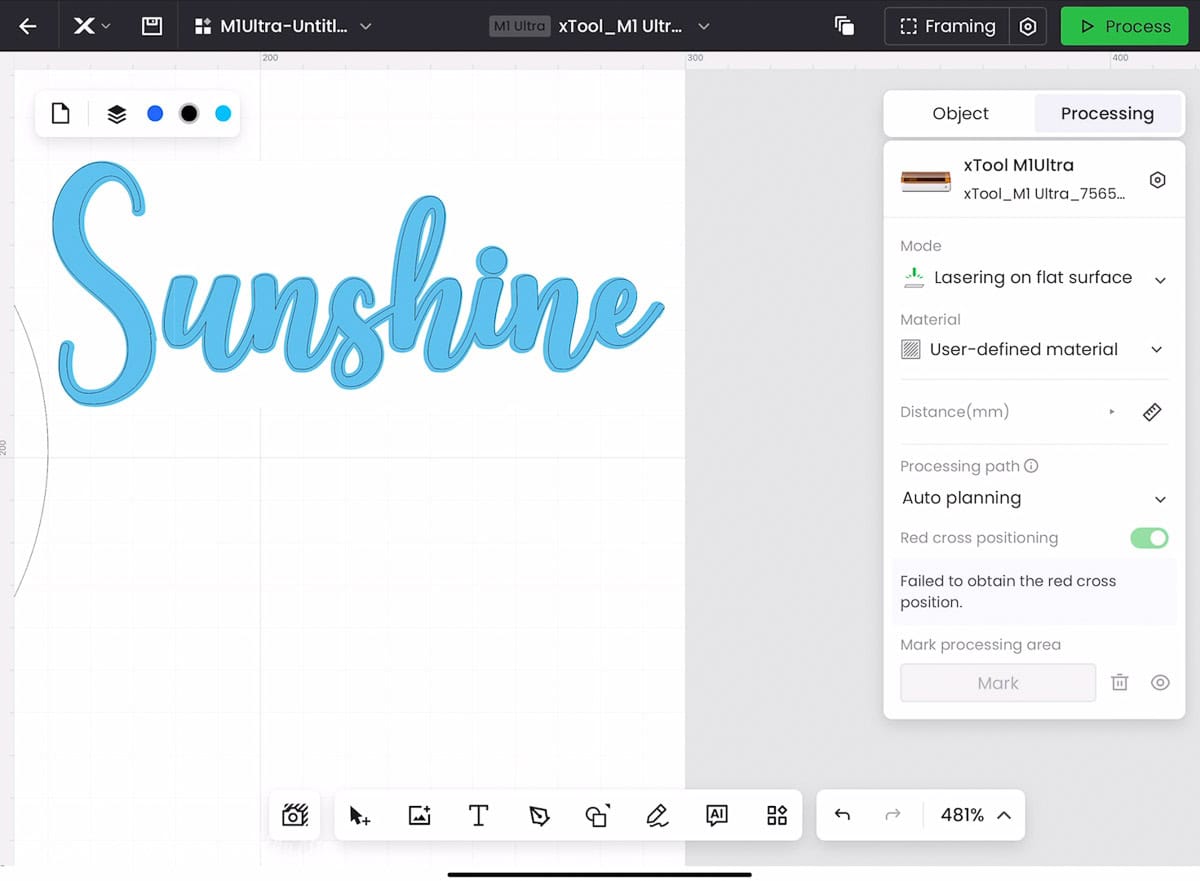
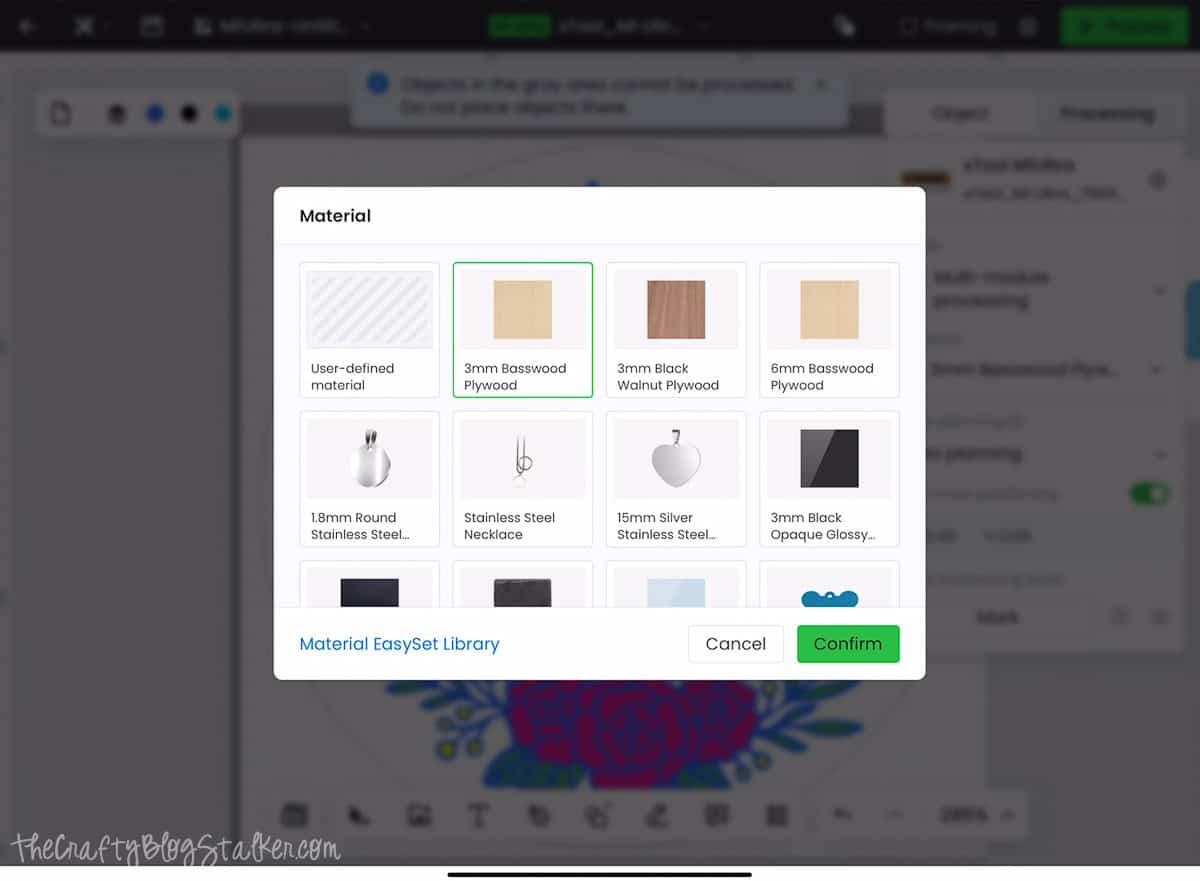
I Click on User-define material and select 3mm Basswood because that is what I'm using. This will set the power settings for the laser.
Next, I need to assign the lines to functions so my machine needs to be turned on and connected to xTool Creative Space.
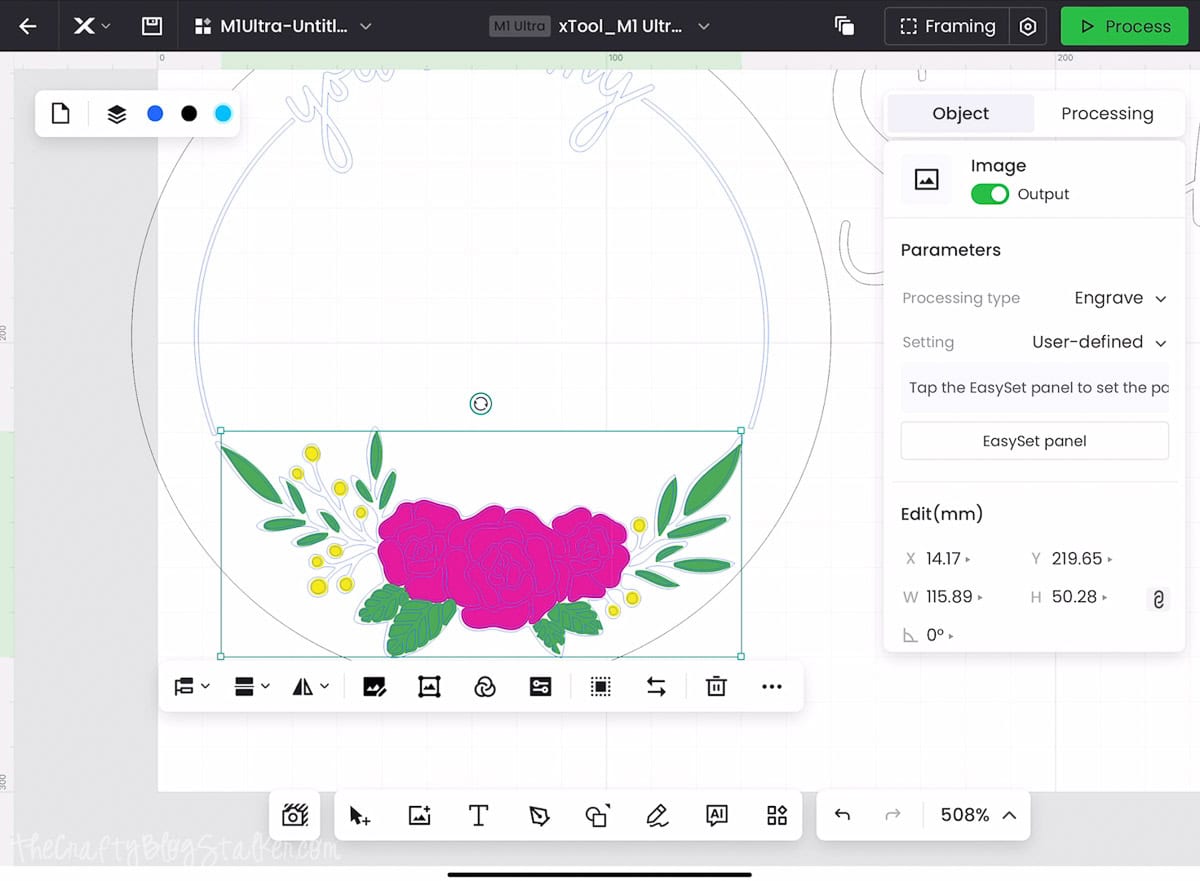
I start with the circle portion of the sign and ungroup all the layers.
Click on one part of the design at a time. Under Mode select Multi-module Processing.
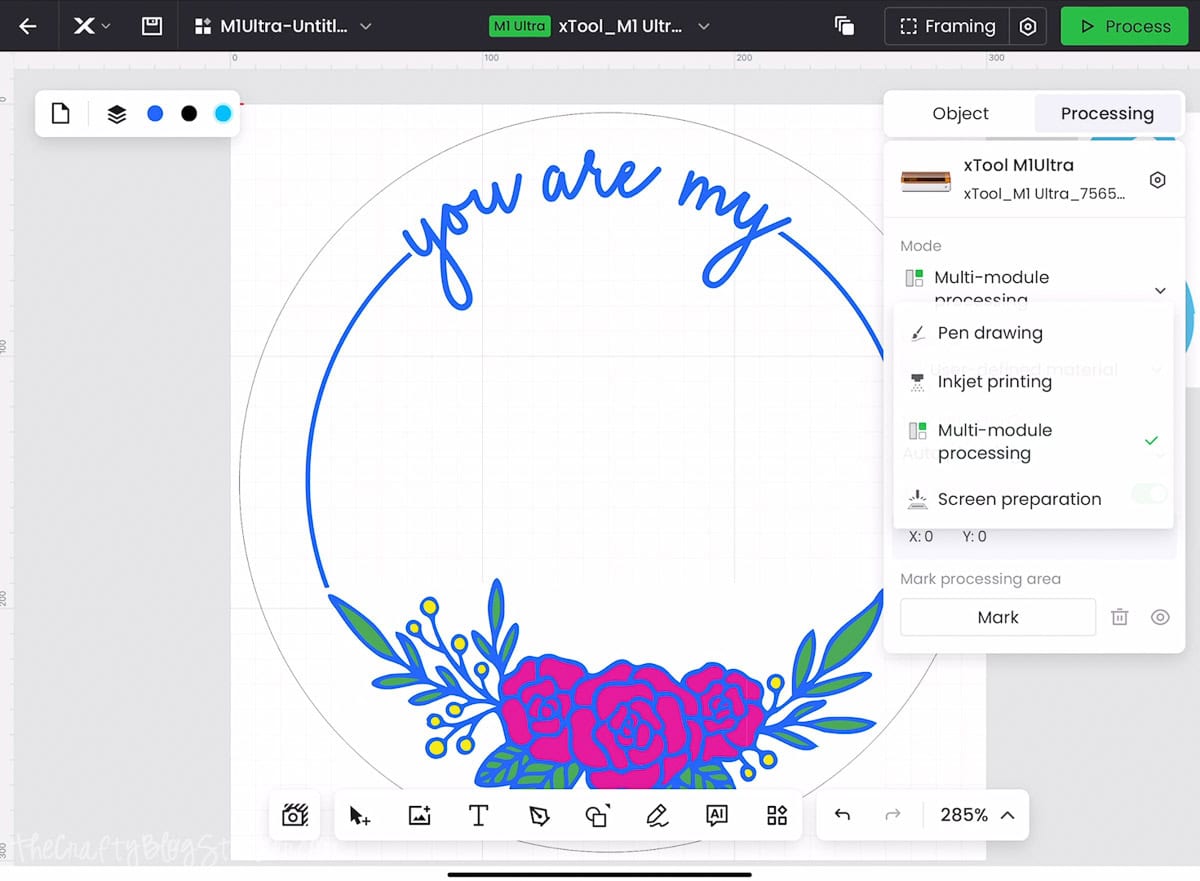
Then click on the individual parts of the design. For the You Are My, I want this section engraved, the outside circle cut, and the image printed.
Once all processing types have been identified, regroup all of the layers.
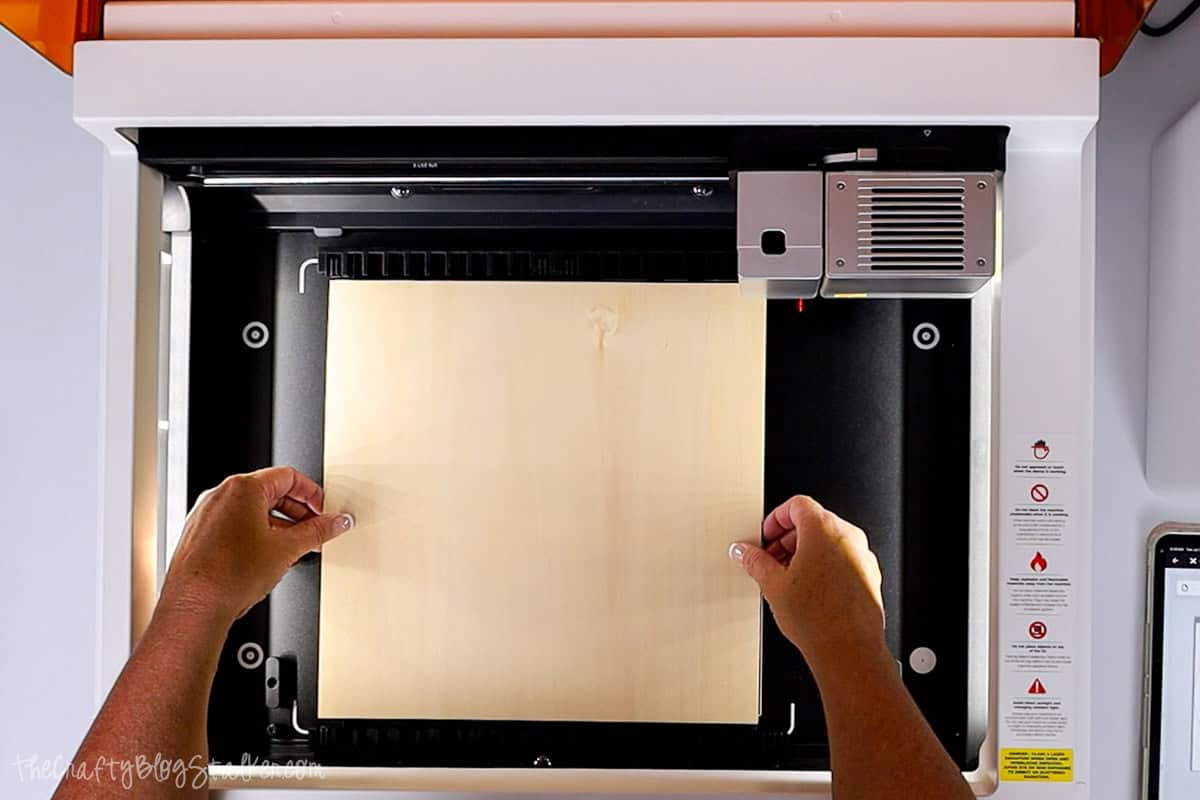
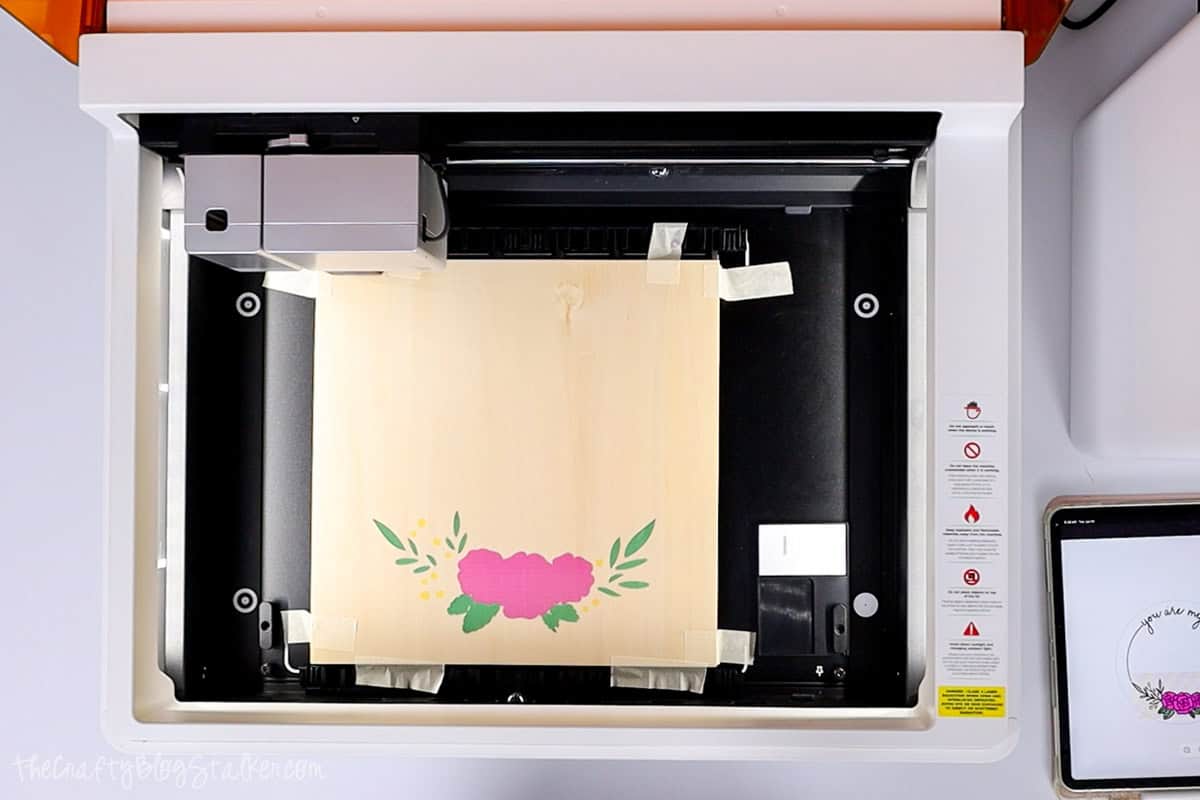
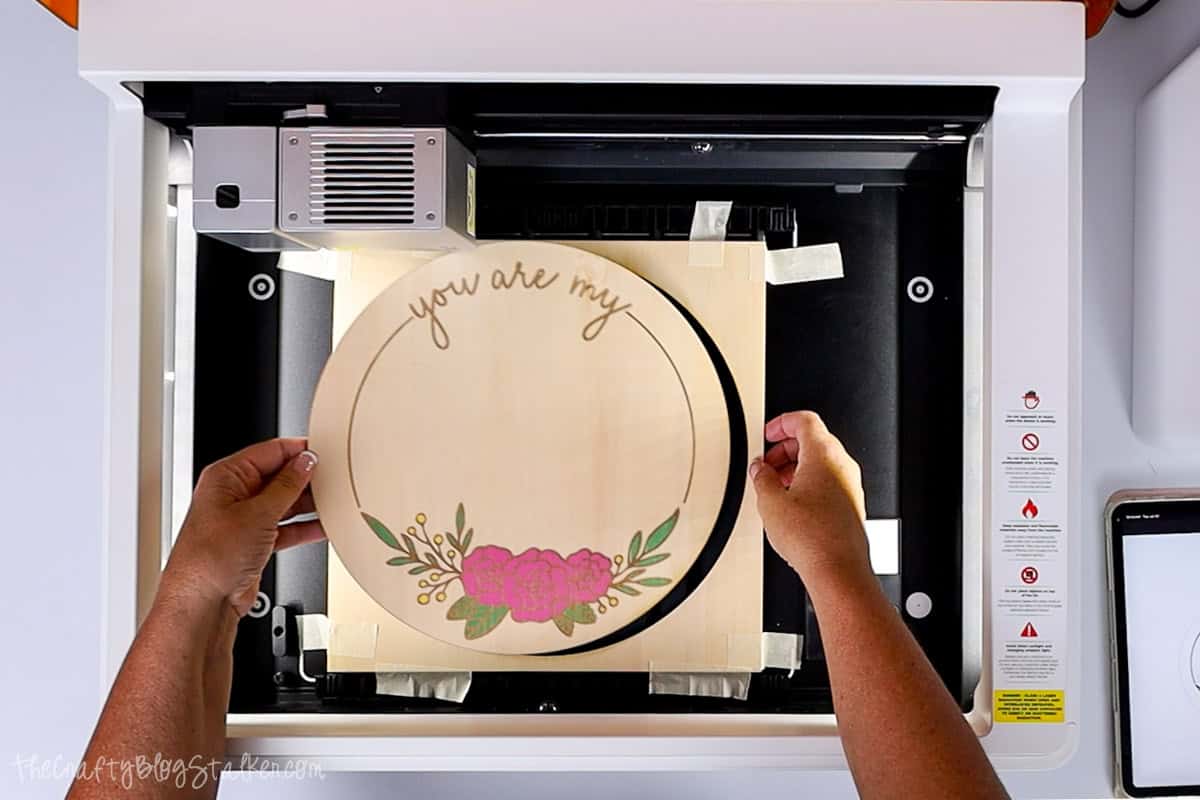
Inserting Material into the Laser:
Place the triangular prisms in the bottom of the machine, and place a sheet of 12 x 12 3mm Basswood on top.
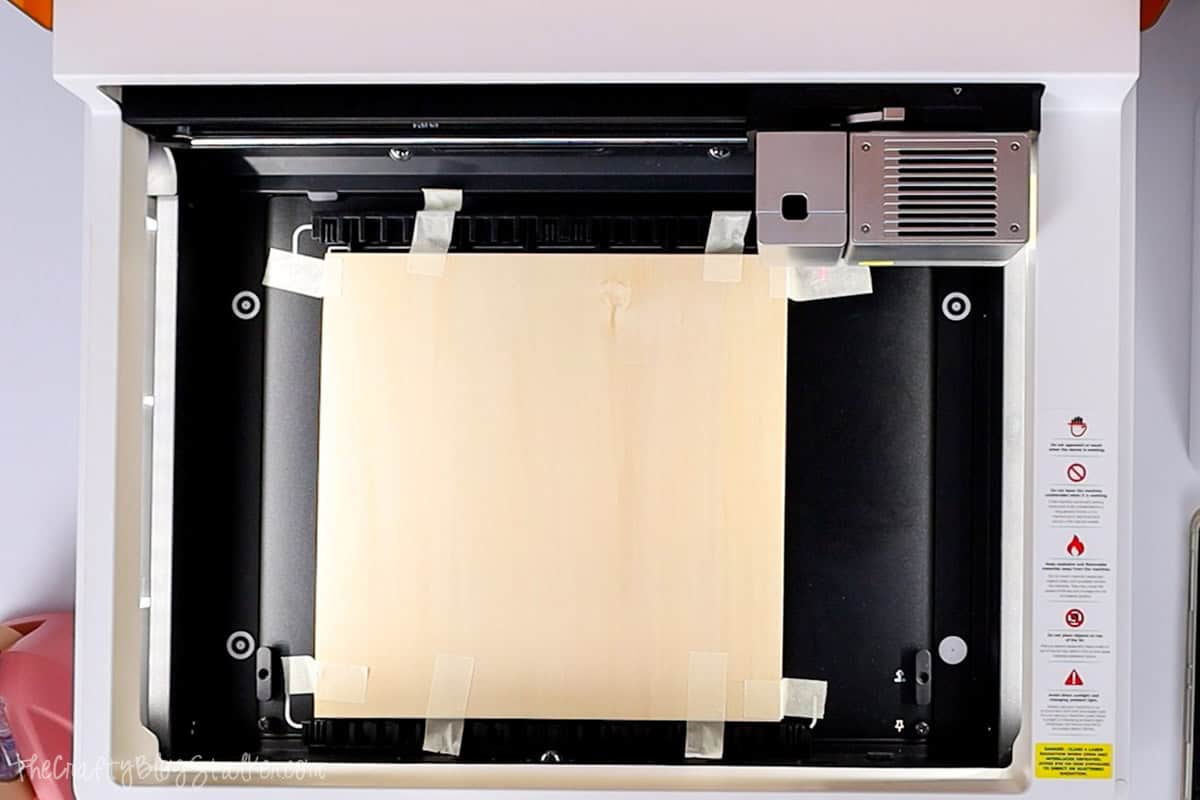
Add tape to the basswood so it won't move with strips of masking tape.
I noticed that the wood can be bumped making the print and cut not perfectly line up. Using tape keeps the wood sheet from moving.
Shut the lid and select Framing back in XCS.
The area used by the design will be framed with the light from the module to ensure none of the tape pieces are in the way.
Mine were in the way and readjusted before moving on.
Print:
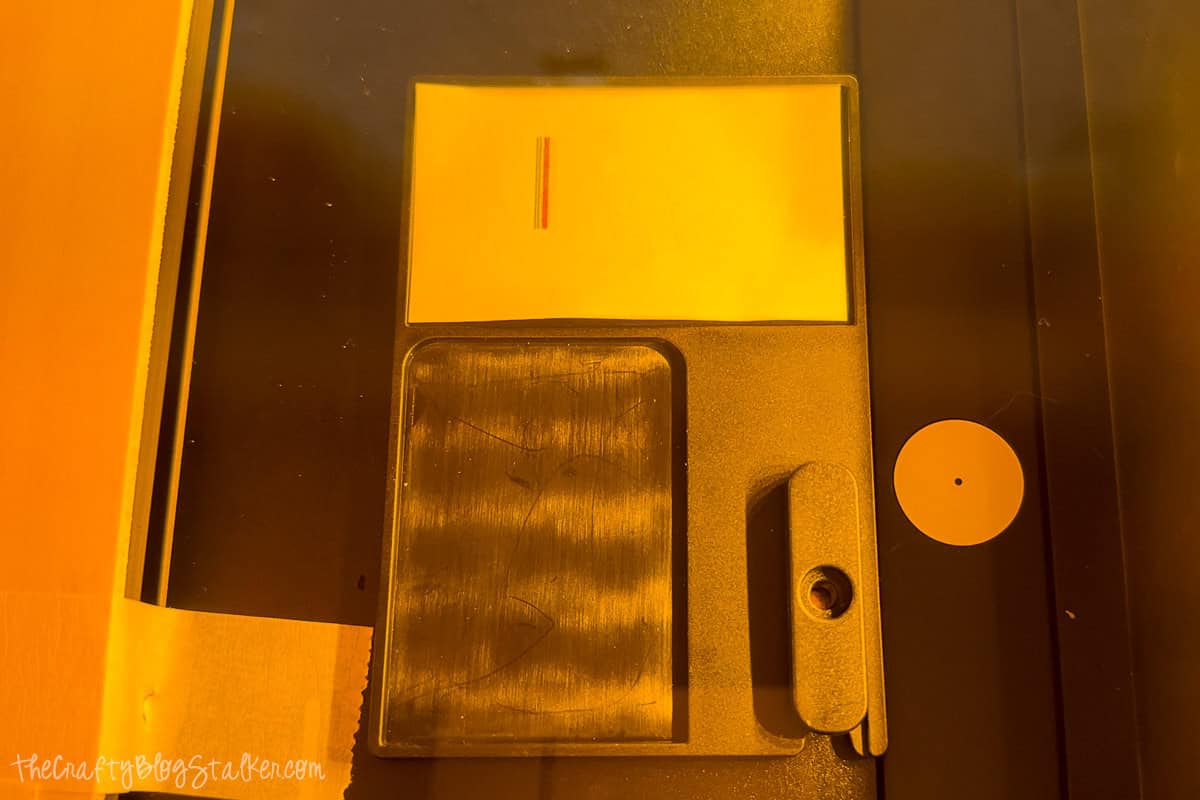
Install the Ink Module and align the light from the module in the top left corner.
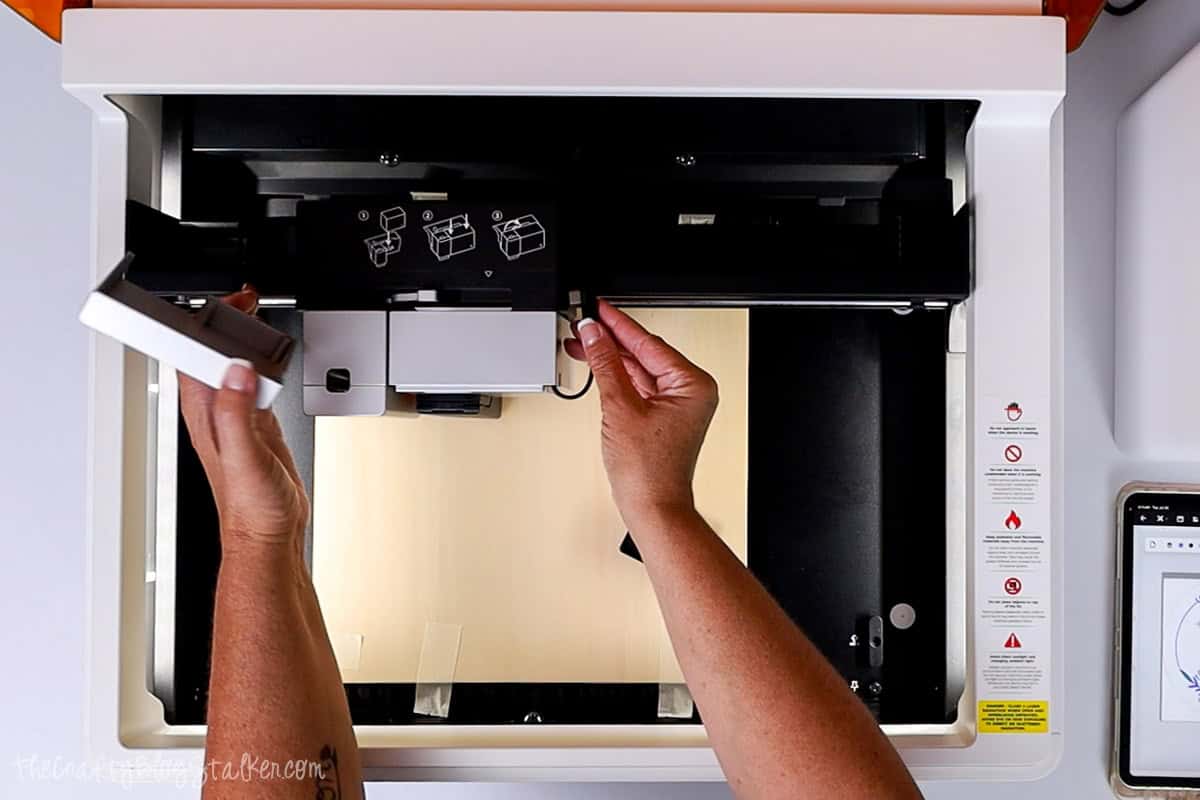
Don't forget to place the printing tray over the screw in the bottom left of the machine.
Most instructions advise placing the ink cartridge cap in the tray, but for this project, I am not because this is when the wood gets bumped. So I'll just keep it to the side.
Click on Process and I make sure that I am on the correct Task.
Task 1 is printing and Task 2 is the laser, and I want to print first.
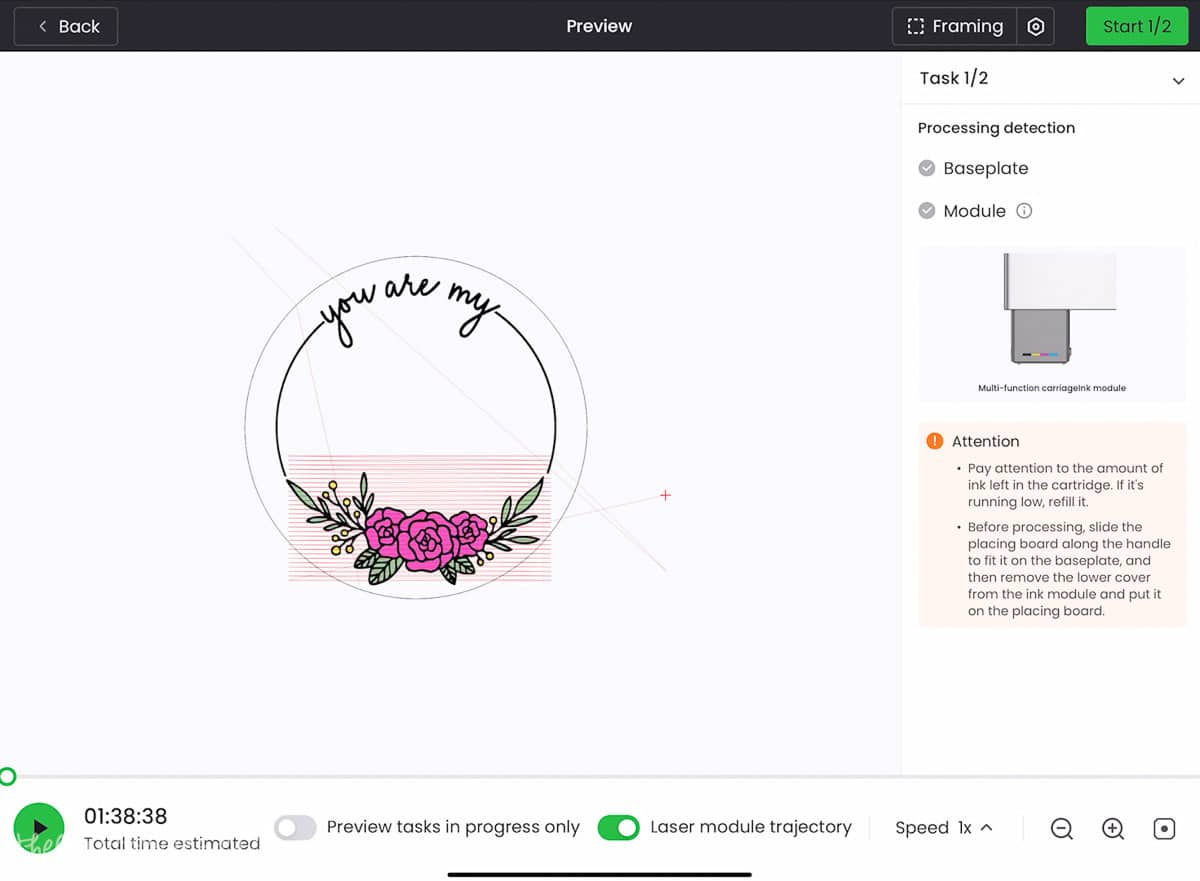
Select Start, and then follow the prompts. It asks to measure the material by hitting the silver button on the front.
Then again, to start the print.
The ink module will go to the print tray and blot the cartridge.
I am looking through the yellow cover so I can't see the yellow line, but I can see the red and blue and they look great so I let the machine continue.
If the lines don't look like lines, pause the print immediately and clean the printer head.
When the machine is done printing, lift the lid.
It looks so cool already! I love that this machine can print on wood.
Laser Cut:
Change out the Ink Module with the Laser Module.
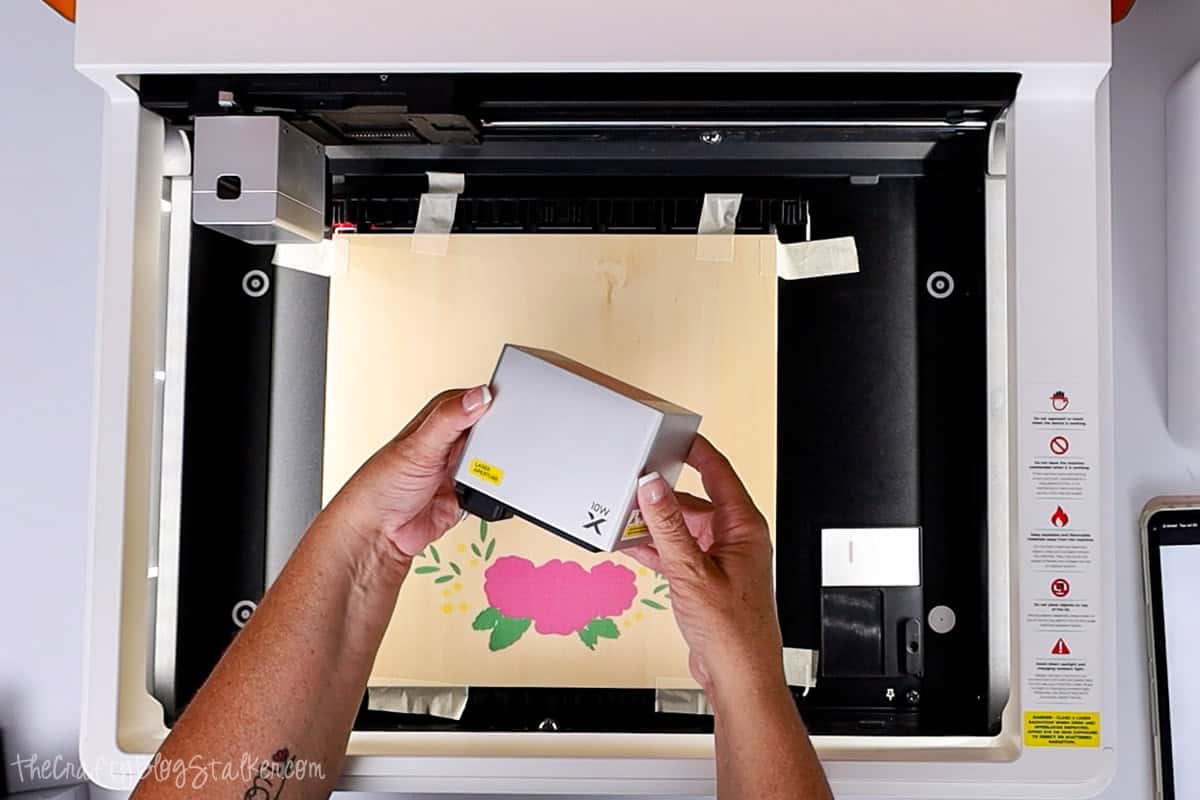
I return to xTool Creative Space and change to Task 2.
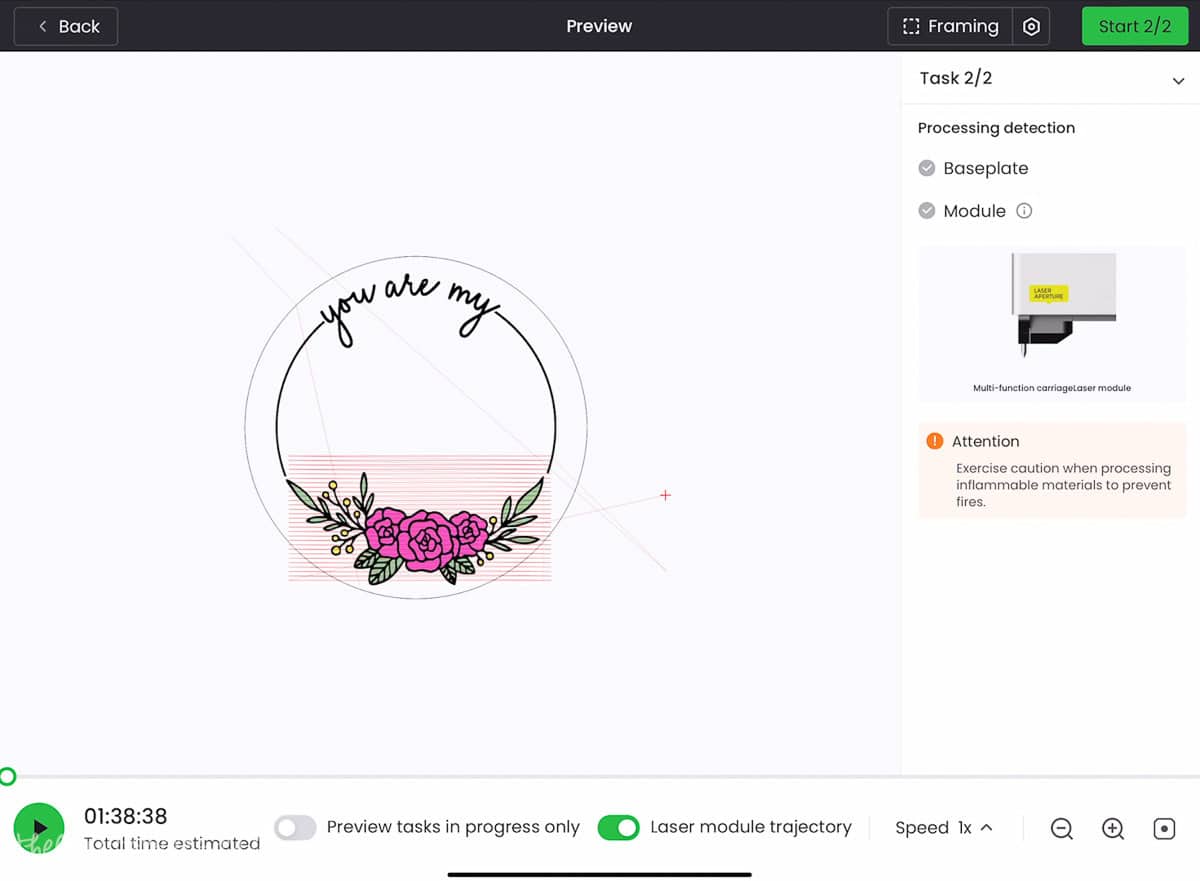
Select Start, and again I am prompted to measure and then cut.
The engraving is first and the circle is cut.
When finished, I can remove the sign base from the machine.
Repeat for Sunshine:
Return to Creative Space and move the word Sunshine onto the canvas.
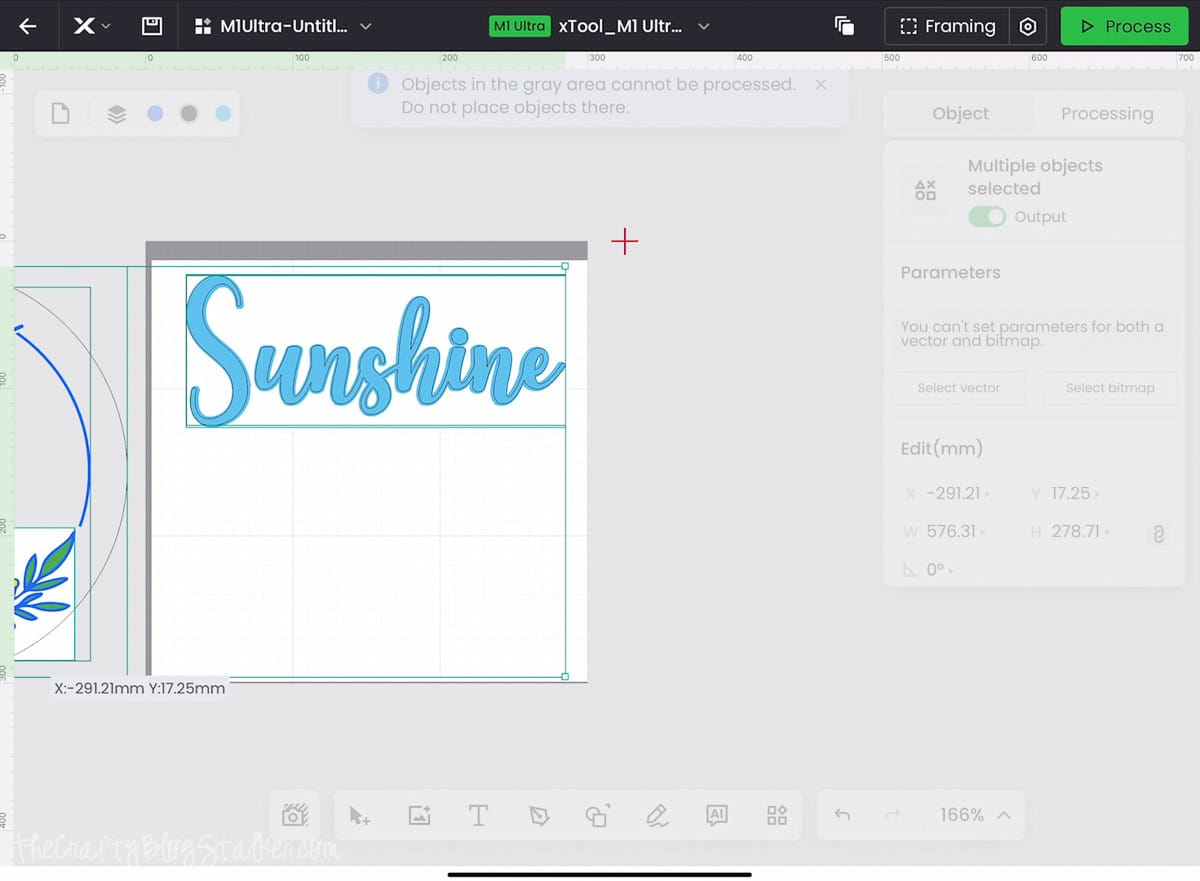
I repeat the same steps above.
Ungrouping, selecting Multi-module processing, and the processing type for each layer.
Tape the new sheet of basswood to the base of the machine.
Print first, and then laser cut.
Assembly:
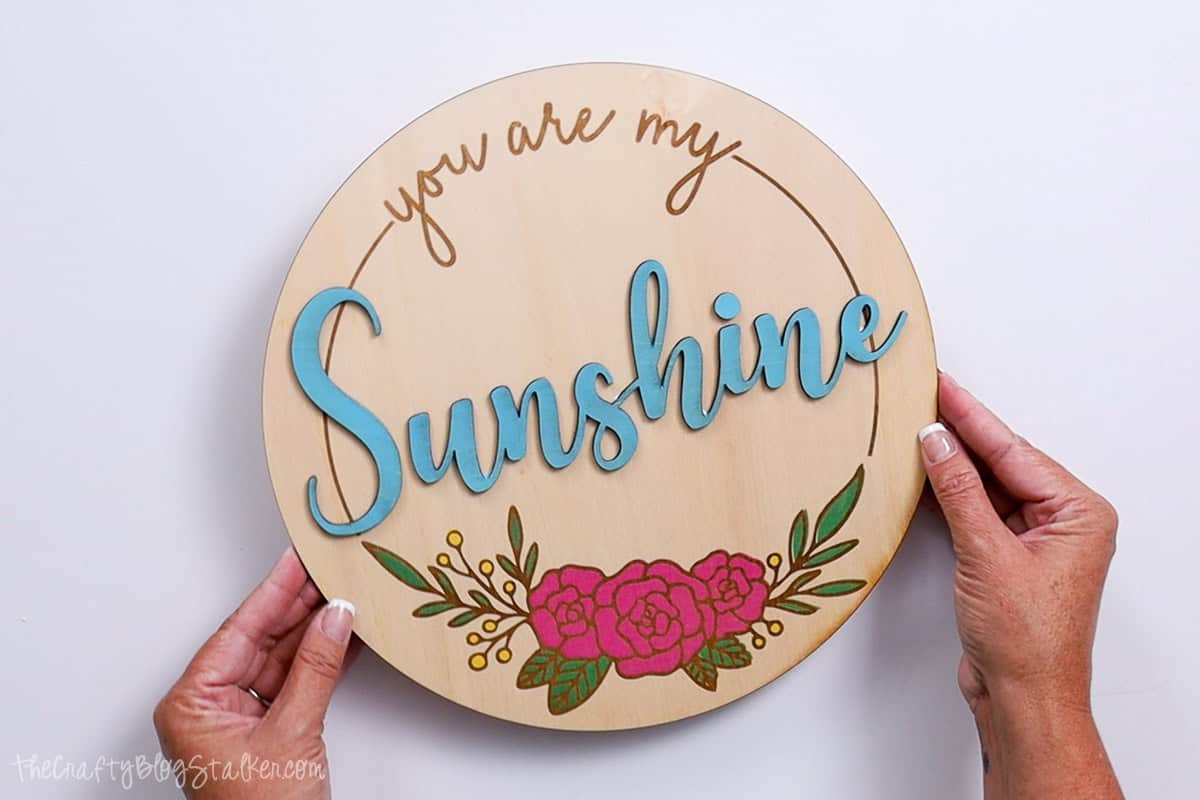
Here are all of the cut pieces.
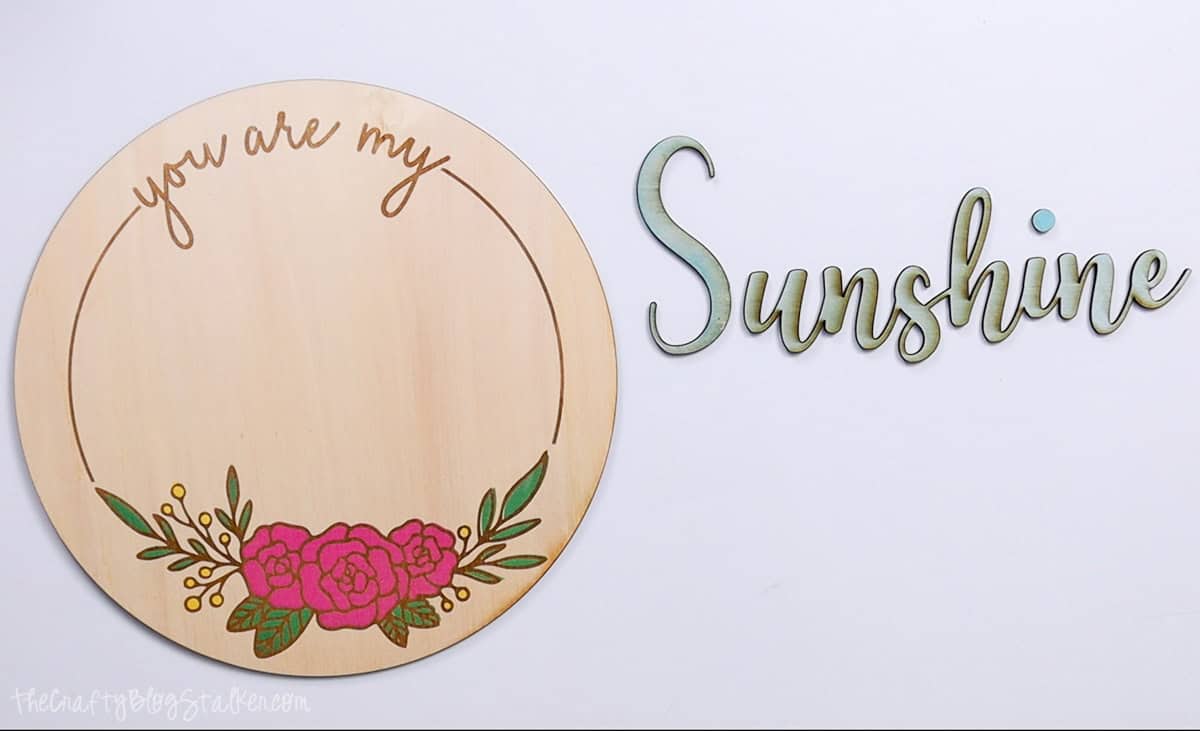
For some reason the word was cut with some flashback, meaning there is some soot around the cuts.
I need to look further into why this happened, in the meantime, I decided to just paint over it since it didn't wipe away.
I have blue paint similar to what was printed and painted the word.

When the paint had dried, I brushed some wood glue onto the back of my word pieces and glued them into place.
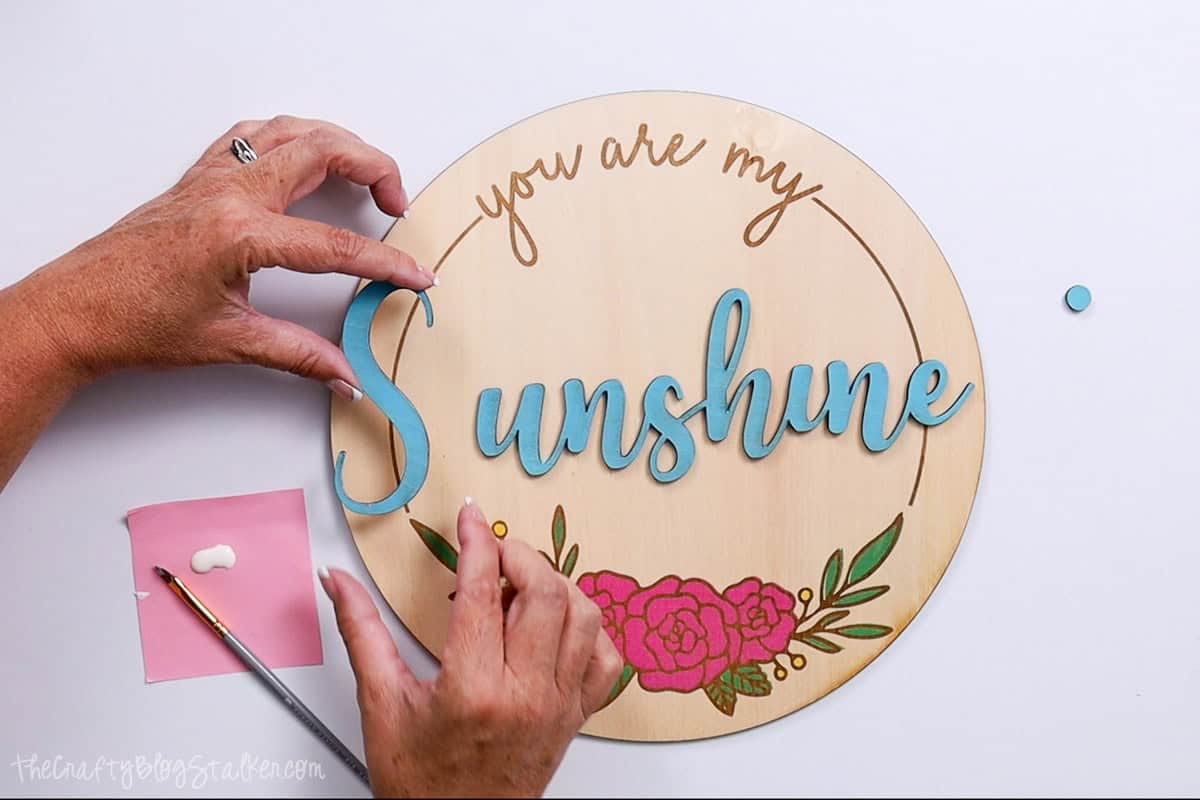
The finished sign looks so good!! I love making my own DIY wood signs because they can easily be customized to fit any space.
Laser Essentials
- Are you new to laser machines? I highly recommend the xTool M1 Ultra! This machine is super easy to learn and helps you create beautiful projects!
- Are you more experienced with lasers and want more power? I love my OmTech 50W, but they have all types of machines up to 150W!
- Craft Closet is my favorite shop for laser materials. Their products are high quality, and they have the lowest prices I can find anywhere!